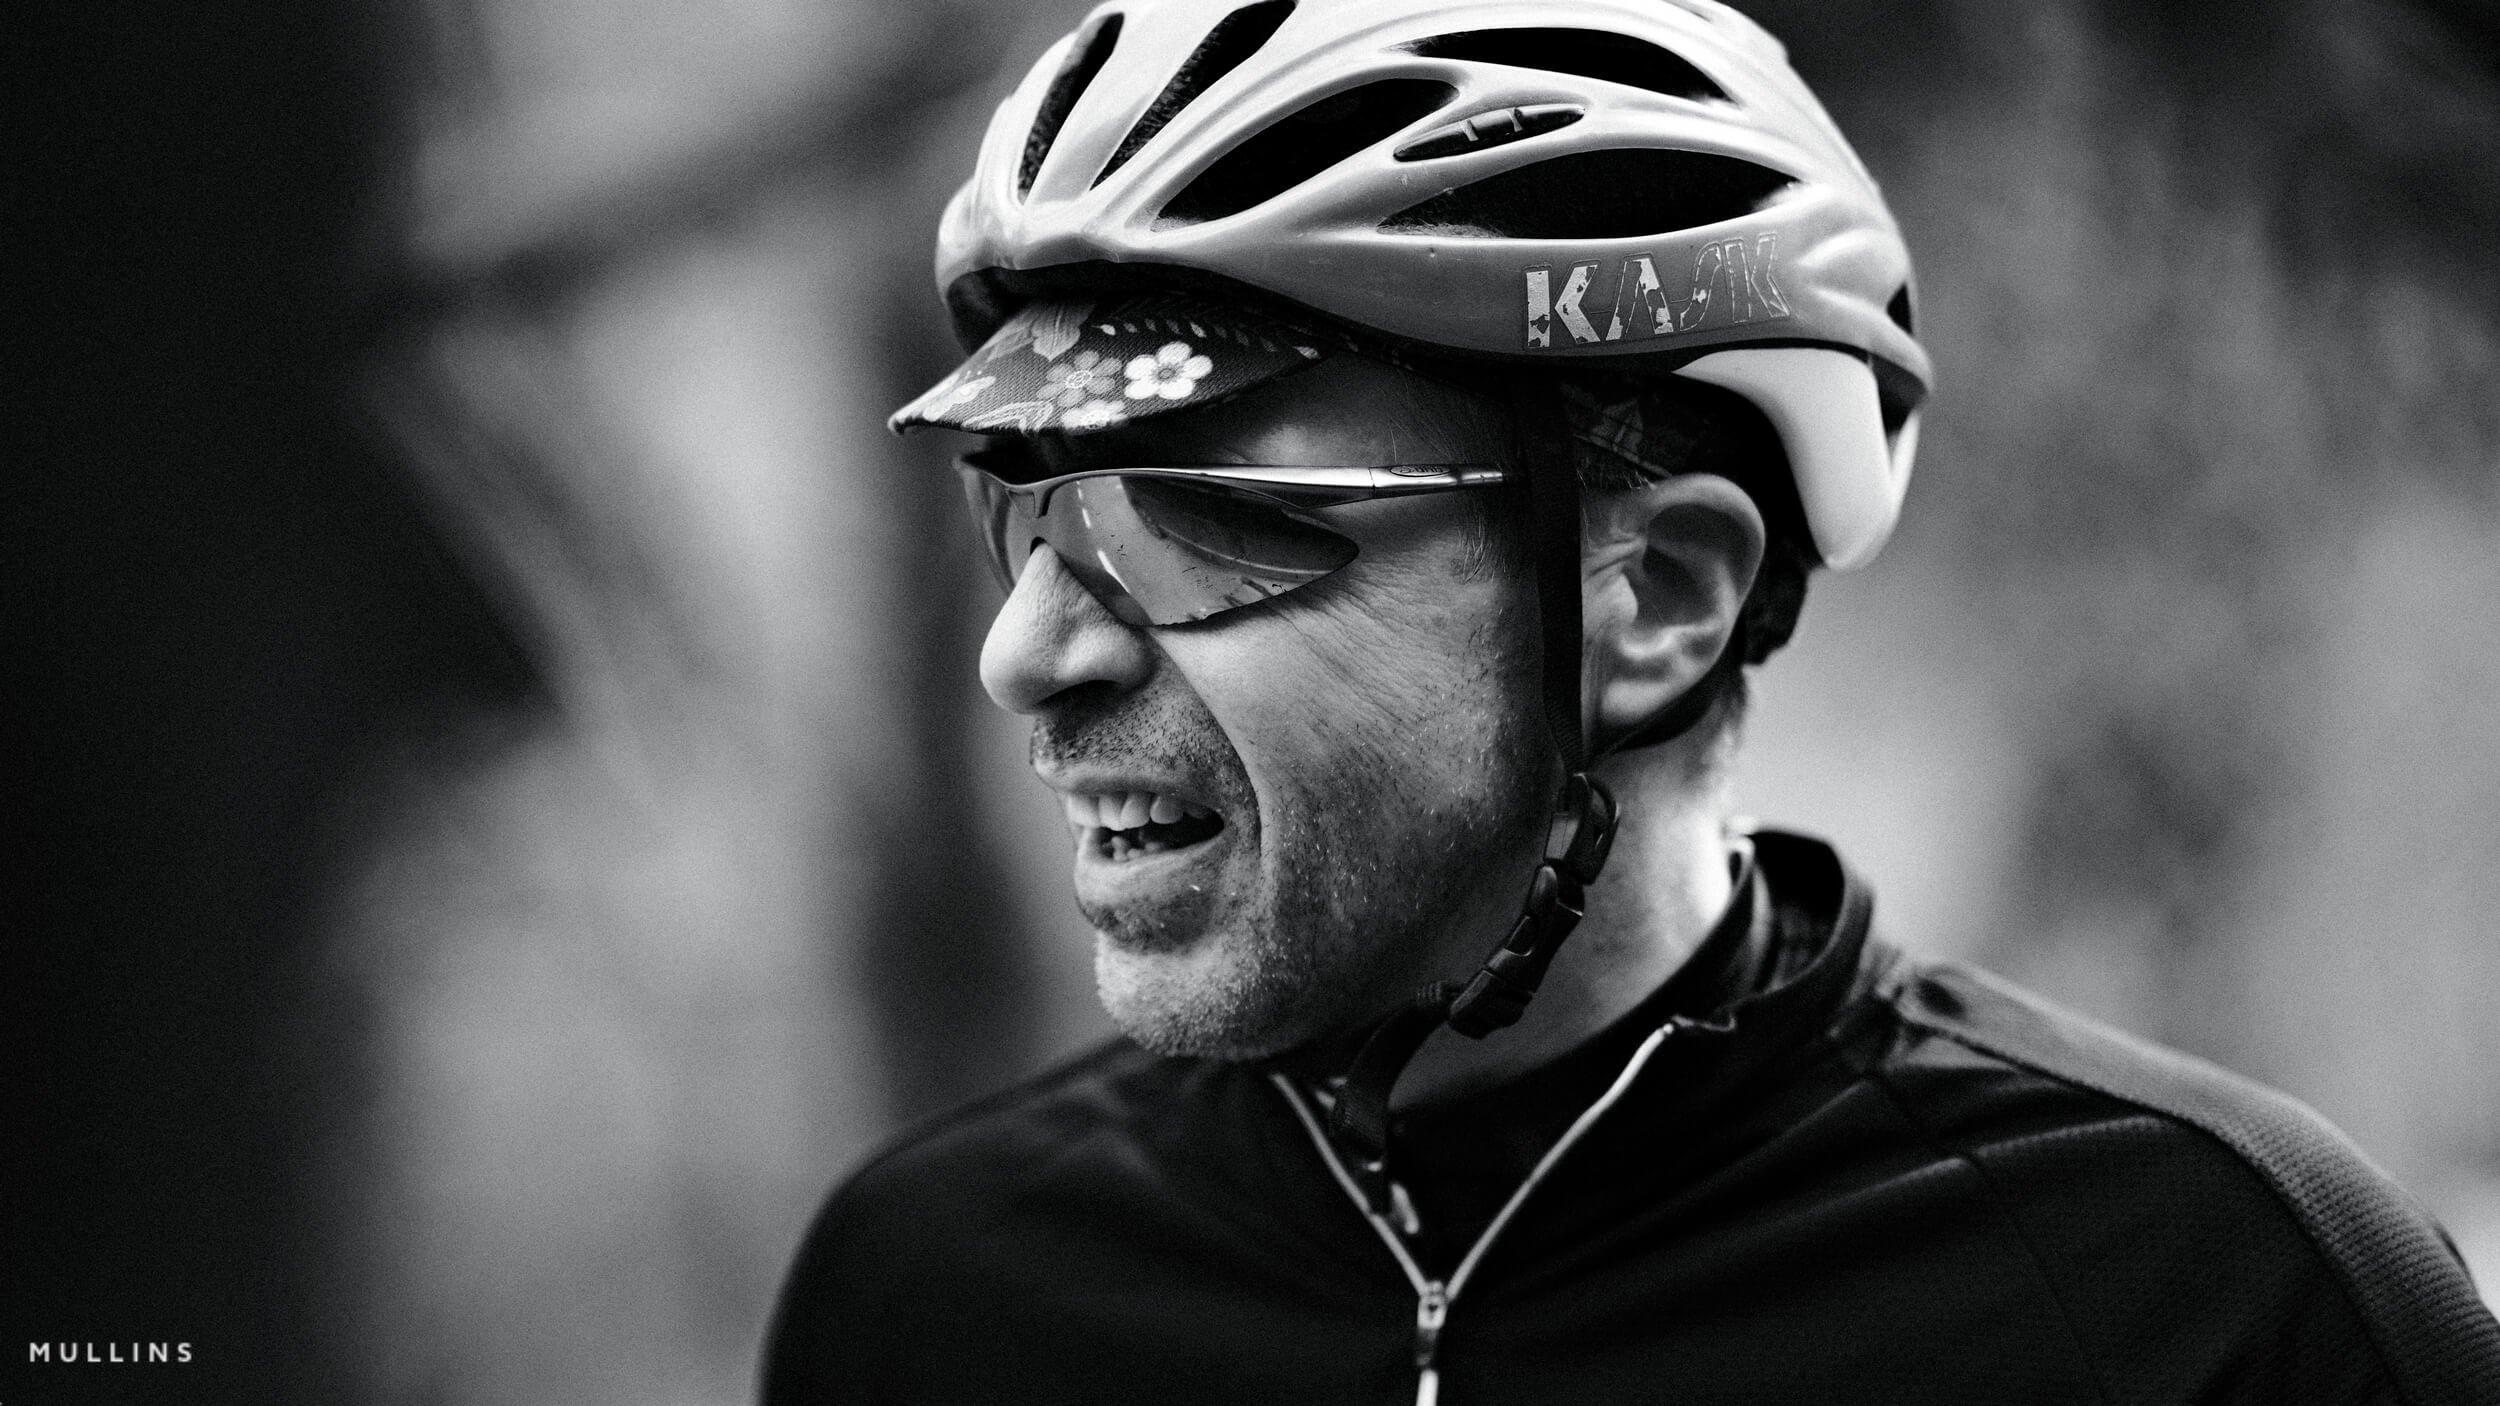
An image processed in Camera using Kevin Mullins' Lighthouse JPEG Recipe
10. min readThe short answer
If you want six Fujifilm film simulation recipes that are, I think, worth trying, this is my own shortlist of my own recipes: Lighthouse (Acros+R), Modern Movies (Classic Chrome), Newspaper (Acros+Ye), Meyerowitz (Classic Neg), Padilla (Monochrome+R), and Kodachrome Style (Classic Chrome).
They cover noir-style monochrome, cinematic colour, gritty press-style looks, more direct street colour, documentary monochrome, and warm nostalgic colour.
They were all built before the current X-Trans sensor generation, so the core settings translate nicely onto most modern Fujifilm bodies.
Lighthouse is my personal favourite, and I'll explain why a bit further along in the post.
Quick disclaimer about film simulations versus recipes
Just so we're clear from the start, a Fujifilm "film simulation" is the base look baked into the camera. Acros, Classic Chrome, Classic Neg, Velvia, and so on.
A JPEG recipe is the full set of settings you build around that simulation: white balance shift, grain, highlight and shadow tones, clarity, colour chrome effects, and the rest.
This article is really about the latter. Six recipes built on Fujifilm's best film simulations, designed to give you JPEGs you can post straight from the card.

An image processed in Camera using Kevin Mullins' Kodachrome JPEG Recipe
Comparison table: the six recipes at a glance
| Recipe | Base Film Simulation | Style | Best For | Mood |
|---|---|---|---|---|
| Lighthouse | Acros+R | High-contrast monochrome | Street, harsh light, isolated figures | Bleak, theatrical, noir |
| Modern Movies | Classic Chrome | Cinematic colour | Street, portraits, golden hour | Polished, present, vivid |
| Newspaper | Acros+Ye | Press-style monochrome | Storytelling, harsh shadows, detail shots | Urgent, cold, historical |
| Meyerowitz | Classic Neg | Observational colour | Street, coast, layered scenes | Quiet, thoughtful, timeless |
| Padilla | Monochrome+R | Documentary monochrome | Low light, portraits, witness work | Honest, grounded, present |
| Kodachrome Style | Classic Chrome | Warm vintage colour | Travel, portraits, golden hour | Nostalgic, warm, familiar |
1. Lighthouse (Acros+R) — My Personal Favourite
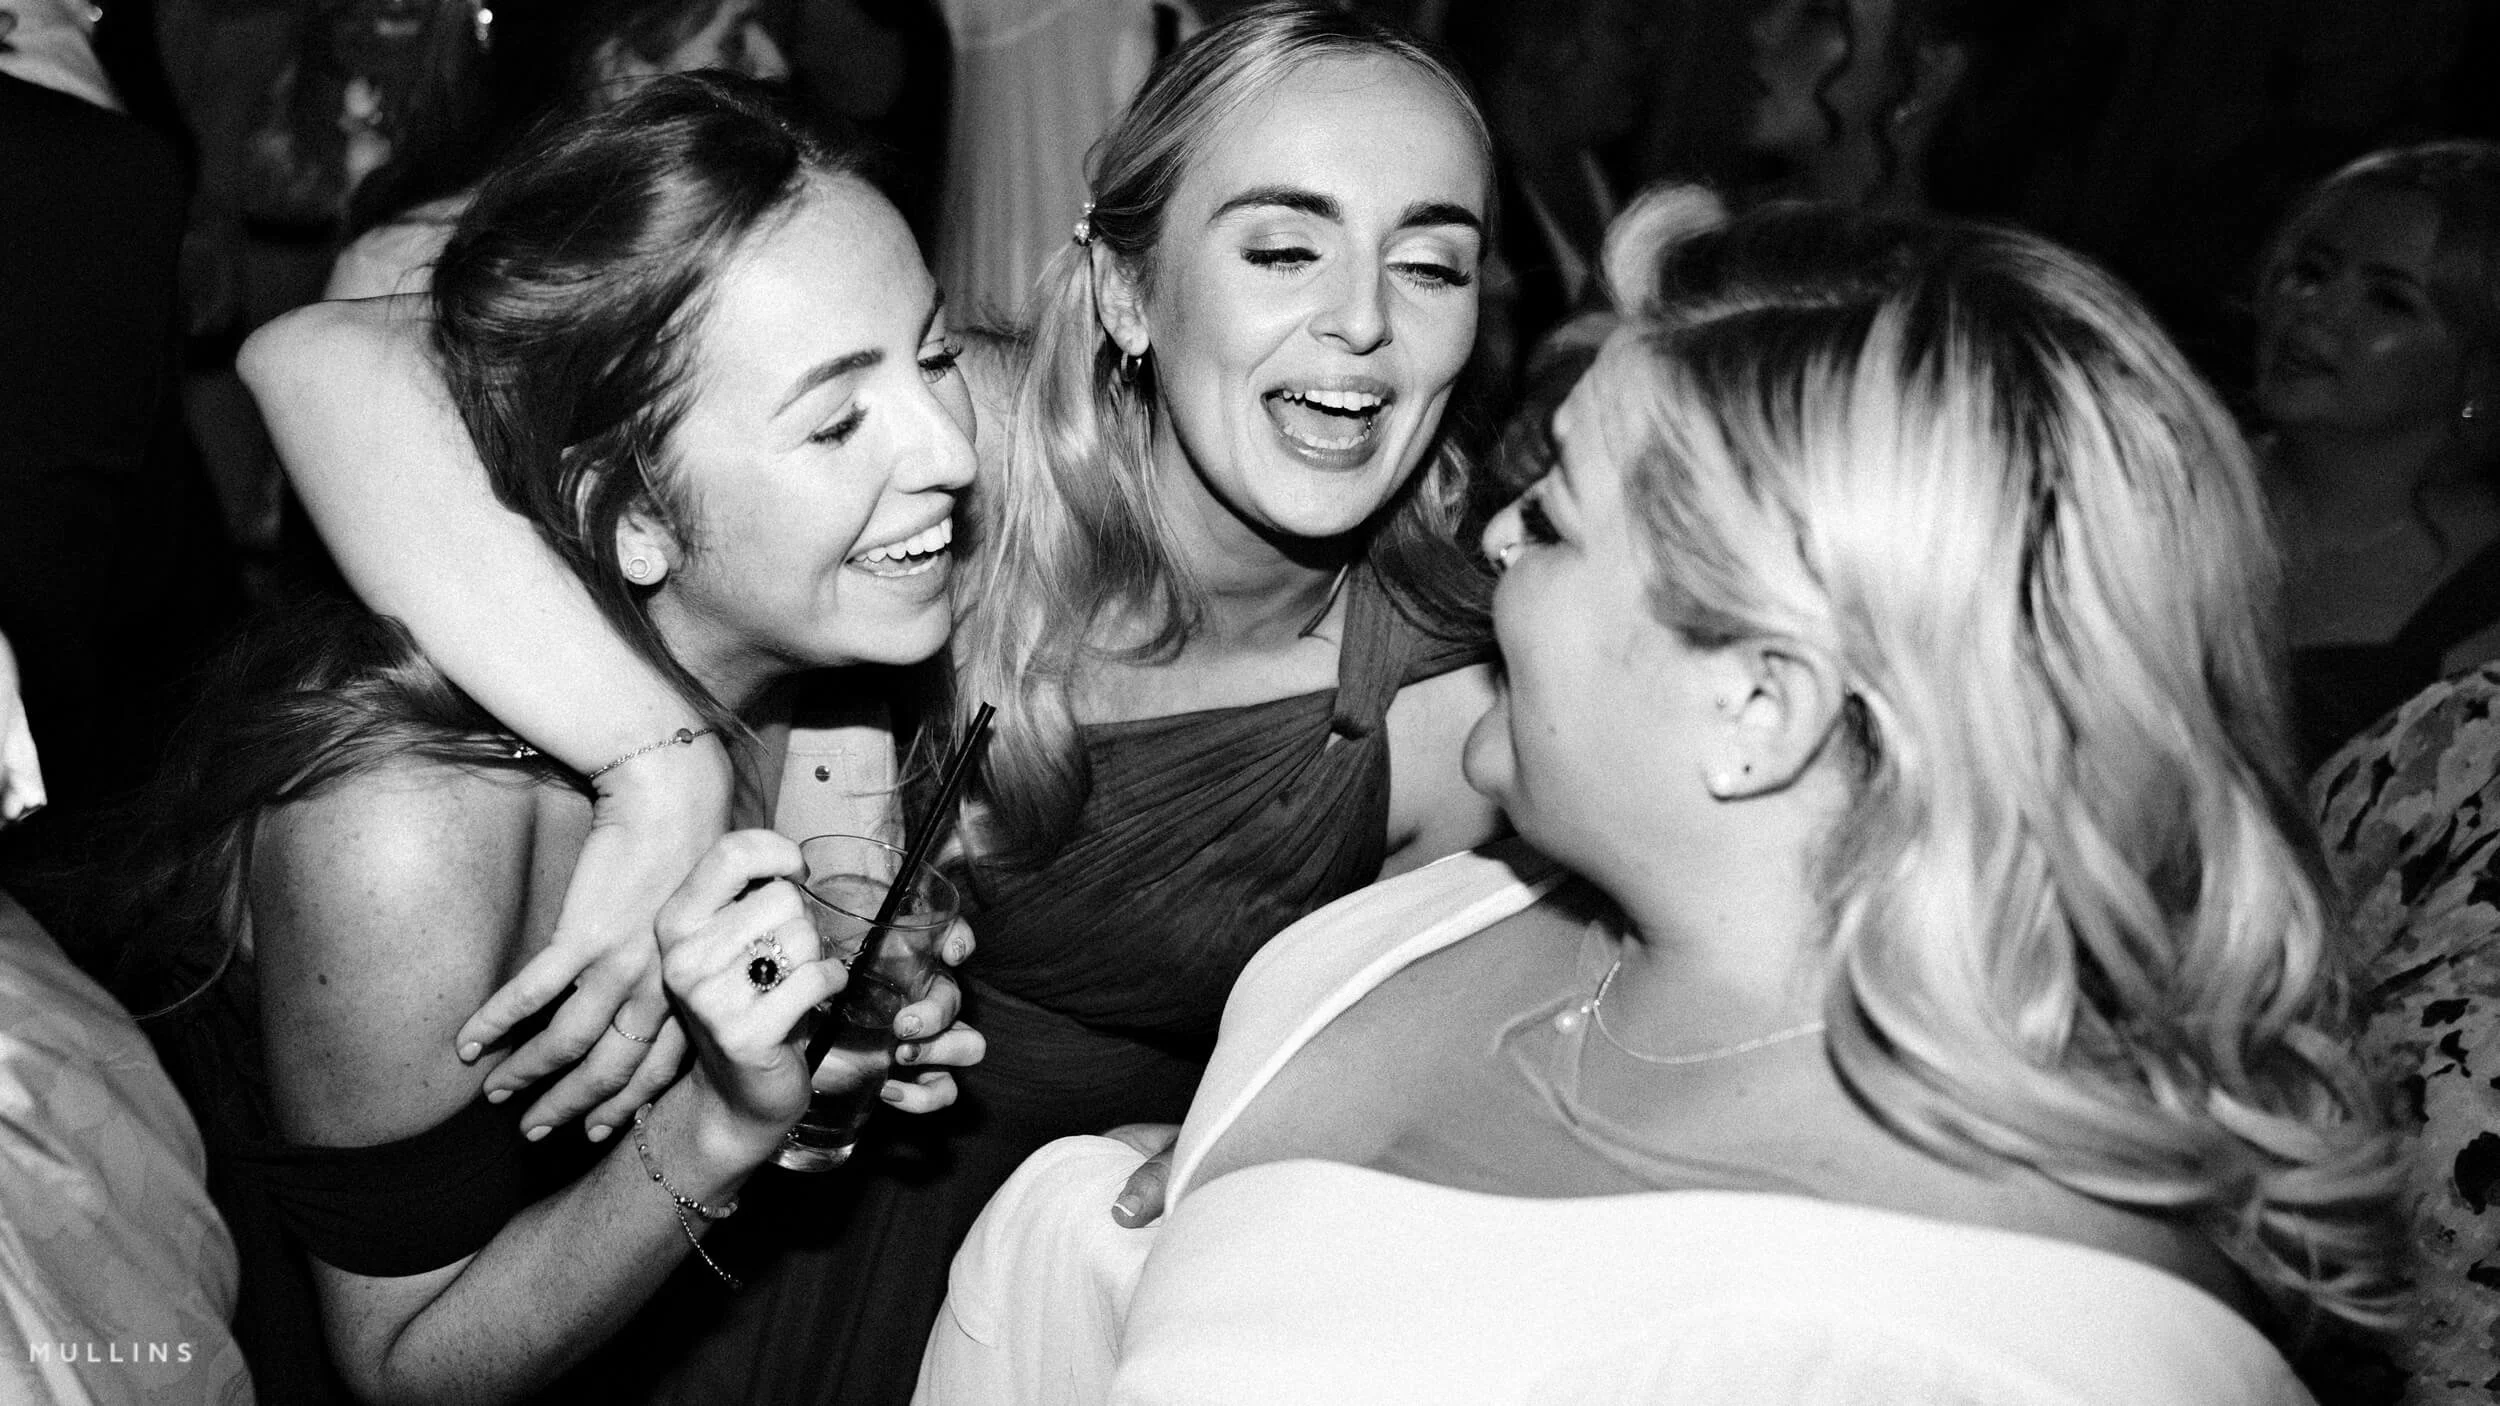
An image processed in Camera using Kevin Mullins' Lighthouse JPEG Recipe
Lighthouse is the one I keep coming back to because it’s the standard black-and-white JPEG Recipe I shoot with when solely using JPEG.
It's a black-and-white recipe built for contrast. It is heavier and perhaps denser than some people might like. The shadows are deep and strong, and the highlights are bright enough to stand out. It's meant to feel a bit rough, hard-edged and gritty.
The name comes from Robert Eggers' 2019 film The Lighthouse. If you've seen it, you'll likely know what I mean. I’ve designed it to be moody & dark, with harsh black-and-white contrast.
This recipe probably doesn't recreate that look exactly, but it draws from the same mood.
Lighthouse JPEG Settings
| Setting | Value |
|---|---|
| Film Simulation | Acros+R |
| Grain Effect | Strong / Large |
| Monochromatic Colour | WC: -1, MG: 0 |
| Highlights | +4 |
| Shadows | +4 |
| Sharpness | +1 |
| Noise Reduction | -4 |
| Clarity | +3 |
When to use it
Harsh light. Bright streets. Window light that falls across a scene. Coastal scenes where the light shimmers off the sea, perhaps. It also works well in low light if you don't mind grain. That grain can feel cinematic, but you may want to dial it down.
It's not a balanced recipe, and it’s not about producing technically perfect JPEGs. But when it works, it really works, and I love it.
See the full Lighthouse recipe and sample gallery →2. Modern Movies (Classic Chrome)
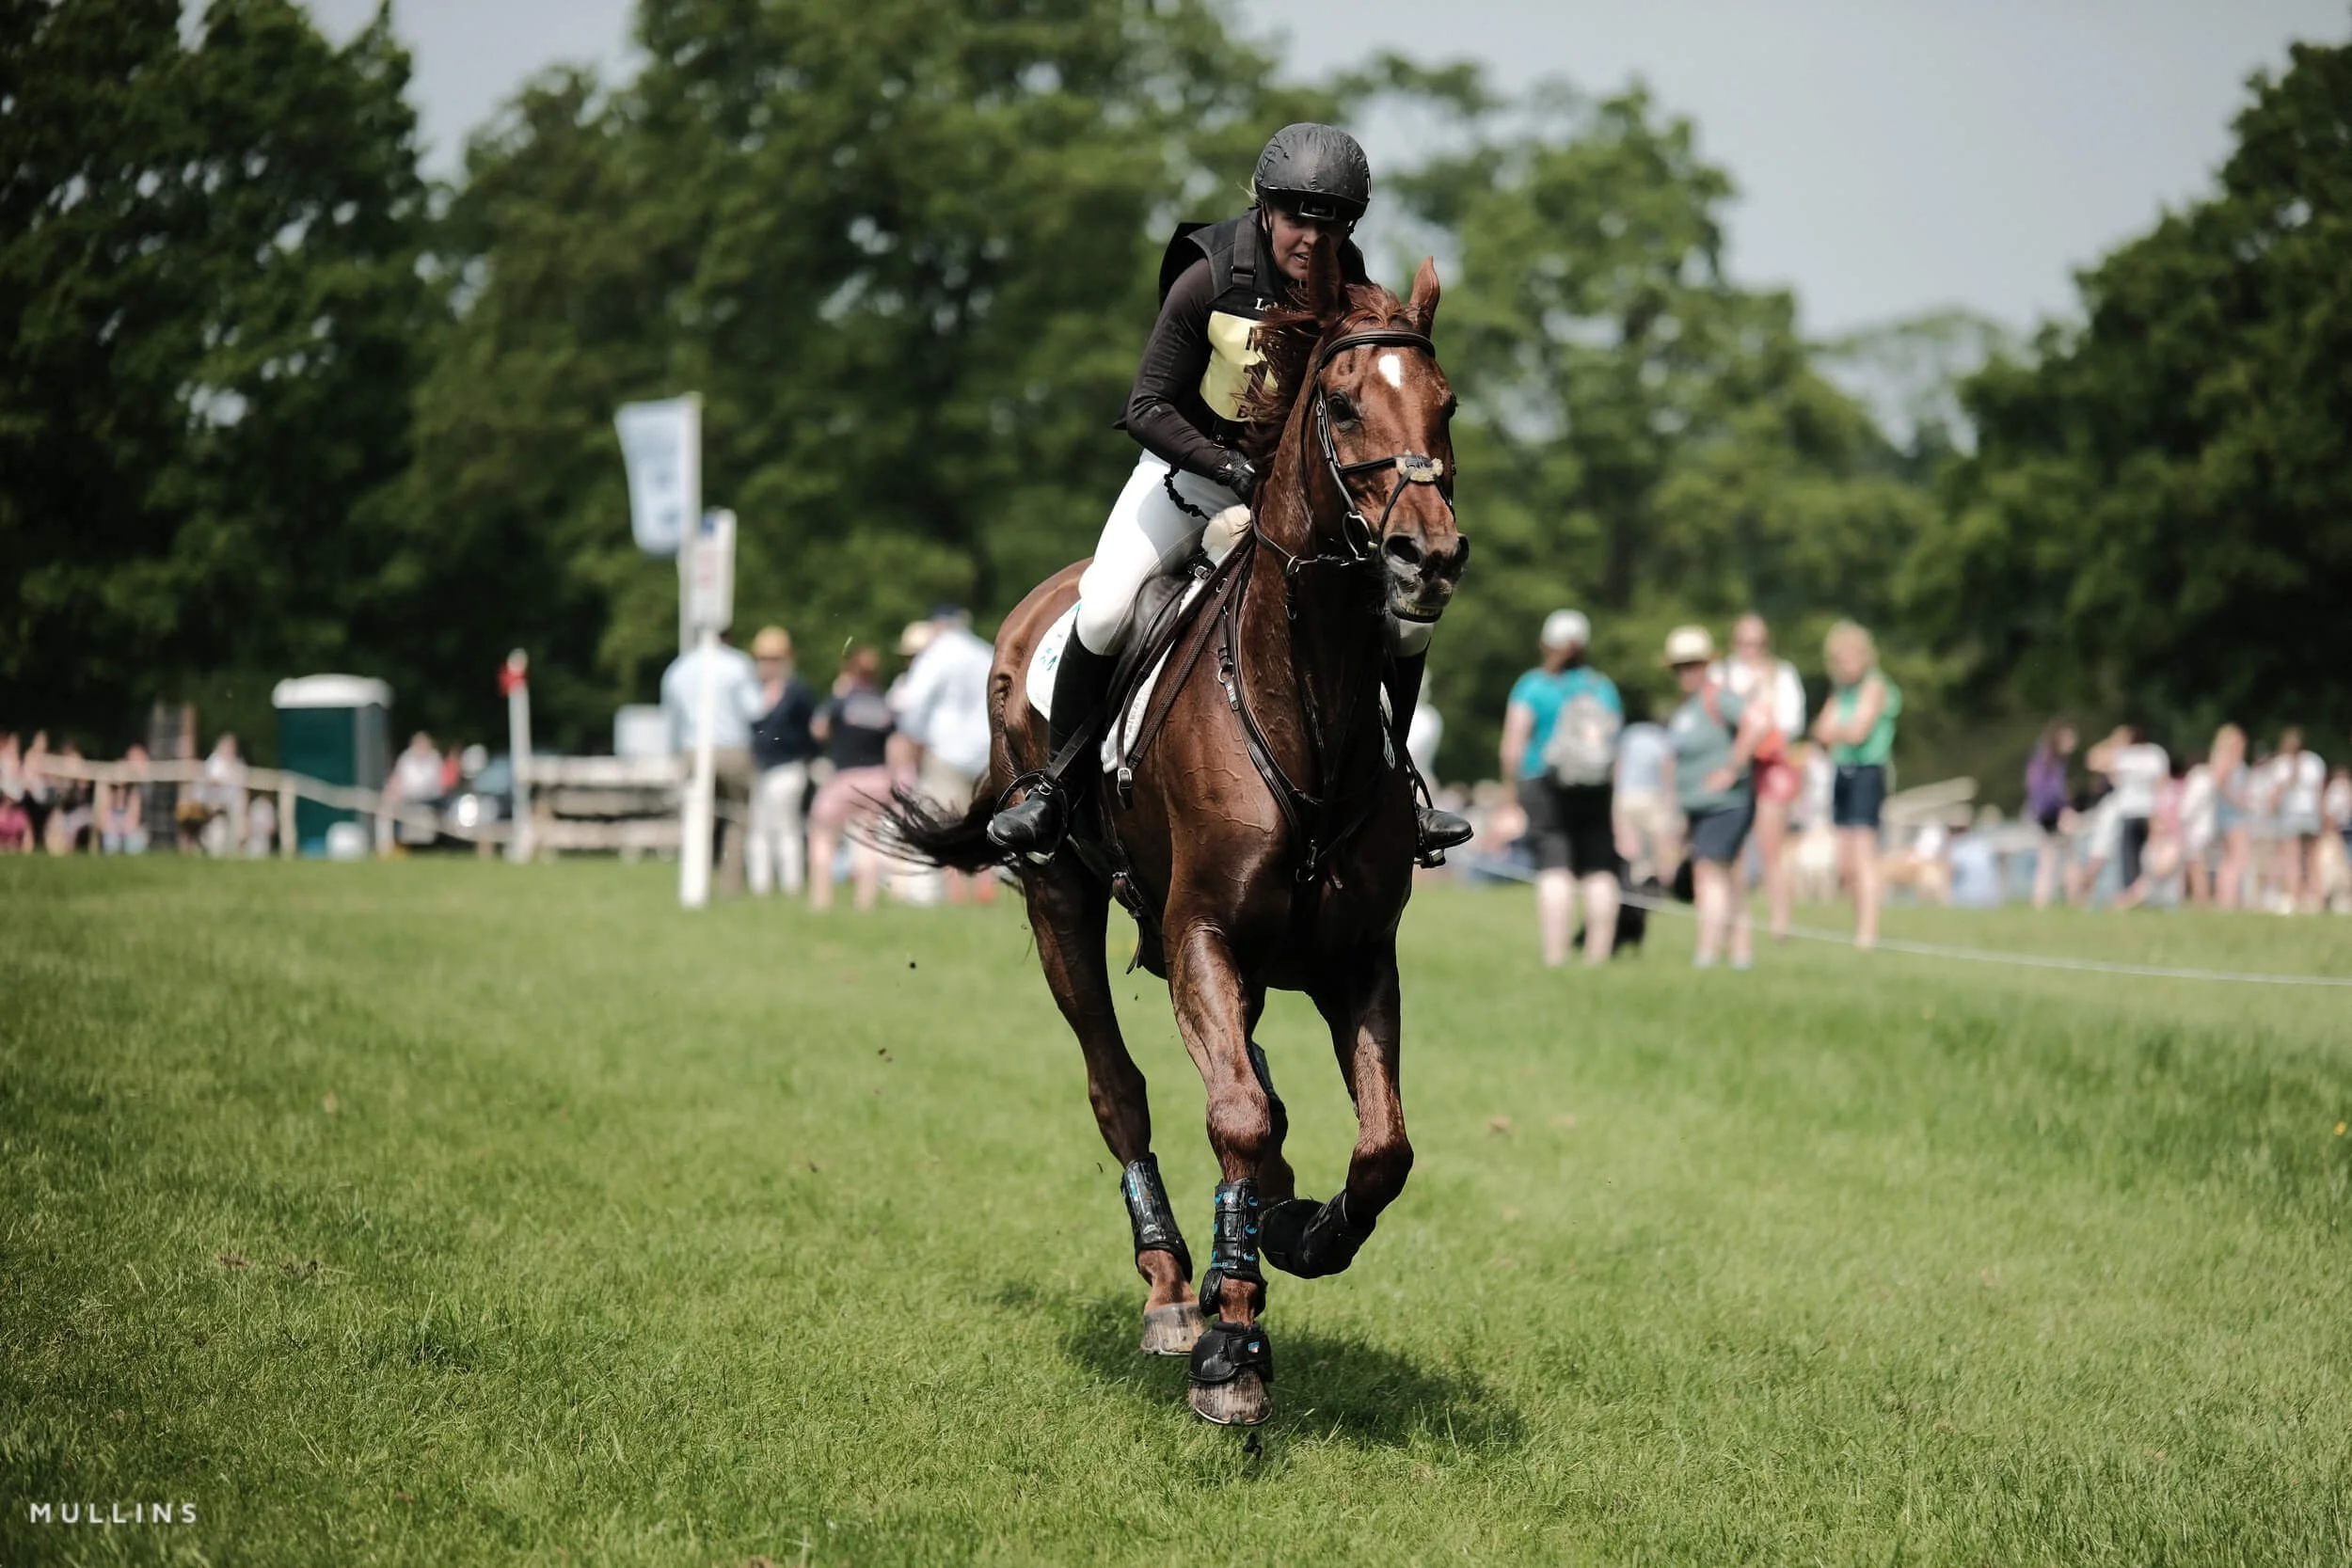
An image processed in Camera using Kevin Mullins' Modern Movies JPEG Recipe
If Lighthouse is the dramatic black-and-white option, Modern Movies is the quieter, colour option with better scene grading that still gives a film-like look.
It's designed to emulate the clean, high-definition colour grading found in contemporary digital cinema. Built on Classic Chrome, this recipe enhances contrast and colour to produce JPEGs that feel clean, sharp, and stylised. There's a touch of clarity brought in via the tone curve, but not the clarity settings, which can slow things down.
This is digital cinema. Not a nod to nostalgia. A profile for photographers who want their JPEGs to feel modern, but still different enough from the original Film Simulation.
Modern Movies JPEG Settings
| Setting | Value |
|---|---|
| Film Simulation | Classic Chrome |
| Grain Effect | Weak / Small |
| White Balance Shift | R: +2, B: -3 |
| Highlights | +2 |
| Shadows | +2 |
| Colour | +2 |
| Sharpness | +2 |
| Noise Reduction | -4 |
When to use it
City streets. Architecture. Golden-hour portraits. Anything where the scene already feels pretty clean.
It's versatile enough for street and landscape photography, but flattering enough for portraits, too.
See the full Modern Movies recipe and sample gallery → 3. Newspaper (Acros+Ye)

An image processed in Camera using Kevin Mullins' Newspaper JPEG Recipe
Newspaper is a nod to the days when the world delivered news in black and white, printed on cheap paper and ended up as fish-and-chips wrapping paper the next day.
It's inspired by the high-contrast, rough-textured look of black-and-white press photography from the 1970s and 80s.
Back then, the printing process forced everything through a halftone screen. Tiny dots that stood in for smooth tones. It gave photos that gritty, almost broken-up texture if you looked closely at them.
This recipe channels that idea: High contrast, pronounced grain, and a cool tone shift that really tries to emulate that Newspaper look.
Newspaper JPEG Settings
| Setting | Value |
|---|---|
| Film Simulation | Acros+Ye |
| Grain Effect | Strong / Small |
| White Balance Shift | R: -4, B: -3 |
| Highlight Tone | +4 |
| Shadow Tone | +4 |
| Sharpness | +2 |
| Clarity | 0 |
When to use it
Storytelling in harsh light. Street scenes with big shadows. Detail shots where texture and contrast are critical.
It flattens the photo a little, but that's part of why this recipe is one of the ones I'm most mentioned for across places like Reddit.
See the full Newspaper recipe and sample gallery →
Free
JPEG Recipe Maker Tool.
If you've enjoyed the ones above and want to generate fresh ideas of your own, I've built a Free Fujifilm JPEG Recipe Maker on the site.
It generates new recipe ideas based on your camera, sensor generation, mood, and style. Roughly 239 million possible combinations.
No signup, no catch. It's a useful starting point when you fancy trying something different but don't want to scroll through endless lists of other people's settings.
4. Meyerowitz (Classic Neg)
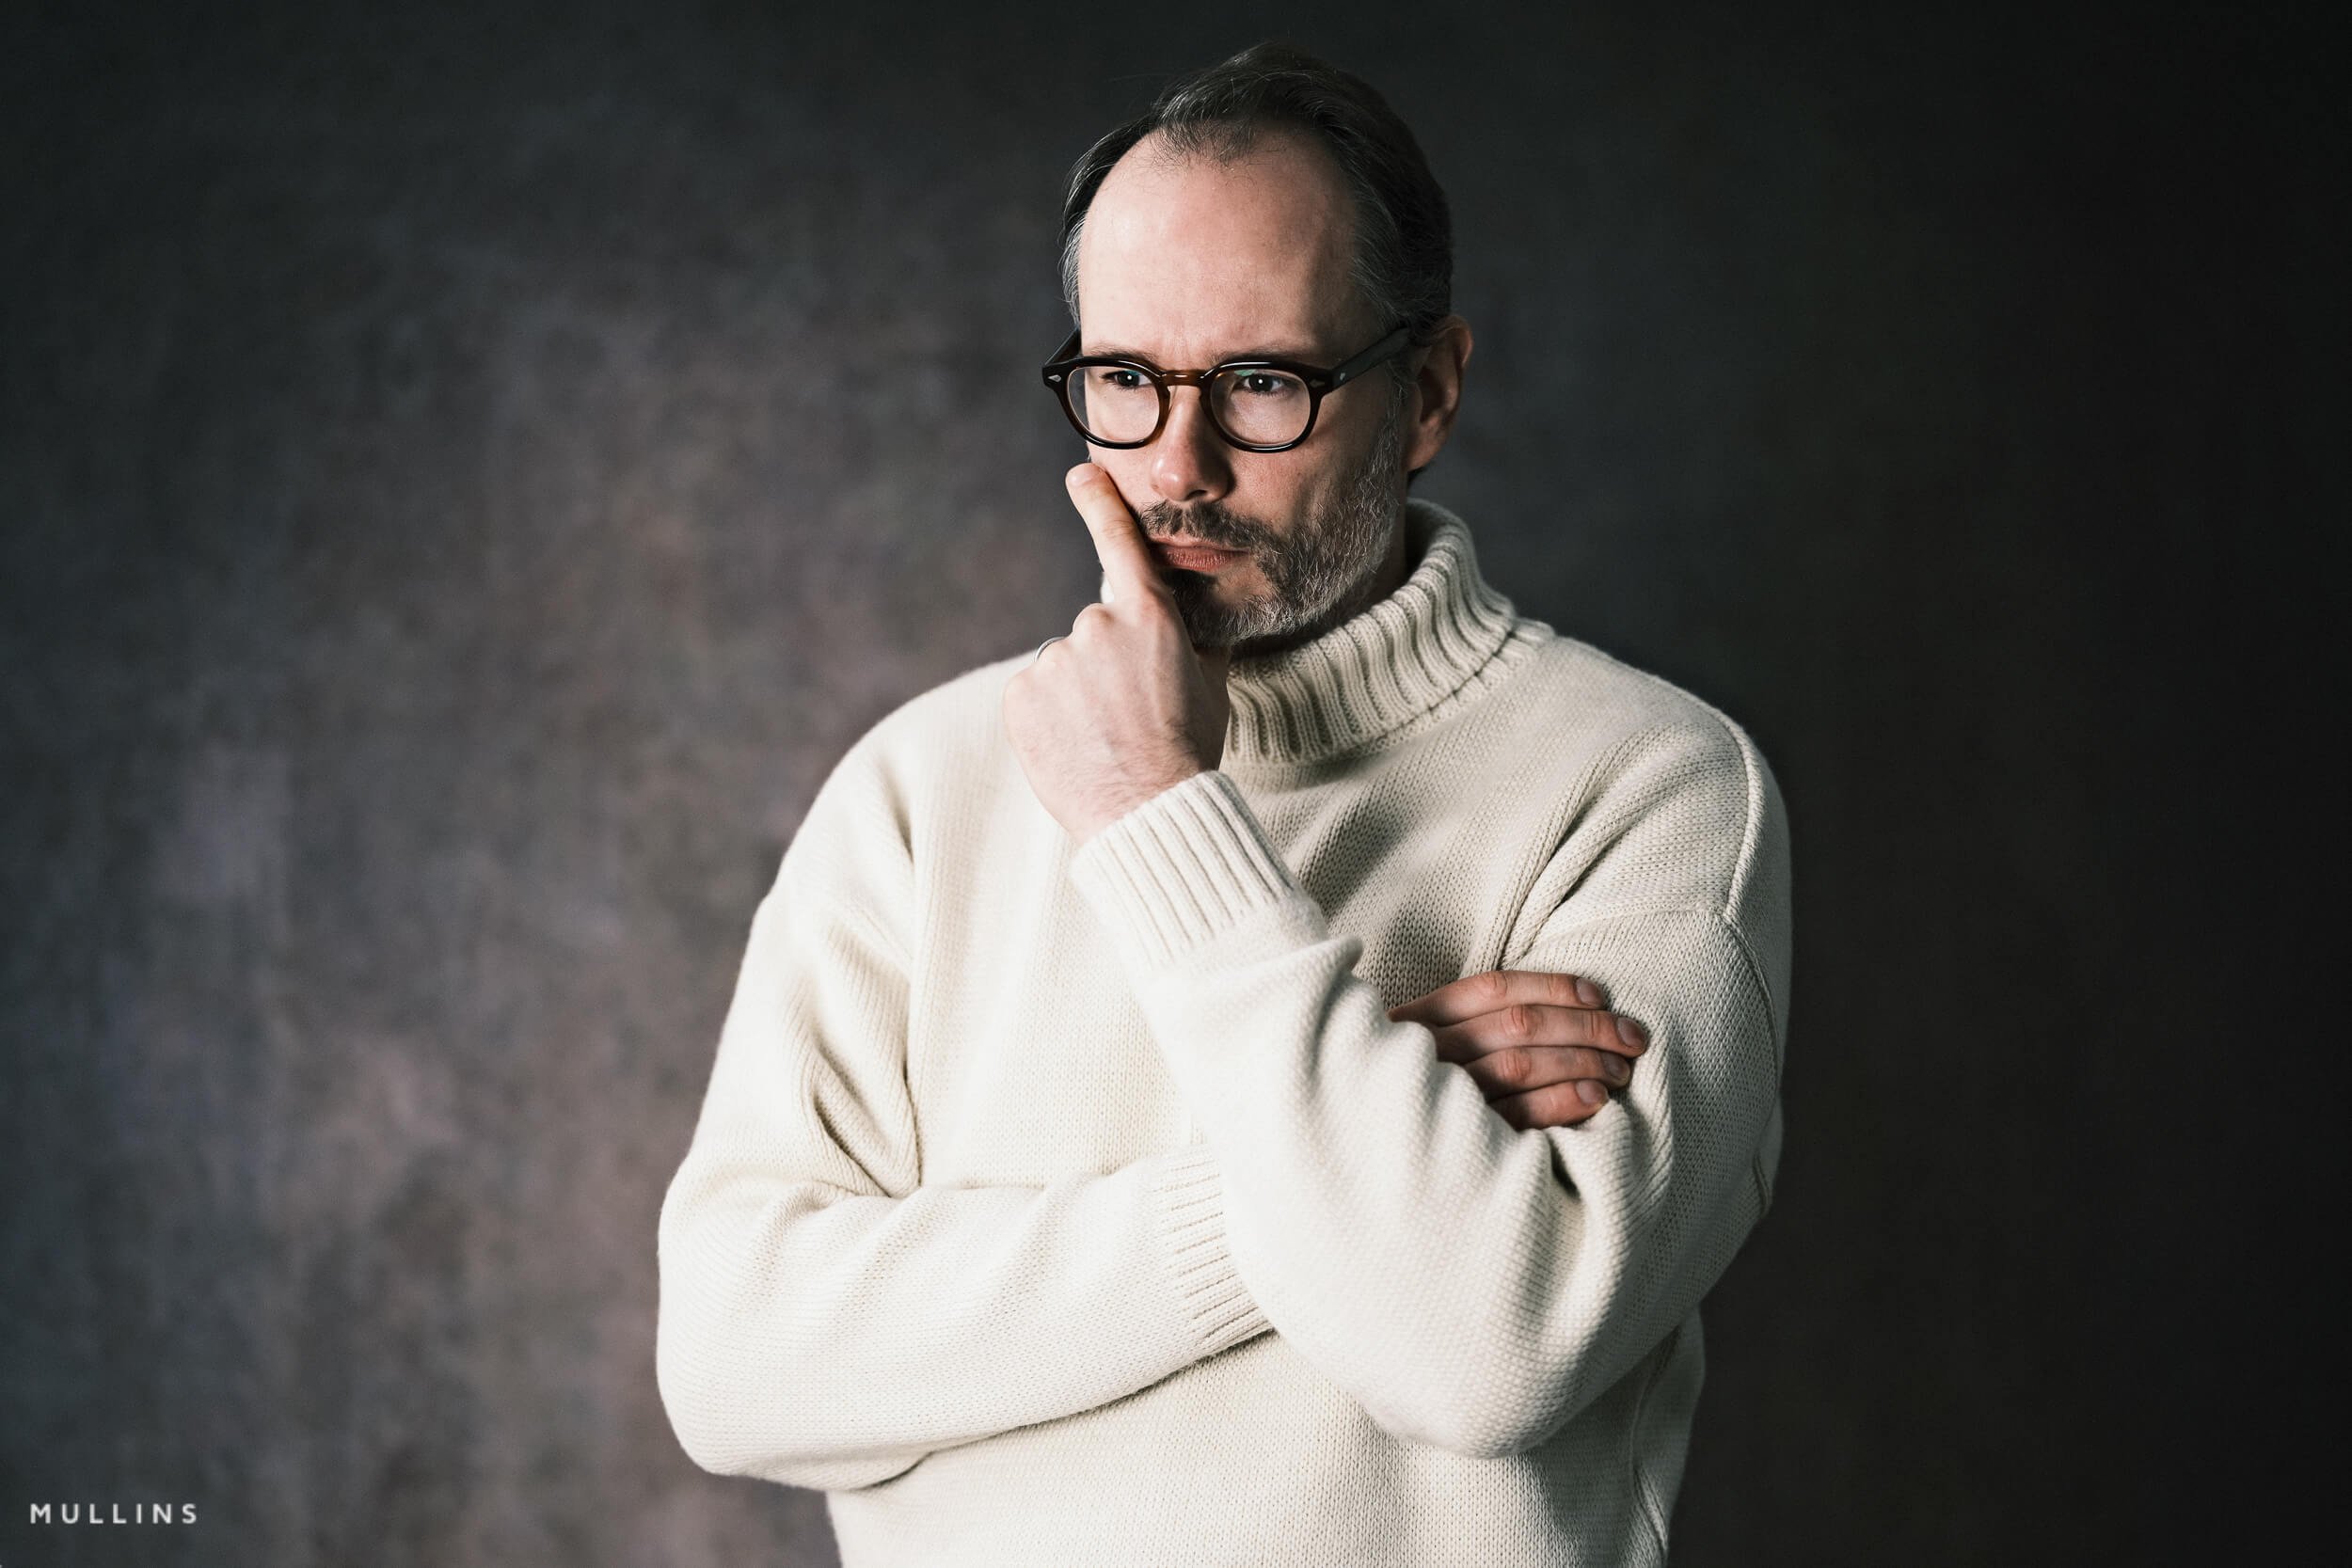
An image processed in Camera using Kevin Mullins' Meyerowitz JPEG Recipe
The Meyerowitz recipe is named after Joel Meyerowitz, whose colour street photography is revered by street photographers worldwide.
His images from the late 20th century captured gestures, moments, and the interplay of light and shadow, all in rich yet realistic colours.
This recipe lends itself to natural light, gentle tonal shifts, and a somewhat softer palette. It's cinematic, but there is depth in the shadows and highlights.
Great for colour street photography.
Meyerowitz JPEG Settings
| Setting | Value |
|---|---|
| Film Simulation | Classic Neg |
| Grain Effect | Strong / Small |
| Colour Chrome Effect | Weak |
| Colour Chrome FX Blue | Strong |
| White Balance Shift | R: -1, B: +1 |
| Highlight Tone | +1 |
| Shadow Tone | +2 |
| Colour | -1 |
| Sharpness | +2 |
| Clarity | +3 |
When to use it
Street photography. Coastal scenes. Anywhere, to be honest.
It works beautifully in natural light, in particular.
See the full Meyerowitz recipe and sample gallery → 5. Padilla (Monochrome+R)

An image processed in Camera using Kevin Mullins' Padilla JPEG Recipe
Padilla is inspired by the long-form, emotionally honest work of American documentary photographer Darcy Padilla.
Her photographs, particularly in The Julie Project, convey an incredible sense of truth. Often very raw and sometimes uncomfortable.
I created this recipe as a nod to her and that kind of storytelling. It's gritty, but not in the same way as the Lighthouse Recipe.
Soft in the highlights and sharp in the shadows, pulling you to the subject in the photos. I’ve added grain, because, well, there should be, but as with all of these settings, you should experiment to find the look you like best.
Padilla JPEG Settings
| Setting | Value |
|---|---|
| Film Simulation | Monochrome+R |
| Grain Effect | Strong / Large |
| Highlight Tone | -1 |
| Shadow Tone | +3 |
| Sharpness | +1 |
| Clarity | +2 |
When to use it
Natural light, especially low light, where the shadows are strong, and grain would appear natural. Street, documentary, I think, suits this recipe well. Scenes where what’s going on in the image is the most important thing to be showing off.
See the full Padilla recipe and sample gallery → 6. Kodachrome Style (Classic Chrome)

An image processed in Camera using Kevin Mullins' Kodachrome JPEG Recipe
If you love the look of classic film, Kodachrome Style is a lovely way to bring some of that charm into your Fujifilm files.
It's an interpretation of one of the most iconic colour films in history. It can’t replicate the chemical complexity of the original, of course, but it aims to evoke the distinctive warmth, richness, and gentle contrast that defined it.
Family photos. Travel diaries. Moments captured in vibrant, tangible colour.
Built on Classic Chrome and favouring reds, muted blues, and warm natural light, this one creates timeless-looking photos with a touch of filmic look.
Kodachrome Style JPEG Settings
| Setting | Value |
|---|---|
| Film Simulation | Classic Chrome |
| Grain Effect | Weak / Large |
| Colour Chrome Effect | Strong |
| Colour Chrome FX Blue | Weak |
| White Balance Shift | R: +2, B: -3 |
| Highlight Tone | -1 |
| Shadow Tone | +2 |
| Colour | -1 |
| Sharpness | +2 |
| Clarity | +1 |
When to use it
Golden hour. Travel. Portraits. Street photography. It’s a great everyday film-like colour recipe for your Fuji Cameras.
See the full Kodachrome Style recipe and sample gallery → A note on sensor compatibility
All six of these recipes were originally built on earlier Fujifilm sensor generations. The good news is that the core settings translate cleanly onto most current Fujifilm cameras, including the X100VI, X-T5, X-H2, X-H2S, X-E5, and others. A few small caveats. Some settings, particularly newer ones like Clarity, Colour Chrome FX Blue, and certain monochromatic colour controls, are not available on every Fujifilm body. If your camera doesn't offer a specific control, just set it to 0 or skip that line. The recipe will still work, just with slightly less of that particular flavour.
Free JPEG Recipe Maker
If you want to keep things really simple, my Free Fujifilm JPEG Recipe Maker filters everything by sensor generation, so it will only ever give you recipes that actually work on your camera.
If you prefer shooting RAW
Quite a few of you who follow my work shoot RAW rather than JPEG.
For RAW shooters, I've built a set of profile-based Lightroom and Adobe Camera Raw presets that carry the same filmic feel as these JPEG recipes.
They're built from handcrafted profiles, and I use them for all my wedding, family, and street photography files.
See ALL LIGHTROOM PRESETS → Frequently Asked Questions
-
Yes. If your camera is set to shoot RAW + JPEG, the recipe will apply to the JPEG preview while preserving full RAW data. You can also apply recipes after the fact using Fujifilm's free X RAW Studio software, which reprocesses RAW files through your camera's own JPEG engine.
-
For a classic Tri-X style look, Acros with the Yellow filter (Acros+Ye) is usually the closest starting point. It gives you balanced contrast, deep blacks, and natural skin tones. The Newspaper recipe in this article is built on Acros+Ye for that reason.
-
Yes. All six recipes work on the X100VI, X-E5, X-T5, X-H2, X-H2S, and other current X-Trans generation bodies. Some newer settings may need slight adjustment, and if your camera doesn't offer a particular control (such as Monochromatic Colour shift on older bodies) just leave it at default.
-
A film simulation is the base look built into the camera (Acros, Classic Chrome, Classic Neg, Velvia, and so on). A JPEG recipe is the full set of customisations applied around that base simulation, including white balance shift, grain, highlights, shadows, clarity, and tone adjustments. Recipes are layered on top of simulations.
-
Most current Fujifilm cameras let you save up to seven custom presets via the "Edit/Save Custom Setting" menu. Once you've dialled in a recipe, save it as C1 through C7 so you can switch between them on the fly via the Q menu or shooting menu.
-
Clarity adds mid-tone contrast and presence, which suits gritty recipes like Lighthouse and Padilla. The trade-off is that Clarity slows the camera down between shots while it processes. If that delay bothers you, set Clarity to 0 in-camera and add it back later in X RAW Studio.
Final Thoughts
If you only try one of these, I'd pick Lighthouse. Not because it's the most useful (it isn't, really), but because it's the one that I love the most.
But honestly, the best Fujifilm film simulation is the one you'll actually use. So pick the one that fits the work you do most, save it as C1, and go and shoot with it for a week. Good Luck.