

Film Recipe - Kodachrome Style - Grainy Film Base (Colour)
If you love the look of old film, my Kodachrome recipe is a lovely way to bring some of that character into your Fujifilm files.
It takes its cue from the classic stock, with colour and contrast that feel familiar, rich, and a little nostalgic.
It is a simple way to give your images a more timeless feel.
Kodachrome: Grainy Nostaligic Film Simulation
Kodachrome Fujifilm Film Recipe
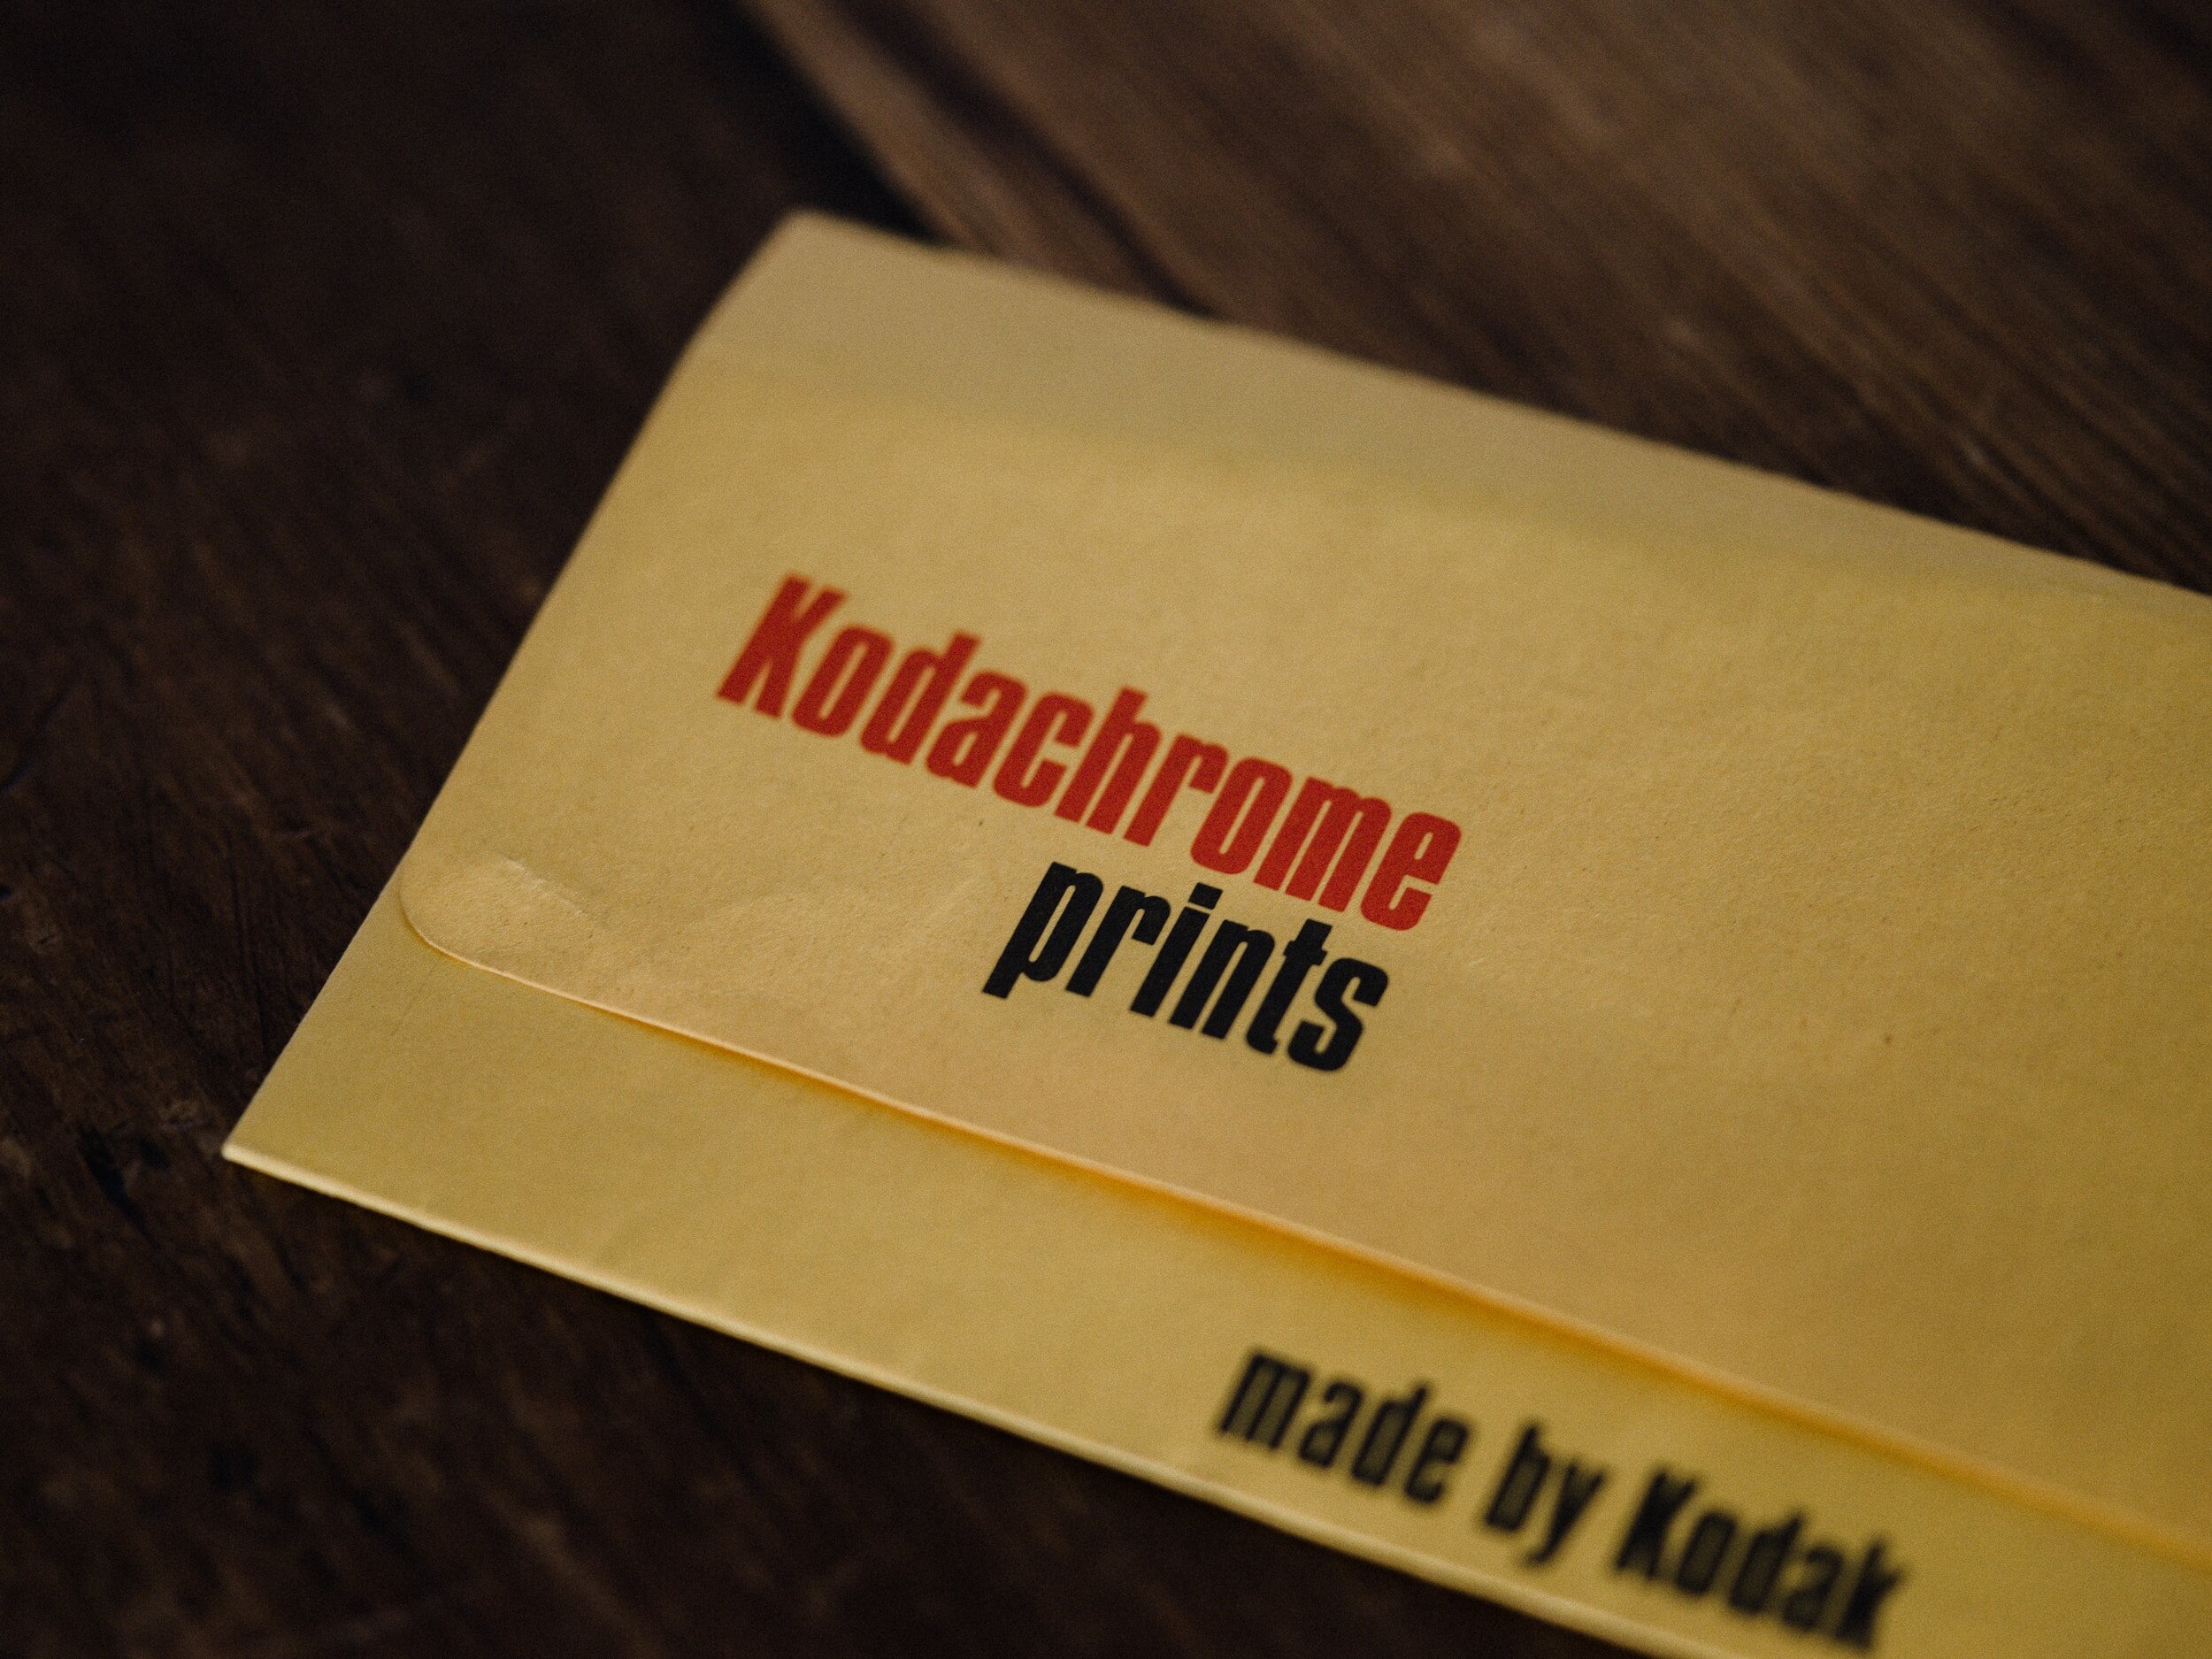
Kodachrome Style is a nostalgic interpretation of one of the most iconic colour films in history. It doesn’t attempt to replicate the chemical complexity of the original, but it does aim to evoke that distinctive warmth, richness, and gentle contrast that defined decades of storytelling—family photos, travel diaries, and historical moments captured in vibrant, tangible colour.
Built on Classic Chrome and shaped to favour reds, muted blues, and warm natural light, this recipe creates timeless-looking images with a touch of film-era imperfection. It’s restrained where it should be, vivid where it matters, and always emotionally grounded.
Fujifilm JPEG Settings:
Film Simulation: Classic ChromeGrain Effect: WeakGrain Size: LargeColour Chrome Effect: StrongColour Chrome FX Blue: WeakWB Shift: R:2 B:-3Highlight Tone: -1Shadow Tone: +2Colour: -1Sharpness: +2Clarity: +1
NOTE: Some settings may not be available on every Fujifilm Camera
Notes on the Settings
Classic Chrome provides the right balance between vibrancy and softness—it gently mutes the scene in a way that supports nostalgic colour without dulling the frame.
Grain Effect: Weak / Size: Large creates a filmic texture that feels familiar to Kodachrome shooters—fine enough not to distract, but present enough to feel tactile.
Color Chrome Effect: Strong adds richness in warmer tones, especially reds and oranges, while Color Chrome FX Blue: Weak restrains blues to echo the film’s signature palette.
WB Shift R:+2 B:-3 subtly warms the frame while cooling shadows just enough to add tonal depth. It keeps the palette classic—balanced, not sterile.
Highlight Tone -1 / Shadow Tone +2 creates a soft contrast curve. Whites hold texture, blacks have body—mimicking Kodachrome’s well-controlled latitude.
Color -1 pulls saturation back slightly to avoid pushing too hard. This makes room for the enhanced chroma effects to do their work organically.
Sharpness +2 / Clarity +1 offer definition without modern crispness. Textures hold their shape, but transitions stay smooth.
Artistic Reasoning
Kodachrome Style is best used in open light, golden hour, or in any setting where warmth and memory overlap. It’s ideal for travel, portraits, street scenes, or just making today look a little more like yesterday.
It doesn’t try to mimic a lab process—it tries to honour a feeling. The colour of a sunlit childhood. A dusty map. A red jumper. It’s about remembering, even if you weren’t there the first time.
Use it when the moment feels worth keeping.
Kodachrome: Grainy Colour Film Simulation Recipe (Sample Images)


If you prefer Shooting RAW:
For those of you who prefer to shoot RAW and edit with the more advanced latitude this gives you, you may be interested in my current set of Professionally designed profile-based Lightroom and Adobe Camera Raw Presets.

Kodachrome: More Sample Images






A complete black and white Profile, Preset & Workflow Pack for Lightroom
Film Edition 5 - Workflow Series (Monochrome) is a structured set of Lightroom profiles and presets designed to help you achieve a finished monochrome look quickly and consistently.
This is not a random “pick a look and hope” pack. It’s designed as a repeatable workflow you can run on a full set of images, with fixes and finishing tools when you need them.
If you edit regularly in Lightroom, you already know the problem. You want a strong black-and-white style, but you also need it to behave consistently across different scenes, lighting conditions, and subjects. This pack is designed to help you move fast without the work looking rushed.
You start with one of the custom monochrome profiles to establish the tonal foundation, then shape the image with workflow presets that are designed to work with that profile rather than fight against it. From there, you can use the included Toolkit for things like AI masking, grain, curves, highlight control, sharpening, finishing touches, and everyday problem-solving inside Lightroom. The product page positions the pack exactly this way, with the profile first, workflow second, then utilities and finishers to refine only when needed.
Built for speed and consistency
If you edit your photos in Lightroom, you already know the problem: you want a strong monochrome style, but you also need it to work across different scenes without constant fighting.
This pack helps you move fast without the work looking rushed.
Fast workflow: fewer decisions, clearer steps.
Consistent results: the set hangs together as a series.
Film-inspired tonality: depth, shape, and texture without the “preset look”.
Useful fixes included: real-world Lightroom problems, solved quickly.
What’s included
11 custom monochrome profiles
20 one-click presets
128 Mullins Lightroom Toolkit presets, including AI masks, fixes, utilities, grain, tone curves, colour helpers, sharpening and finishers
Compatibility
Works with Lightroom Classic and Lightroom Desktop. AI Mask presets require Lightroom Classic 11.0+ or Lightroom Desktop 5.0+.
Three for Two Offer
All preset packs are included in the 3-for-2 offer. Add any three preset packs to your basket, and the cheapest one is free at checkout.