
Back Button Focusing on Fujifilm Cameras: How and Why to Use It

If you’ve ever found yourself fighting with your Fuji’s autofocus when trying to compose the perfect shot, it might be time to try back-button focusing.
This technique changes the way your camera focuses—separating focus from the shutter button. Many Fujifilm shooters (myself included) use this method all the time, especially in fast-moving or repetitive situations.
Let’s break it down clearly so you can decide if back button focusing with Fujifilm is right for you.
Back button focusing, or BBF, is one of those features that can quietly transform how you shoot.
Once you’ve got the hang of it, you may find it hard to go back to the default setup.
This post is specifically for Fujifilm shooters. Whether you're using an X-T5, X-Pro3, X100VI or any other model in the X-Series or GFX line, this article will walk you through what back button focusing is, why it matters, and exactly how to set it up on your Fuji camera.
This article is part of my Fujifilm Learning Hub.
A growing collection of real-world guides, camera setup tips, lens suggestions by use-case, practical assignments, and buying advice with examples.
Prefer to see everything I write—brand-agnostic pieces on documentary & street work, reviews, tips, and the business of photography? Browse F/16 Click.
What is Back Button Focusing?
By default, your Fujifilm camera starts focusing when you half-press the shutter button. That means every time you take a photo—whether you want to refocus or not—the camera checks focus again.
Back button focusing changes that. With back button focusing, you separate focusing from the shutter entirely.
You assign autofocus to a button on the back of your camera—like AF-L or AF-ON (or any other programmable button)—and use your thumb to focus, then your index finger to shoot.
My Real-World Experience
I’ve used back button focusing on Fuji cameras since the original Fujifilm FinePix X100 came along.
At weddings, it gave me confidence that once I locked focus on a subject’s face, I could compose how I liked and shoot freely.
In street photography, it helps me pre-focus and wait.
On family shoots, it speeds me up.
It’s not a trick. It’s just a simple change that gives you more control.
The benefits?
Focus once, shoot as many frames as you like
Recompose without refocusing
Avoid focus hunting
Total control over what’s sharp and what isn’t
You’ll hear Fuji shooters talk about "fuji back button focusing" or "BBF with Fujifilm" because it works brilliantly on their mirrorless system.
Why Back Button Focusing Makes Sense on Fuji Cameras
Let’s go deeper into why back button focus is so useful.
Recompose without shifting focus
Shoot images with a shallow depth of field. Focus on the eyes. Reframe the shot.
If you’re using the shutter button for AF, the camera tries to refocus.
If your subject isn’t in the middle of the frame anymore—tough luck.
With BBF, you:
Lock focus once
Reframe however you like
Take multiple shots without refocusing

I’ve used Back Button Focusing on my Fujifilm Cameras since the FinePix X100.
Shoot bursts without losing focus
Photographing kids running around? People dancing at a wedding? Back button focus in AF-C mode lets you track your subject with your thumb while you fire bursts with your finger.
You control when focus happens. The camera doesn’t second-guess you.

You can also use Back Button Focusing using AF-C Mode.
Pre-focus and wait
Street photographers love this. Focus on a point. Take your thumb off the button. Wait. Shoot when the subject enters the frame.
The focus doesn’t move. It stays locked where you want it.

I teach the Back Button Focusing technique on all my Street Photography Workshops.
Fujifilm-Specific Setup Guide: How to Set Up BBF
There are two reliable ways to get back button focus working on Fuji cameras. Let’s break them down.
NOTE: For the purpose of the shots, I’m using a Fujifilm X100VI and the Rear Command Dial (press) as my chosen button. You can use any button available to you.
Method A: Assign AF-ON and Disable Shutter AF
Step-by-step for X-Series and GFX cameras:
Go to:
SETUP > BUTTON/DIAL SETTING > SHUTTER AF
Set AF-S and AF-C both to OFFGo to:
SETUP > BUTTON/DIAL SETTING > FUNCTION (Fn) SETTING
Assign AF-ON to a back button (AF-L, AE-L, or any Fn button you prefer)Set your focusing mode via the switch on the front of the camera:
AF-S for still subjects
AF-C for moving subjects
Now the shutter no longer affects focus. It simply takes the photo. All focus is controlled via your thumb.


Method B: Manual Focus + Instant AF
Want to work in Manual Focus mode but still grab quick autofocus? This is how I typically work.
Set focus mode to MF (this will either be a button on the side/front of your camera, or models like the XS10/20 in a menu).
Go to:
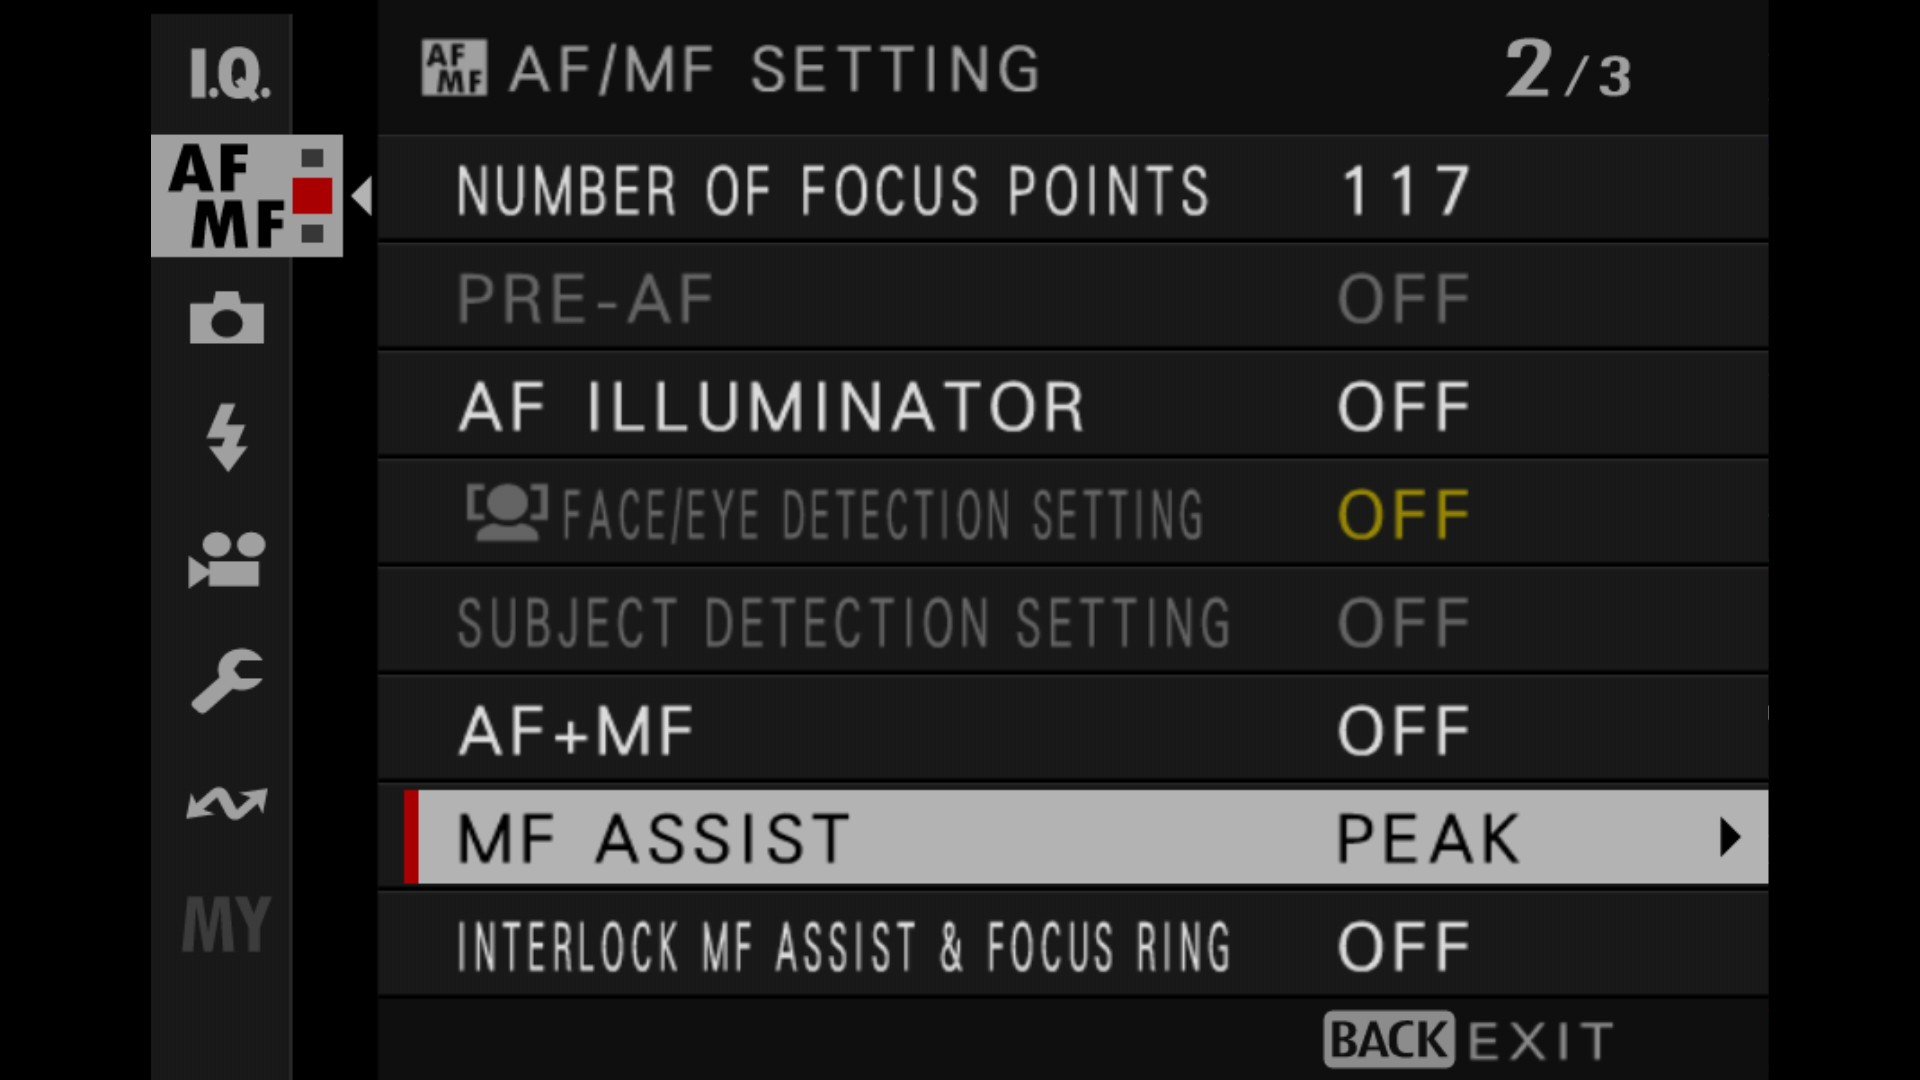
AF/MF SETTING > INSTANT AF SETTING
Choose AF-S or AF-CAssign AF-ON to a button (as above).
Press it to get quick autofocus even in manual mode
You now have the best of both worlds: MF for full control, and instant AF when needed.

Where to Place Your Focus Button
This comes down to hand shape and comfort.
Common button choices on Fuji cameras:
AF-L — the go-to default
AE-L — often better placed, especially on X-T cameras
Rear Command Dial Press — usable on models like the X-T5 / X100VI
D-Pad buttons — available on older Fuji bodies
You can assign AF-On to any programmable button.
My personal tip:
Try assigning AF-ON to a button you can reach without looking. When you’re shooting fast-paced work, muscle memory matters.
BBF + Manual Focus Techniques
You don’t have to choose between back button focus and full manual control—you can combine them.
Here’s how I use both:
Focus manually using the focus ring for static scenes (e.g. landscapes)
Use AF-ON in MF mode to "snap focus" on something quickly
Once locked, fine-tune with the manual ring if needed
This is especially helpful on GFX bodies, or when you’re shooting adapted lenses with manual aperture.
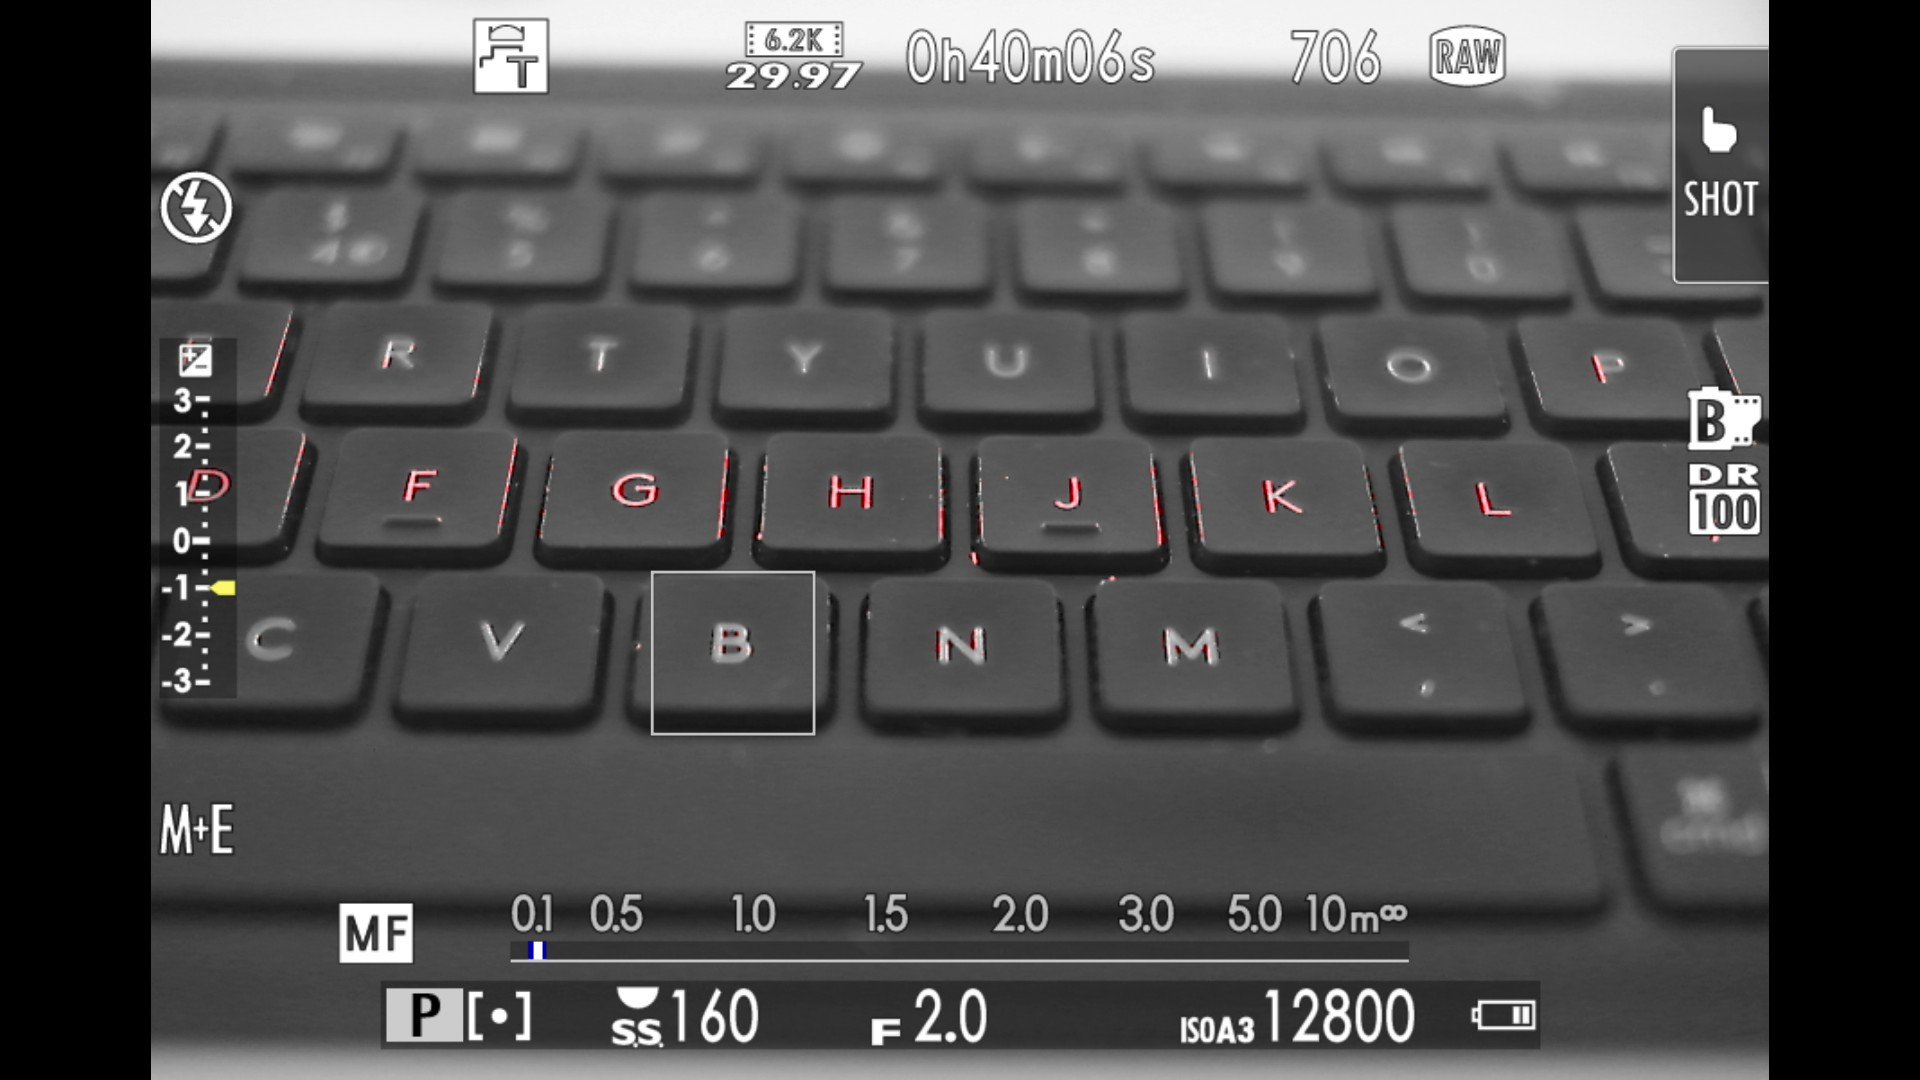
Focus Peaking:
Also useful: turn on Focus Peaking for visual feedback when focusing manually.

Advanced Fuji Settings to Pair with BBF
BBF becomes even more powerful when combined with the right settings.
1. AF Mode Selection
Stick with:
Single Point AF for precision (e.g. portraits, details)
Zone AF for small, moving subjects
Wide/Tracking when using face/eye detect
2. Face/Eye Detection
Face Detection can override BBF, so:
Only enable it when you’re shooting people
Disable when doing street, documentary, or landscape work
Go to:
AF/MF SETTING > FACE/EYE DETECTION and toggle as needed.
3. Pre-AF
Make sure Pre-AF is OFF—this causes the camera to keep trying to focus, even without button presses.
Go to:
AF/MF SETTING > PRE-AF > OFF

I recommend setting PRE-AF to OFF.
Common Mistakes to Avoid with BBF on Fuji
Forgetting to press the focus button
Early on, it’s easy to forget to press AF-ON and wonder why the image is soft.Leaving Shutter AF enabled
If you don’t disable Shutter AF, the shutter will override BBF entirely (Unless using the Manual Focus Mode Method).Assigning AF-ON to an awkward button
Comfort matters. If your thumb can’t reach it, you'll end up frustrated.Using Face Detect + Zone AF + BBF together
This combo can result in unpredictable focusing behaviour. Test carefully.Switching back and forth between BBF and Shutter AF
Stick with BBF for at least a few full shoots to build muscle memory.
Fuji-Specific Use Cases for BBF
Wedding Photography
Recompose freely
Take multiple shots quickly without waiting for refocus
I talk about this in my Online Wedding Photography Course

Street Photography
Pre-focus on an area of interest
Shoot discreetly when someone enters the frame
No focus lag, no hunting
I teach this method in my Street Photography Workshops

Portraits
Lock focus on the eyes
Reframe without the risk of the camera deciding to re-focus on the nose
You can see some of my images shot with this technique.

Events and Candid Work
Hold AF-ON to track a person moving through a crowd
Let go to freeze focus once they pause or pose


Product Photography
Dial in precise focus with the manual ring (use Focus Peak Highlighting)
Use BBF to recheck focus quickly without turning off MF

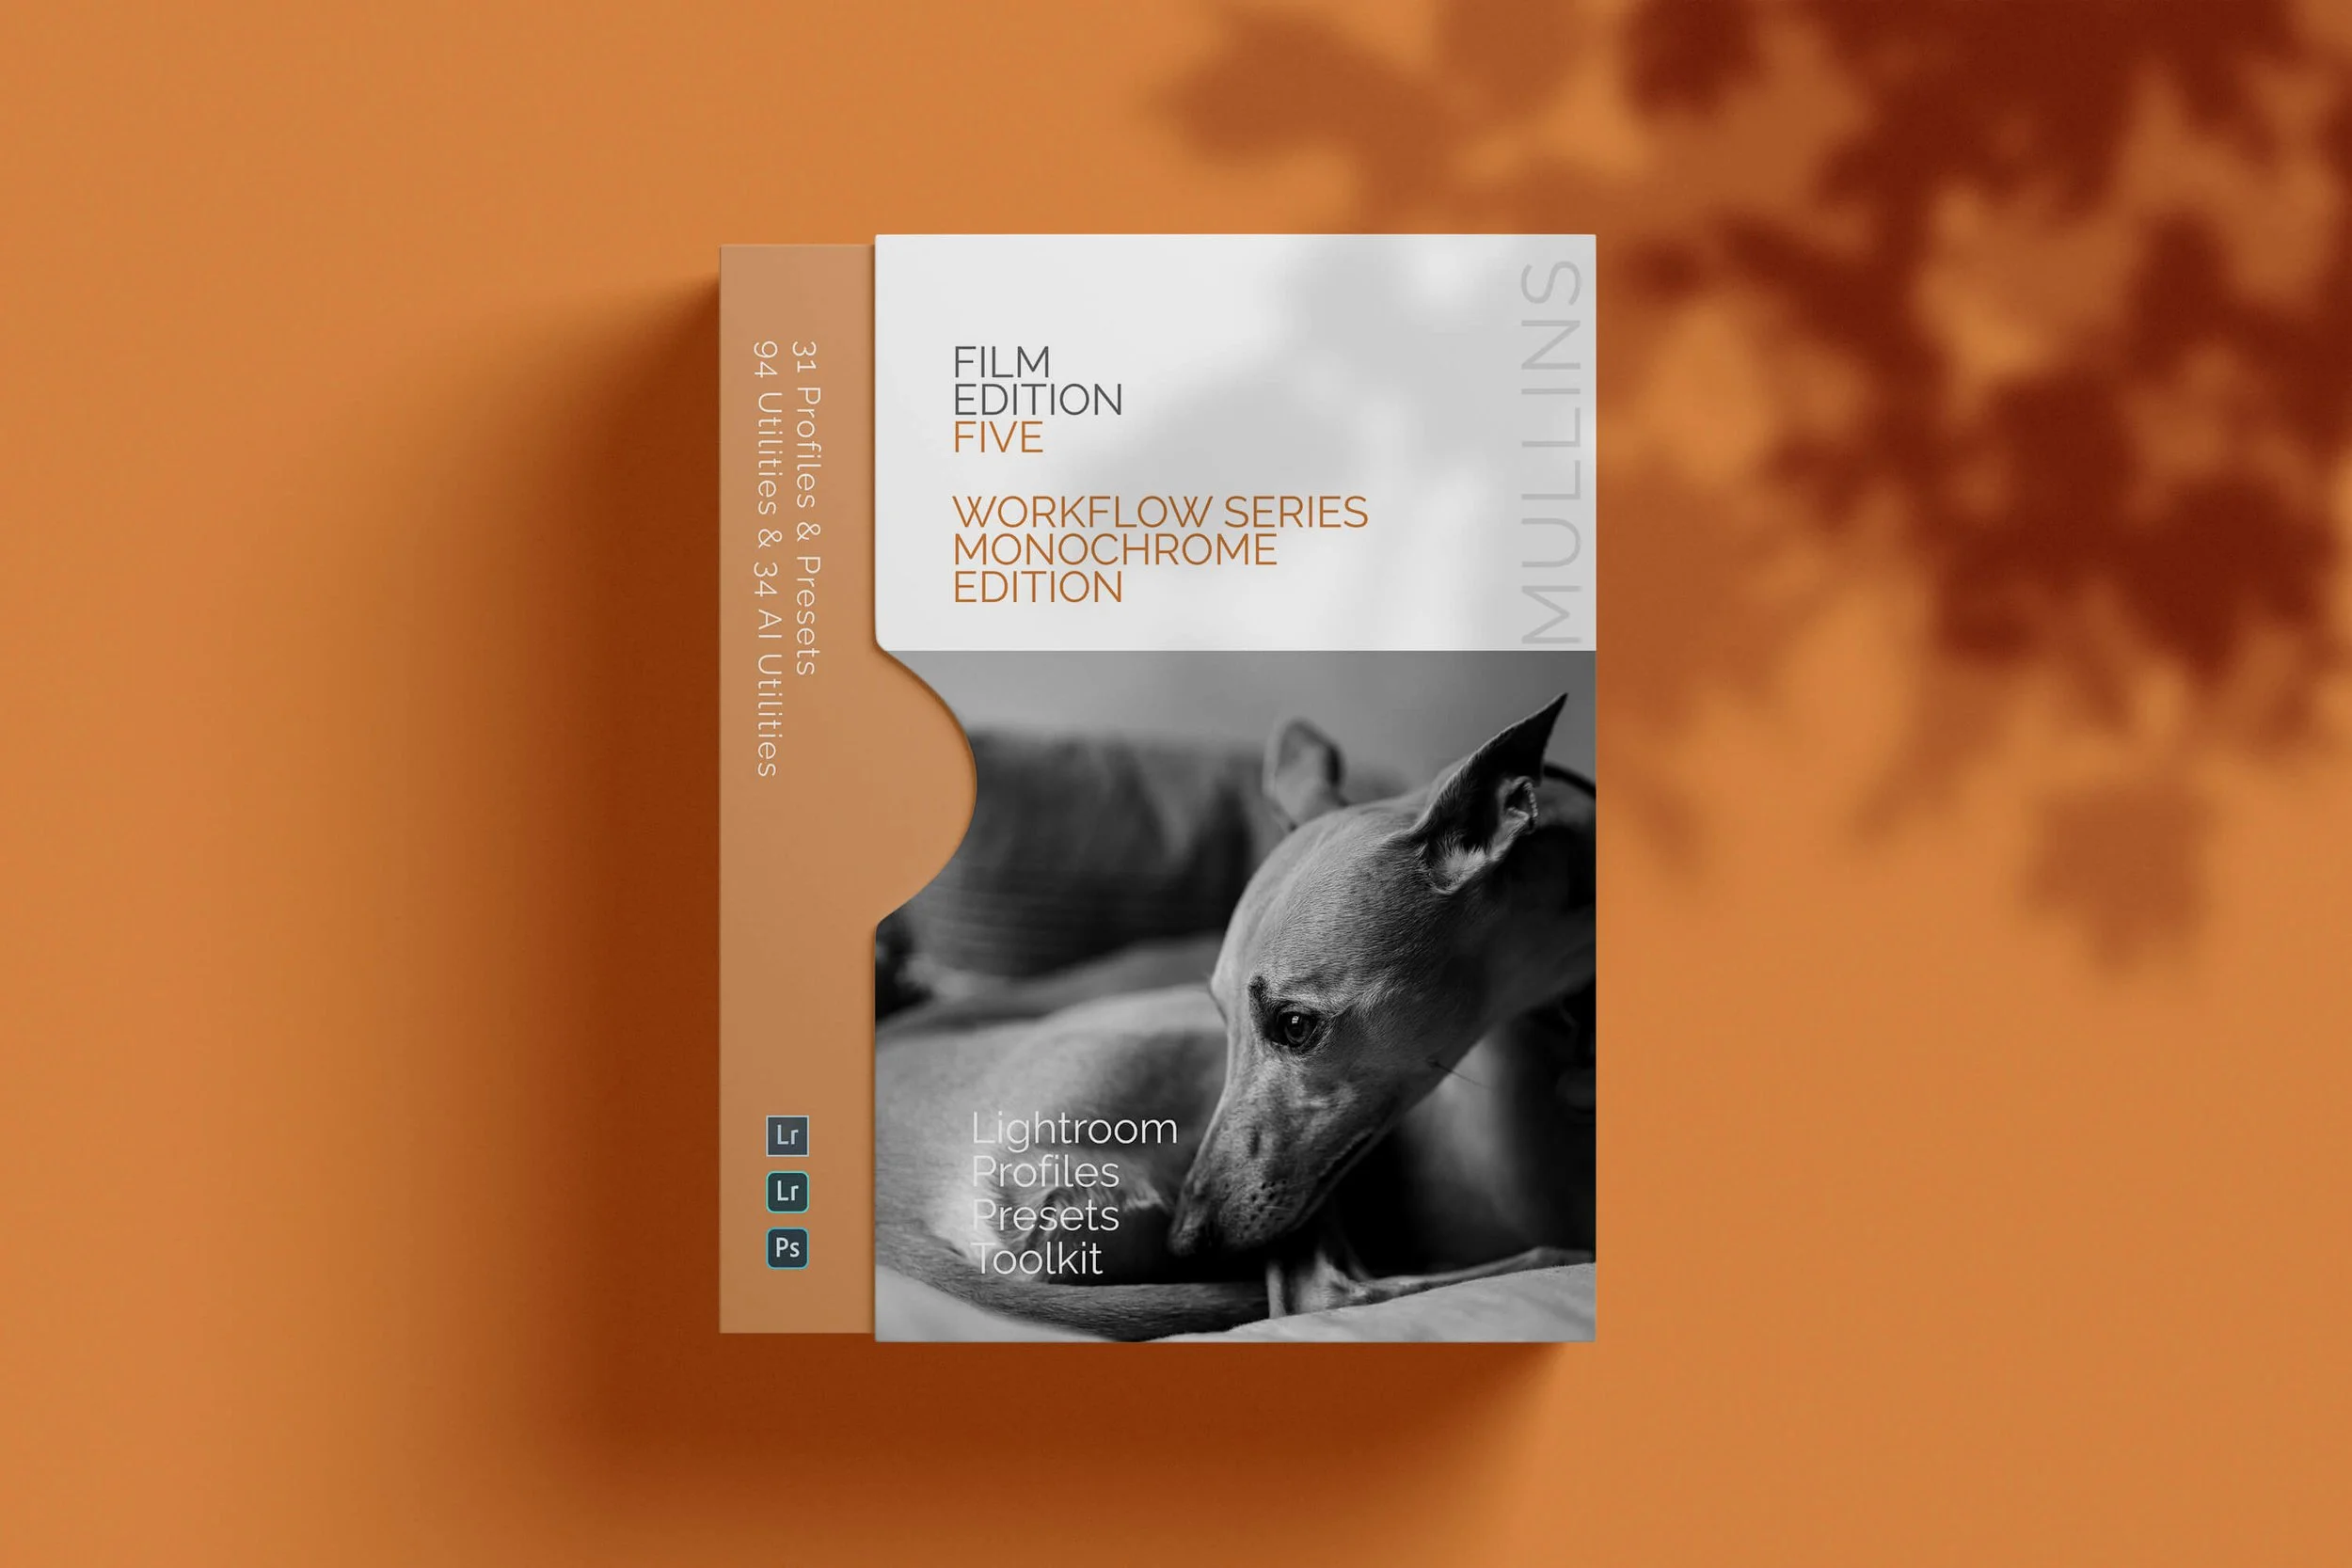
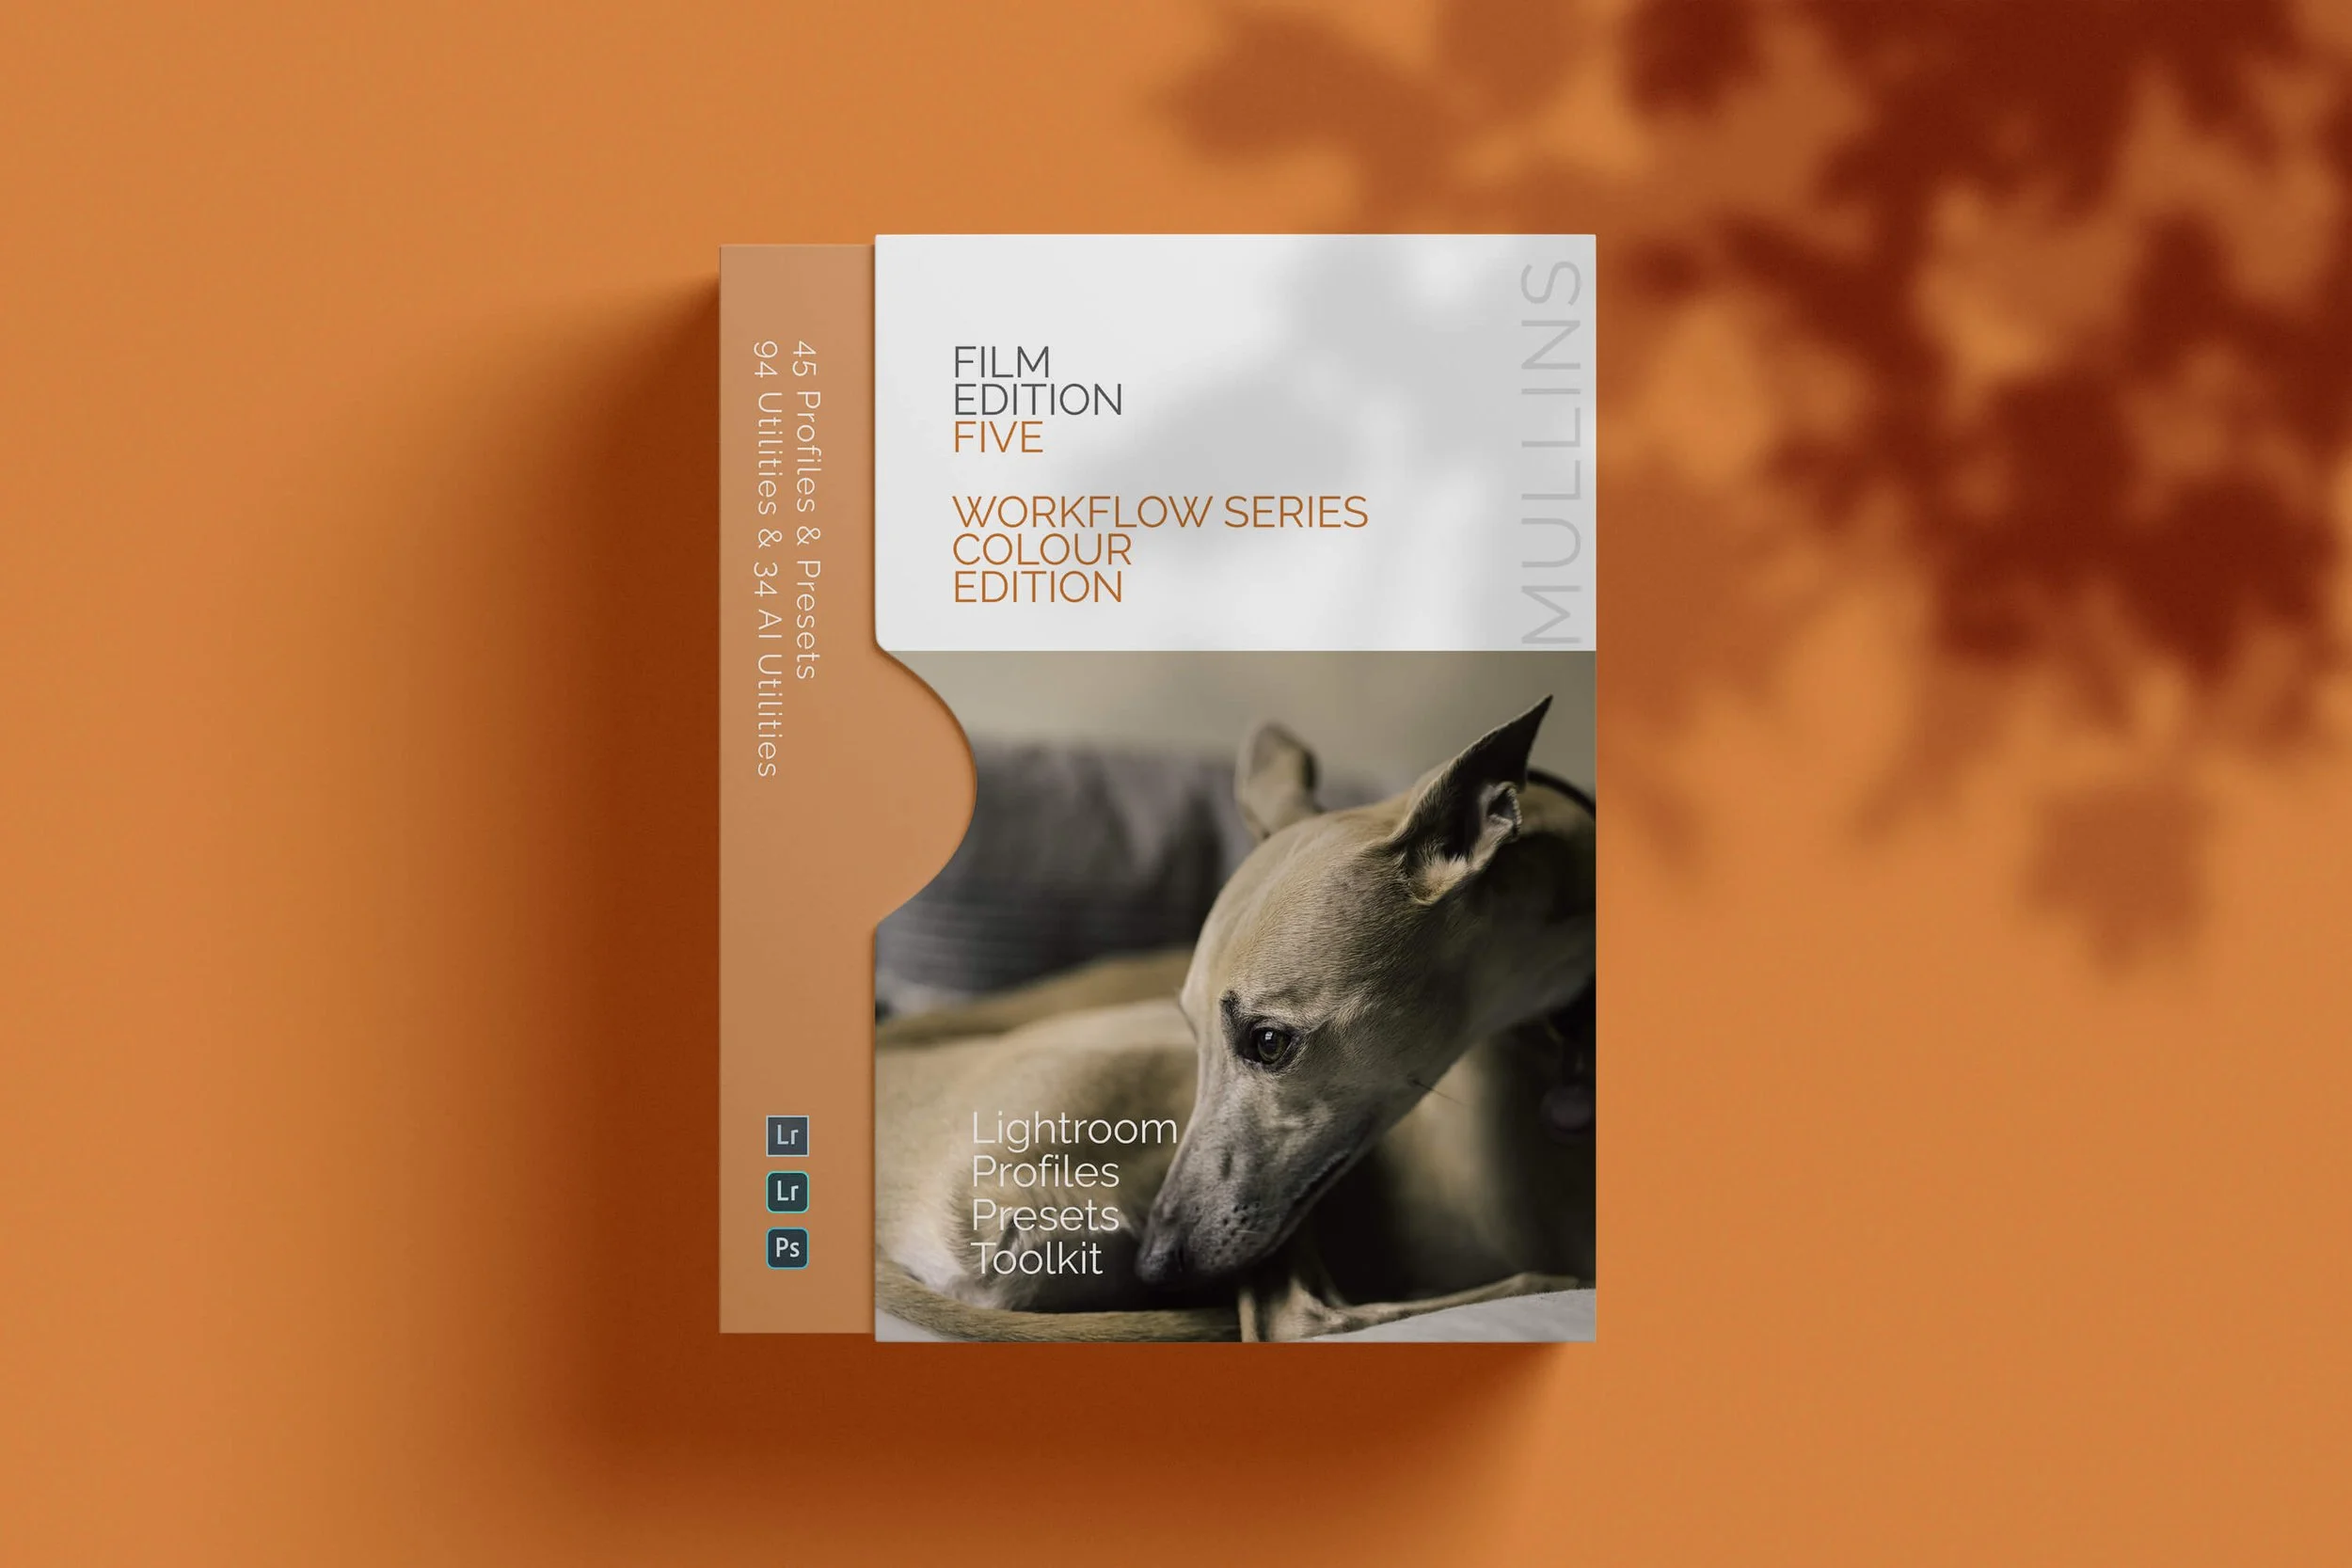
Like the Editing in this Post?
All the images in this article were edited using my own Lightroom presets. If you like the tones and contrast you see here—I have a full set of professionally created Lightroom Presets & Profiles available. They’re designed for fast, consistent results with a timeless feel.


Frequently Asked Questions
Does back button focus work in video mode?
Yes, but with caveats. Most Fuji cameras allow you to assign AF-ON for video autofocus too, but autofocus behaviour in video is different. Test carefully, especially in low light or with moving subjects.
Is BBF better than touch-to-focus?
Touch focus is great for casual shooting or vlogging. But for fast, accurate photography—especially with a viewfinder—BBF gives you more control.
Can I still use AF-C with BBF?
Absolutely. In fact, BBF + AF-C is one of the best combinations for tracking subjects. Just hold the AF-ON button down to track, and release to pause focus.
What if I want to go back to normal focus?
Simple:
Re-enable Shutter AF in the menu
Remove AF-ON from your assigned button. But honestly, most people never go back.
Is Back Button Focusing Worth It?
Yes—if you care about consistency and control.
Even if you’re just getting started, learning BBF now will give you an edge later. It’s one of those skills that pays off the more you shoot.
You’ll:
Shoot faster
Avoid missed moments
Focus where you want, not where the camera decides
Once it clicks, it becomes second nature.
Advanced Tip for Back Button Focusing with Fujifilm
Once you’ve got back button focusing working comfortably, there is an advanced way to take even more control—especially when it comes to metering, lighting, and how you compose.
Focus in One Spot, Meter From Another
This is something I use constantly.
I like to spot-meter from areas of light or shadow that suit the mood I'm aiming for—not always the same place as where I focus.


A Quick Look at Spot Metering on Fujifilm Cameras
Spot metering (or spot photometry in Fujifilm’s menu language) measures exposure based on a very small area in the centre of the frame—usually around 2–5% of the scene.
It’s not affected by the rest of the image. That’s the point.
It tells the camera:
“Expose this exact spot as a mid-grey.”
If that spot is in bright light, the camera will try to darken the image to compensate. If the spot is in shadow, it’ll try to brighten the exposure.
Spot Metering & Back Button Focus
Spot metering is powerful—but it needs support. On Fujifilm cameras, it works best when you’re using at least one auto setting:
Auto ISO
Aperture Priority (A)
Shutter Priority (S)
That way, the camera has some flexibility to adjust exposure based on your metering point.
If you shoot full manual (ISO, shutter speed, aperture all fixed), the meter becomes passive. You’ll see the exposure scale move, but it won’t change anything automatically.
Example Use Case
You're photographing someone against a dark wall with strong window light. Their face maybe in shadow.
With spot metering:
You lock the focus where you want using the Back-Button Focus Technique above.
Half-press the shutter to lock the metering. You will see a little blue EL indicator in the viewfinder or LCD.
Recompose and shoot

The EL indicator will tell you when exposure is locked
The camera exposes for the area you want, which might not necessarily be the same as the focus point.
For example, if you’re in Aperture Priority + Auto ISO, the Fuji camera will adjust shutter speed or ISO automatically to get that face correctly exposed.

Why Seeing in Black and White Helps This Technique
Quite some time ago, I produced a video about this. The quality of my YouTube Videos are much better now, I promise. But the video is still relevant and you can see it below.
I always shoot in RAW, but I set my camera to black and white in-camera—usually Acros with the red filter—so the EVF and LCD show me the scene without colour.
Why?
Because it helps me see the light.
When you strip away the colour, what’s left is contrast, shape, and texture. You start to notice how the light falls across a face, where the shadows are, how the highlights separate your subject from the background. It becomes much easier to see the story the light is telling.
“When you strip away the colour, what’s left is contrast, shape, and texture. You start to notice how the light falls across a face, where the shadows are, how the highlights separate your subject from the background. It becomes much easier to see the story the light is telling.”
This ties in perfectly with spot metering.
When you're metering from a very specific part of the frame—say, a cheekbone in soft light or a patch of shadow behind your subject—black and white makes it easier to judge whether that area is sitting where you want it tonally.
You’re not distracted by a red dress or a green hedge. You’re just watching light and dark.
For me, that’s essential. It’s how I judge exposure—especially when I want to meter from one place, focus on another, and shoot with intent and its how every one of the images in this article were photographed.
Final Thoughts
Back button focusing is one of those small tweaks that can have a big impact on how you work.
It gives you precision, consistency, and control—especially when shooting in fast-paced or creative environments.
Take a few minutes to set it up on your Fuji, commit to using it for a few sessions, and see how it fits your style.
If you’ve ever felt that autofocus was fighting against your intent, this might just be the fix.

Want to Learn How I Use Techniques Like This at Real Weddings?
If you're enjoying this kind of content and want to go deeper, my online course, The Art of Documentary Wedding Photography, is now available.
I cover:
How I use light, timing, and observation to build a story
Real-world examples with full image breakdowns
Practical techniques like back button focusing, shooting through moments, and more
Over 7 hours of teaching, available instantly and designed for photographers who want to shoot weddings with honesty and intent.
In this comprehensive online course, you get over 7 hours of practical documentary wedding training with lifetime access, no matter which payment option you choose. Learn how to use light, composition and human behaviour to tell honest, story-led wedding narratives with confidence, drawing on real-world lessons from 800+ weddings, practical advice, personal insights and a recorded live Q&A. Enrol once, and keep coming back to rewatch chapters, refresh ideas and refine your own approach.