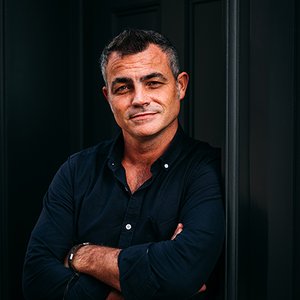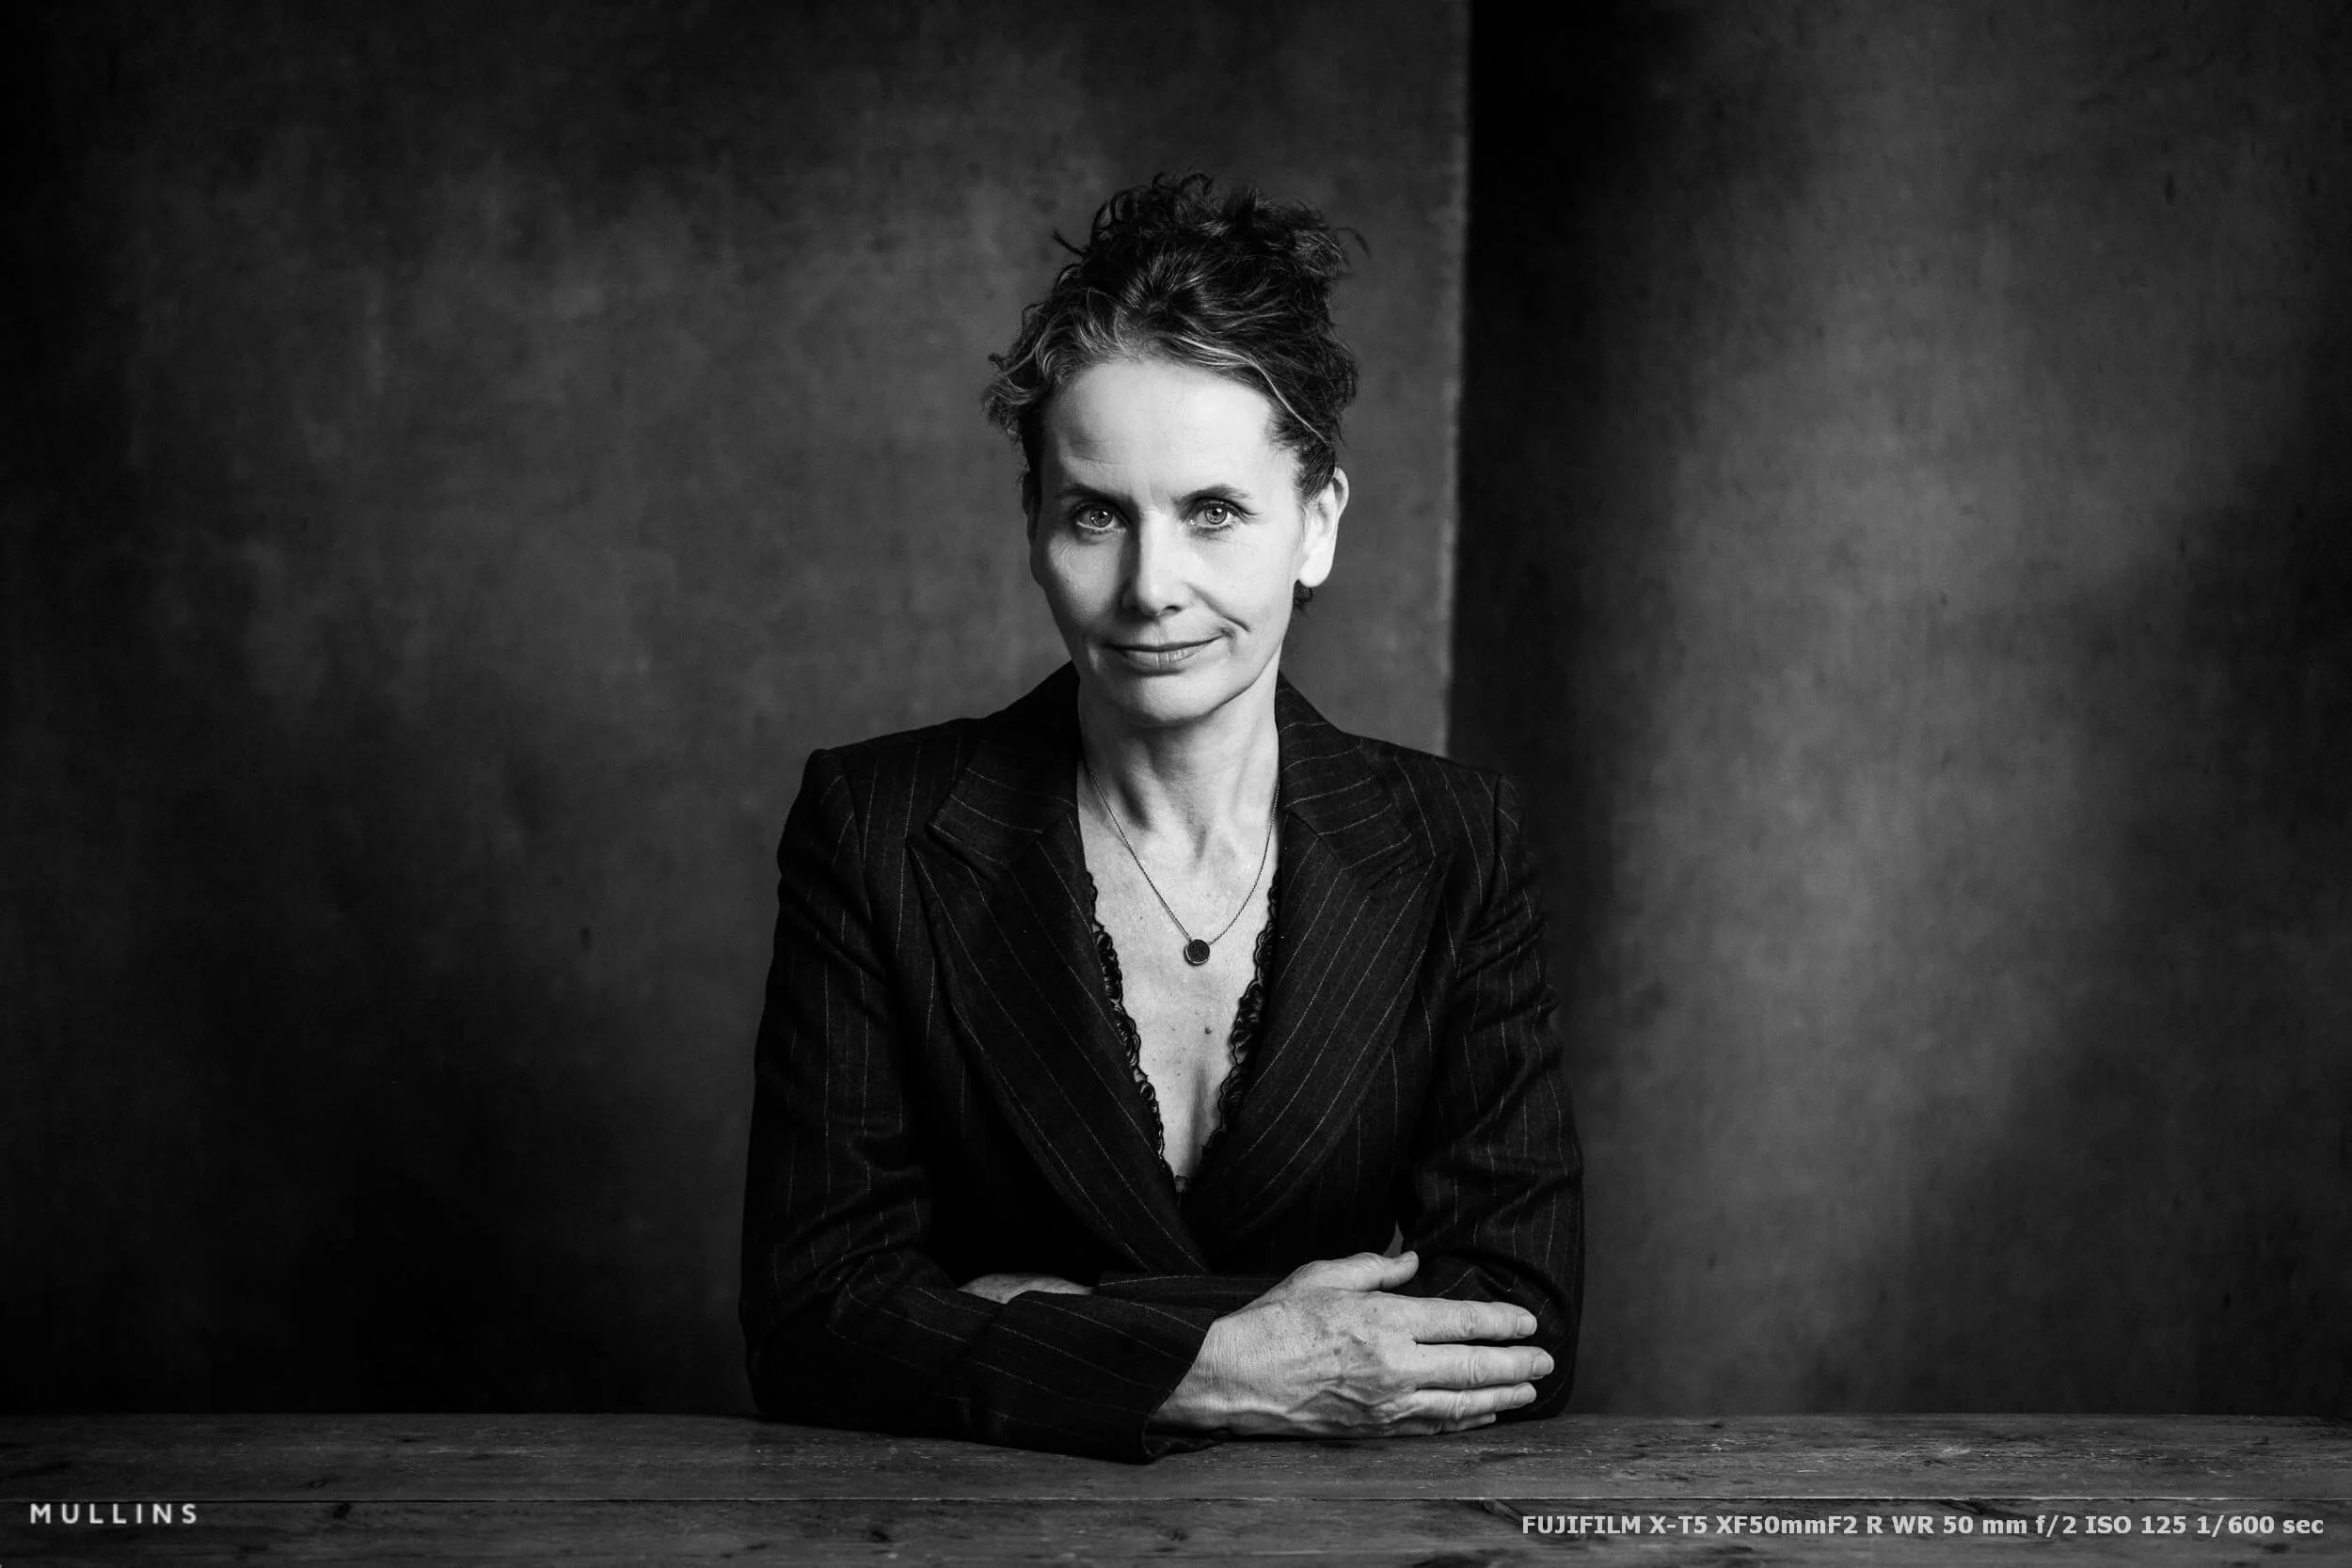
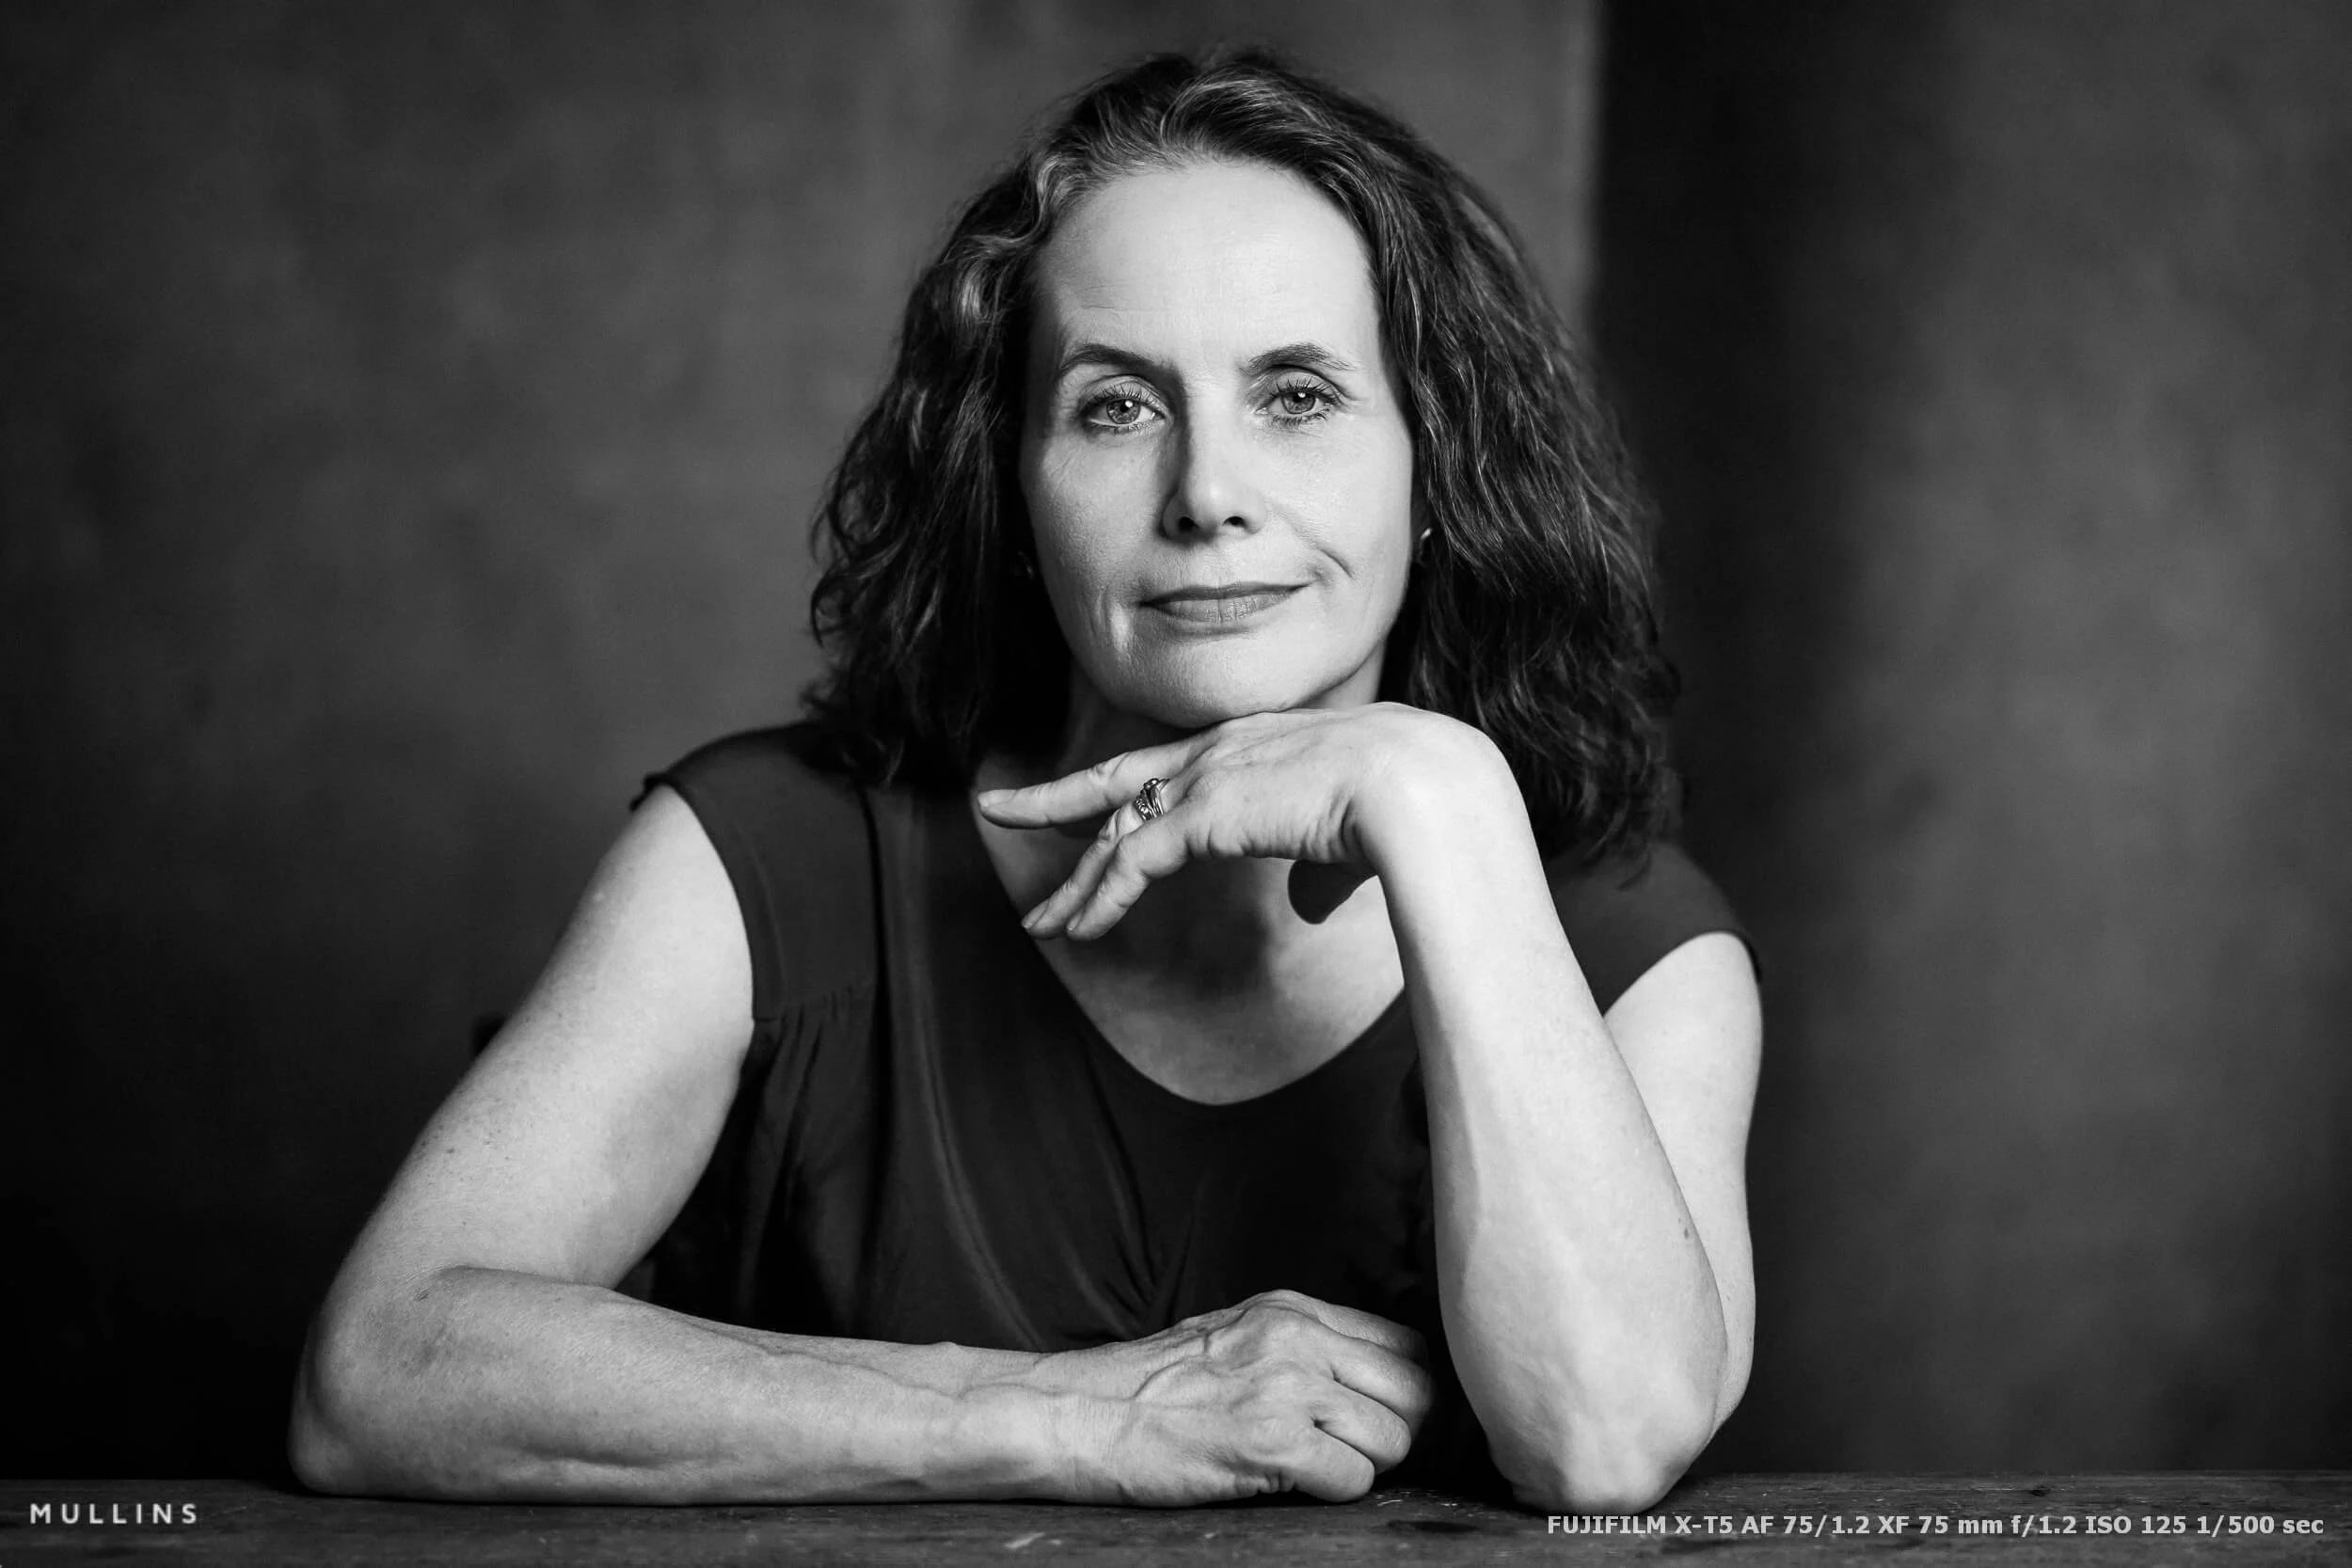
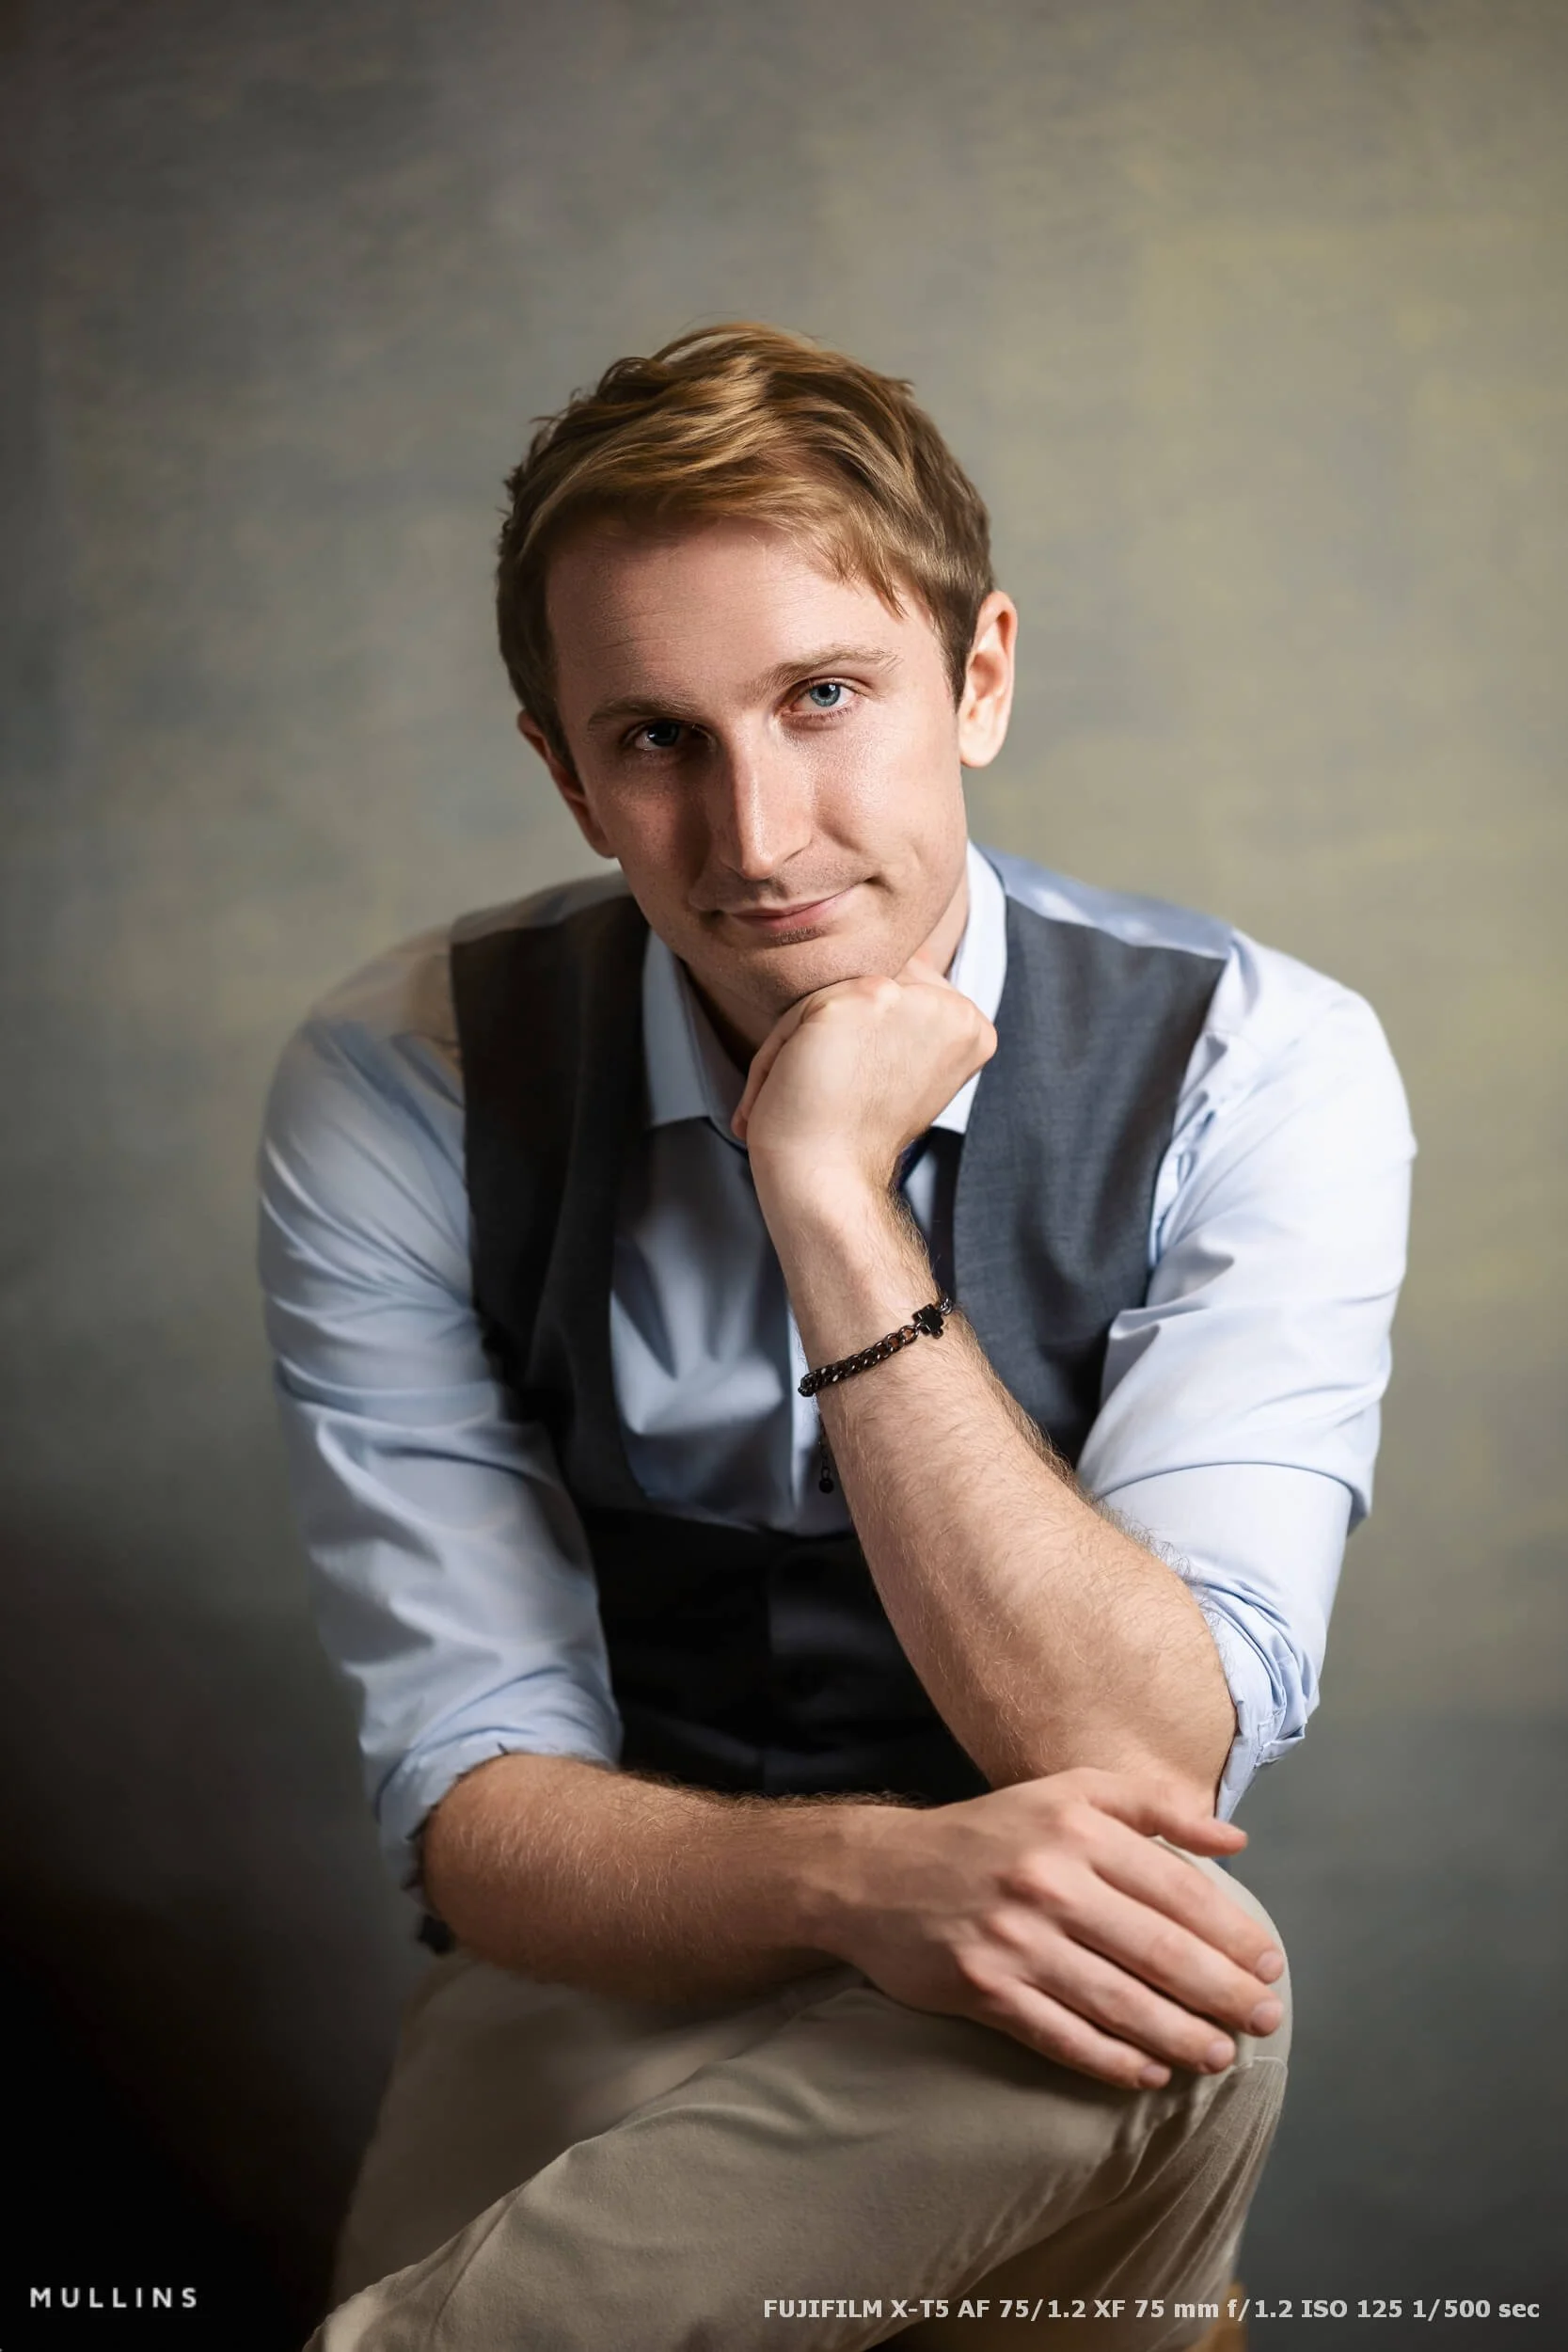
Most of the people who come to me for actor portraits are not looking for a standard corporate headshot. They want photographs with a bit more story to them. A little drama, perhaps. Most importantly, they want a set of images that shows the range of roles they could realistically play.
These photographs come from two recent sessions at my studio in Malmesbury. One of the actors had been to me before and was returning to update his portfolio.
Both wanted variety, from serious and direct to approachable, quirky and a few things somewhere in between.
That is really the point of an actor portrait session for me. We are not trying to create one safe photograph that will do everything. We are building a small collection in which each frame suggests something slightly different, without any of it becoming a costume or a caricature.
About these actor portraits
The aim: a varied acting portfolio with serious, approachable and slightly quirky possibilities, rather than one standard corporate headshot.
Camera: Fujifilm X-T5.
Lenses: Fujinon XF35mm F1.4 R, Fujinon XF50mm F2 R WR and Viltrox AF 75mm F1.2 Pro.
Lighting: Aputure 300d II with Light Dome as the main light, plus a PiXAPRO Linear 80 side light.
The edit: Film Edition 3 profiles, with Grain - True Film and Density Standard from Film Edition 5 used on the monochrome work.
Actor portraits rather than standard headshots
A straightforward headshot has its place. Actors need clear, current photographs that show casting directors what they actually look like. There is no value in producing something so heavily styled or retouched that it no longer represents the person honestly.
But honest does not have to mean bland.
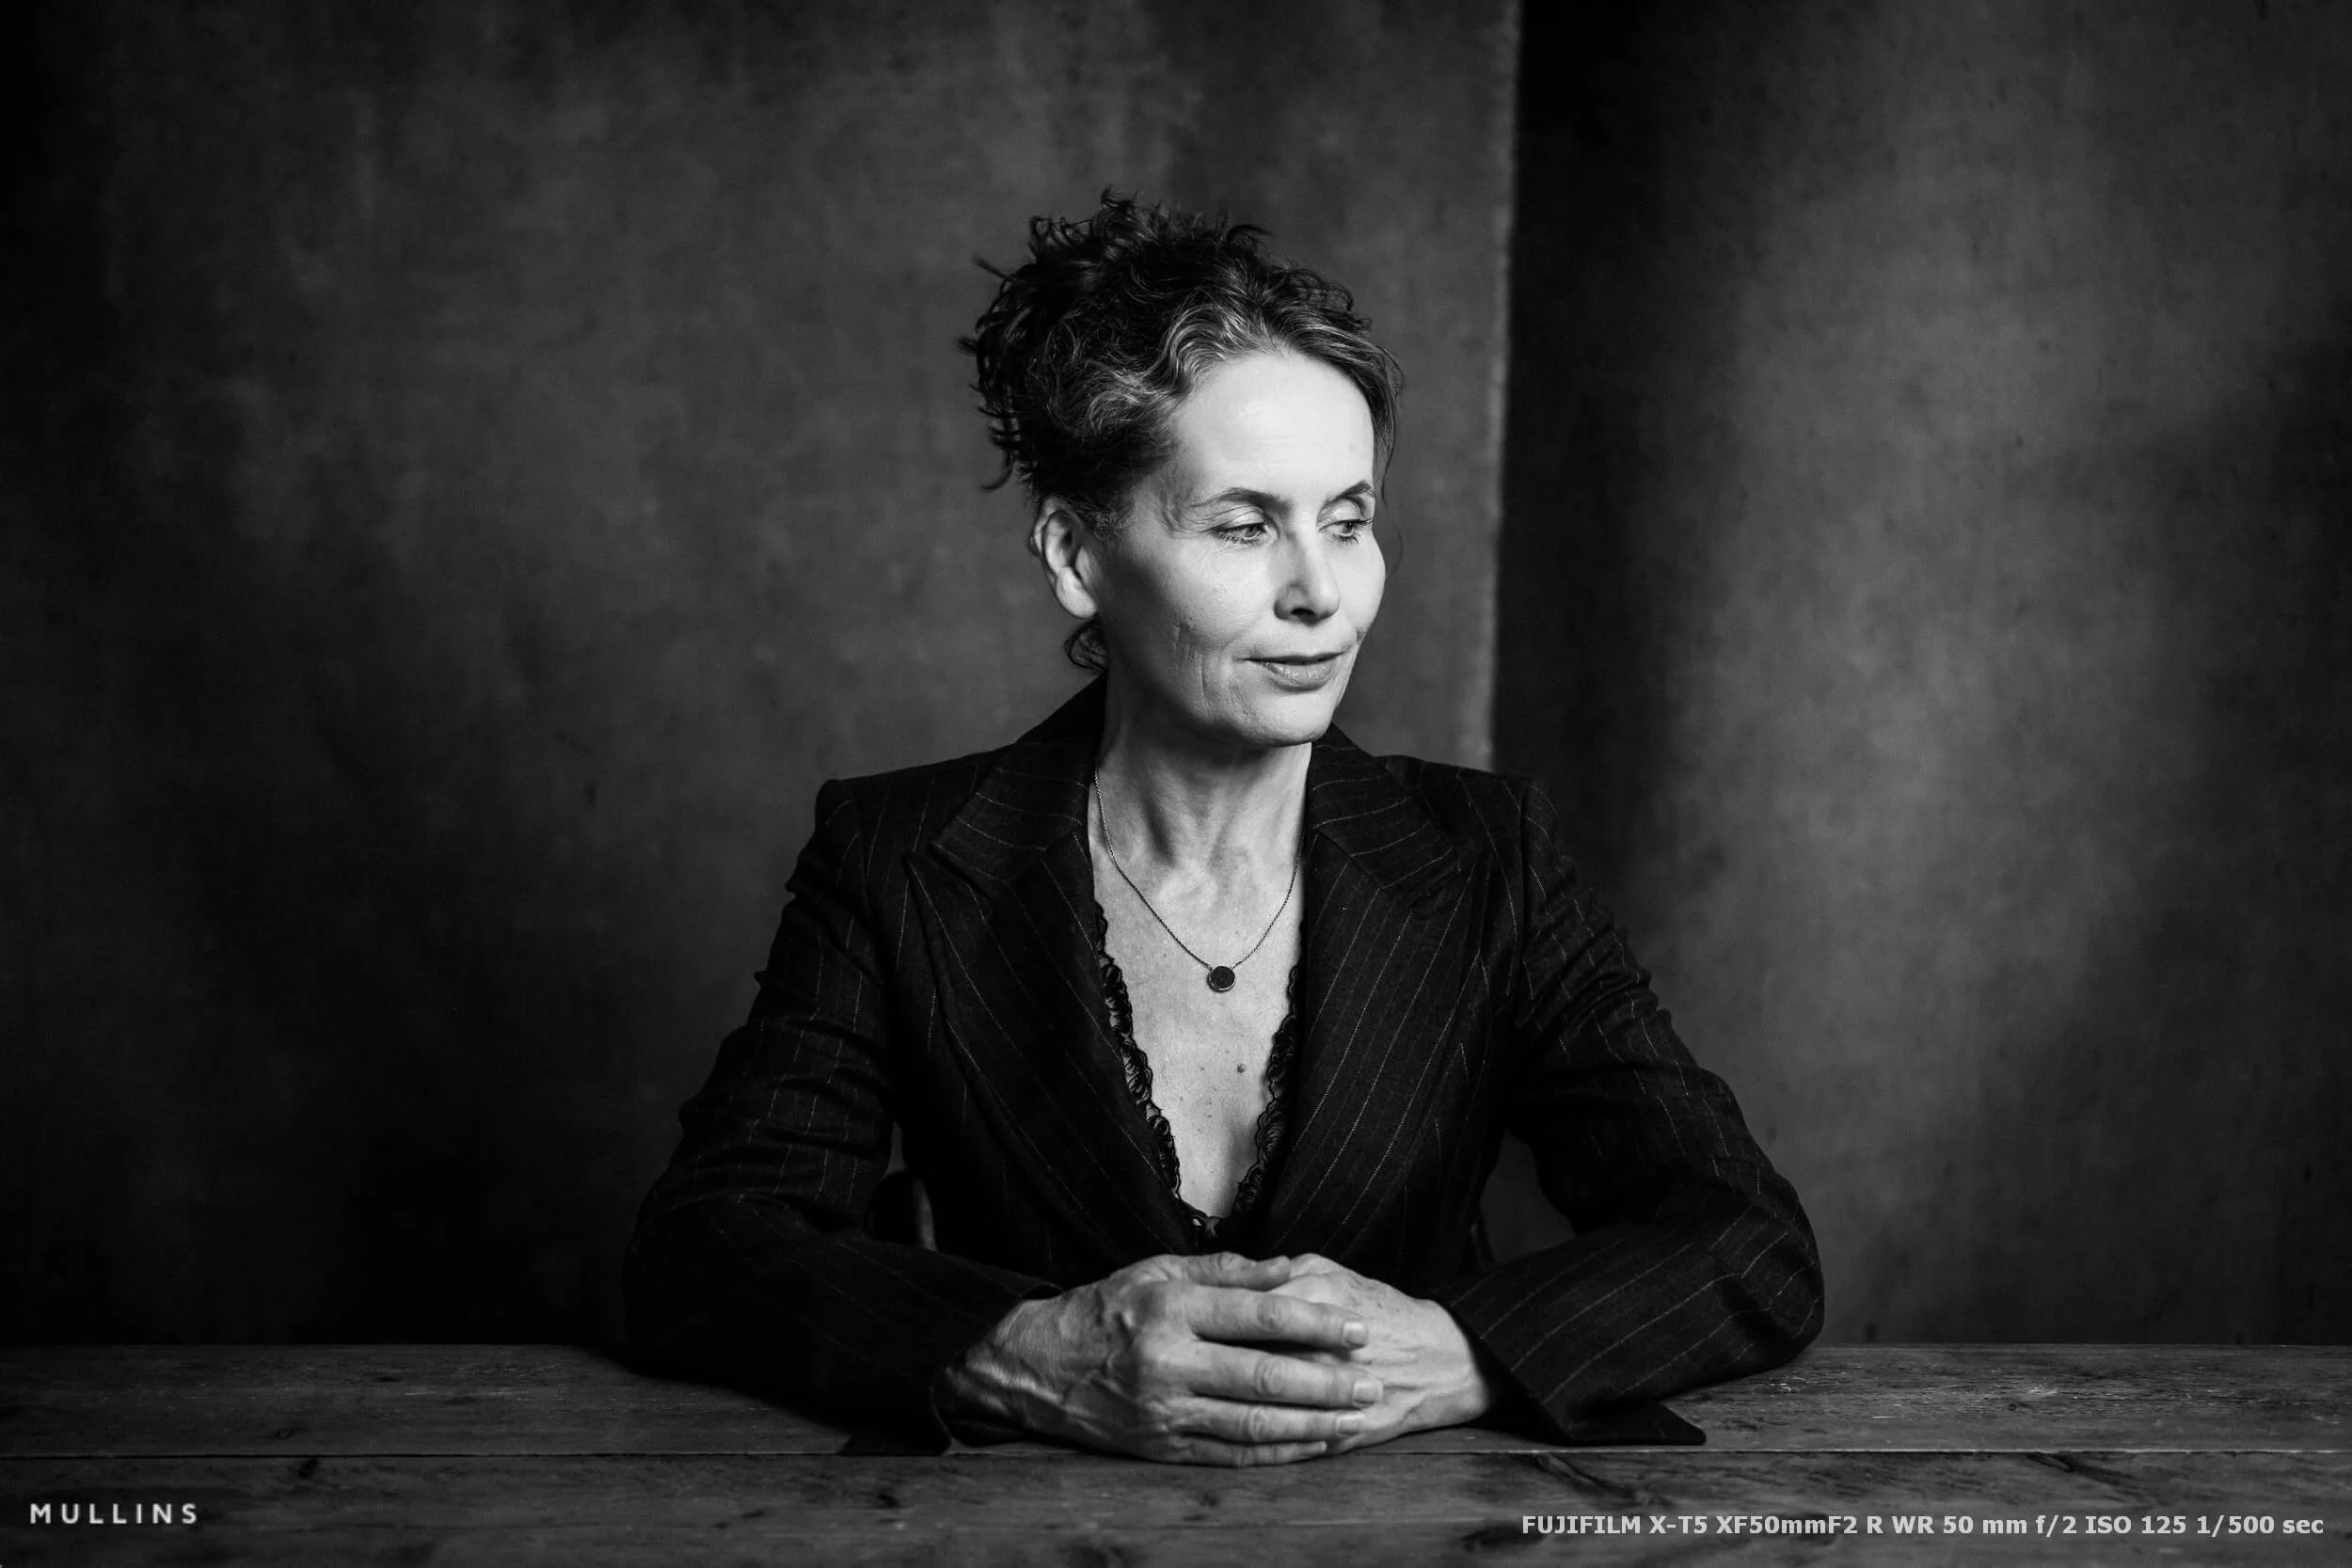
Expression, posture, lighting and the amount of space around somebody can completely alter how we read them. A small shift around the mouth might make a portrait feel warm and approachable. A more direct look, with stronger shadow and less space, can suggest authority or menace.
Then there are the photographs that feel slightly odd or awkward — in a good way. Those can sometimes be the most interesting of the lot.
Why I sometimes include the studio in the photograph
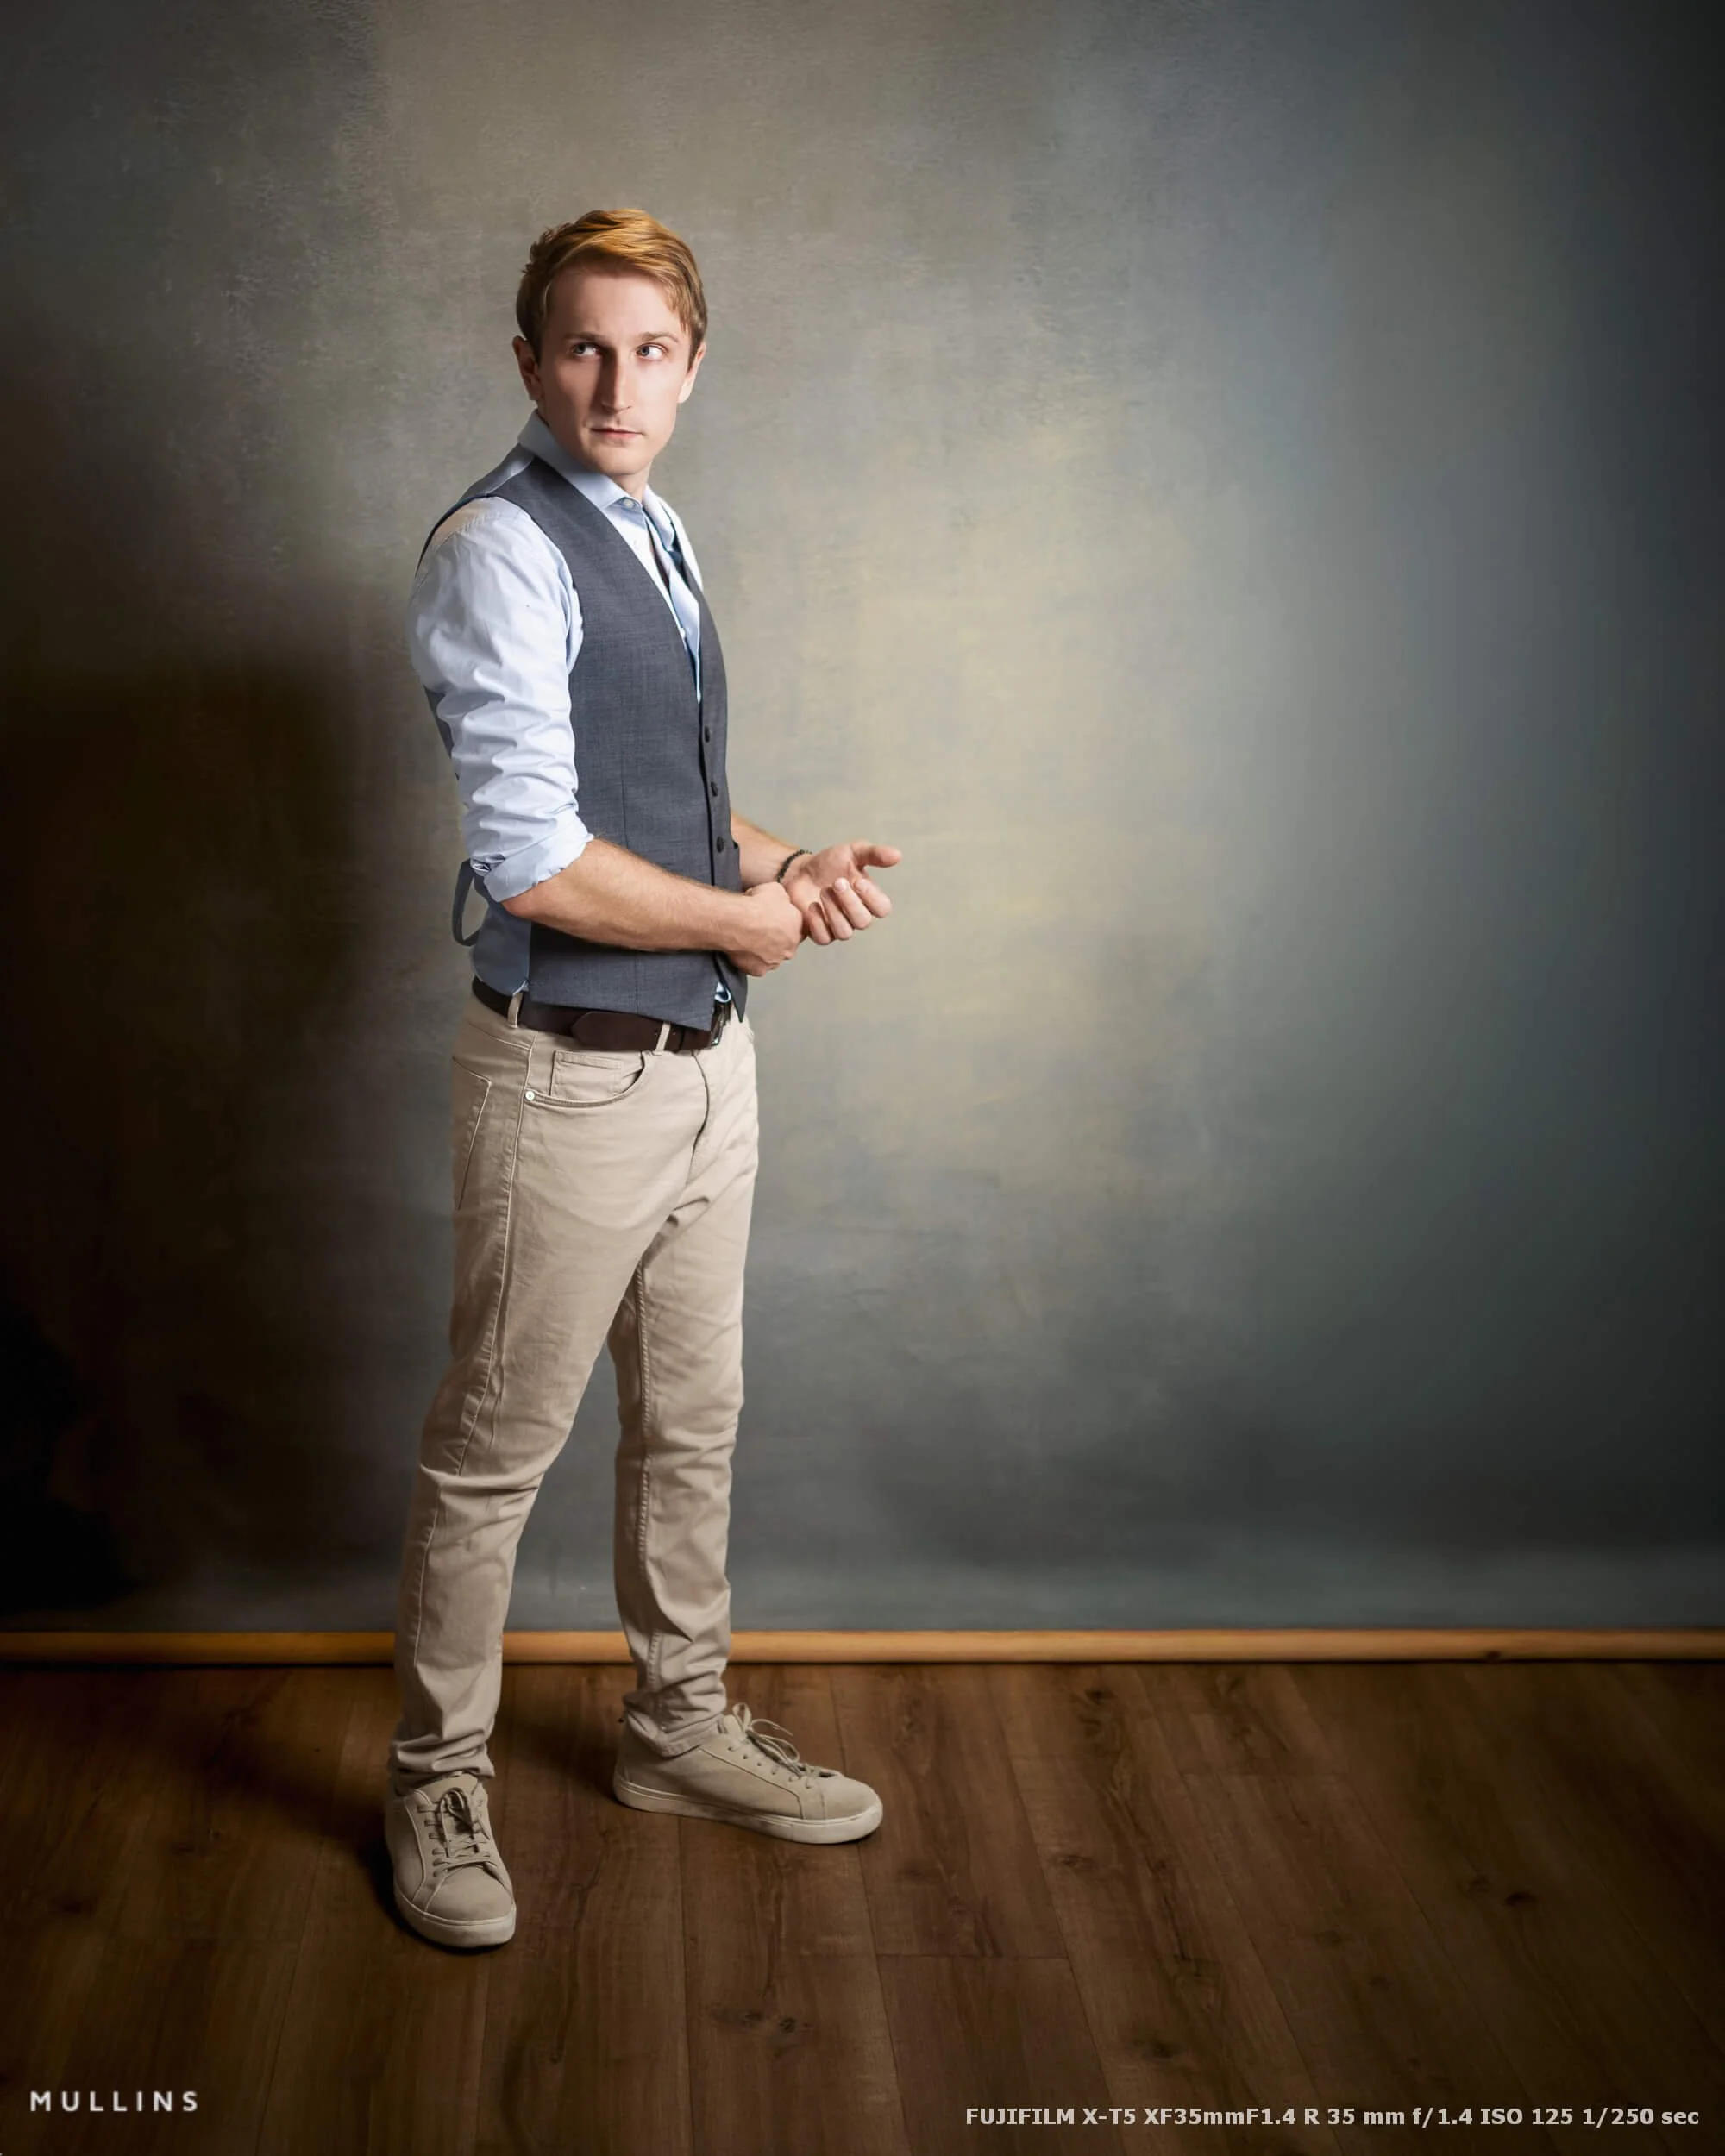
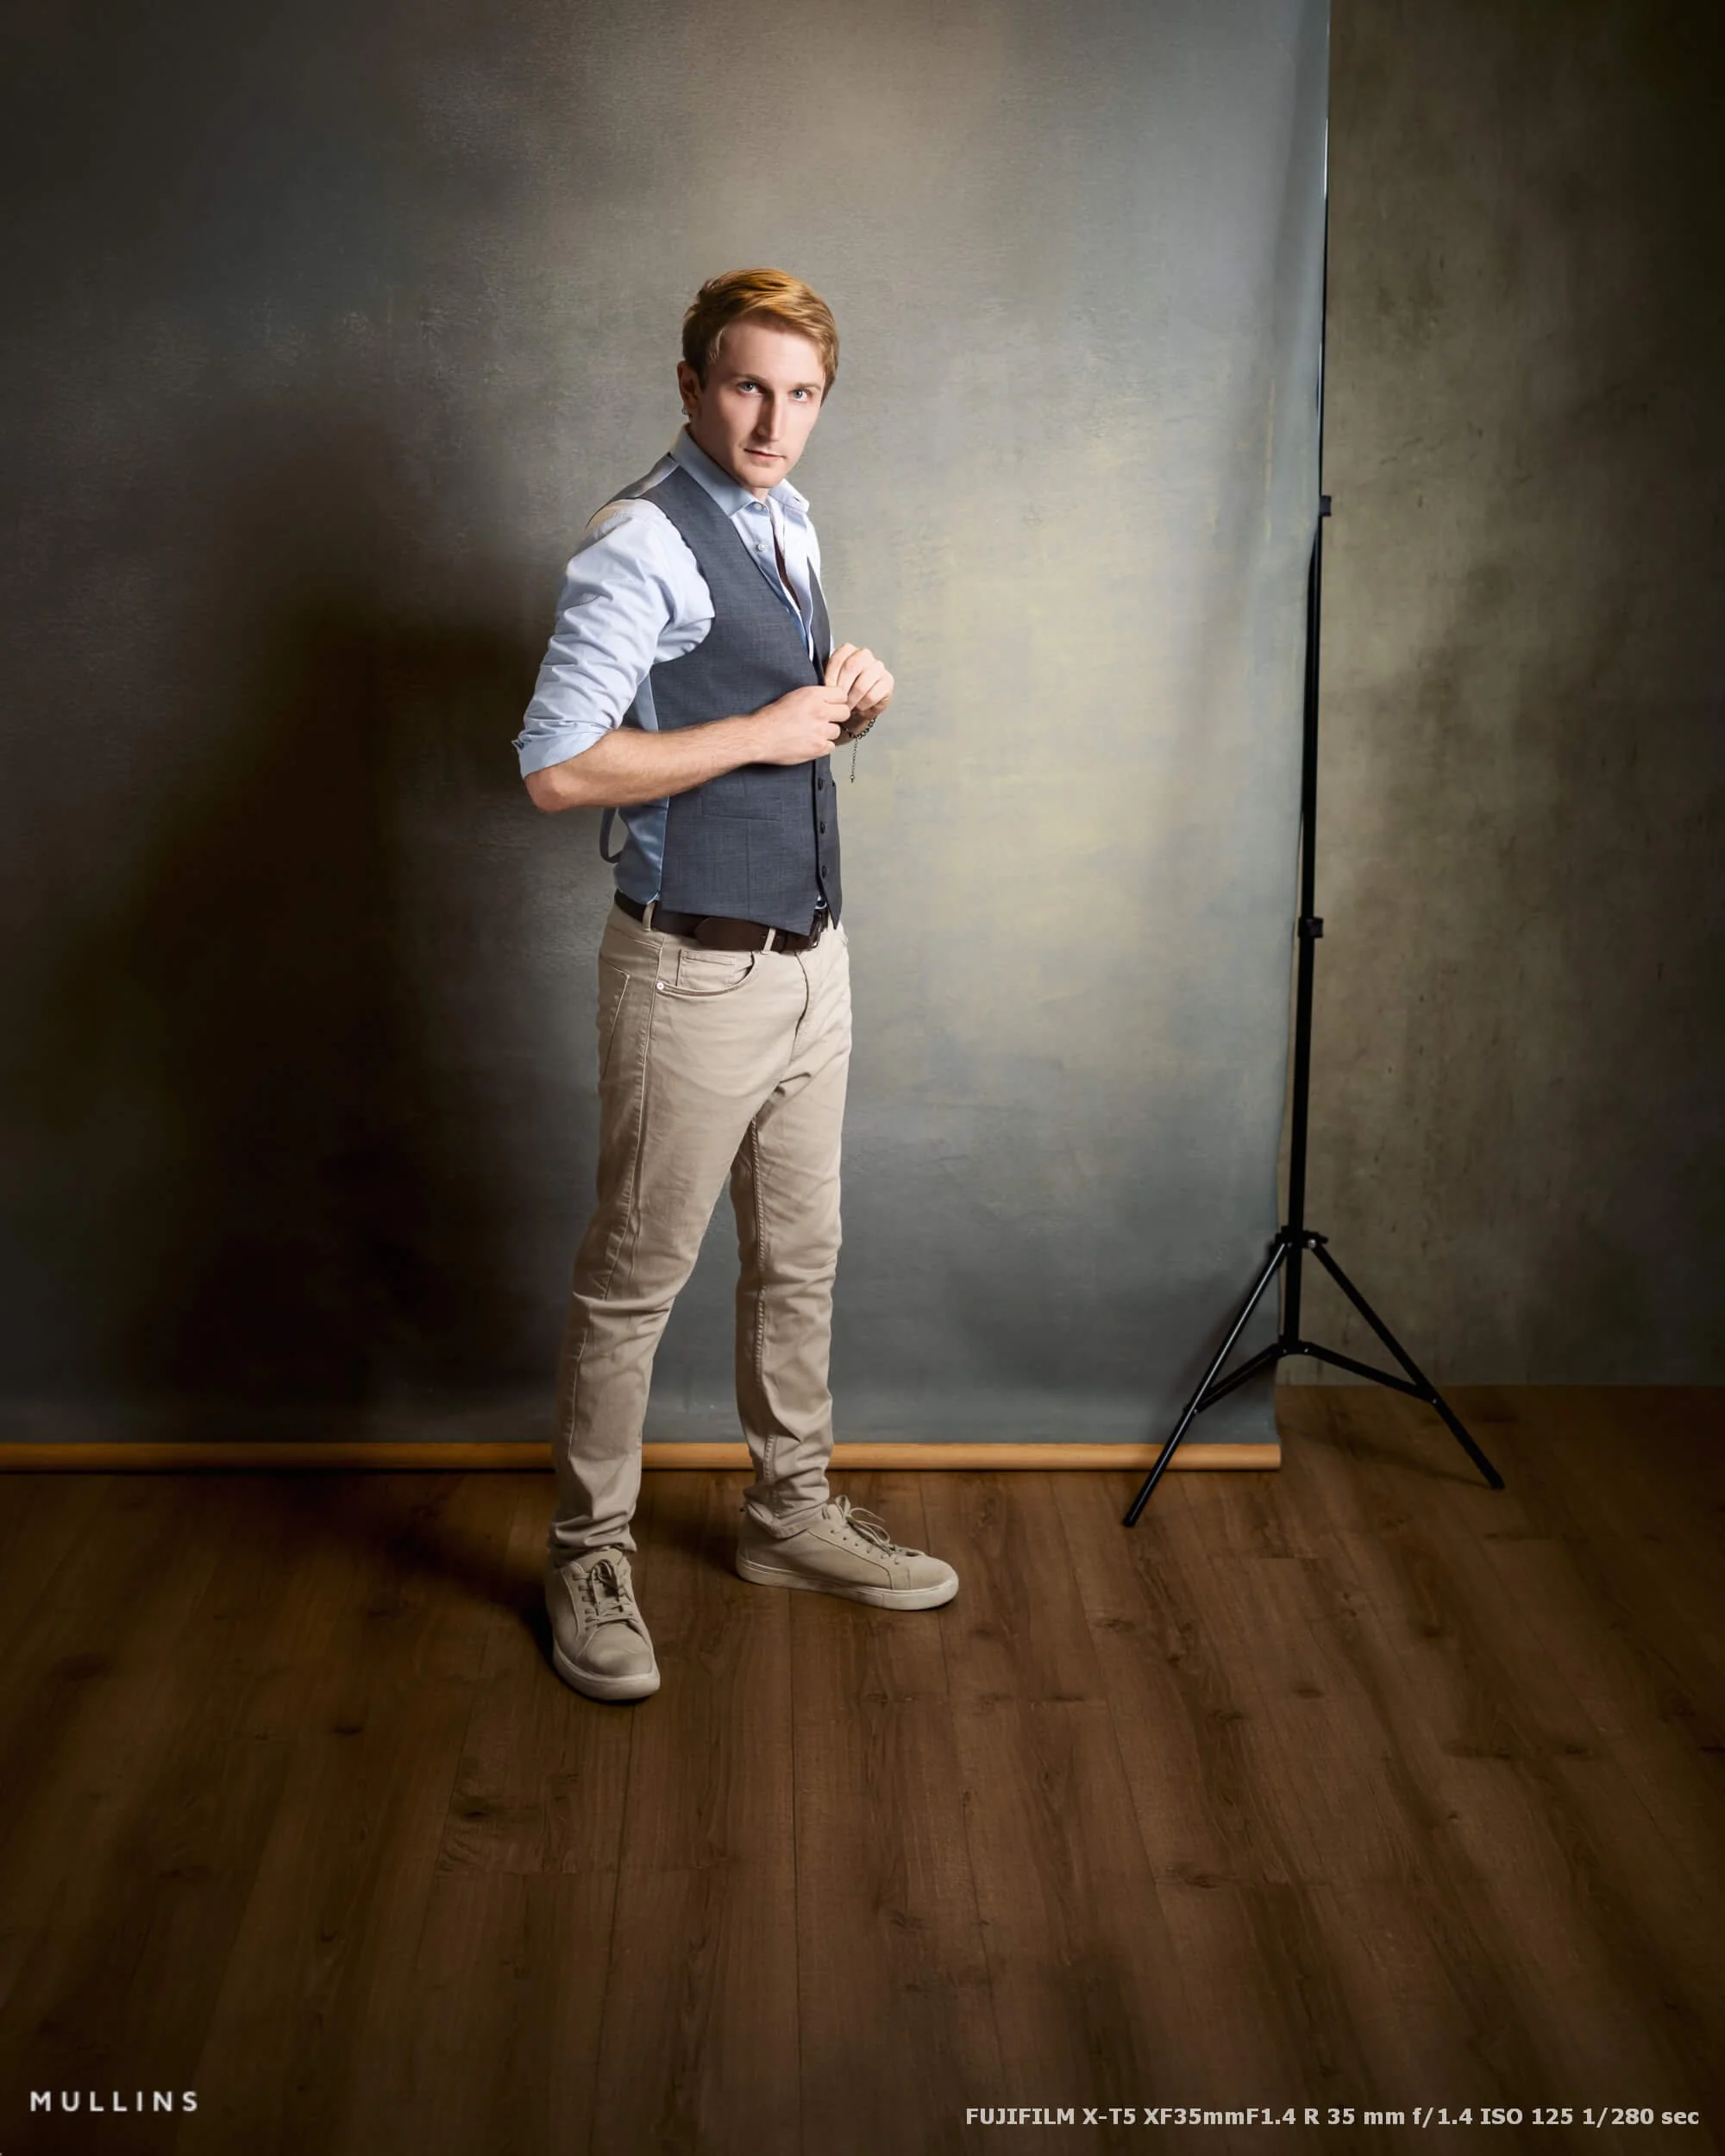
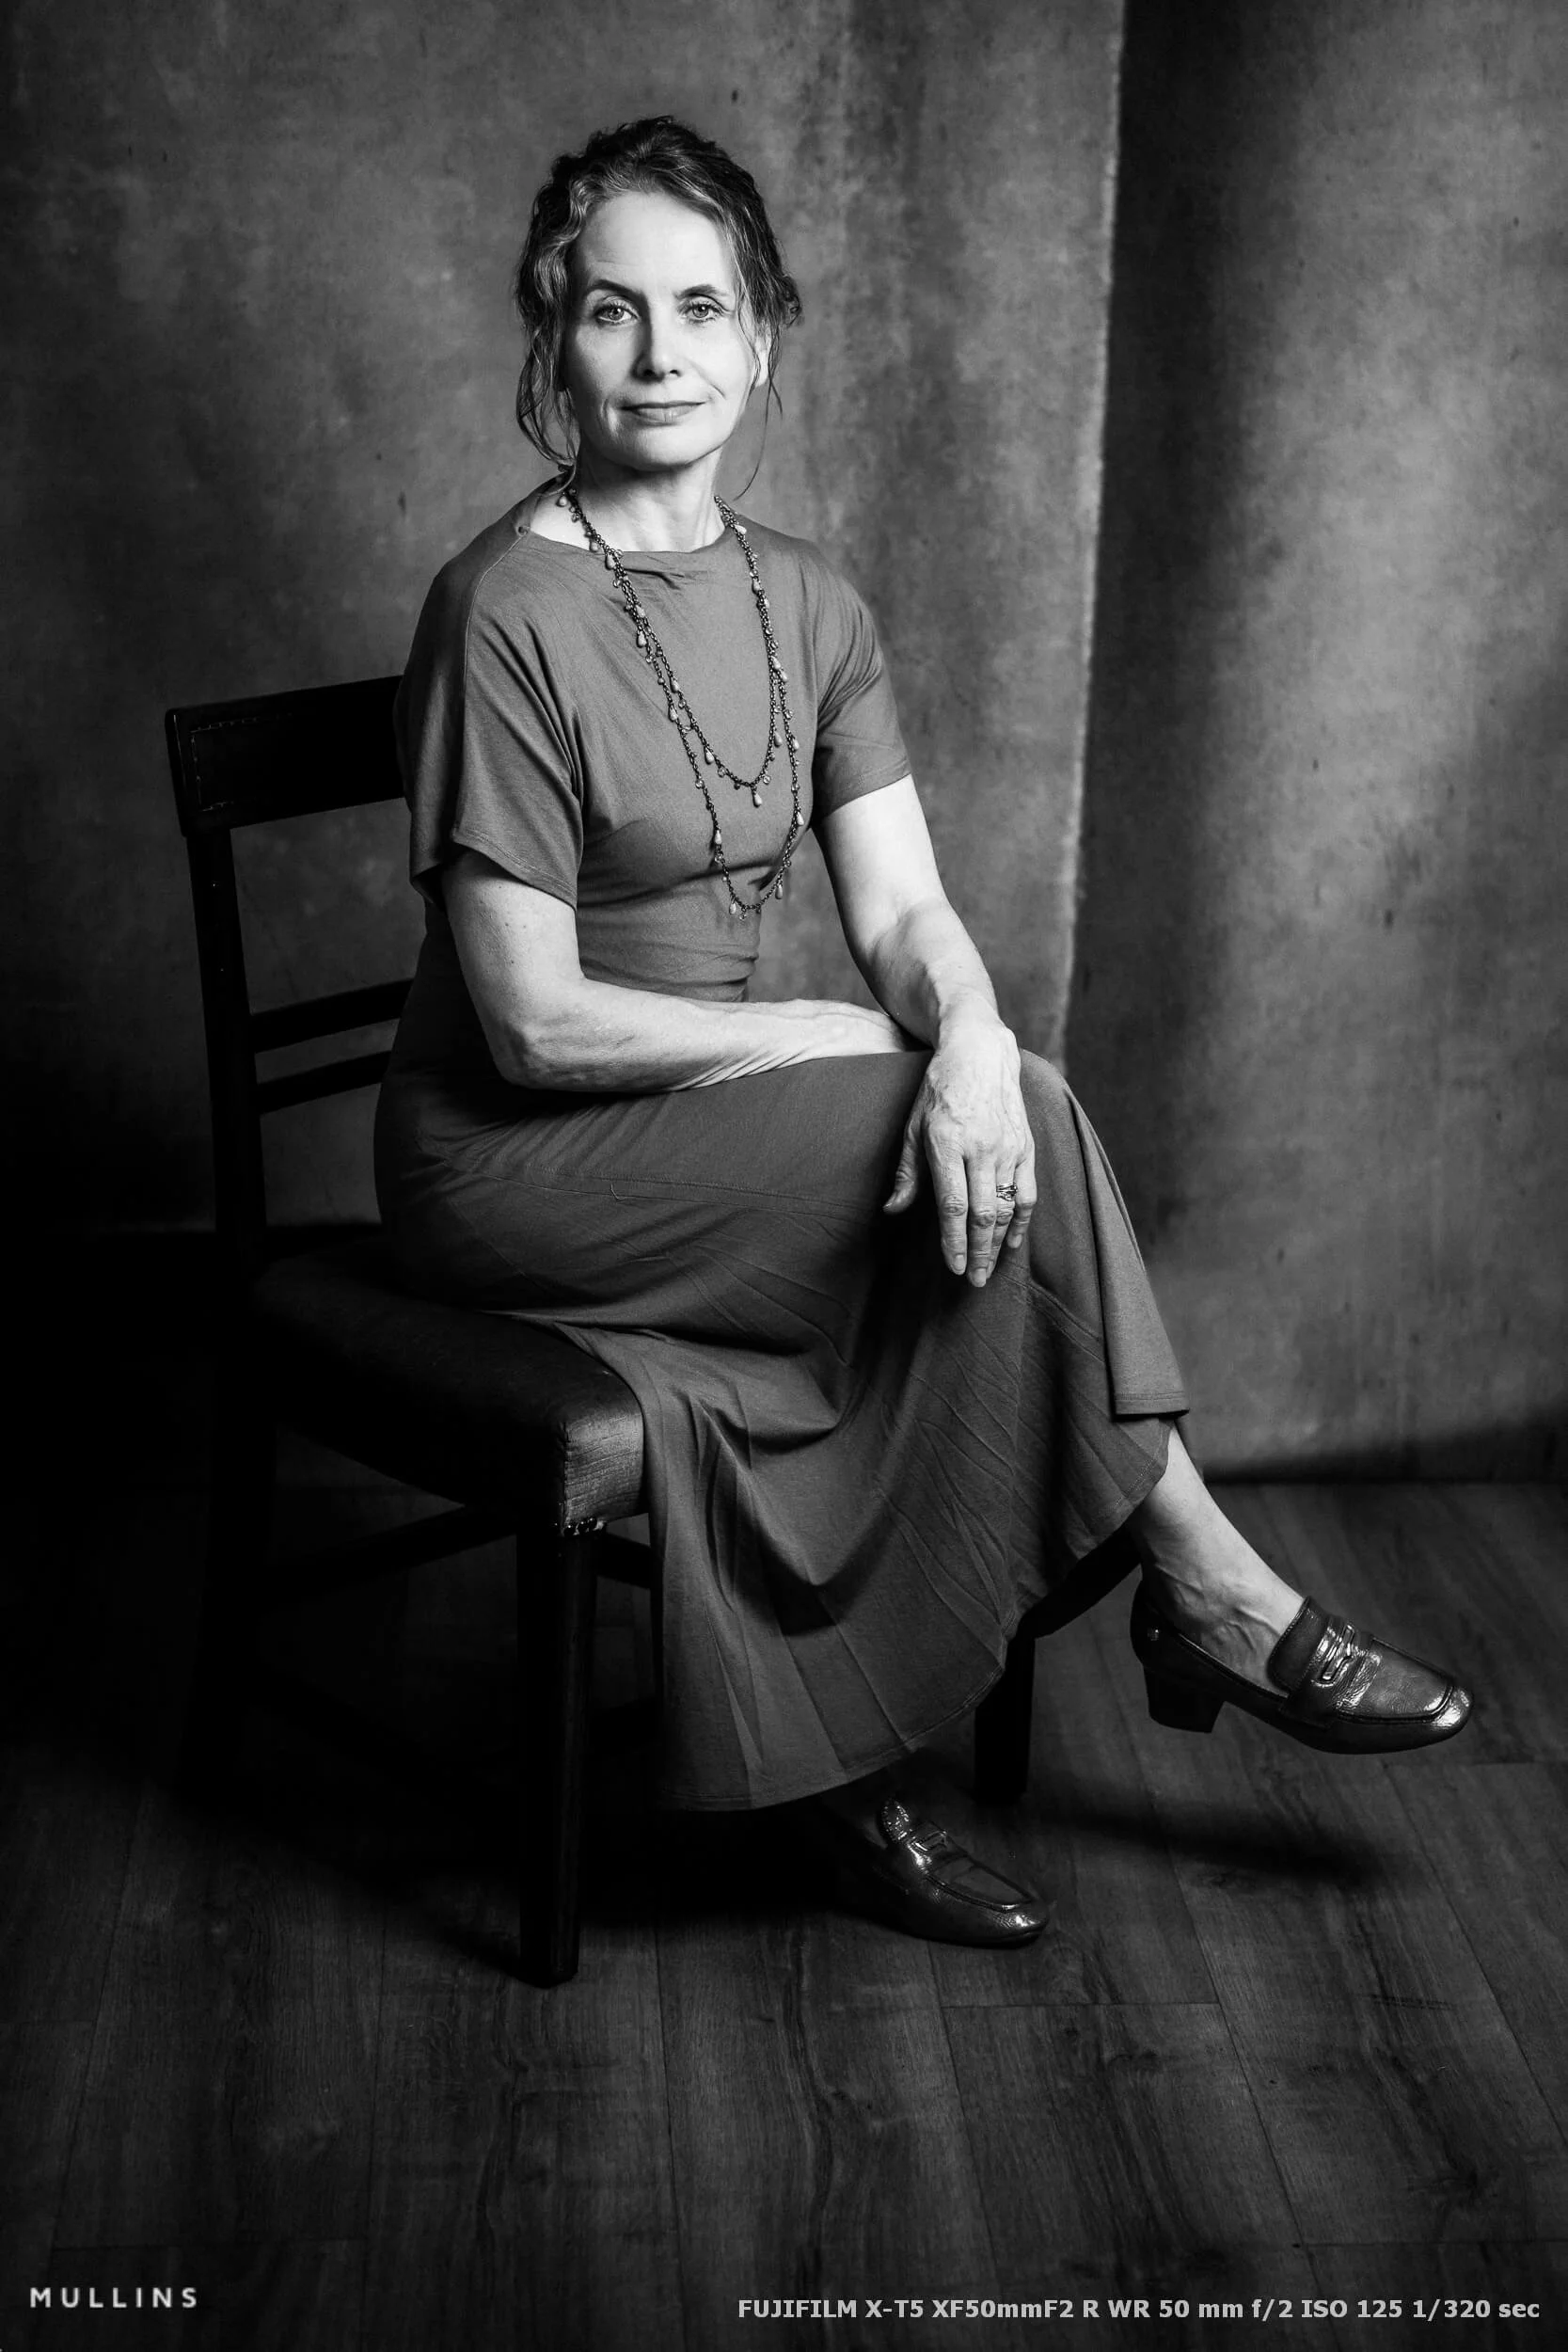
A tight headshot tells us a lot about a face. A wider portrait can tell us about a person.
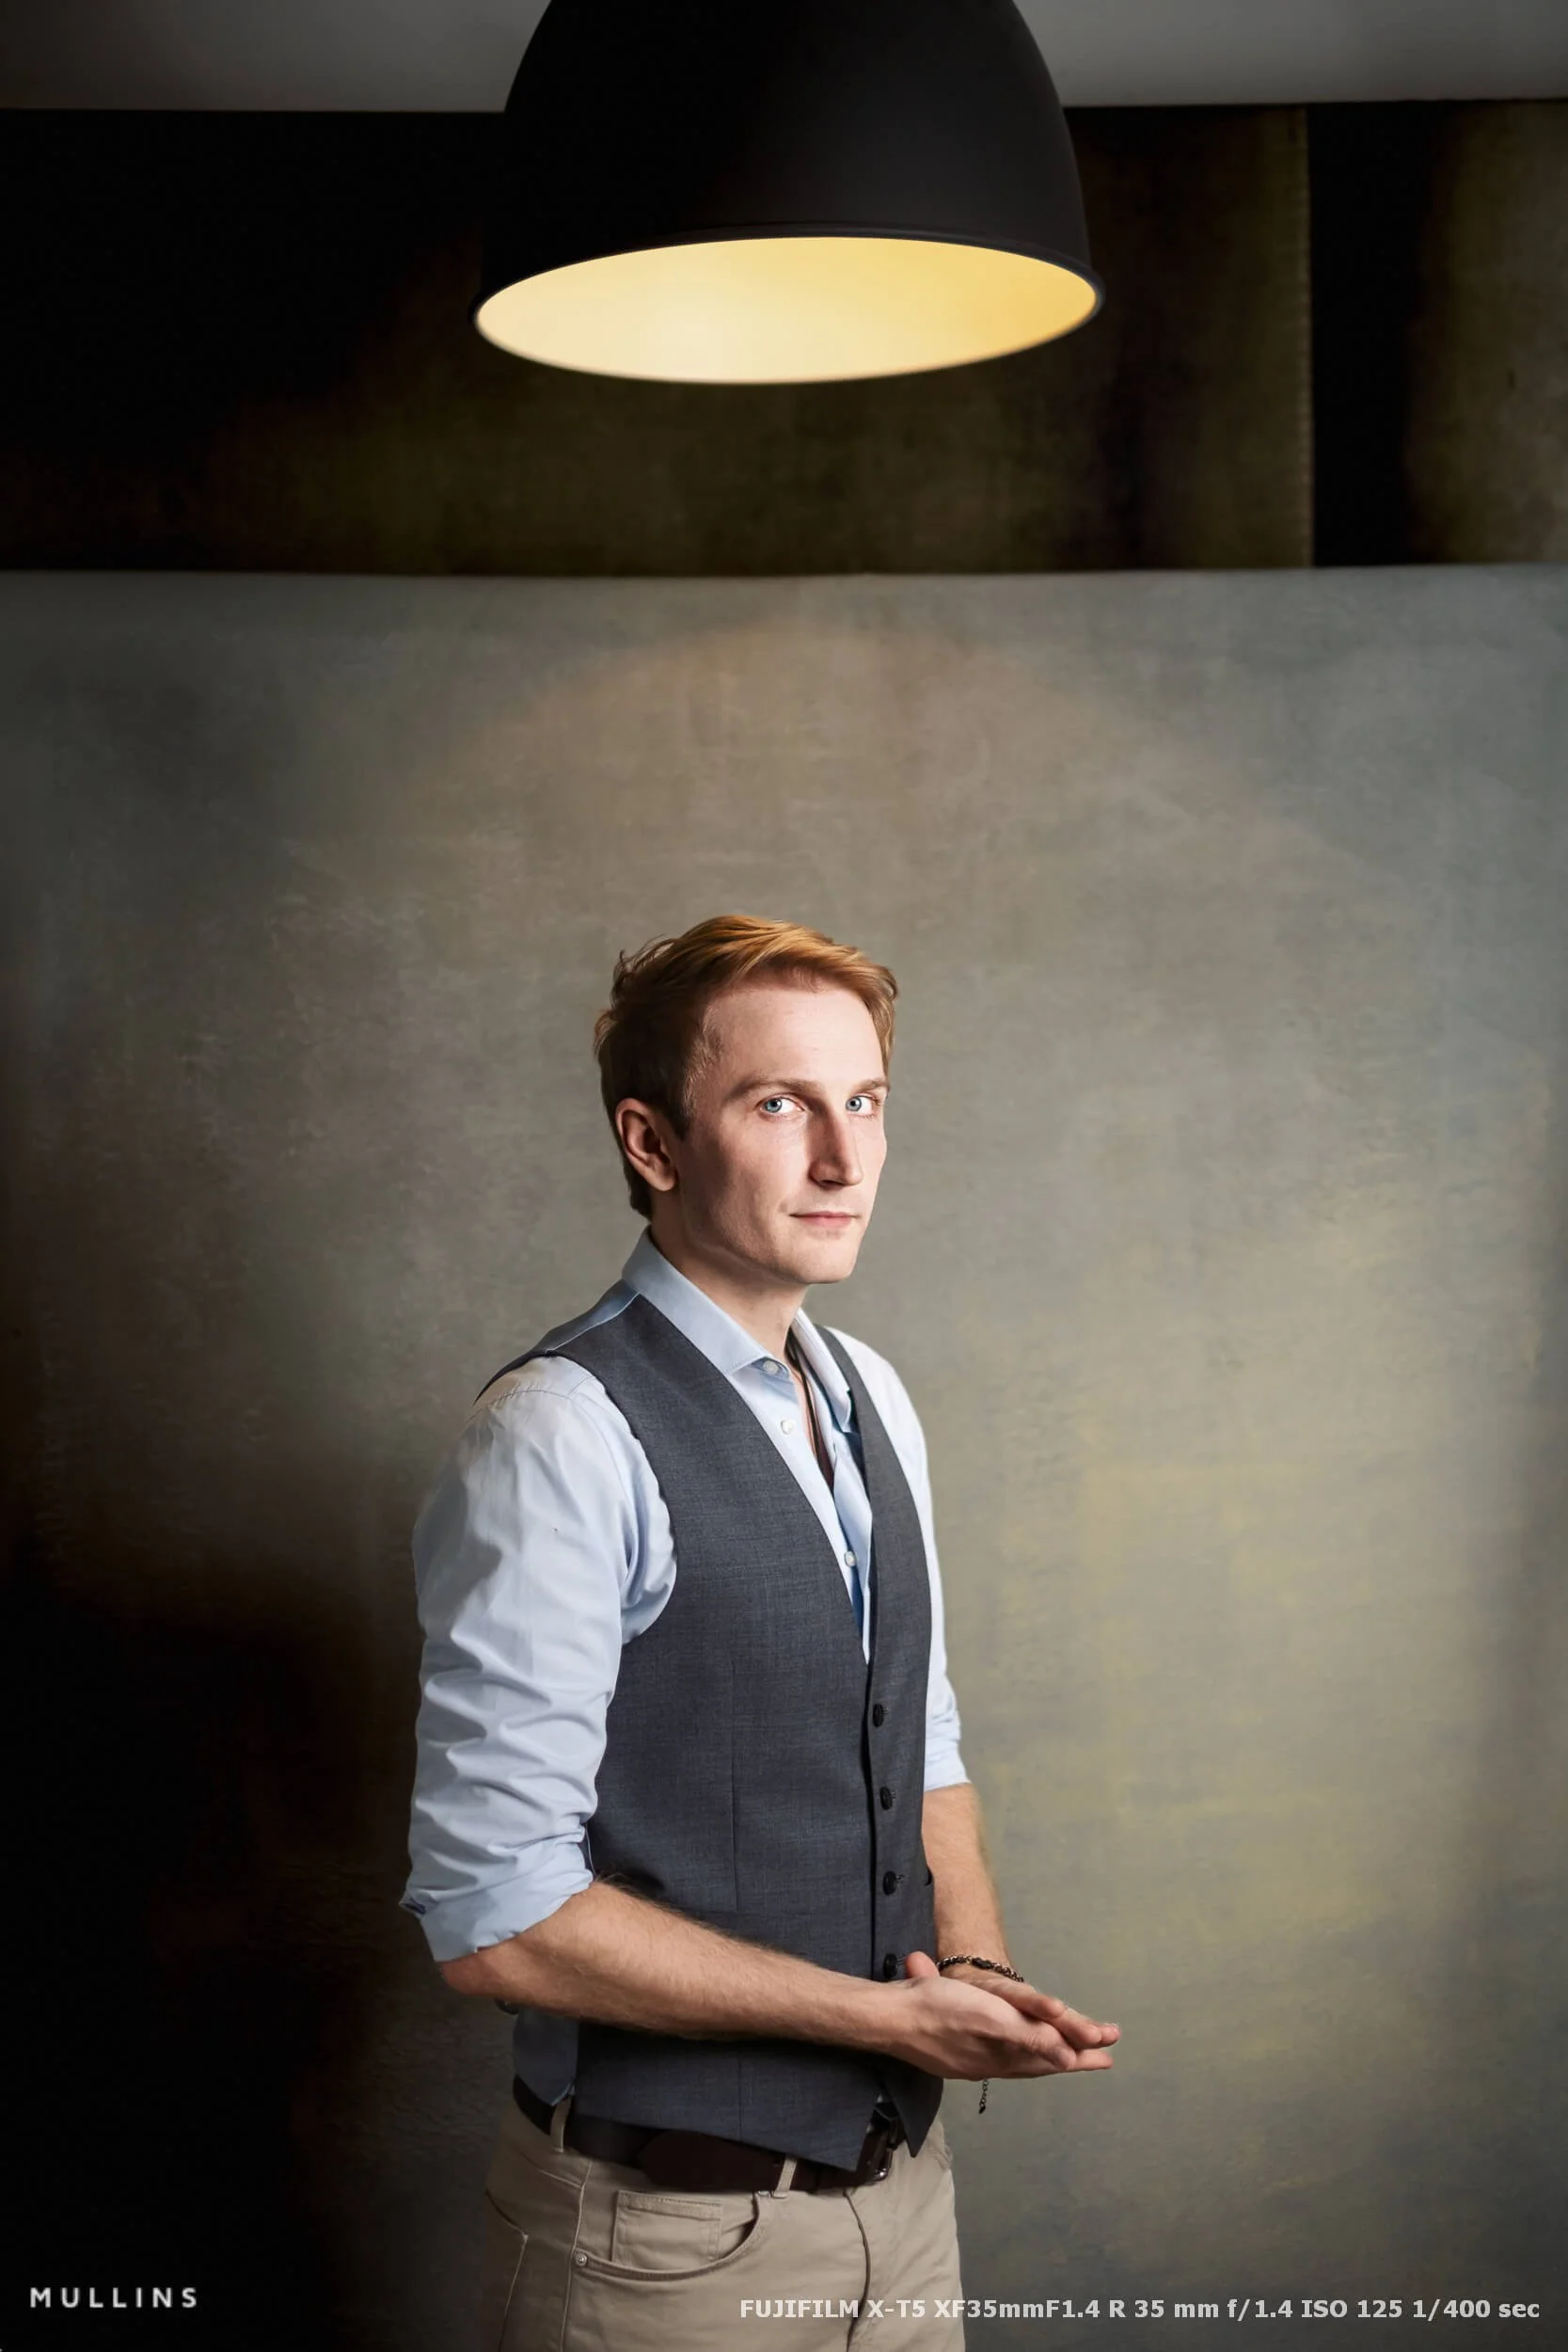
That is why I sometimes leave parts of the studio visible. The edge of a backdrop, a light stand, the overhead lamp, a chair or a large area of empty space can all add something. The photograph no longer pretends to have been made in some perfect, undefined place. It feels more like a still from a film set.
I like that slight tension between a finished portrait and the mechanics of making it. We can see that it is a constructed photograph, but the person within it still feels believable.
It will not suit everybody, of course, and all my sessions include the normal close-up headshots.
If somebody wants a conventional LinkedIn portrait, I would not force a light stand into the corner just to be edgy. These clients came because they wanted something more character-led, and the wider frames gave us room to explore that.
Creating range without making it look fake
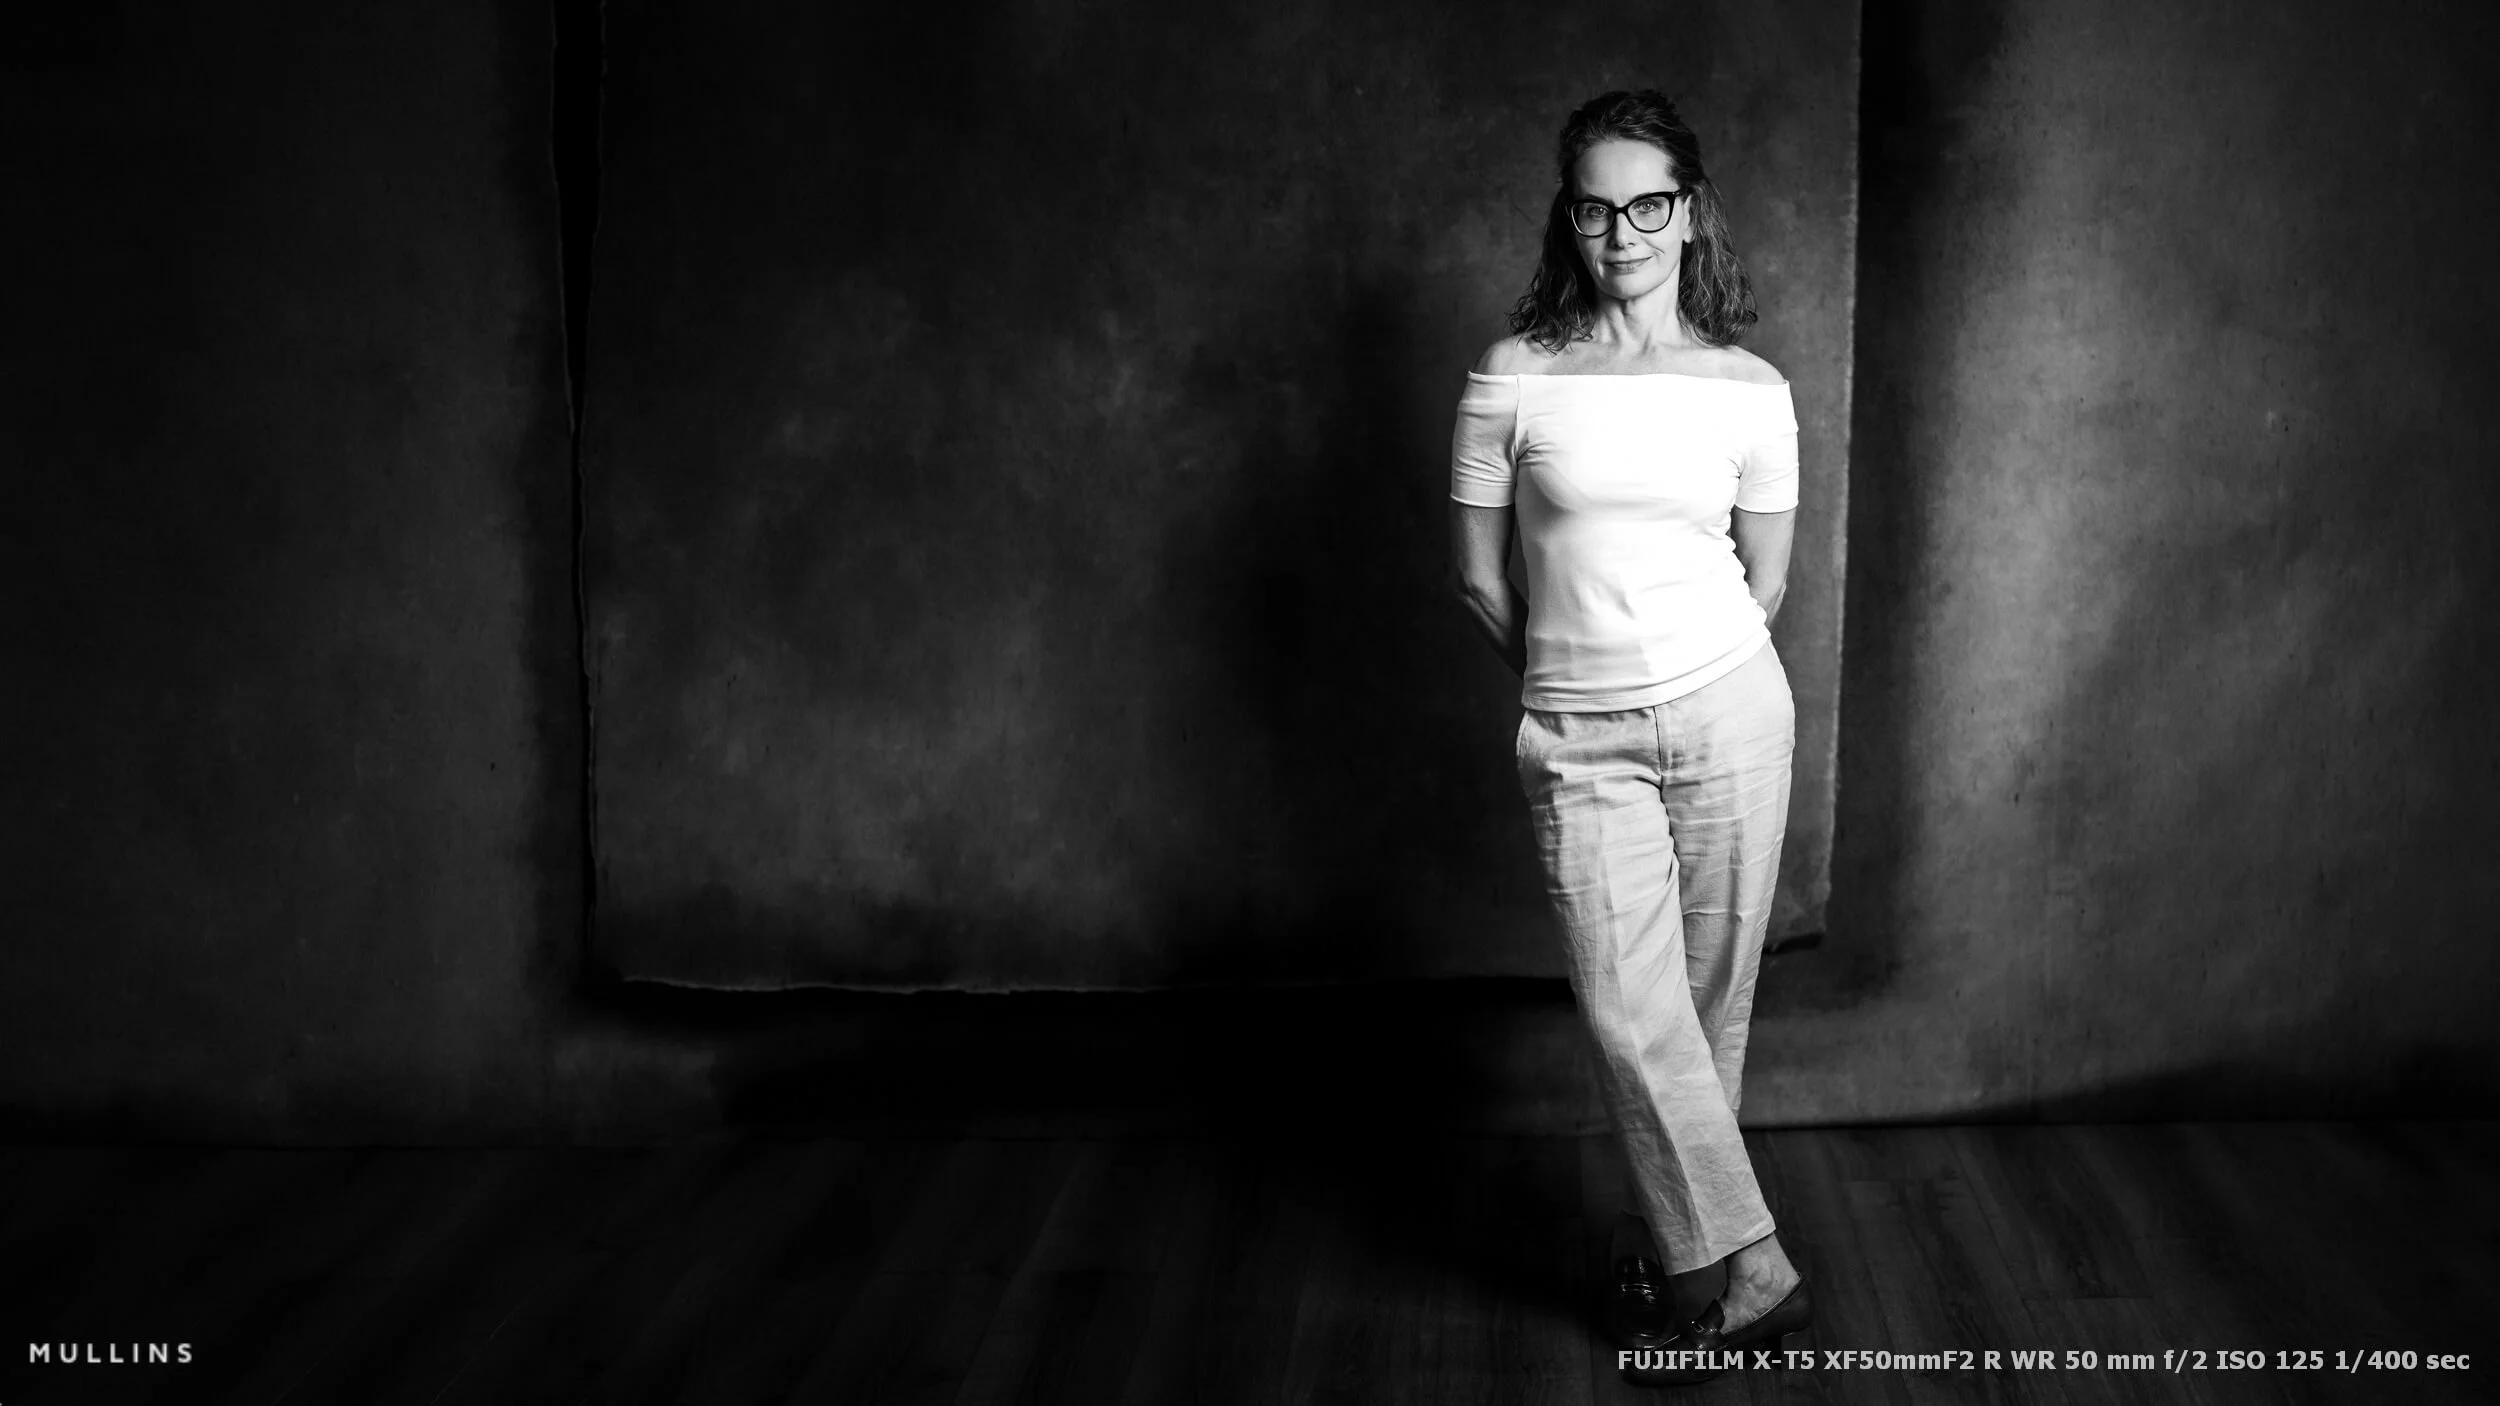
Both actors wanted photographs that showed their potential across different roles. We created that range through fairly small changes rather than elaborate sets or costume changes.
Moving from a close portrait to a full-length frame changes the way we read the person. So does sitting them behind a table, turning their bodies away from the light, or asking for a quieter expression.
Sometimes the difference between two useful images is no more than a change of lens and a couple of steps backwards.
There is a line here, though. Push too hard, and the photograph becomes an impression of a character rather than a portrait of the actor. I want to leave a little room for the casting director to imagine the possibilities.
Fujifilm X-T5 portrait setup
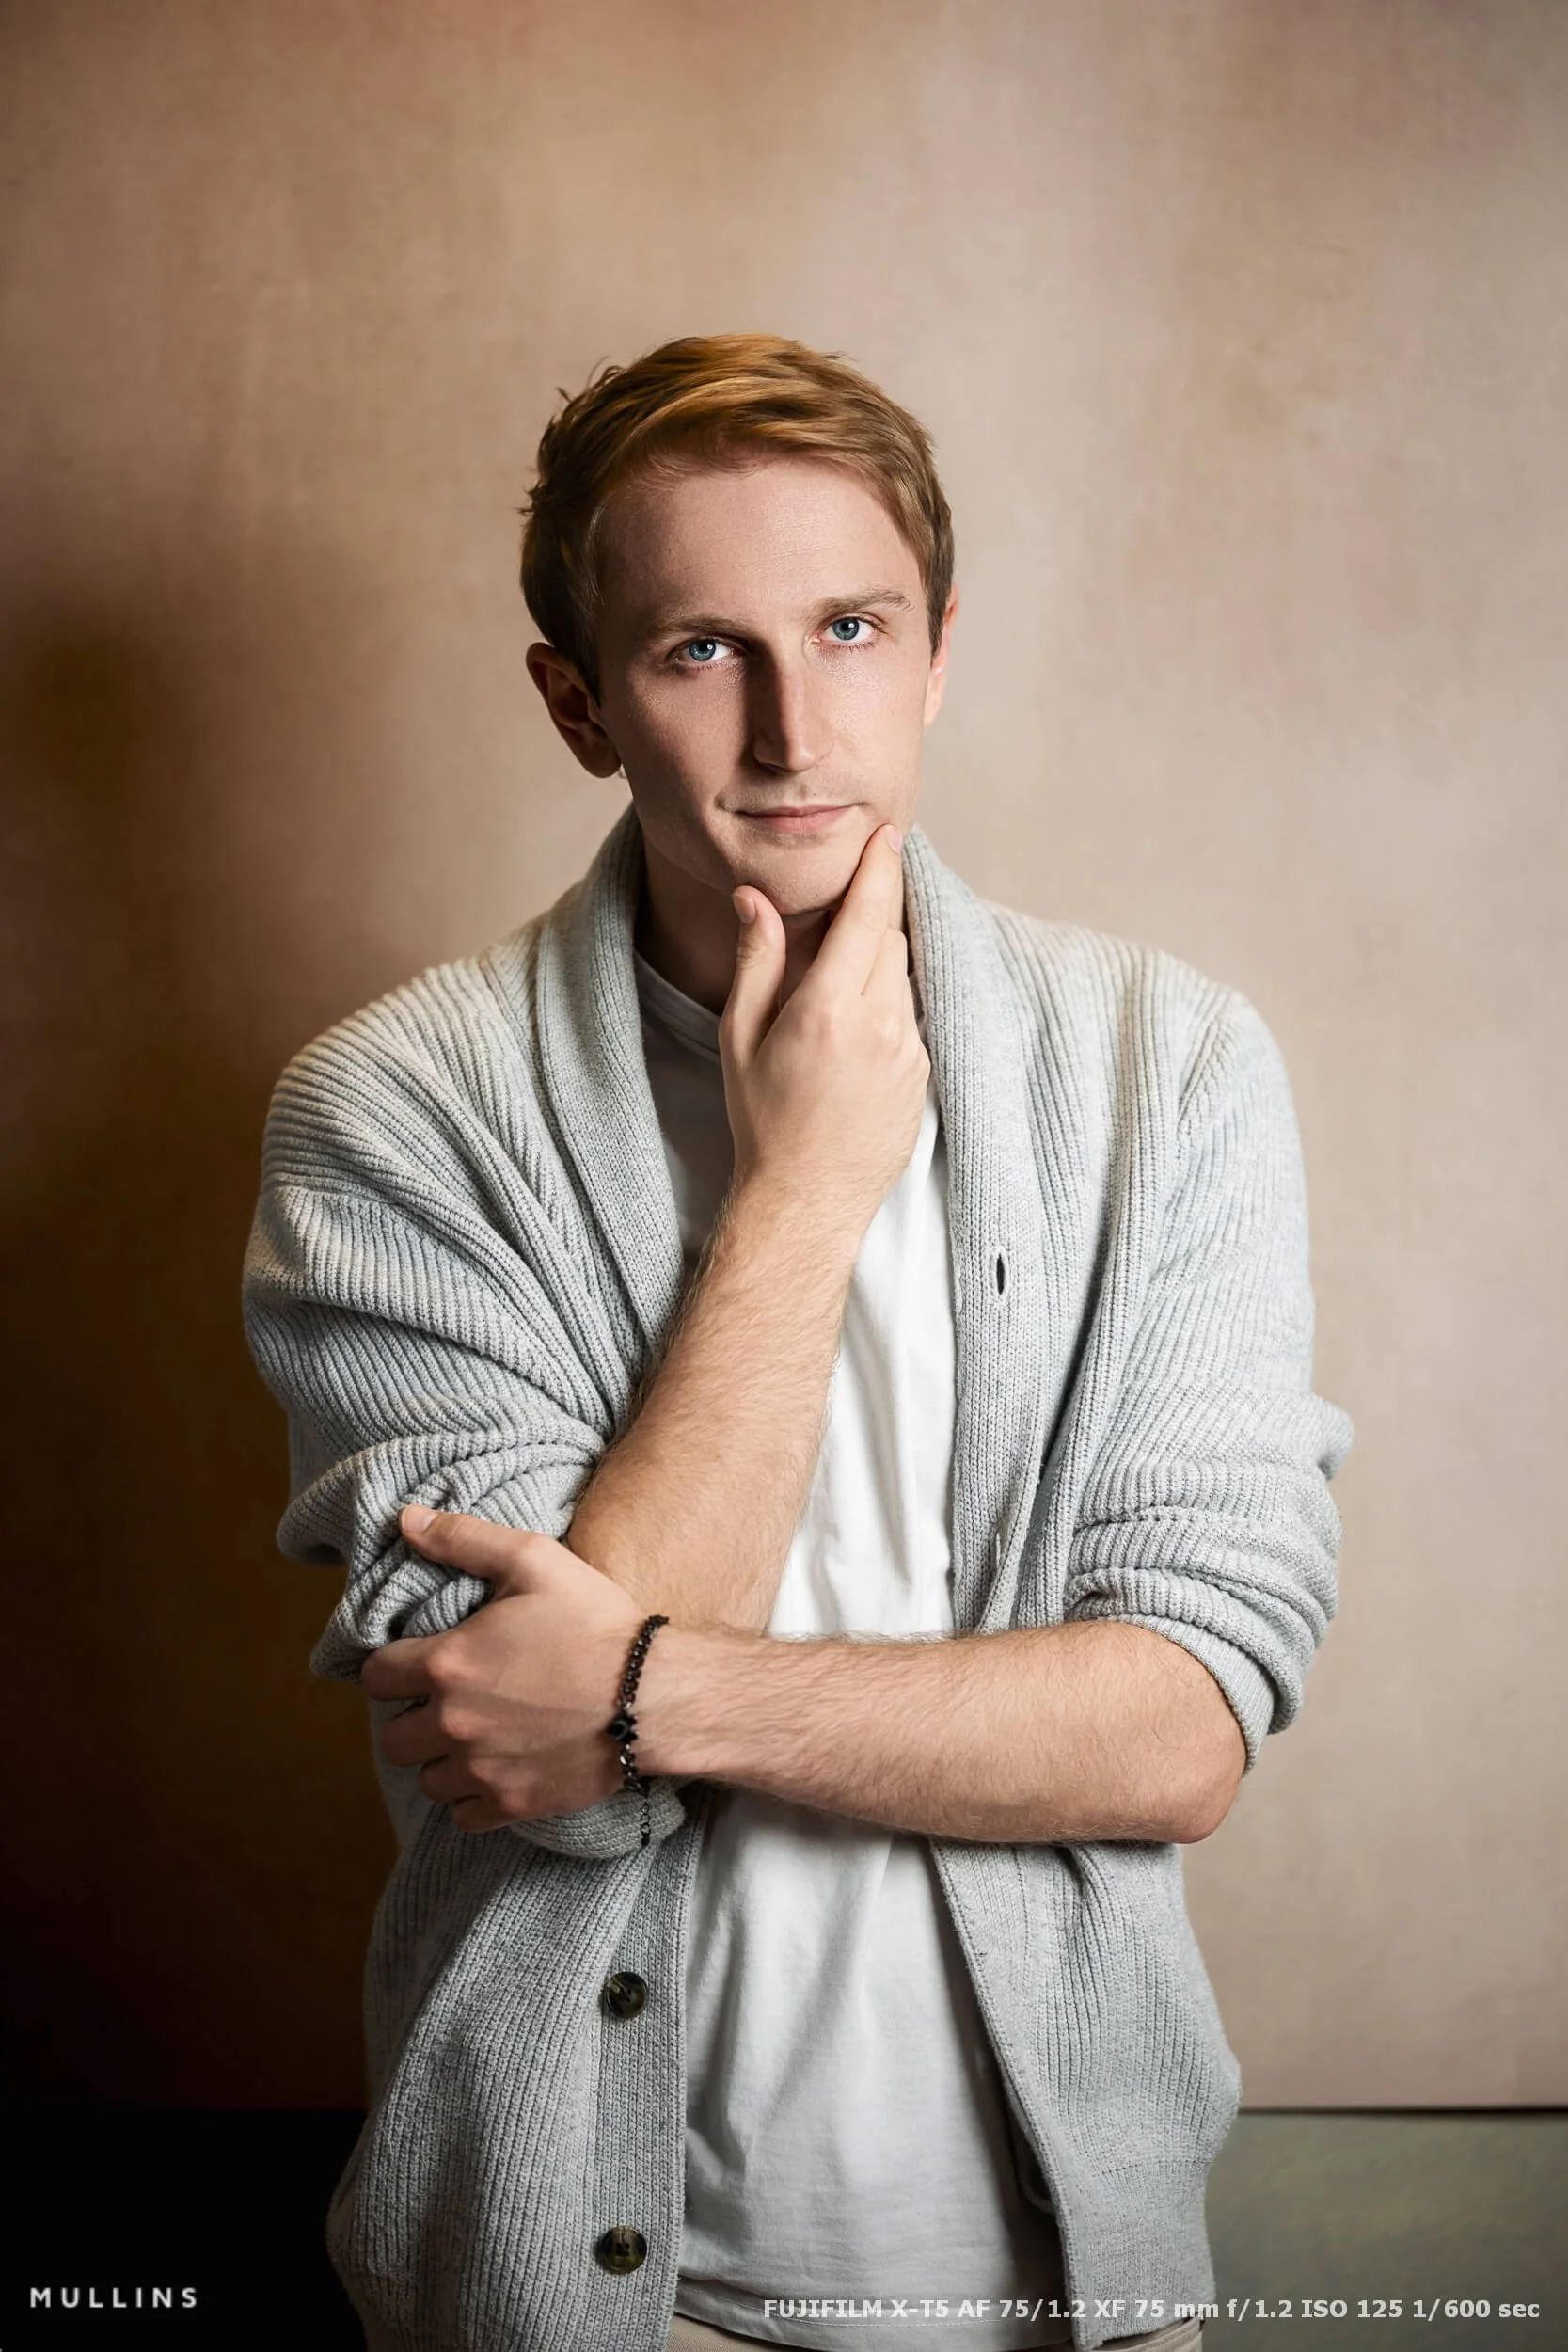
I photographed both sessions with the Fujifilm X-T5 and three prime lenses: the original Fujinon XF35mm F1.4 R, the Fujinon XF50mm F2 R WR and the Viltrox AF 75mm F1.2 Pro.
The three lenses gave me quite a useful spread without changing the feel of the shoot. The 35mm was used for looser portraits and frames that included more of the studio. The 50mm sat comfortably in the middle, while the 75mm gave me the tighter head-and-shoulders photographs and a little more compression.
| Equipment | How I used it |
|---|---|
| Fujifilm X-T5 | The camera used throughout both actor portrait sessions. |
| Fujinon XF35mm F1.4 R | Looser portraits, full-length frames and photographs that deliberately included more of the studio. |
| Fujinon XF50mm F2 R WR | A useful middle ground for natural portrait framing without working too close. |
| Viltrox AF 75mm F1.2 Pro | Tighter head-and-shoulders portraits with more compression and less of the surroundings. |
| Aputure 300d II + Light Dome | The main light, giving me a soft but directional source that still shaped the face. |
| PiXAPRO Linear80 side light | Used to add shape and separation where the portrait needed it. |
The main light was an Aputure 300d II through an Aputure Light Dome. I also used a PiXAPRO Linear80 light from the side to add shape and separation.
The lighting itself was fairly simple. Once it was working, I could stop thinking about equipment and concentrate on expression, body language and all the small changes that make the portrait complete.
How I edited the colour actor portraits
All the photographs were captured as RAW files and edited initially in Lightroom.
For the colour work, I used the Velvia profile from Film Edition 3 Colour. Velvia might not be the first name that comes to mind for portraits. It is usually associated with fairly bold colour, but my profile is not simply Lightroom’s standard Velvia simulation dropped onto the file. I like the depth and separation it gives these portraits, particularly with the darker backgrounds and controlled studio light.
The profile gives me the underlying colour response. I then adjust exposure and white balance for the individual image, along with any smaller changes the frame needs. A preset or profile can provide the direction, but it cannot look at a face and decide that it needs a third of a stop more light.
How I edited the monochrome actor portraits
The black-and-white photographs began with Monochrome Standard Profile from Film Edition 3 Monochrome.
It gives me a strong but fairly balanced tonal base. For these portraits, I did not want crushed shadows everywhere, or contrast added simply to make the images look dramatic. The light, expression and framing were already doing most of that work.
I then used two utilities from the newer Film Edition 5 Workflow Series: Grain - True Film and Density Standard. The grain adds texture without looking like a layer sitting on top of the photograph. Density Standard gives the image a little more weight, which worked particularly well in the wider studio frames and the portraits made around the table.
This is quite typical of how I use my own preset packs. I might start with a profile from one Film Edition and finish with a utility from another. They are tools, really.
Retouching the finished portraits
Most of the detailed portrait retouching was completed in Photoshop after the Lightroom edit.
I am not trying to remove every line, pore or bit of texture from somebody’s face. Apart from looking rather odd, that would work against the purpose of an actor’s portfolio. The finished photograph still needs to look like the person who walks into the casting room.
My retouching is mostly about removing temporary distractions and tidying the frame where necessary. The character of the face stays put.
About my Lightroom Presets
The main colour and monochrome profiles in this set came from Film Edition 3. The monochrome edits were then finished with Grain - True Film and Density Standard from the newer Film Edition 5 Workflow Series.
Feel free to check out my professional Lightroom Presets trusted by photographers in over 70 countries.
If you want the exact FE3 profiles used here alongside the newer FE5 workflow packs and utilities, the Full Collection contains the complete range. If you are starting with the latest system, the Film Edition 5 Bundle includes the current Colour and Monochrome packs, workflow presets and the Lightroom Toolkit I used to finish these black-and-white portraits.
You can get a 20% discount by joining my very infrequent newsletter.
Quick answers about these actor portraits
-
Both sessions were photographed with the Fujifilm X-T5.
-
I used the Fujinon XF35mm F1.4 R, Fujinon XF50mm F2 R WR and Viltrox AF 75mm F1.2 Pro. The wider 35mm frames included more of the studio, while the 50mm and 75mm were useful for closer portraits.
-
The colour portraits used the Velvia profile from Film Edition 3 Colour. The black-and-white portraits began with Monochrome Standard Profile from Film Edition 3 Monochrome, with Grain - True Film and Density Standard from Film Edition 5 added as finishing tools.
-
Including part of the studio can make a wider portrait feel more like a scene or a film still. It adds context and a sense of construction, which suited these actors because they wanted character-led images rather than conventional corporate headshots.