20 Tips for Starting Out in Street Photography

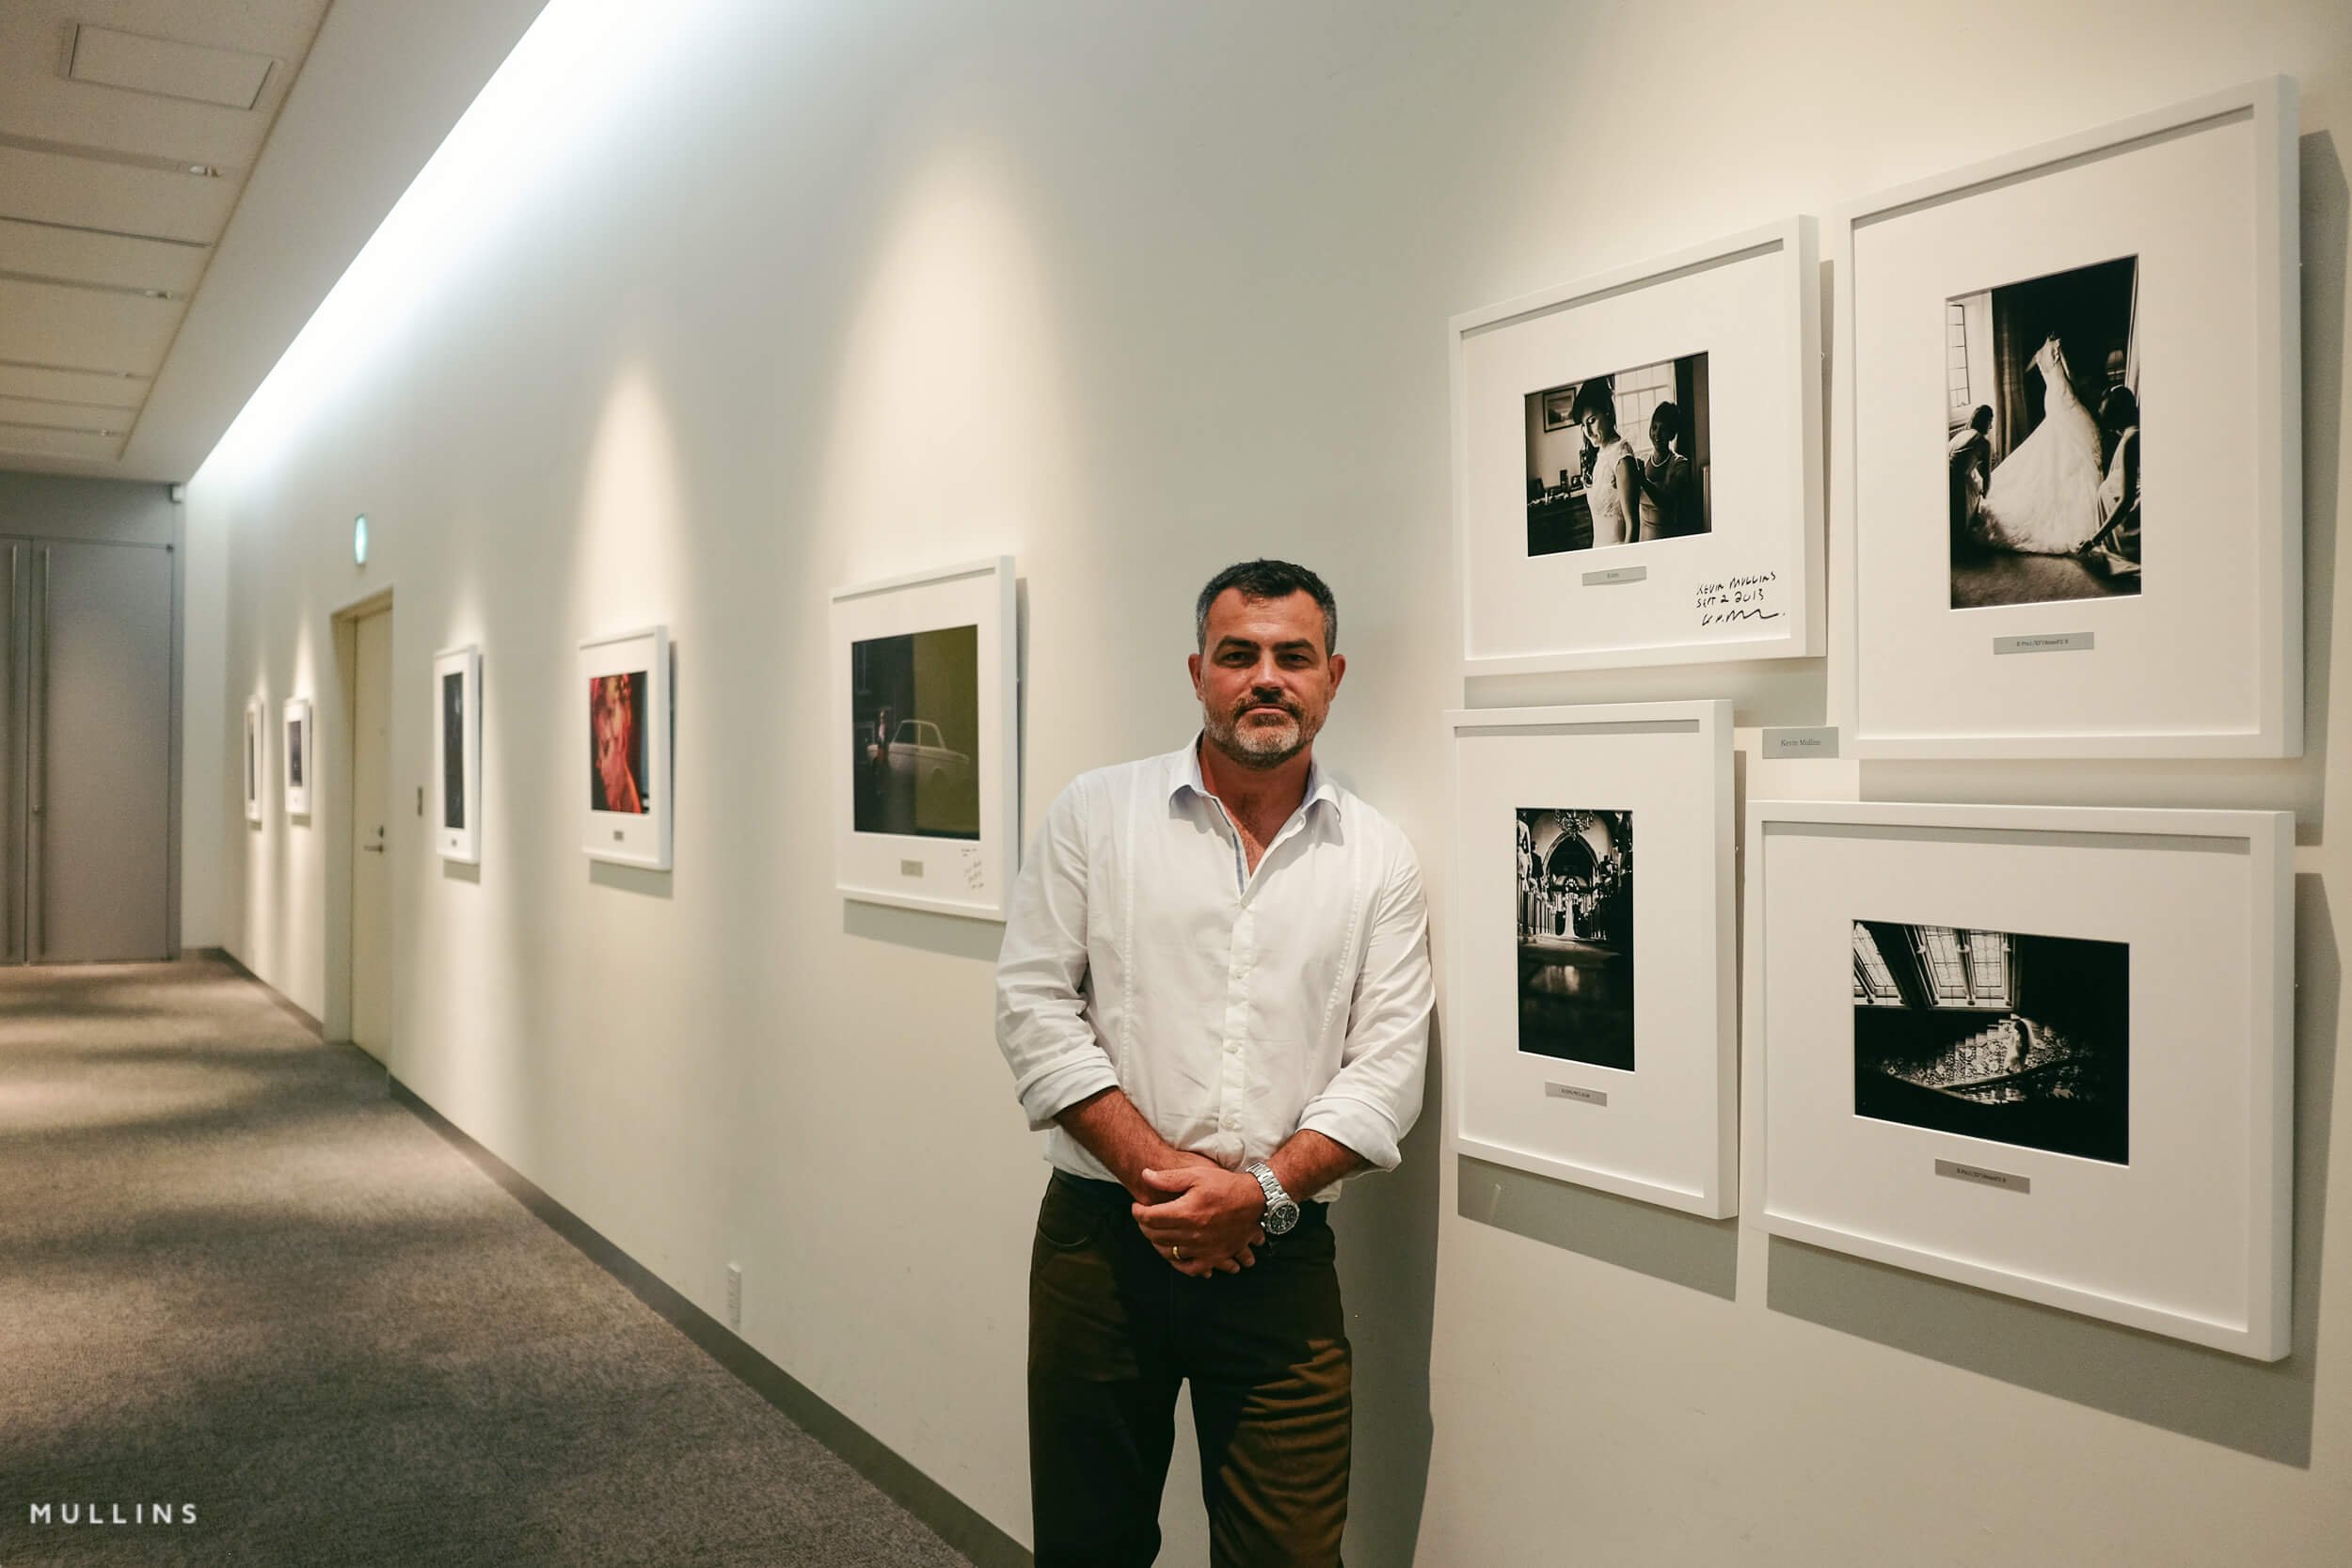
I’m Kevin Mullins. Most people find me through my candid wedding work, but street photography is where I keep my eye honest.
It’s the training ground I return to because the street rewards patience, awareness and timing. It sharpens the same instincts I rely on at weddings: reading light quickly, anticipating gesture, layering a frame without fuss, and it’s also a wonderful experience in its own right.
A creative, artistic practice you can do on any day, in any weather, with whatever time you have.
My hope is that these tips give you a clear way in, whether you’re brand new or simply want to reconnect with seeing.
At a glance
Start small: one camera, one prime, short walks.
Build on three pillars: light, composition, moment.
Work scenes, don’t chase: pick a background or patch of light and wait.
Edit for story: keep only frames you can describe in one sentence.
Be respectful and safe: calm manners make better pictures.
Enjoy it: one strong frame is a win.
Why this matters
If you build around three simple pillars: light, composition, and moment, your pictures will start to feel intentional and more creative. Learn each pillar separately. Then combine them when the scene offers it. That’s the craft.
1) Just do it
There’s no substitute for walking with a camera. Books help. Videos help. Pictures come from time spent noticing.
Give yourself small, repeatable goals: twenty minutes before work, a walk at lunch, half an hour when the rain stops. Leave home with one intention, like “watch for pockets of light” or “look for triangles”.
The aim isn’t to harvest masterpieces. It’s to keep your eyes active so that seeing becomes a reflex. Early outings may feel awkward. Good. You’re building stamina. Photograph the warm-up frames anyway.
Often, the first decent picture appears just after you were tempted to put your camera away. Keep walking, keep looking, and make peace with slow progress. Most strong photographs are the result of many ordinary walks strung together.
Consistency beats intensity. If you can, revisit the same streets at different times; you’ll learn how the light moves and where moments tend to unfold. Familiarity shortens the gap between noticing and composing, and that tiny gap is everything.
2) You’re probably not doing anything wrong
Street sits at the intersection of law, social norms, and simple manners. Know the rules where you live, behave respectfully everywhere, and you’ll be fine the vast majority of the time.
If someone notices you, meet their eye and smile. If they ask you not to photograph them, apologise and move on. Most tension dissolves when people feel acknowledged. Avoid photographing vulnerable situations without permission. Don’t block pavements, don’t chase people, and don’t argue your “rights” on a doorstep.
If you’re anxious, pair up with a friend for a few sessions. Confidence rises when you’re not alone, and your pictures will show it.
“The spirit is simple: be the kind of photographer you’d be happy to meet. That approach has carried me through years of shooting in busy cities and private wedding moments alike. It keeps you calm, which keeps you observant, which leads to better timing and kinder pictures. ”
Legal & safety checklist
Know local norms: public places are generally fine in the UK - follow site rules.Be courteous: if someone objects, apologise and move on.
Stay aware: traffic, cyclists, kerbs, exits, bag security.
Pick your spot: stand where you can be seen - avoid getting boxed in.

3) Start with light as your subject
Before you worry about characters or action, look for the light.
A clean shaft cutting across a pavement, reflections in a window, these can carry a frame on their own. Compose for the light first. Ask where you want the brightest tone to sit and what shape it makes. Then wait for a passer-by or gesture that completes the idea.
If nothing arrives, you still made a picture about light and place, which is valuable practice. Working this way stops you grabbing at random people and starts you building photographs with intention.
It also teaches you the clock: where the sun sits at 9am in winter, how glass behaves after rain, why north-facing streets reward on overcast days. For weddings, this habit pays off when you step into a new room and instantly know where to stand.

4) Shoot small (camera/lens)
There’s freedom in carrying less. A small camera with a small prime helps you move, respond, and blend. It encourages commitment to a perspective instead of hesitating over focal length.
I favour a 28mm or 35mm equivalent for street because it keeps me physically close to the scene, which gives energy to the frame. Small kit lowers the social pressures too. You feel less conspicuous, which makes you more relaxed, which makes other people more relaxed.
If you’re worried about being noticed, it shows in the pictures. Choose a camera you can operate by touch. Map exposure compensation, ISO, and AF mode to buttons you can find without looking.
Simplicity builds confidence. Confidence leads to better photographs.
My simple street setup
Camera: small body I can operate by touchLens: 28–35mm equiv. prime
Focus: zone focus for busy scenes, single point for precision
Carry: spare battery, card, lens cloth


5) Be patient
Patience isn’t standing still forever. It’s choosing a spot with potential and giving it a fair chance. Find a patch of light, a strong background, a doorway where traffic funnels, or a corner with reflective glass.
Build your composition and hold it. Small adjustments: a step left, a slight crouch, a tilt to clean a line can make a big difference, but resist the urge to dart around. The street has a rhythm, as Joel Meyerowitz says.
People arrive in waves. Buses and bikes create gaps. The picture you imagined often appears thirty seconds after you nearly moved on.
The skill is staying long enough to let luck happen while remaining alert to change. Treat it like fishing with a camera: choose good water, keep the line tidy, and wait for the right pull.
6) No guaranteed results
Even when you do everything “right”, most frames won’t work. That’s normal. The greats shot thousands of images that nobody saw. You can’t control what life gives you. You can control where you stand, how you compose, and when you press the shutter.
Measure success by all your images, not single frames.
Did you give yourself enough opportunity? Did you work a scene for more than one attempt? Did you notice when the background was better than the subject and stay put?
Accept blanks without drama. Street Photography becomes easier when you stop chasing perfection and start collecting proof that you showed up. That mindset keeps you curious, which is the real proof of long-term progress.


7) Be present
Street Photography should feel like a good walk, not a test. If stress creeps in, slow down and breathe. Put the camera to your eye only when you’ve seen something you can describe: “light on a hat brim”, “reflection swallowing a face”, “two silhouettes separating”.
Naming it keeps you present and kills panic. Presence improves timing. When your head is in the scene rather than the camera, you become a better observer.
8) Use common sense and be safe
Pictures are never worth a daft risk. Stay aware of traffic, cyclists, kerbs, and your bag. Choose positions with an exit. If a situation feels off, walk away.
Practical habits help: keep a lens cloth handy for rain, carry a spare battery and card, and avoid getting boxed in by crowds when you’re the only one facing the opposite way. After dark, stand where you can be seen and where your back isn’t exposed.
“Safety isn’t separate from creativity. When you feel safe, you see clearly. When you see clearly, you make better decisions.”
9) Review the story
When you edit, ask one question first: What’s the story here? If you can’t answer in a sentence, the frame probably needs a crop, a pair, or the bin.
Story doesn’t have to be grand. “Hard sun across a shopper’s face” is a story. “Three commuters forming a W” is a story. Naming it trains you to notice whether light, composition, or moment is doing the heavy lifting for you.
You’ll stop keeping “nearly-pictures” out of sentiment and start building sets that hold together well.
Print small contact sheets (or use Lightroom Library View) and mark only the true keepers.
Looking at a grid reveals patterns in distance, angle, and background. It’s easier to sequence when you can see how pictures talk to each other.


10) Build the three pillars
Treat each pillar like a separate exercise. Spend a day shooting for light alone. Next time, let composition lead - lines, frames within frames, figure-to-ground. Then project purely for moment: gesture, expression, interactions.
Once you’ve felt each in isolation, you’ll recognise when two are present and you need to wait for the third. That’s when pictures start to feel more inevitable. Weddings made this clear to me: a speech has great light and a clean composition, so I wait for the exact beat of laughter to complete the triangle of faces.
In Street Photography, it’s the same. Pillars simplify decisions and remove guesswork from pressing the shutter.
The three pillars of street photography
When in doubt, come back to these. Build pictures around what you can control and what you can anticipate.
Light
Find a patch of good light, place it where it helps the frame, then wait for life to pass through it. Learn how your streets light up across the day.
Composition
Use clean backgrounds, geometry, and separation. Mind the edges. Tiny shifts - a pace left or a slight crouch - can turn “nearly” into “keeper”.
Moment
Watch for gesture and timing. Keep the camera to your eye a fraction longer - the beat after the obvious one is often the picture.
Build on these pillars and, in time, they’ll come together.

11) Look for irony and juxtaposition
The street is full of visual jokes and quiet contrasts: an advert promising perfection beside the mess of daily life, a stern portrait overlooking a burst of laughter, expensive shoes stepping past a puddle of neon.
Juxtaposition adds a second layer to a picture without needing a caption. The tone matters, though. I avoid pictures that abuse. If the joke is at someone’s expense, I usually let it go.
The best ironies feel affectionate, not cruel. Practically, it helps to pre-scan for backgrounds that will do the heavy lifting: posters, signage, mannequins etc., and then wait for a gesture that completes the sentence.
Look for eye-lines, hand shapes, and the direction of movement. Small alignments can help massively.
12) Geometry helps
Architecture is your visual tripod. Use it to hold the frame steady while life moves through. Triangles give tension, curves soften, and rectangles calm everything down.
Frames within frames help isolate a subject in busy scenes. Stand square to your background when you want order; angle yourself when you want energy.
Check the horizon line and verticals by scanning the edges rather than staring at the centre.
If a lamppost grows out of someone’s head, take one pace left or right. If lines merge, crouch a little. These tiny adjustments often turn a “nearly” into a keeper.
When colour or subject matter is weak, geometry can carry the picture. When light is difficult, geometry keeps it readable. It’s an anchor you can always reach for.
13) Avoid overlapping subjects
Separation gives clarity. On busy streets, it is easy for heads, limbs, and street furniture to merge into a stew. Before you press the shutter, scan the frame edges and the key shapes inside it.
If a head sits on a lamp post or two figures fuse into one, take a small step left or right, or drop your height slightly. Those tiny moves create air between subjects, and the story reads immediately.
Think in simple shapes. Two people facing each other make a clean pair. Three people can make a triangle or a W that guides the eye.
If you can see a background line slicing through a face, you will see it even more in the final picture. Move. I do the same at weddings when guests bunch during a speech. One pace gives me the space I need. Clarity is not sterile. It is generous. It lets the viewer understand what mattered.


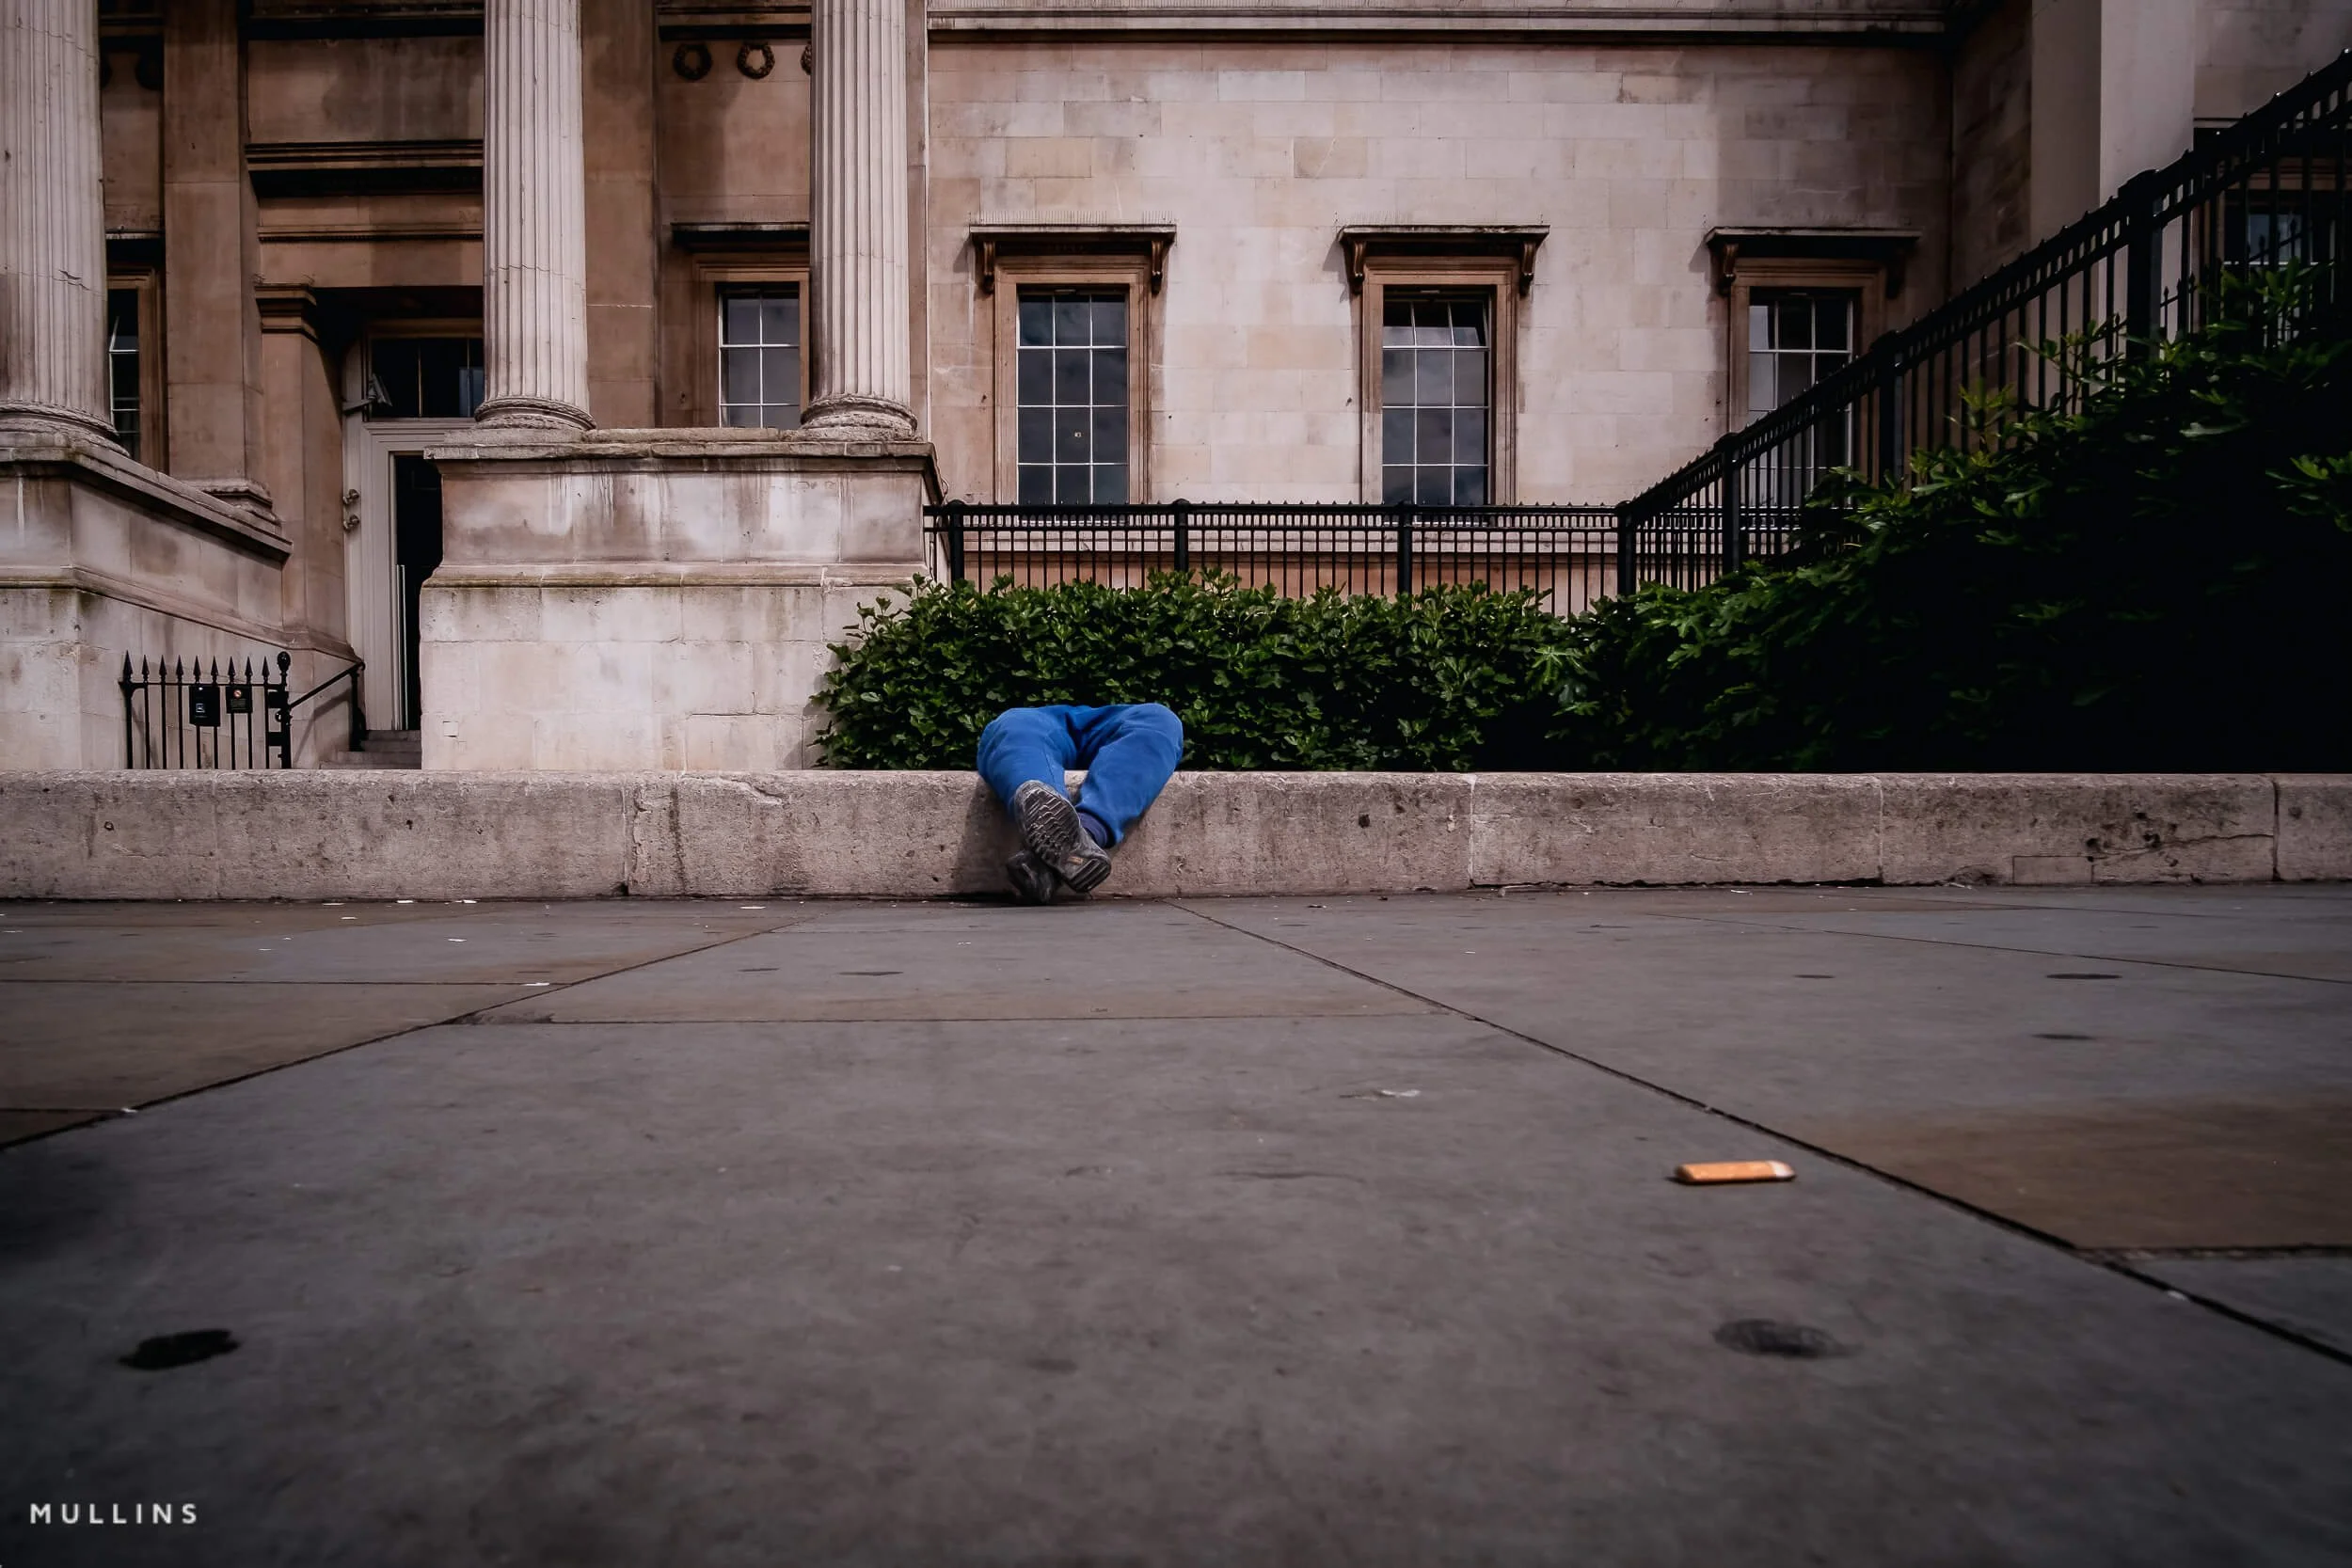
14) Try single-subject isolation
Sometimes the strongest photograph is one person, one gesture, one patch of light. Isolation is not about emptiness. When you choose a single subject, you are asking the viewer to care about a very specific thing.
Work with backgrounds that are plain, dark, or distant, and place your subject where figure meets ground. A longer lens can help, but it is not required.
You can isolate at 28 or 35 by getting closer, lowering your angle, or using the edge of shade.
15) Enjoy it
Street photography should feel like a rewarding walk, not an exam. If you catch yourself tensing up, slow down, breathe, and reset with one simple aim for the next ten minutes. Look for hats. Look for triangles. Look for laughter. Gamify it, and the photographs show it.
Ignore the pressure of social media. A quiet picture that means something to you will matter longer than a loud one that trends for a day.
I remind myself that the archive I am building is mostly for me. That thought lifts the pressure. When I am relaxed, I see more, react better, and make better frames. Enjoyment is not optional. It is the goal.
16) “Street” is just a term
Do not let the label fence you in. Street photography can happen on a bus, in a café, at the seaside, or in a quiet arcade.
People are optional. Light, gesture, and place are enough. The point is to notice daily life and make something simple and honest from it.
Thinking this way opens more opportunities. If the weather is foul, work under a station canopy and use the reflections. At weddings, I often borrow street habits in corridors, kitchens, and car parks. The same eyes work everywhere.


17) Background first
Most beginners chase subjects. Try flipping that. Choose a background that would make a picture even if nobody walked through it, then wait. A clean wall with one strong line. A patch of light with a crisp edge. A poster that suggests something interesting. Compose for that, then let life pass. You will be surprised how quickly a gesture arrives to complete the scene.
This habit removes panic. You are not hunting. You are observing and documenting the world as it happens.

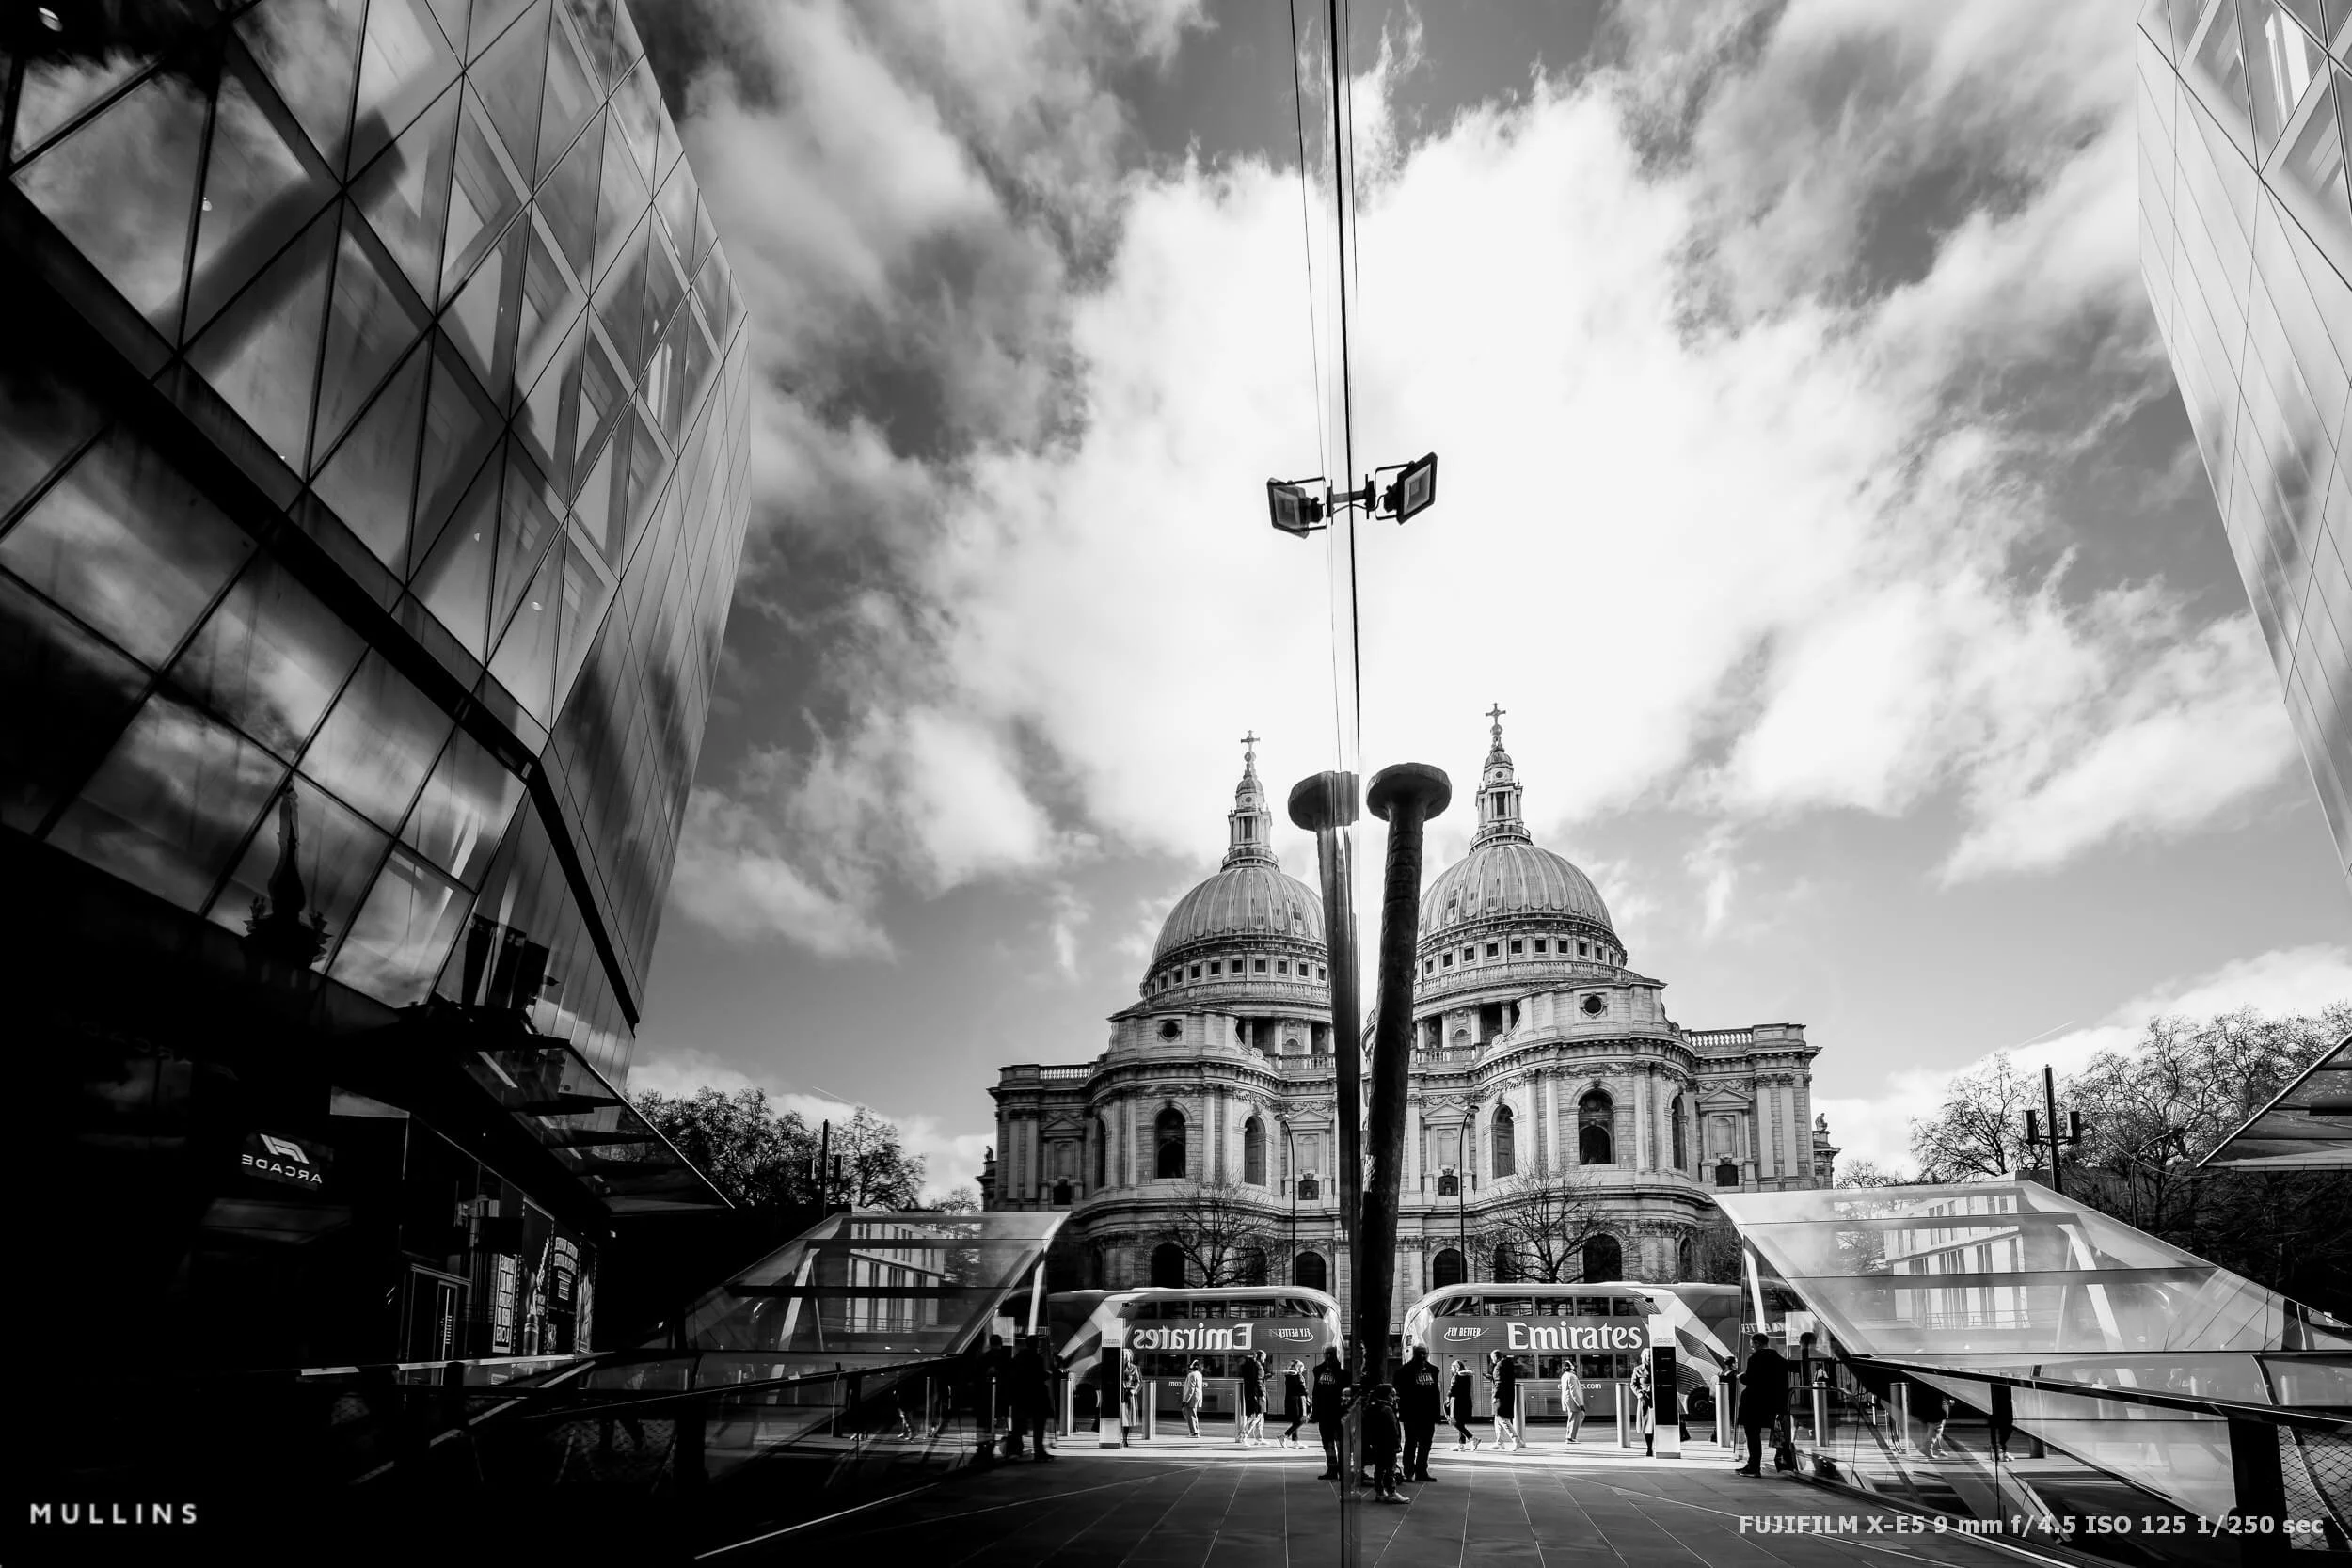
18) Use reflections and glass
Glass gives you two realities at once: what is behind it and what bounces off it. Windows, bus shelters, phone screens, polished stone, even a puddle after rain. Angle yourself until the layers separate into readable planes. A small tilt changes everything. Watch for key faces to sit cleanly, and for strong shapes to anchor each plane.
Expose for the highlights so the reflected world does not blow out. If the inside scene is too dim, wait for a brighter figure to walk by, or shift so a lighter bit of sky reflects into the glass. In Street Photography, reflections turn a plain shop front into a world of its own.
19) Don’t chimp every frame
A quick glance now and then is fine, especially to check exposure. But constant reviewing breaks attention. The next picture is already forming while you are looking down. Keep your head up and your camera ready.
Trust your process. Set exposure with intention, work your background, and wait for the moment. I find that my hit rate rises when I stay in the scene longer. The edit is where you judge your work, not the pavement.
20) Learn your camera blind
The less you think about the camera, the more you see. Map exposure compensation, ISO, and focus mode to buttons you can find by touch. Practise at home changing them without taking your eye from the finder. Run small drills: set ISO 1600, switch to single point, increase exposure one stop. Repeat until it is boring.
Build a simple, repeatable setup that suits how you shoot. For me, street and weddings both demand speed, so I keep AF behaviour, aperture, and minimum shutter speeds in muscle memory. When settings become natural, your attention stays outside the camera where the picture is.
It is also what makes shooting calm and enjoyable.
Simple Exercises To Help You Start Street Photography
Three simple exercises to build momentum
Short, focused drills that build timing, confidence, and a reliable editing eye.
-
One patch of light
Find a single patch of light and commit to it for 15 minutes. Compose the background first, then wait for characters to pass through. Time your shutter to the step or gesture that completes the shape you’ve built.
-
The 36-frame roll
Limit yourself to 36 frames. Slow down, pre-visualise, and press with intent. Review as a contact sheet and mark only the five that carry a clear story. Ask which pillar led each keeper.
-
Theme hunt
Pick a theme like reflections, hats or shadows. Shoot only that for an hour. Constraints train your attention and make editing decisions obvious.
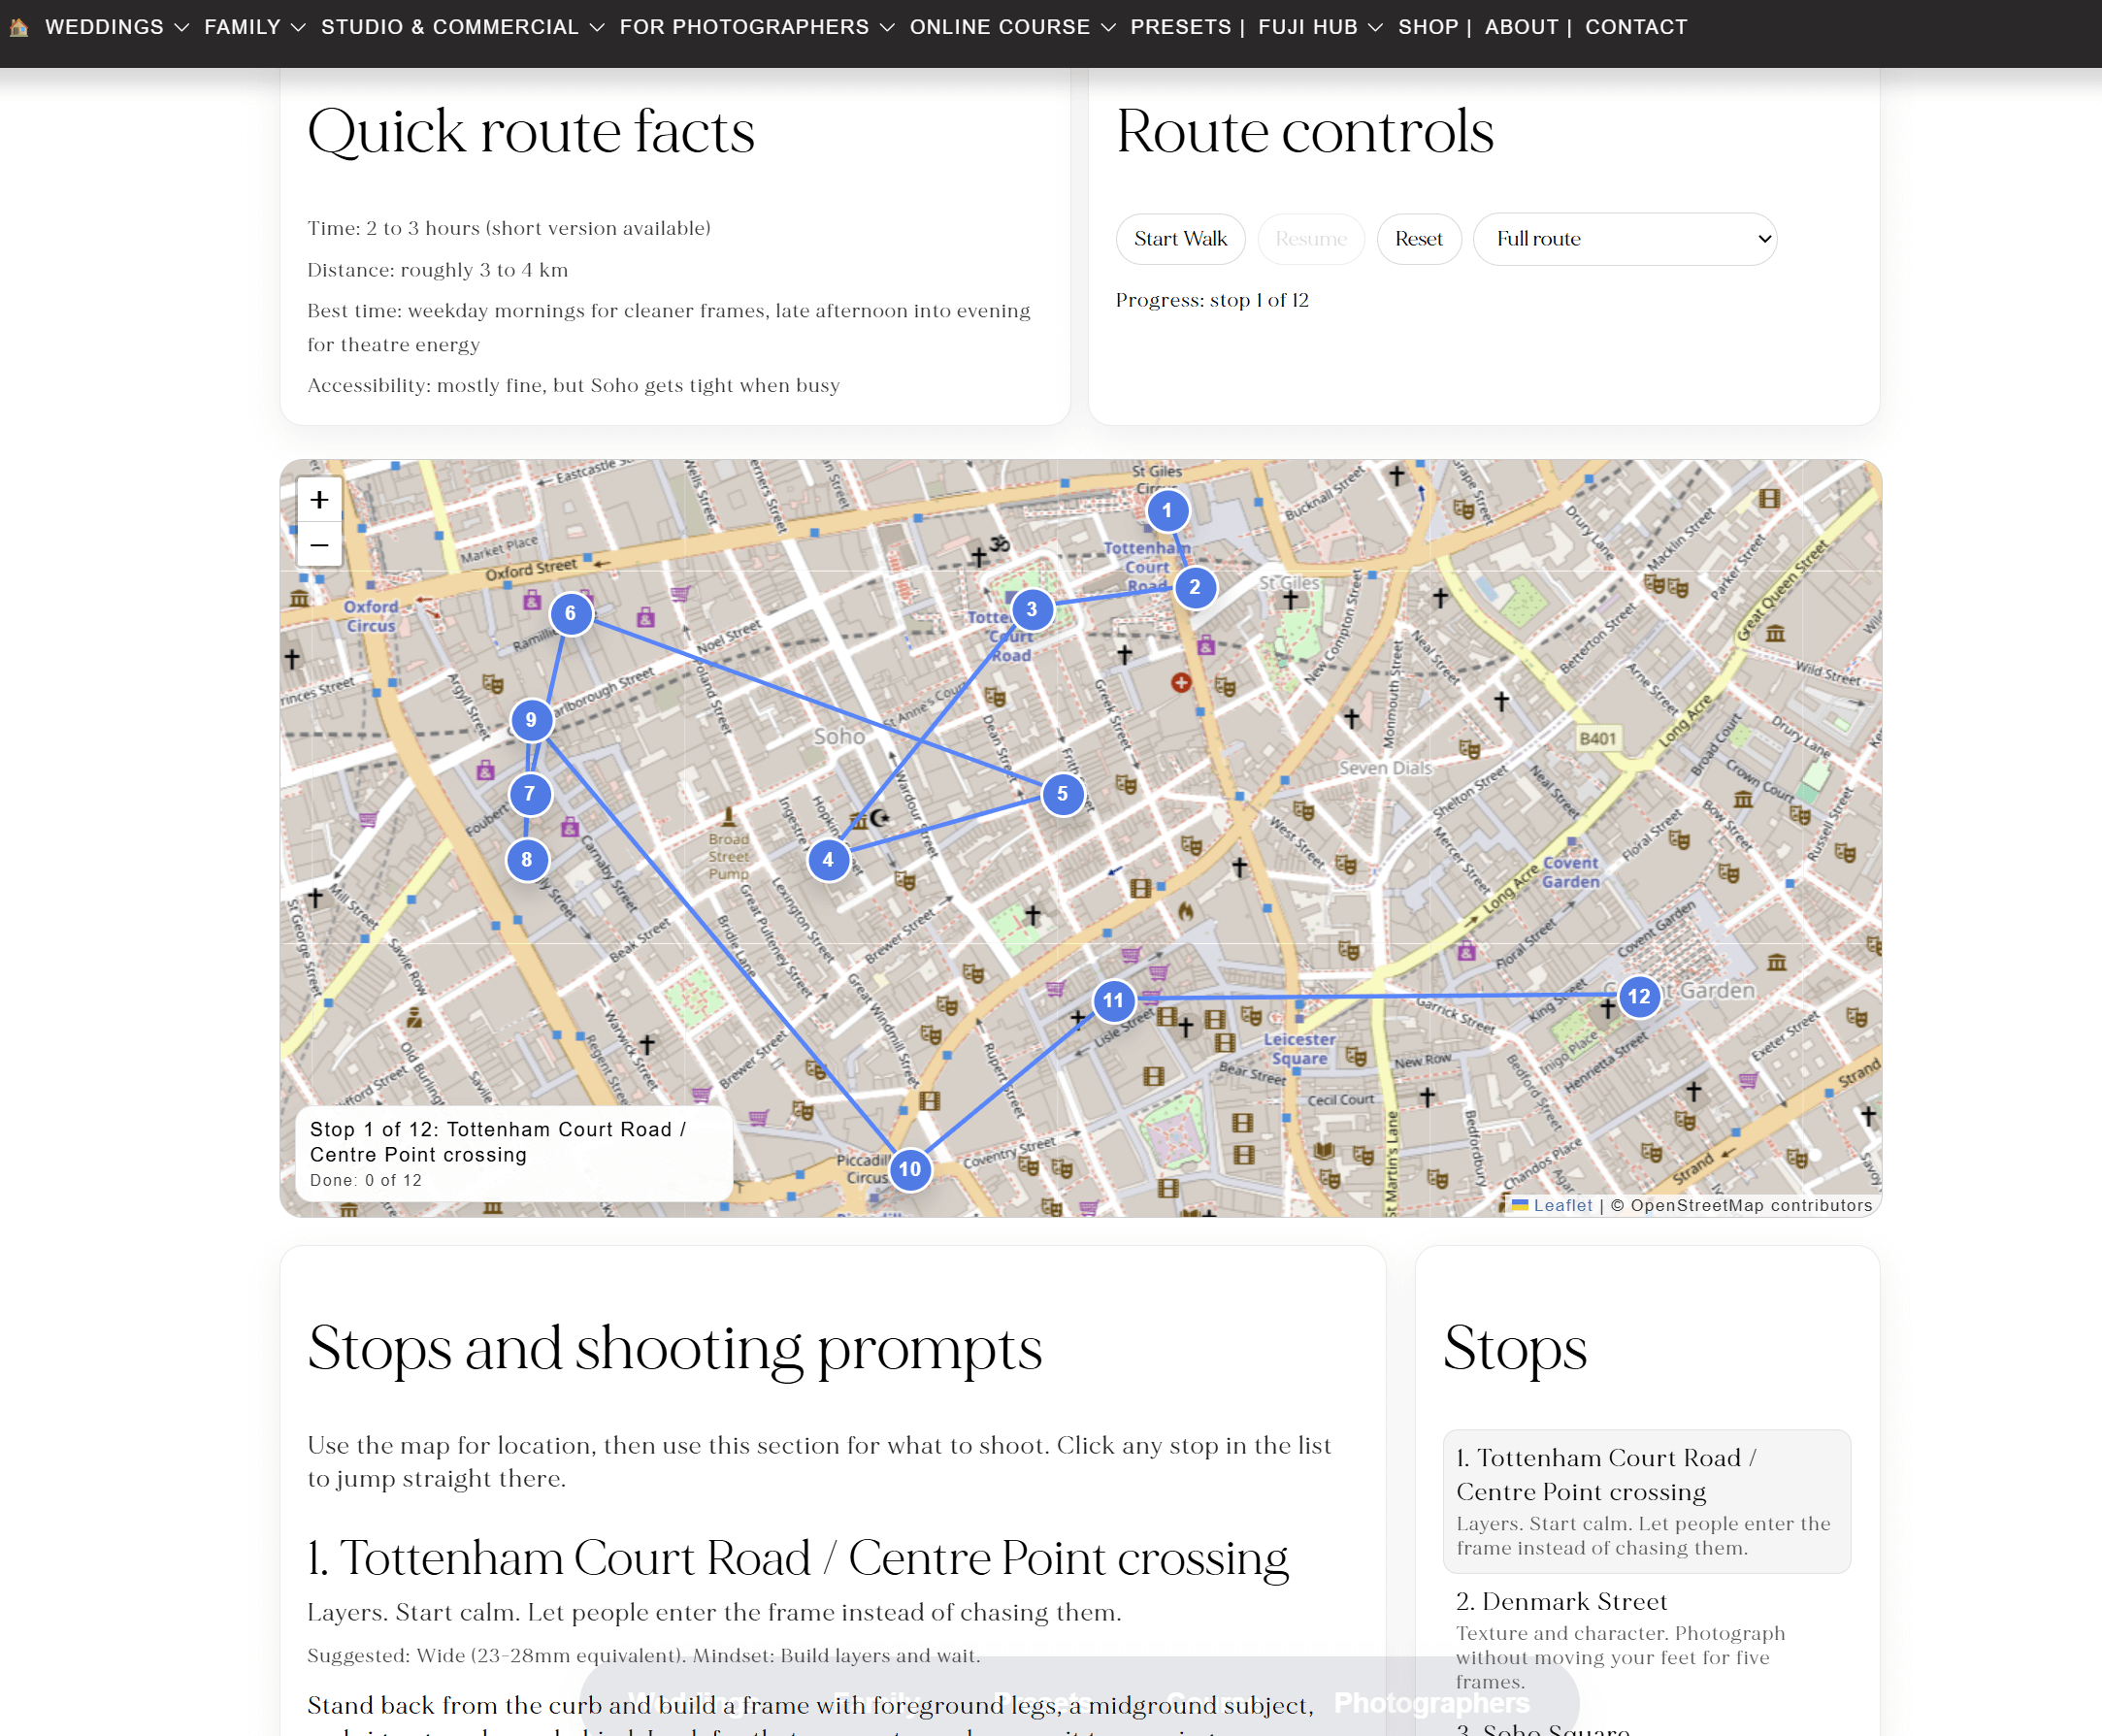
Prefer to see all upcoming dates? Visit the workshop calendar.
Edit like this with my Lightroom Presets
Natural colour, rich monochrome and a consistent finish across a full set. Built for speed and subtlety.
New here? You can always start with one pack and build from there.

Some More of my Street Photography


More street photography reads
If you’re enjoying this, here are more pieces from my street archive - practical guides, walk notes, and thoughts on light, composition and timing. Dip in anywhere.