Practical exercises to develop your eye for colour, light, composition and storytelling, with photographs to show what to look for.
It’s easy to spend an hour walking with a camera and come home wondering what you actually saw. You photographed a few people, found some decent light and perhaps made a picture you quite like. But you’re unsure what to work on next.
A simple street photography exercise gives that walk a purpose.
Looking for one colour makes you more aware of the background around it.
Watching the gaps between people changes when you press the shutter.
Paying attention to sound can reveal activity you had barely noticed.
When I set an exercise in my street photography workshops, I want it to change what you notice. The photograph matters, of course, but so does understanding why you stopped, where you stood and what made you take it.
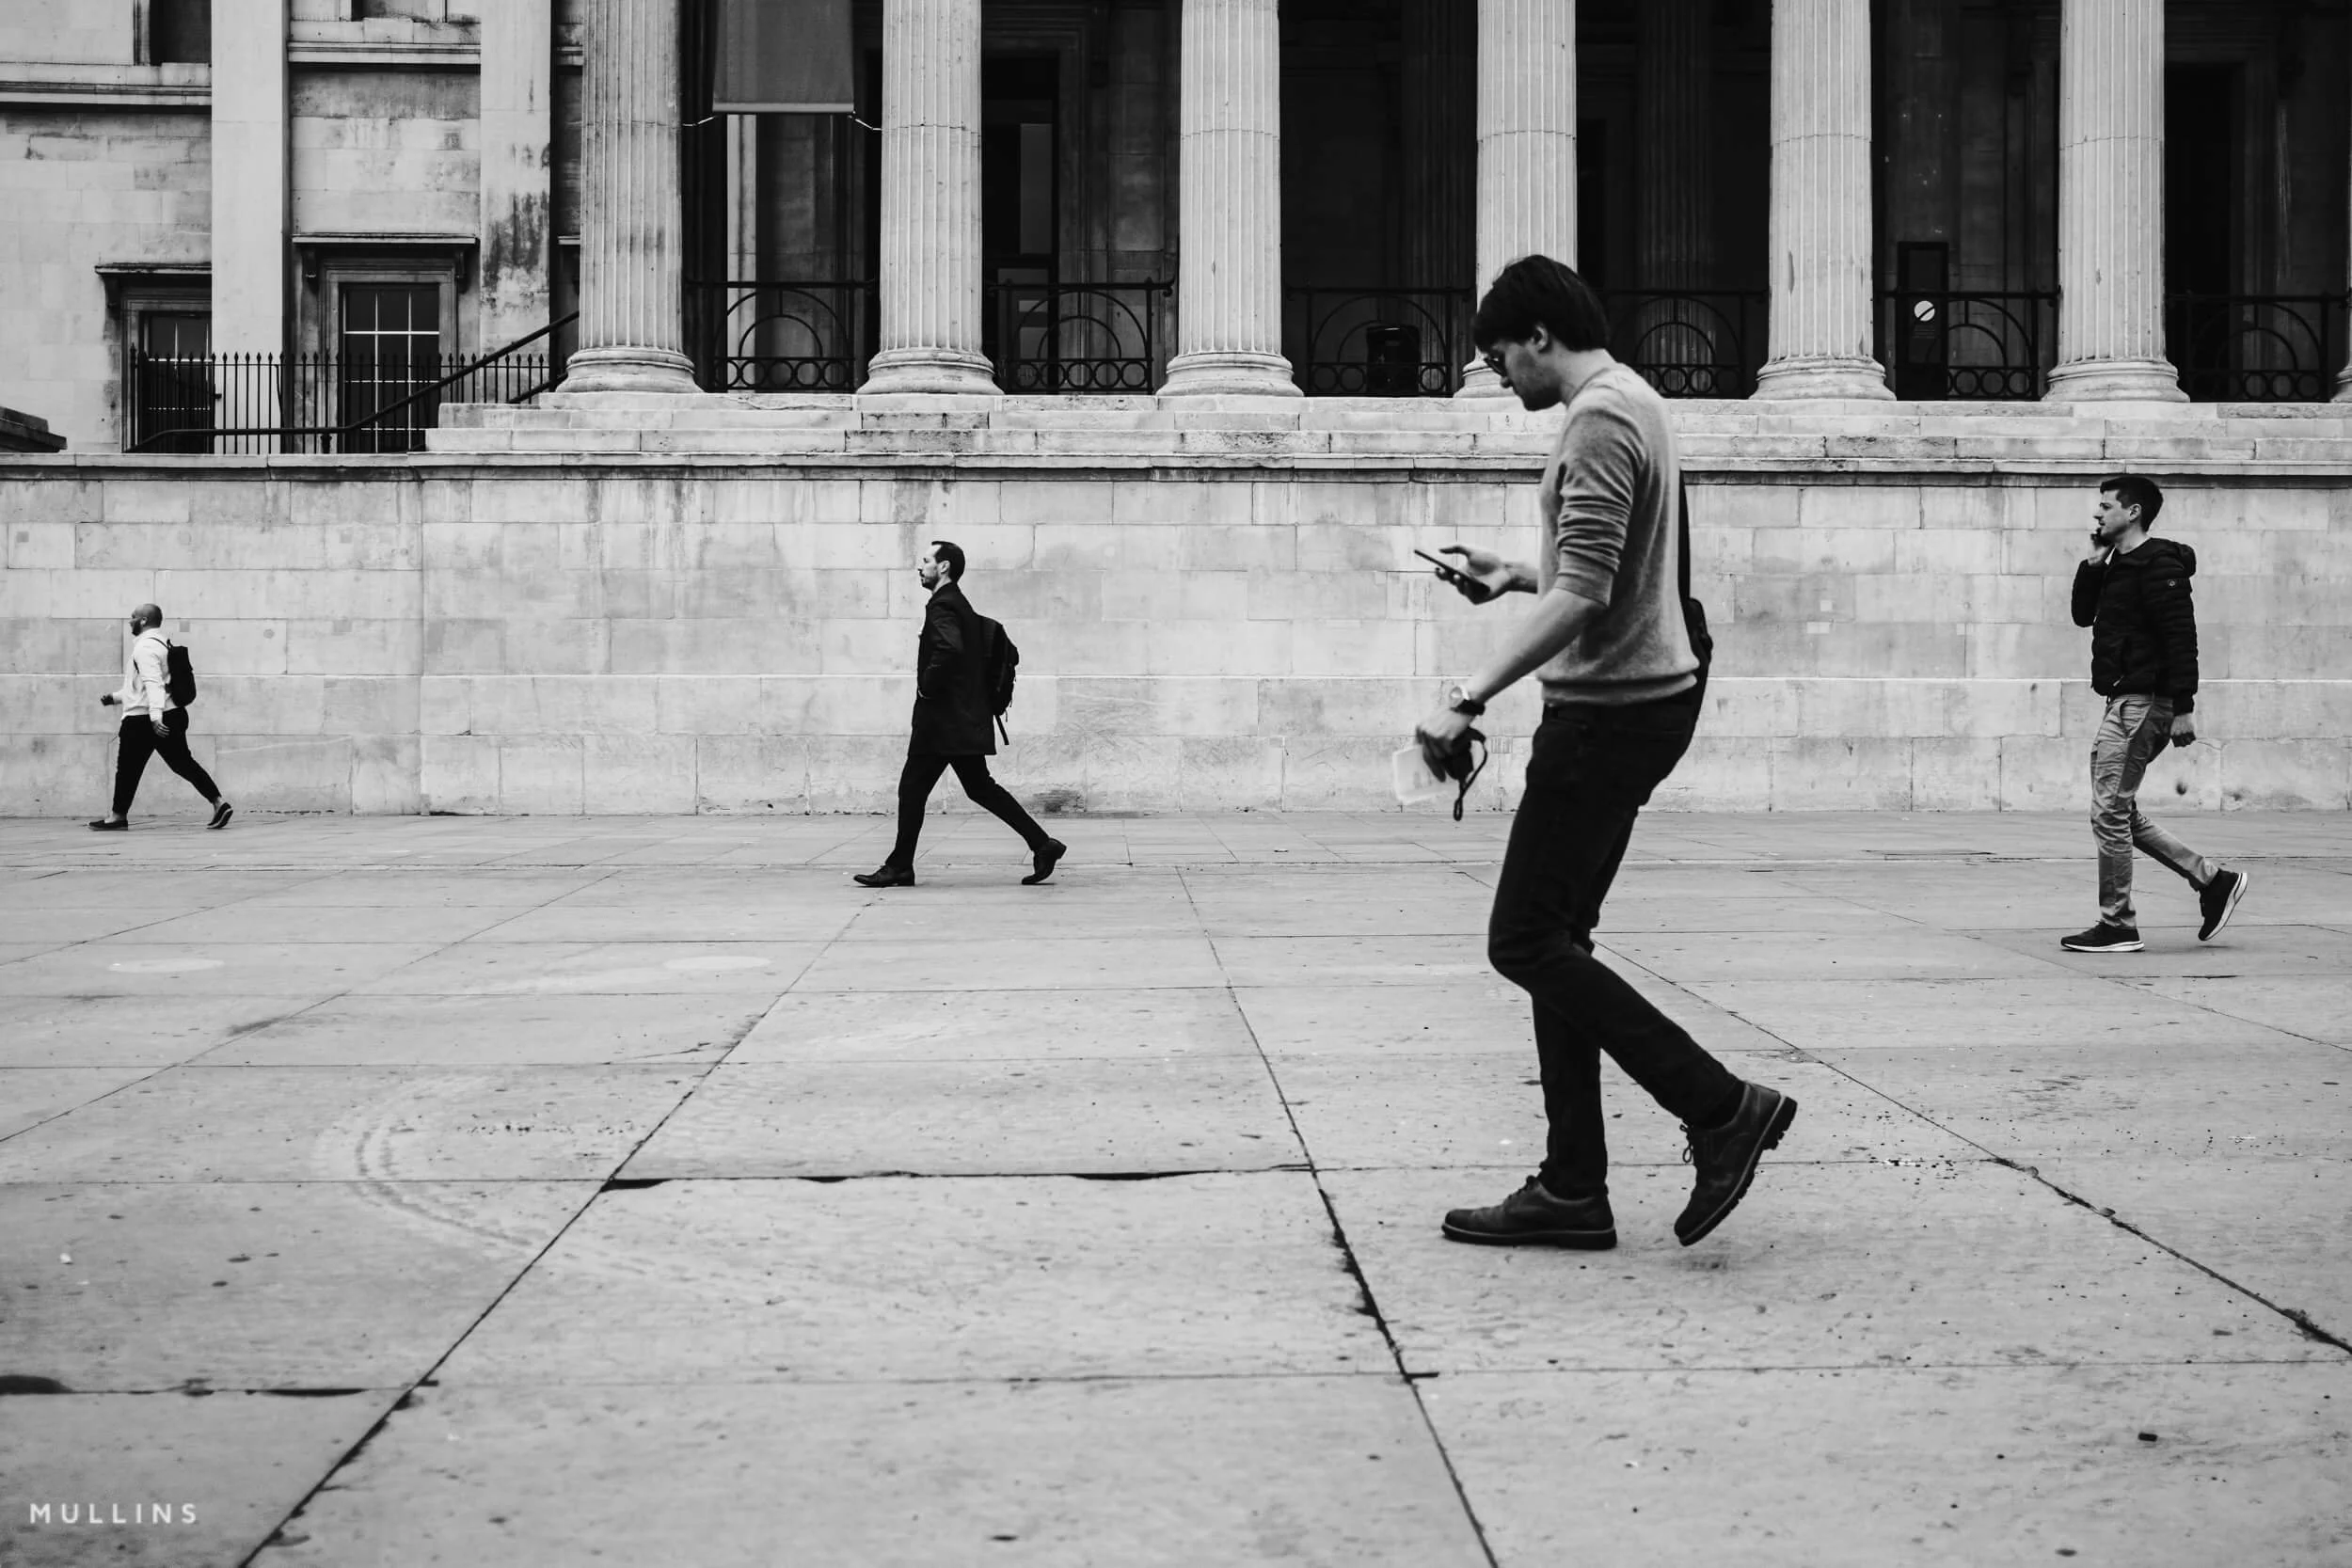
Look at the photograph above. The people occupy different parts of the pavement, with clear spaces between them. Their changing size gives a sense of depth, while the columns provide a repeating background. There is plenty to study in an everyday scene.
The eight exercises below give you different ways into that process. Some concentrate on the arrangement of the frame; others encourage you to think about light, movement or the story of a place.
You should try them with the camera you already have, on a route you know well.
How to use these exercises
Choose one thing to practise: give yourself a clear brief for the next part of your walk. Leave yourself enough attention to notice what happens around it.
Start with twenty minutes: one short street or a familiar corner can give you plenty to work with. Stay longer if something begins to develop.
Look through the photographs afterwards: ask what you noticed, which pictures communicate it clearly and what you would change next time.
Return and repeat: try the same exercise on another day. Different light, people and activity will give you fresh decisions to make.
1. Start with one colour
Choose one colour and spend twenty minutes looking for it. I often begin with red, but blue or yellow works just as well. Giving yourself something specific to find helps you become more attentive to what is already around you.
The next step is to make that colour contribute to the photograph. Notice what surrounds it, where it sits in the frame and whether it connects with anything else. A red coat might catch your attention; the relationship between that coat, its wearer and the background gives you more to work with.
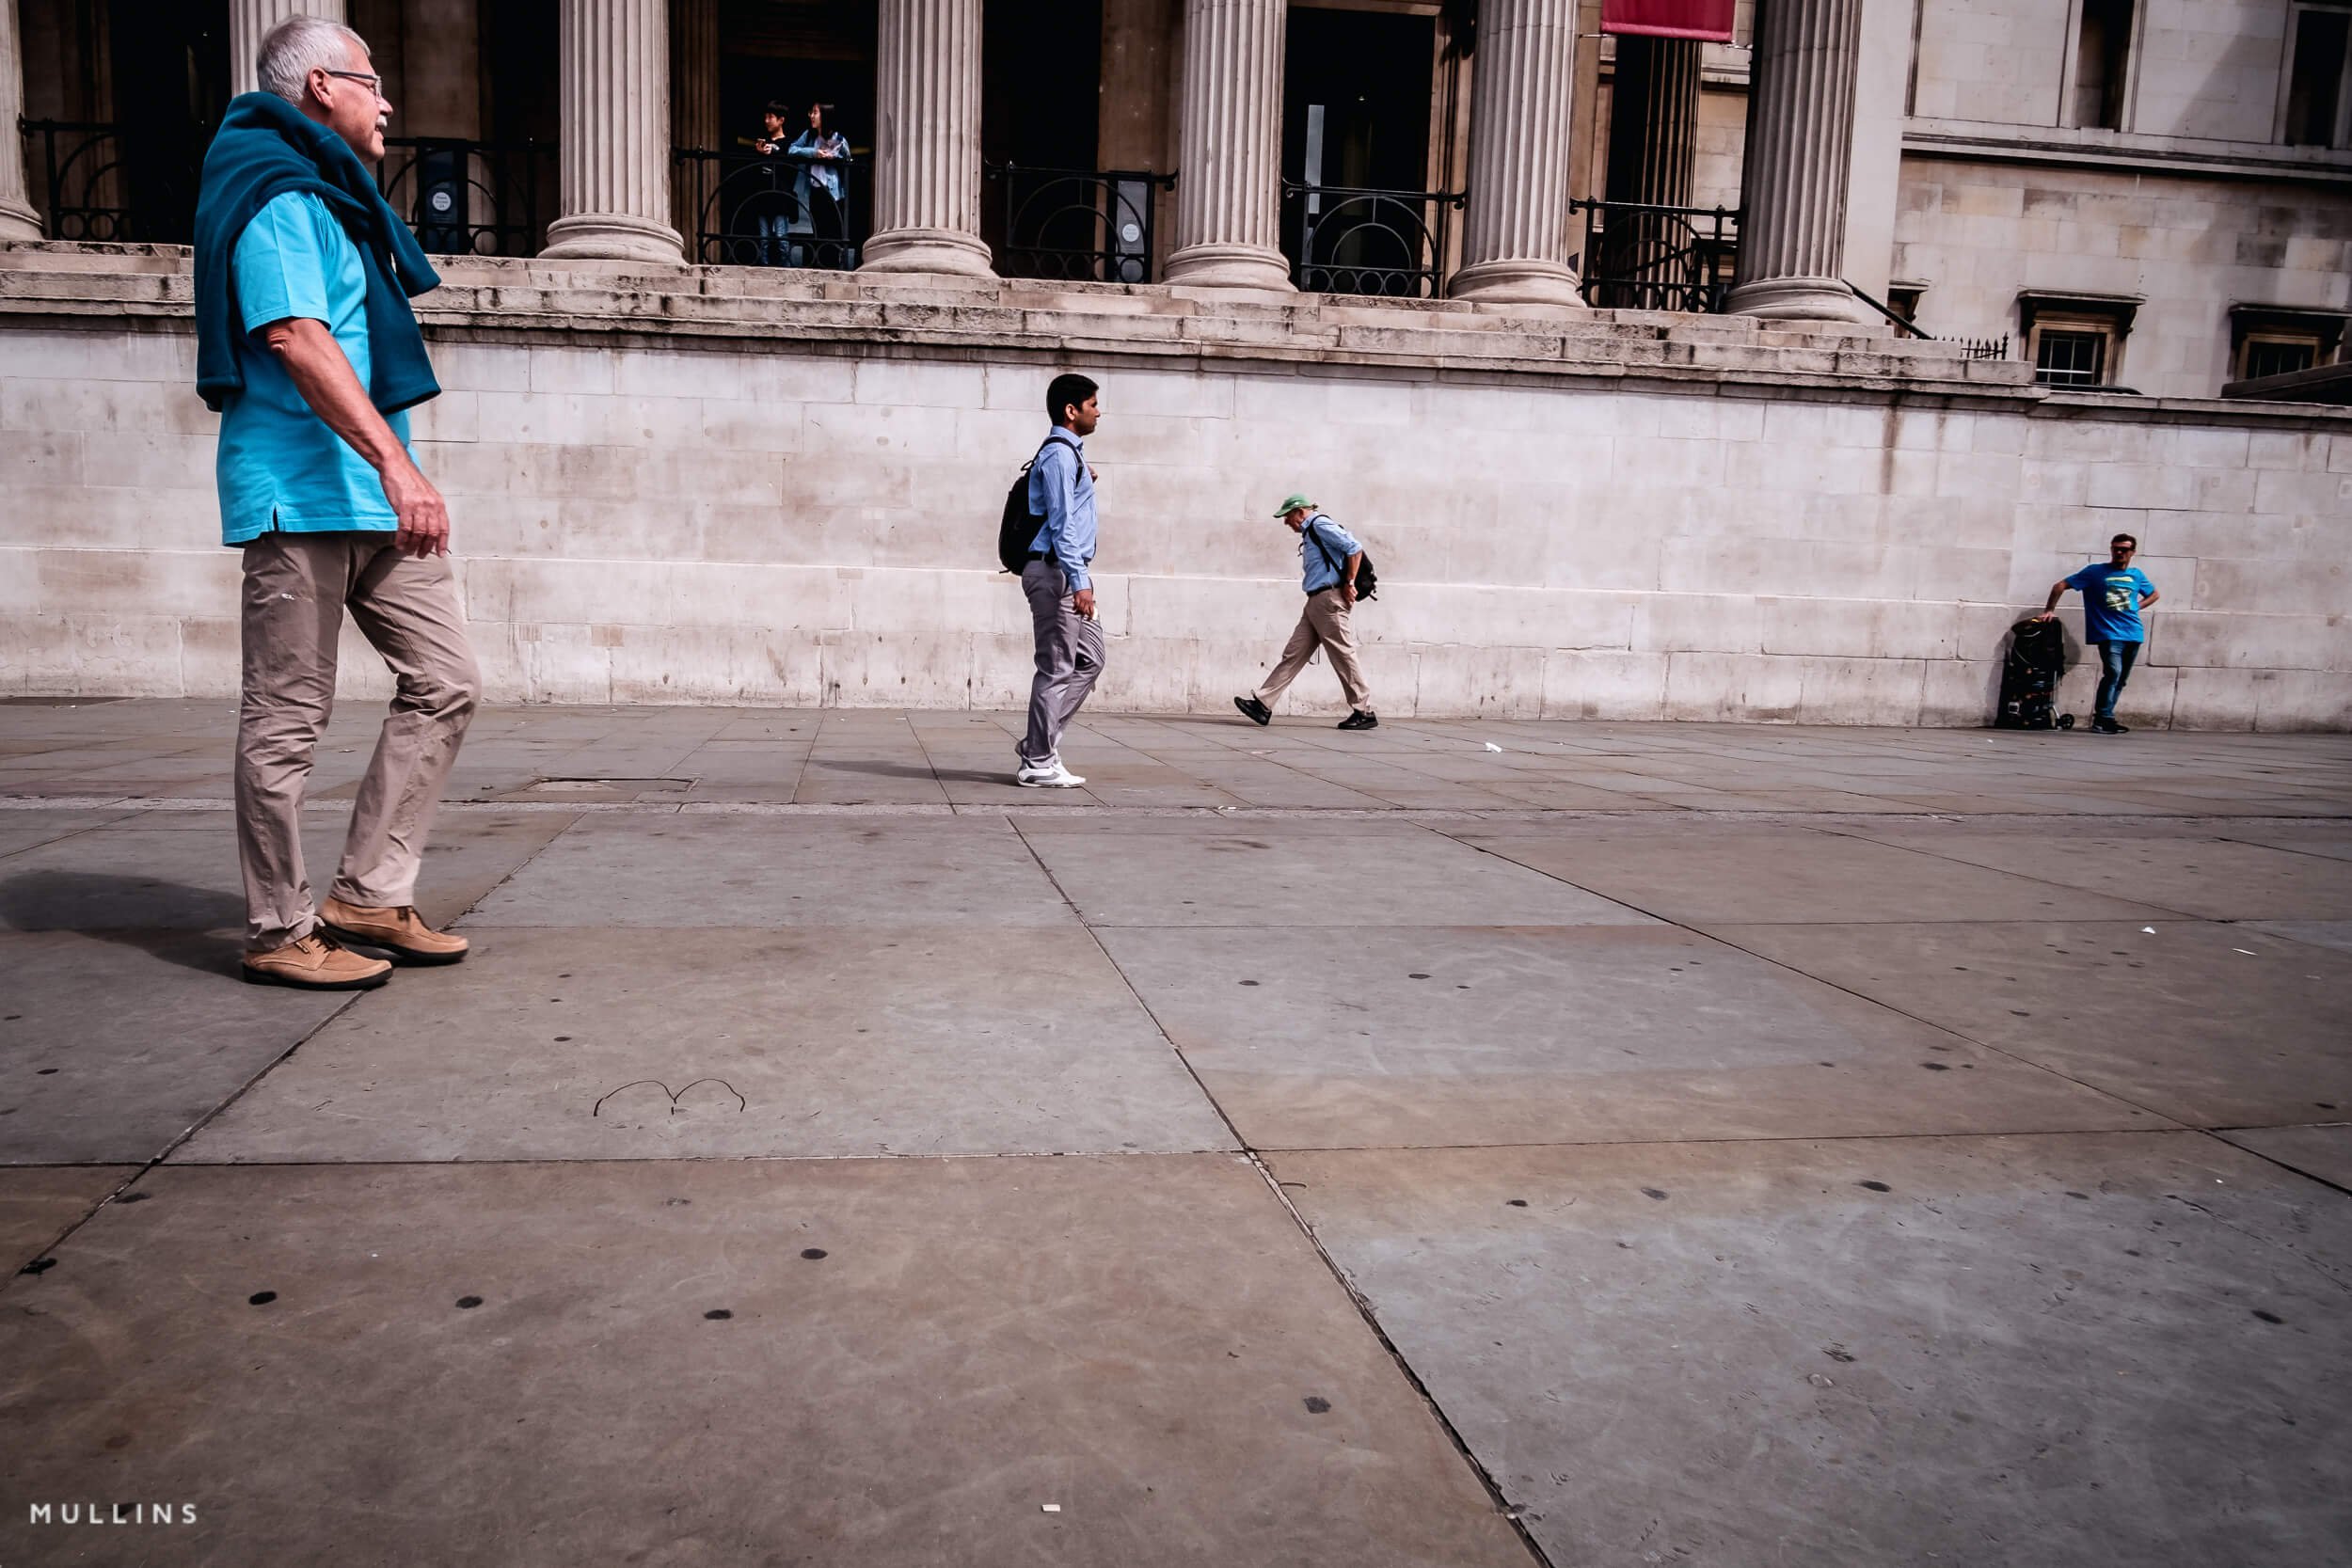
Blue repeats across the frame, linking people at different distances against the subdued stone background.
In this photograph, the large turquoise shirt on the left is the most obvious patch of colour. Look further across the frame, and you find smaller areas of blue in the middle and on the far right. Those repetitions give the eye somewhere to travel. The relatively quiet stone background helps the colours register.
Try covering the figure on the far right with your hand. Notice how removing that small patch of blue changes the balance of the photograph.
Try it
Take a short walk looking for red. Aim to make three different photographs: one where a small patch attracts attention, one where the colour repeats, and one where it forms part of an interesting gesture or interaction.
If you find a promising background, stay for a few minutes. Watch how the picture changes as people pass through it.
Why is this useful?
Colour can help organise a busy scene. A repeated colour can connect people who are physically apart; a single bright patch can direct attention towards a small detail.
Practising this makes you more aware of the whole frame. You begin to notice competing colours, distracting signs and backgrounds that weaken your subject. These are useful decisions whenever you photograph people, whether you are on the street, travelling or documenting family life.
When you look through the photographs
Ask yourself whether the colour helps hold the picture together. Is there enough happening around it to sustain your interest? Which photograph would you still want to keep once the exercise was over?
For more examples, have a look at my earlier post on street photography themes and the colour red.
2. Give the background a job
An interesting subject can be difficult to read when everything behind them is competing for attention. A bright sign, a passing car or a pole appearing to grow out of someone’s head can draw the eye away from the detail that made you stop.
For this exercise, choose your background first. Look for a tone, shape or area of light that will help a person stand out.
Then watch what happens as people enter the frame.
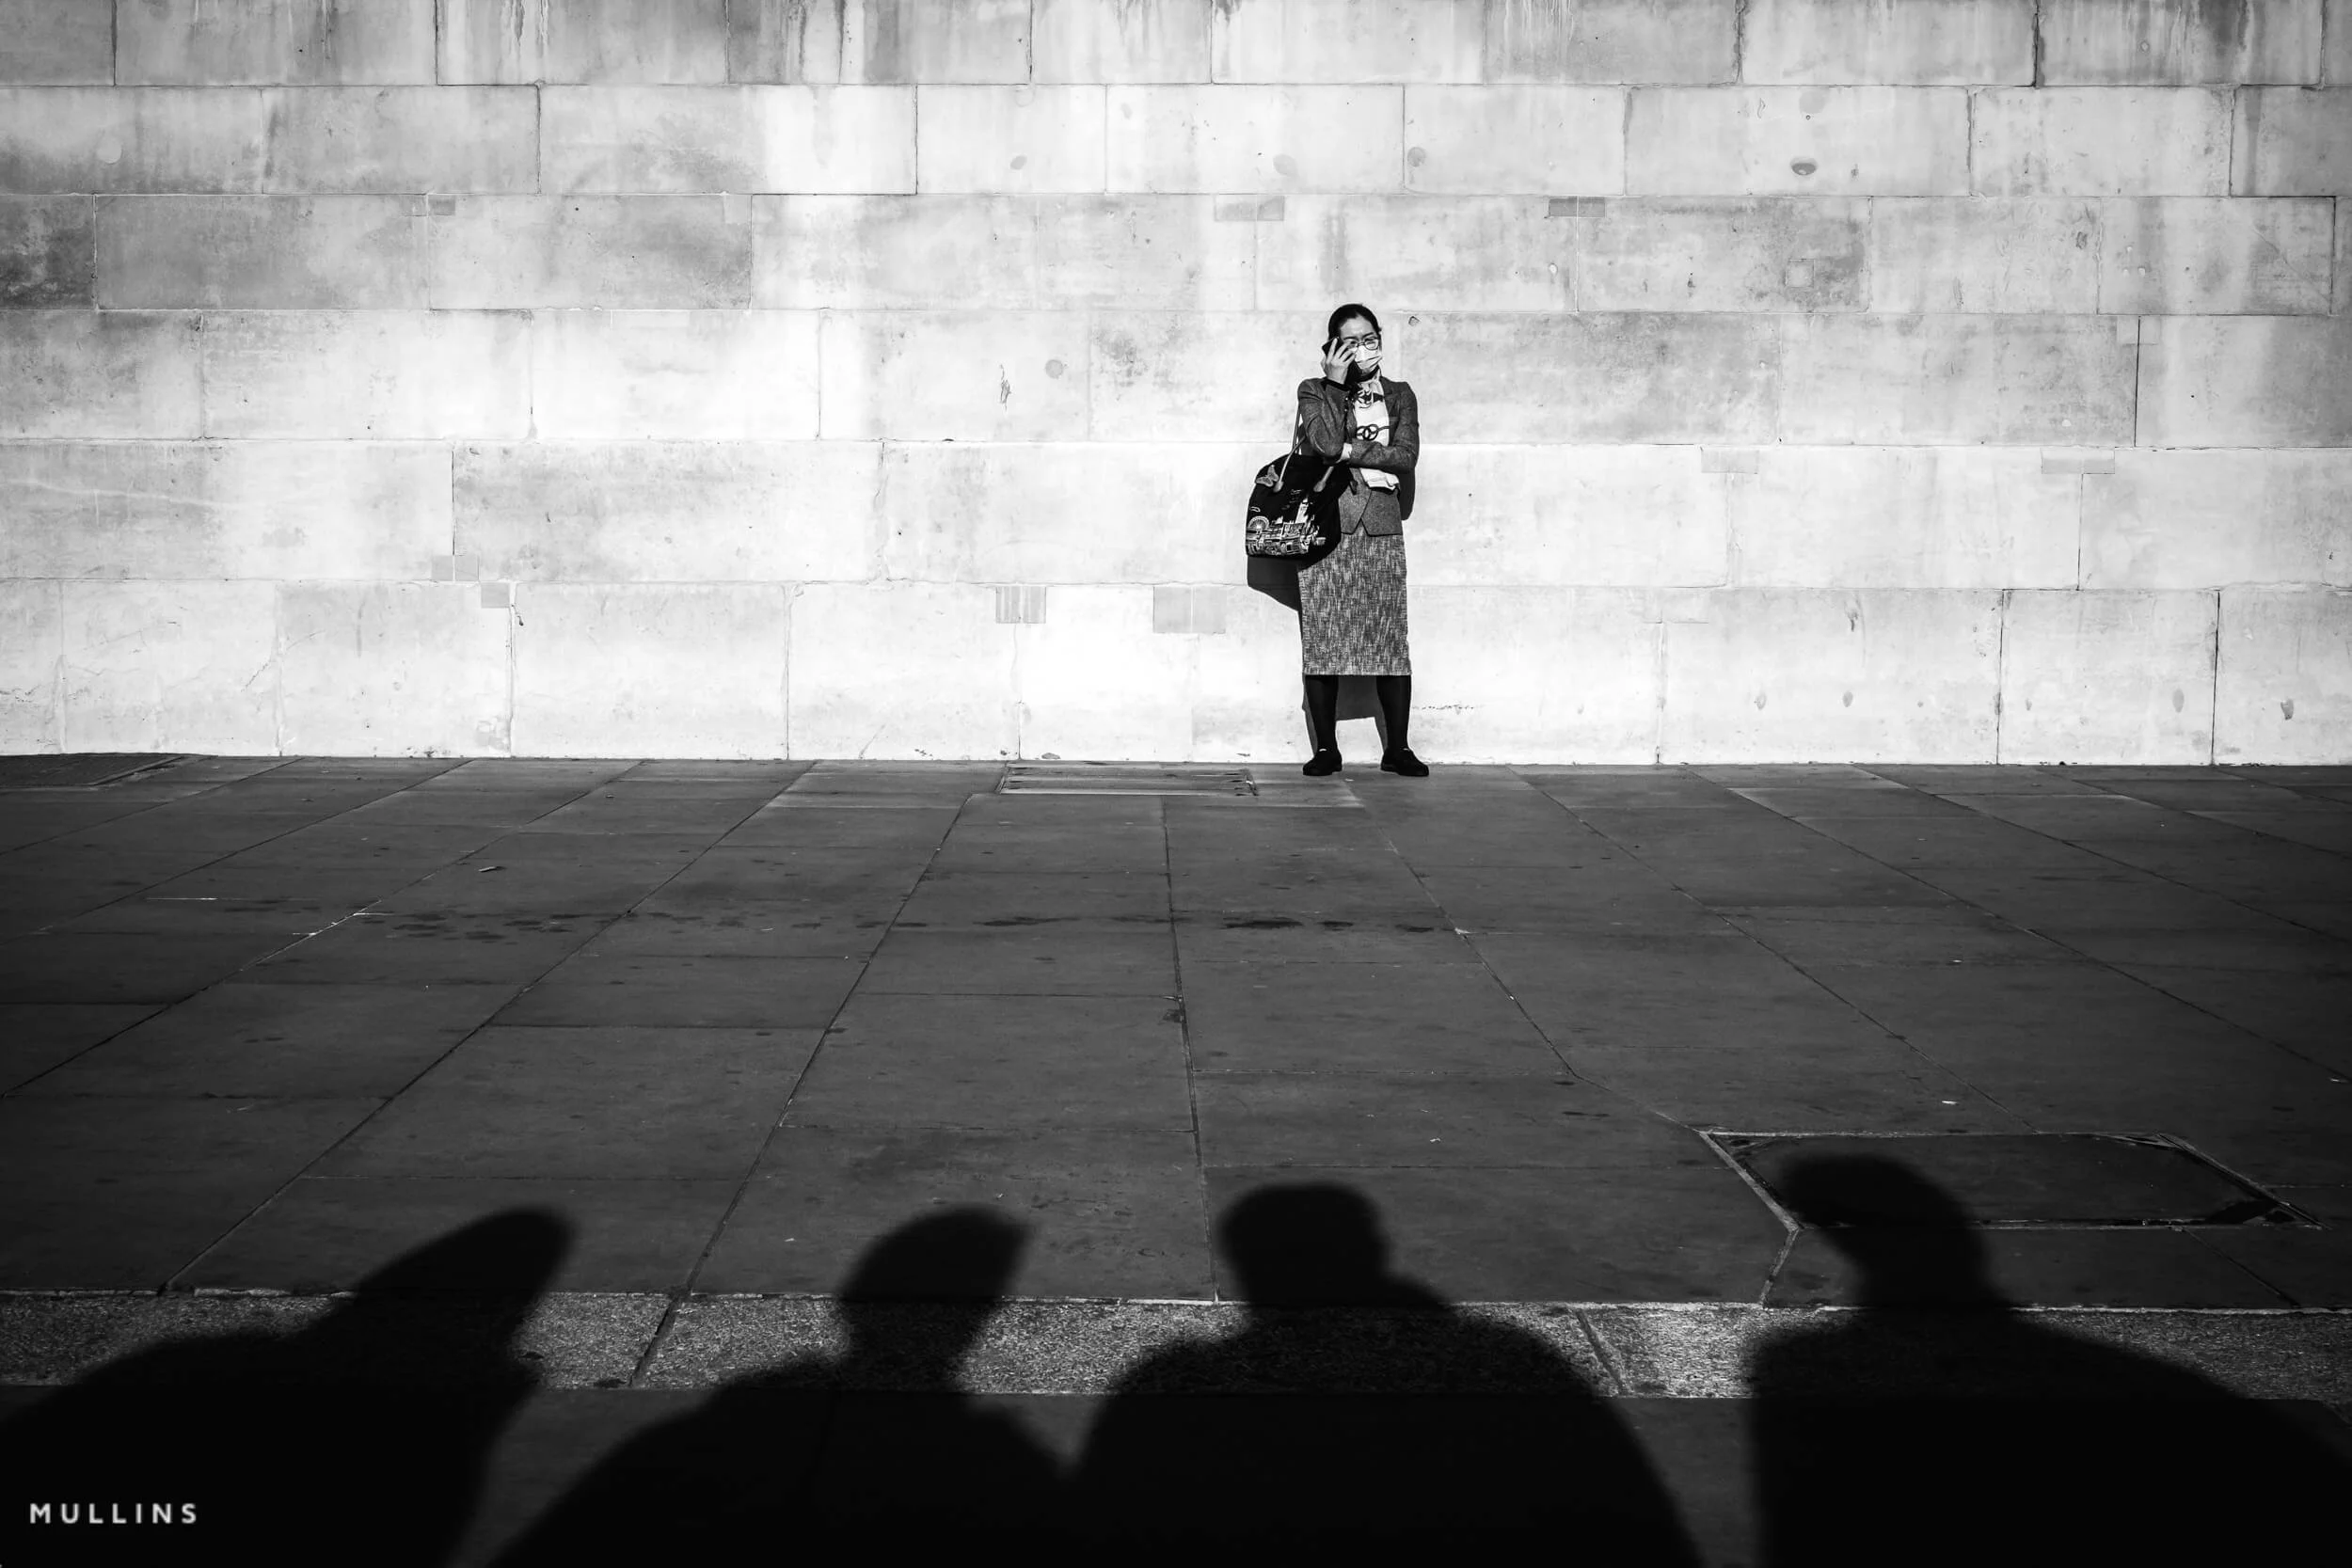
The pale wall makes the figure easy to read, while the shadows introduce another element along the bottom of the frame.
In this photograph, the dark clothing stands clearly against the pale stone of the National Portrait Gallery. The wall has texture and lines, but relatively little to distract from the figure and the hand raised towards the face.
The shadows across the foreground add another point of interest. There is room for both elements to register because the area around the standing figure is so clear.
Try it
Find a background with a useful tone or shape: a shaded shopfront, a painted wall or a doorway. Frame it, then spend a few minutes watching how people move through the space.
Before each photograph, look behind the person and around the edges. Check for awkward intersections, bright patches and fragments of other people entering the picture. A small step sideways or a change in camera height can alter those relationships considerably.
Where possible, photograph the scene from three nearby positions. Compare how much the background changes.
Why is this useful?
This exercise encourages you to consider the whole photograph while you are making it. You begin to anticipate where a subject will stand out and which parts of a scene deserve to remain visible.
A shop sign might explain where you are. Another person might add an interaction. Keep the details that contribute to the picture, and use your position and timing to manage those that distract.
With practice, you become quicker at recognising a promising setting. That gives you more attention for a gesture, expression or moment as it develops.
When you look through the photographs
Where does your eye go first? Which background details help you understand the scene? Could you have made the subject clearer by moving slightly or waiting another moment?
3. See the light in monochrome
For this exercise, set your camera to monochrome and select spot metering. Use an electronic viewfinder or live view with exposure preview, where available, so you can watch the tones change as you adjust the exposure.
Taking colour out of the equation helps you concentrate on where the light falls, how quickly it fades and which shapes remain visible in the shadows.
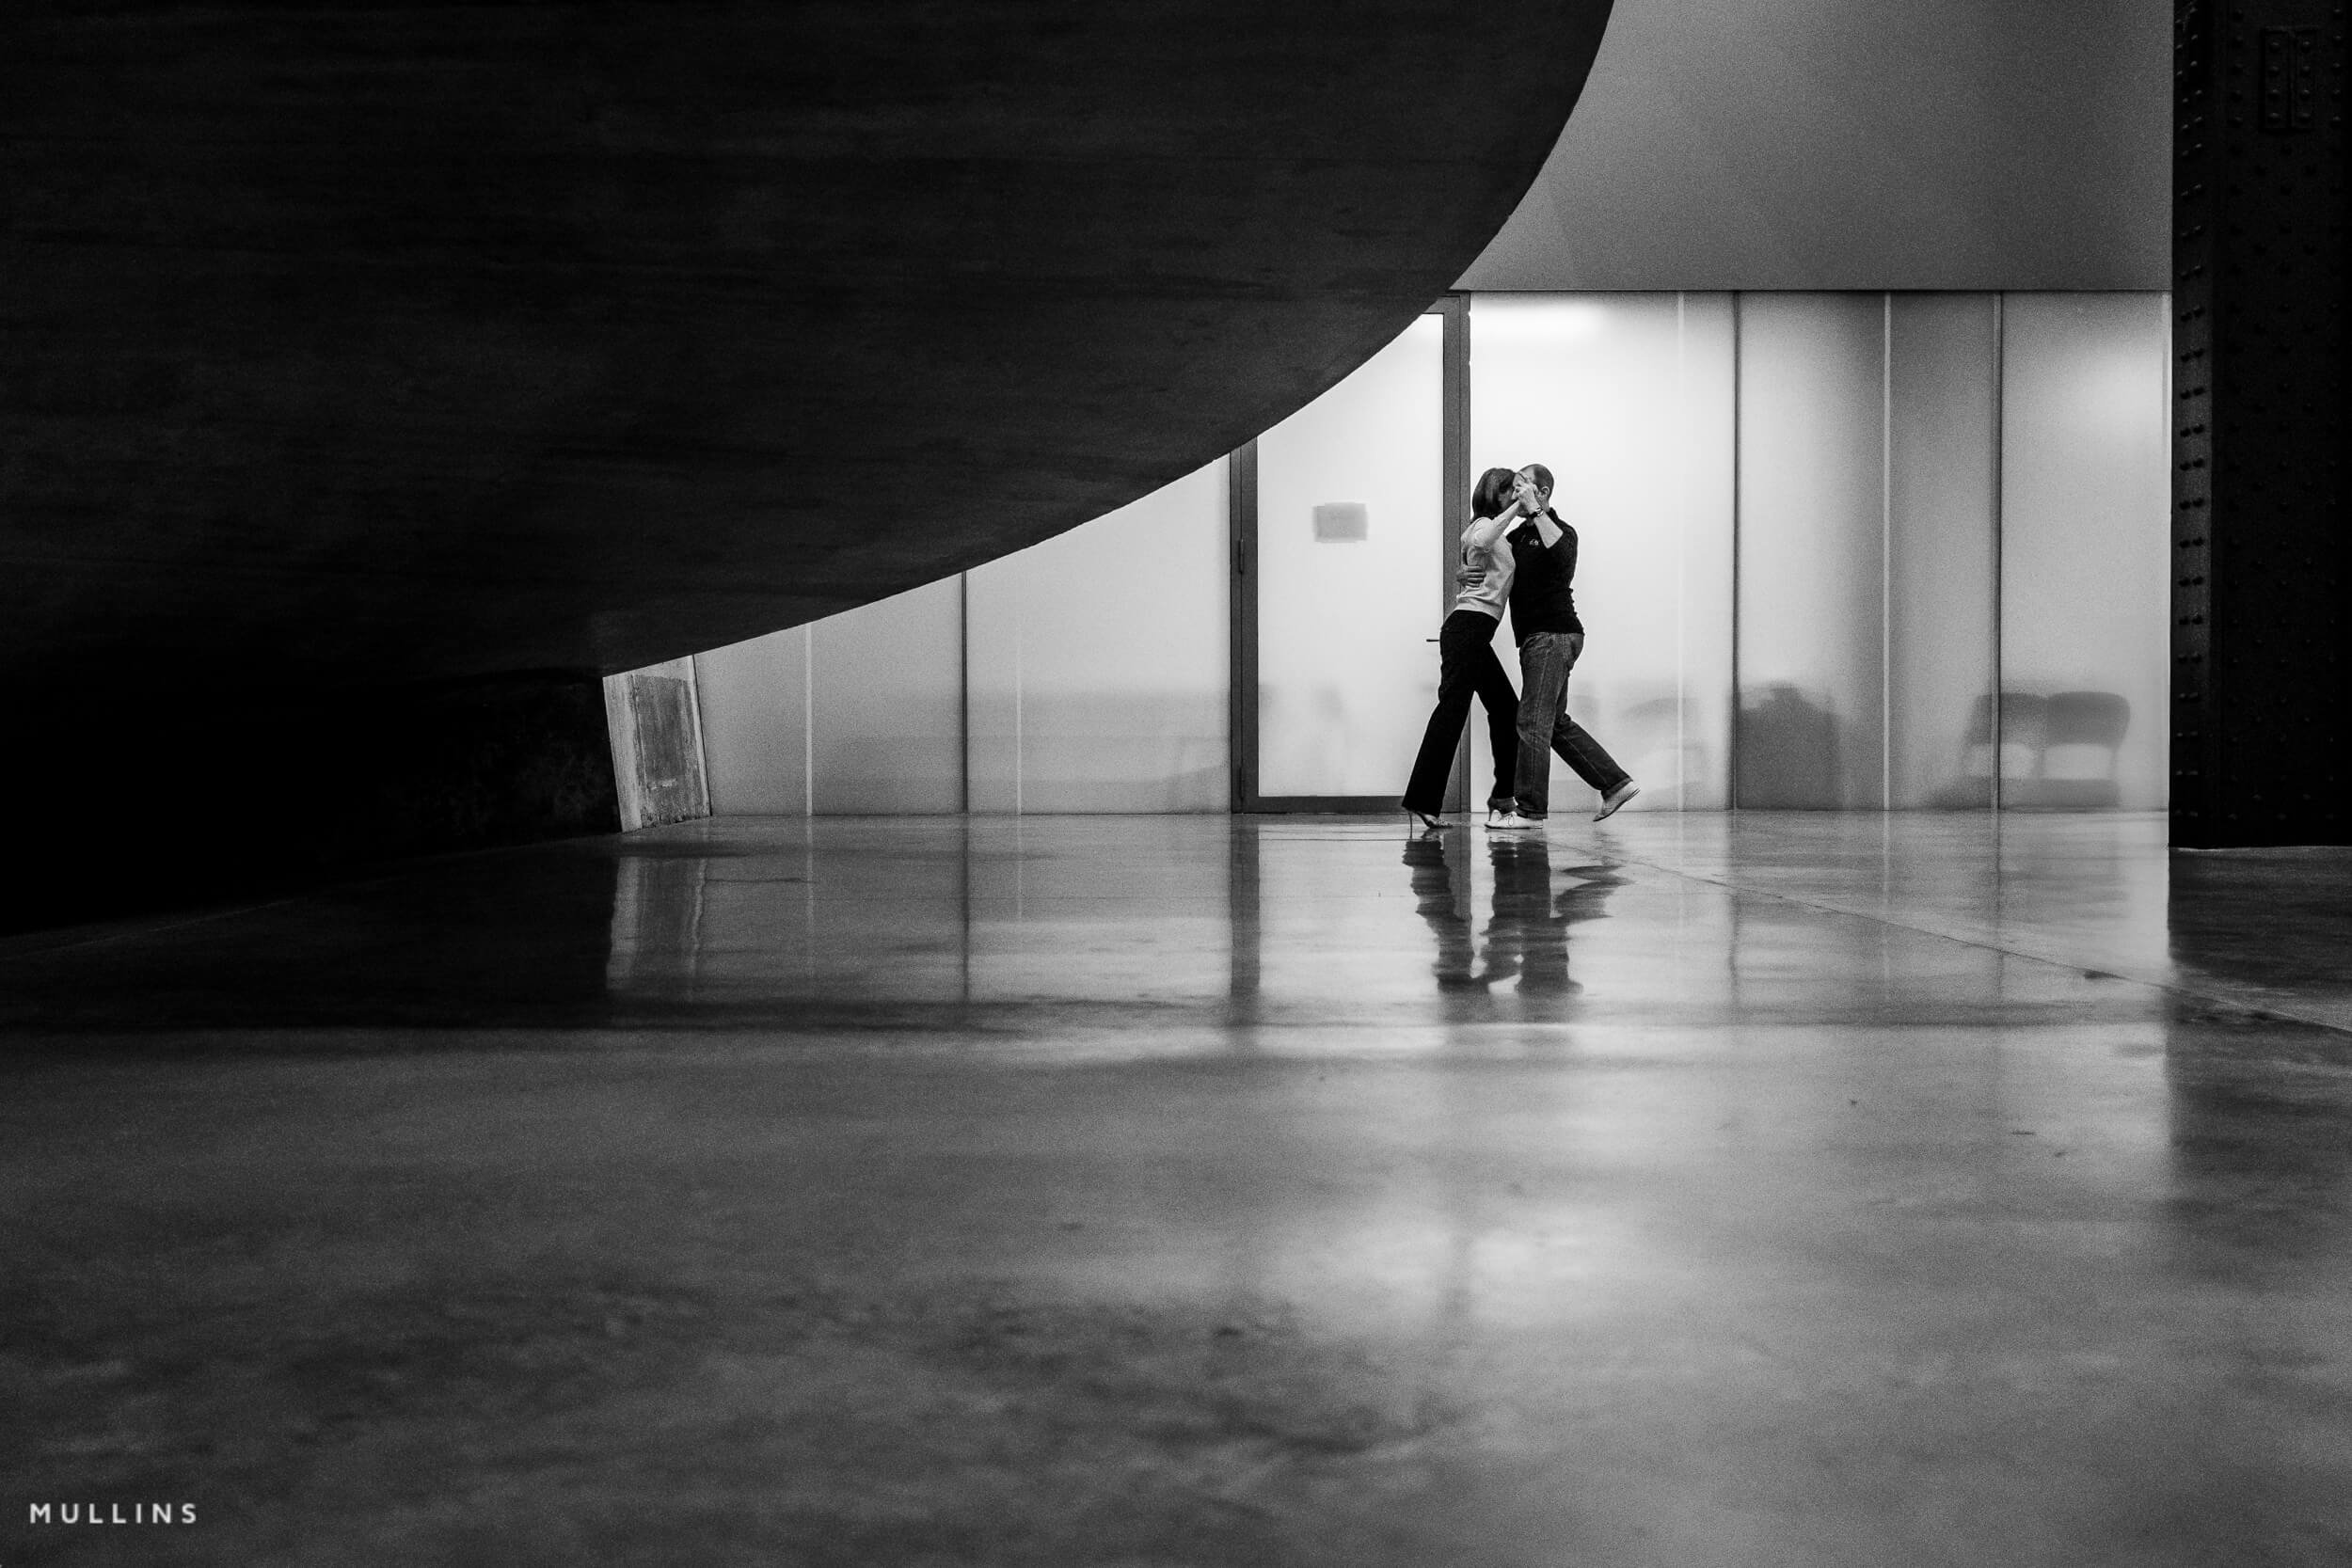
The dark curve, pale panels and reflected figures give the photograph its structure.
Look at the large sweep of darkness in this photograph. It occupies a considerable part of the frame, while the pale panels behind the figures make their outlines clear. The reflections extend their presence into the foreground. Those relationships between light and dark give you plenty to work with before you consider colour.
Try it
Find a clear boundary between light and shade, or a window illuminating part of a scene. Take a spot reading from the lit area you want to retain, then adjust the exposure while watching the result. The reading gives you a starting point; check that important highlights still contain detail.
Notice what happens to the surrounding shadows. Allowing some areas to become dark can make a face, gesture or small detail much more prominent.
If the light stays steady, hold that exposure using manual settings or exposure lock while people pass through the scene. Recheck it when the light changes.
Why is this useful?
You begin to recognise light as something you can build a photograph around. A doorway, a face beside a window or a reflection on a wall can become a reason to stop and watch.
This awareness carries into your colour photography too. In the photograph below, light picks out the face and the window reflections, while much of the surrounding scene remains dark.
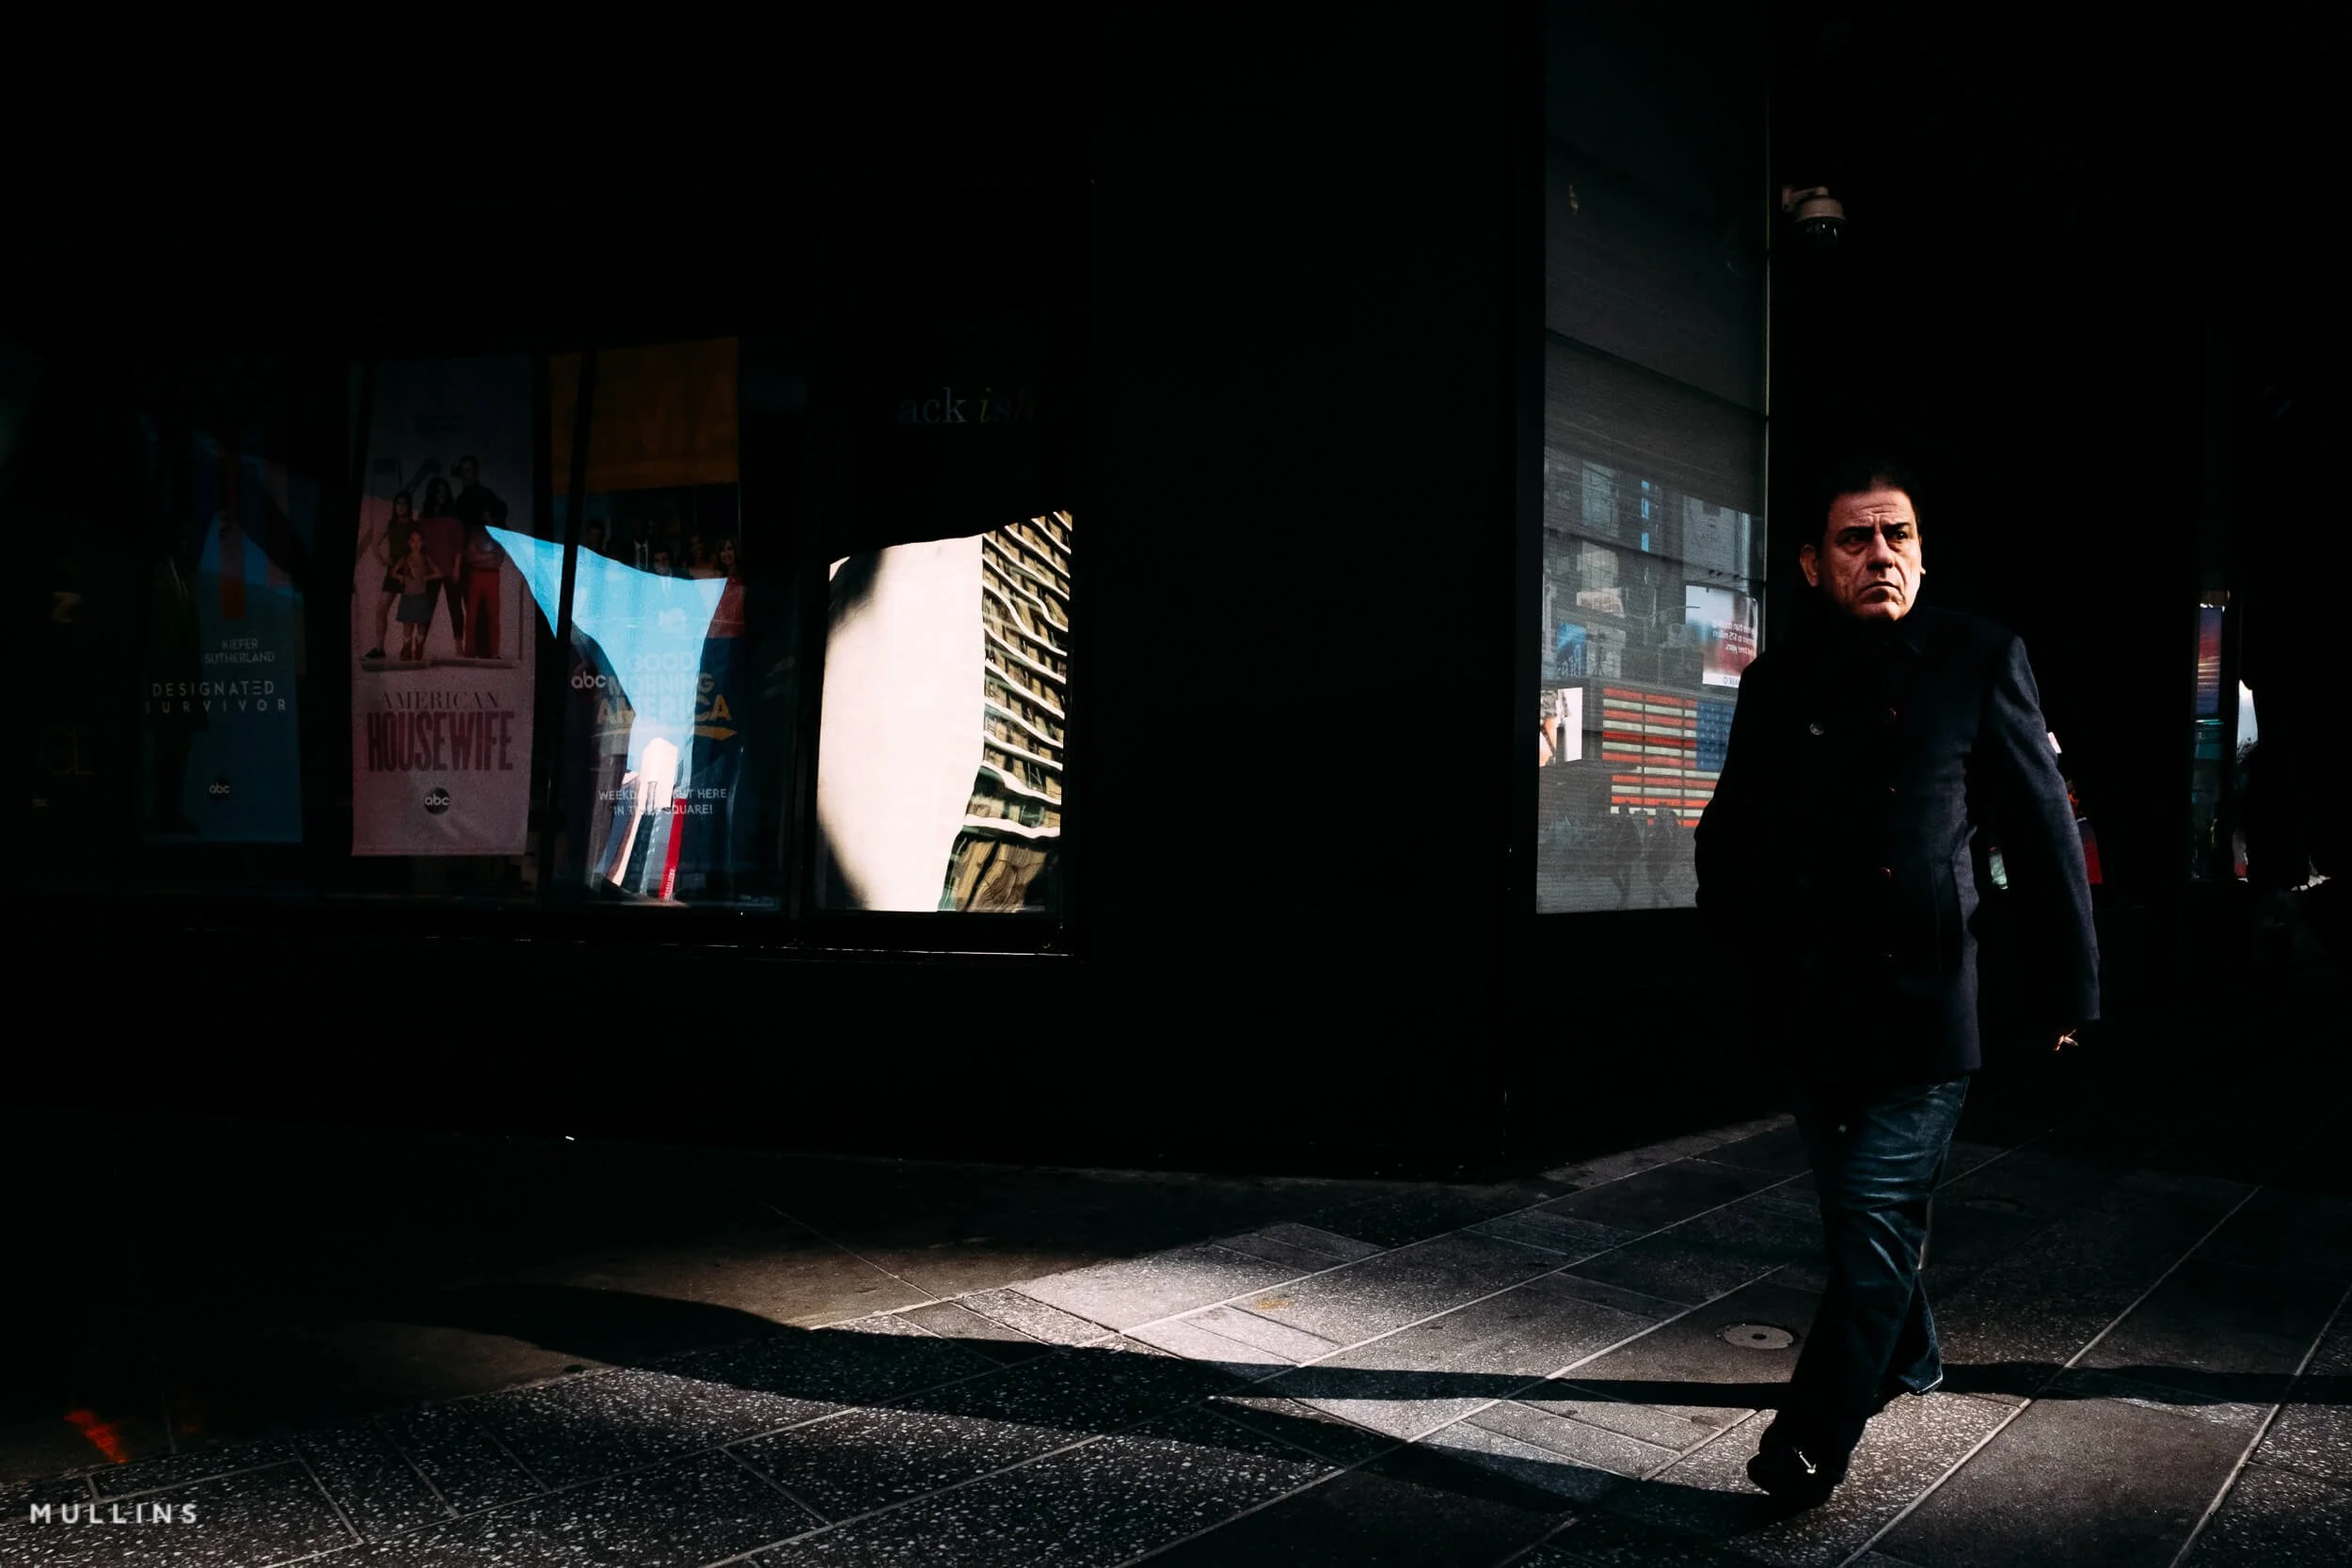
Light draws attention to the face and reflections while the surrounding darkness simplifies the scene.
When you look through the photographs
Where does the light lead your eye? Does the darkness help you understand the picture? Have you retained the details that matter?
A quick note about RAW: On a colour-sensor camera, RAW or RAW + JPEG retains colour information for later editing. A monochrome JPEG alone does not.
With an optical viewfinder, use the rear screen to assess the monochrome result.
I’ve written more about why I shoot in black and white even when shooting RAW, and how I use spot metering when looking for light.
4. Watch the spaces between subjects
Separation means giving the important subjects enough space to remain distinct within the photograph. Even a narrow gap between two heads, an arm and a body, or two passing figures can make their actions easier to understand.
For this exercise, I want you to pay attention to those gaps. Watch how they open and close as people move, and how a small change in your position alters the relationships between them.
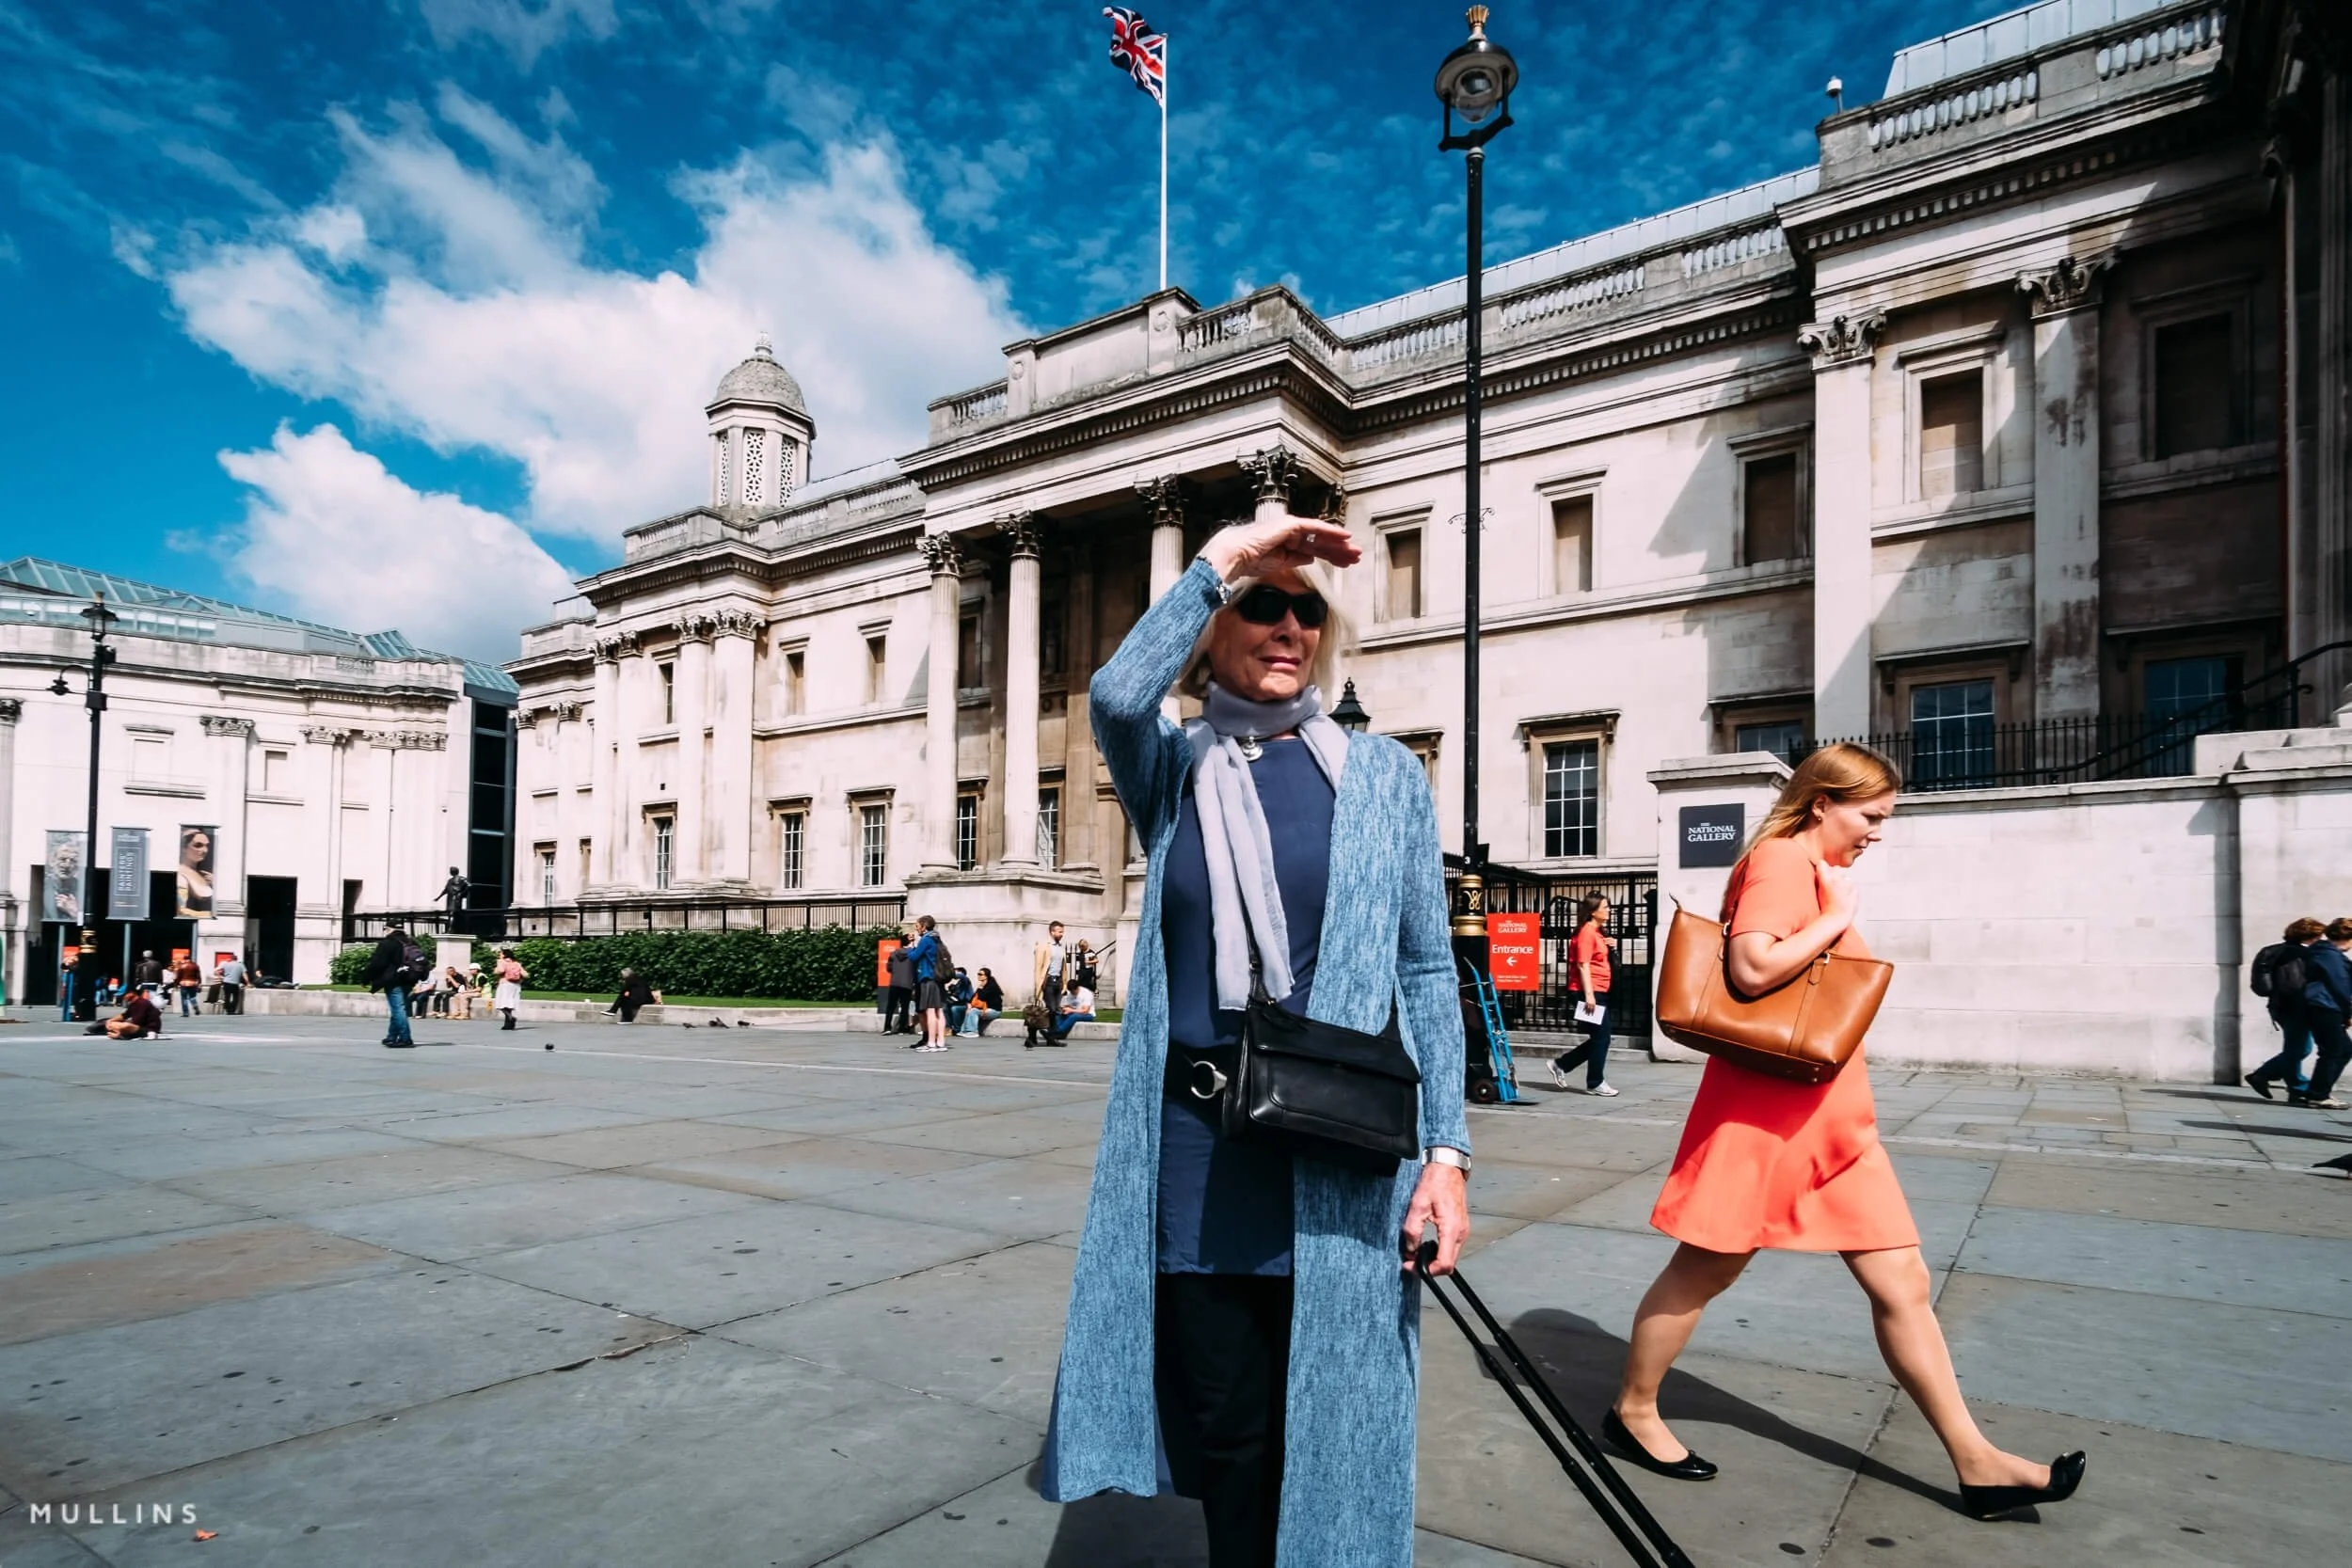
A strip of space between the blue coat and coral dress keeps the foreground figures distinct.
In this photograph, the gap between the two nearby figures helps each gesture register: the raised hand shading the eyes and the stride of the woman passing behind. There are other people further away, but the foreground figures remain easy to pick out.
Try it
Find somewhere people pass across your field of view. Begin with two subjects and watch their outlines as they approach, cross and move apart. Look particularly at heads, hands and feet.
Wait for a moment when the important shapes become clear. Then try working with three people, keeping an eye on anyone entering at the edges.
A small step sideways can change the gaps considerably. Your position and the timing of the photograph work together.
Why is this useful?
This develops anticipation. You begin to recognise how people’s paths will change the composition, giving you a reason to wait for a particular moment.
It also helps you judge useful overlaps. In the photograph below, the touching arms connect the pair, while their separate heads and the spaces between their legs keep both people readable.
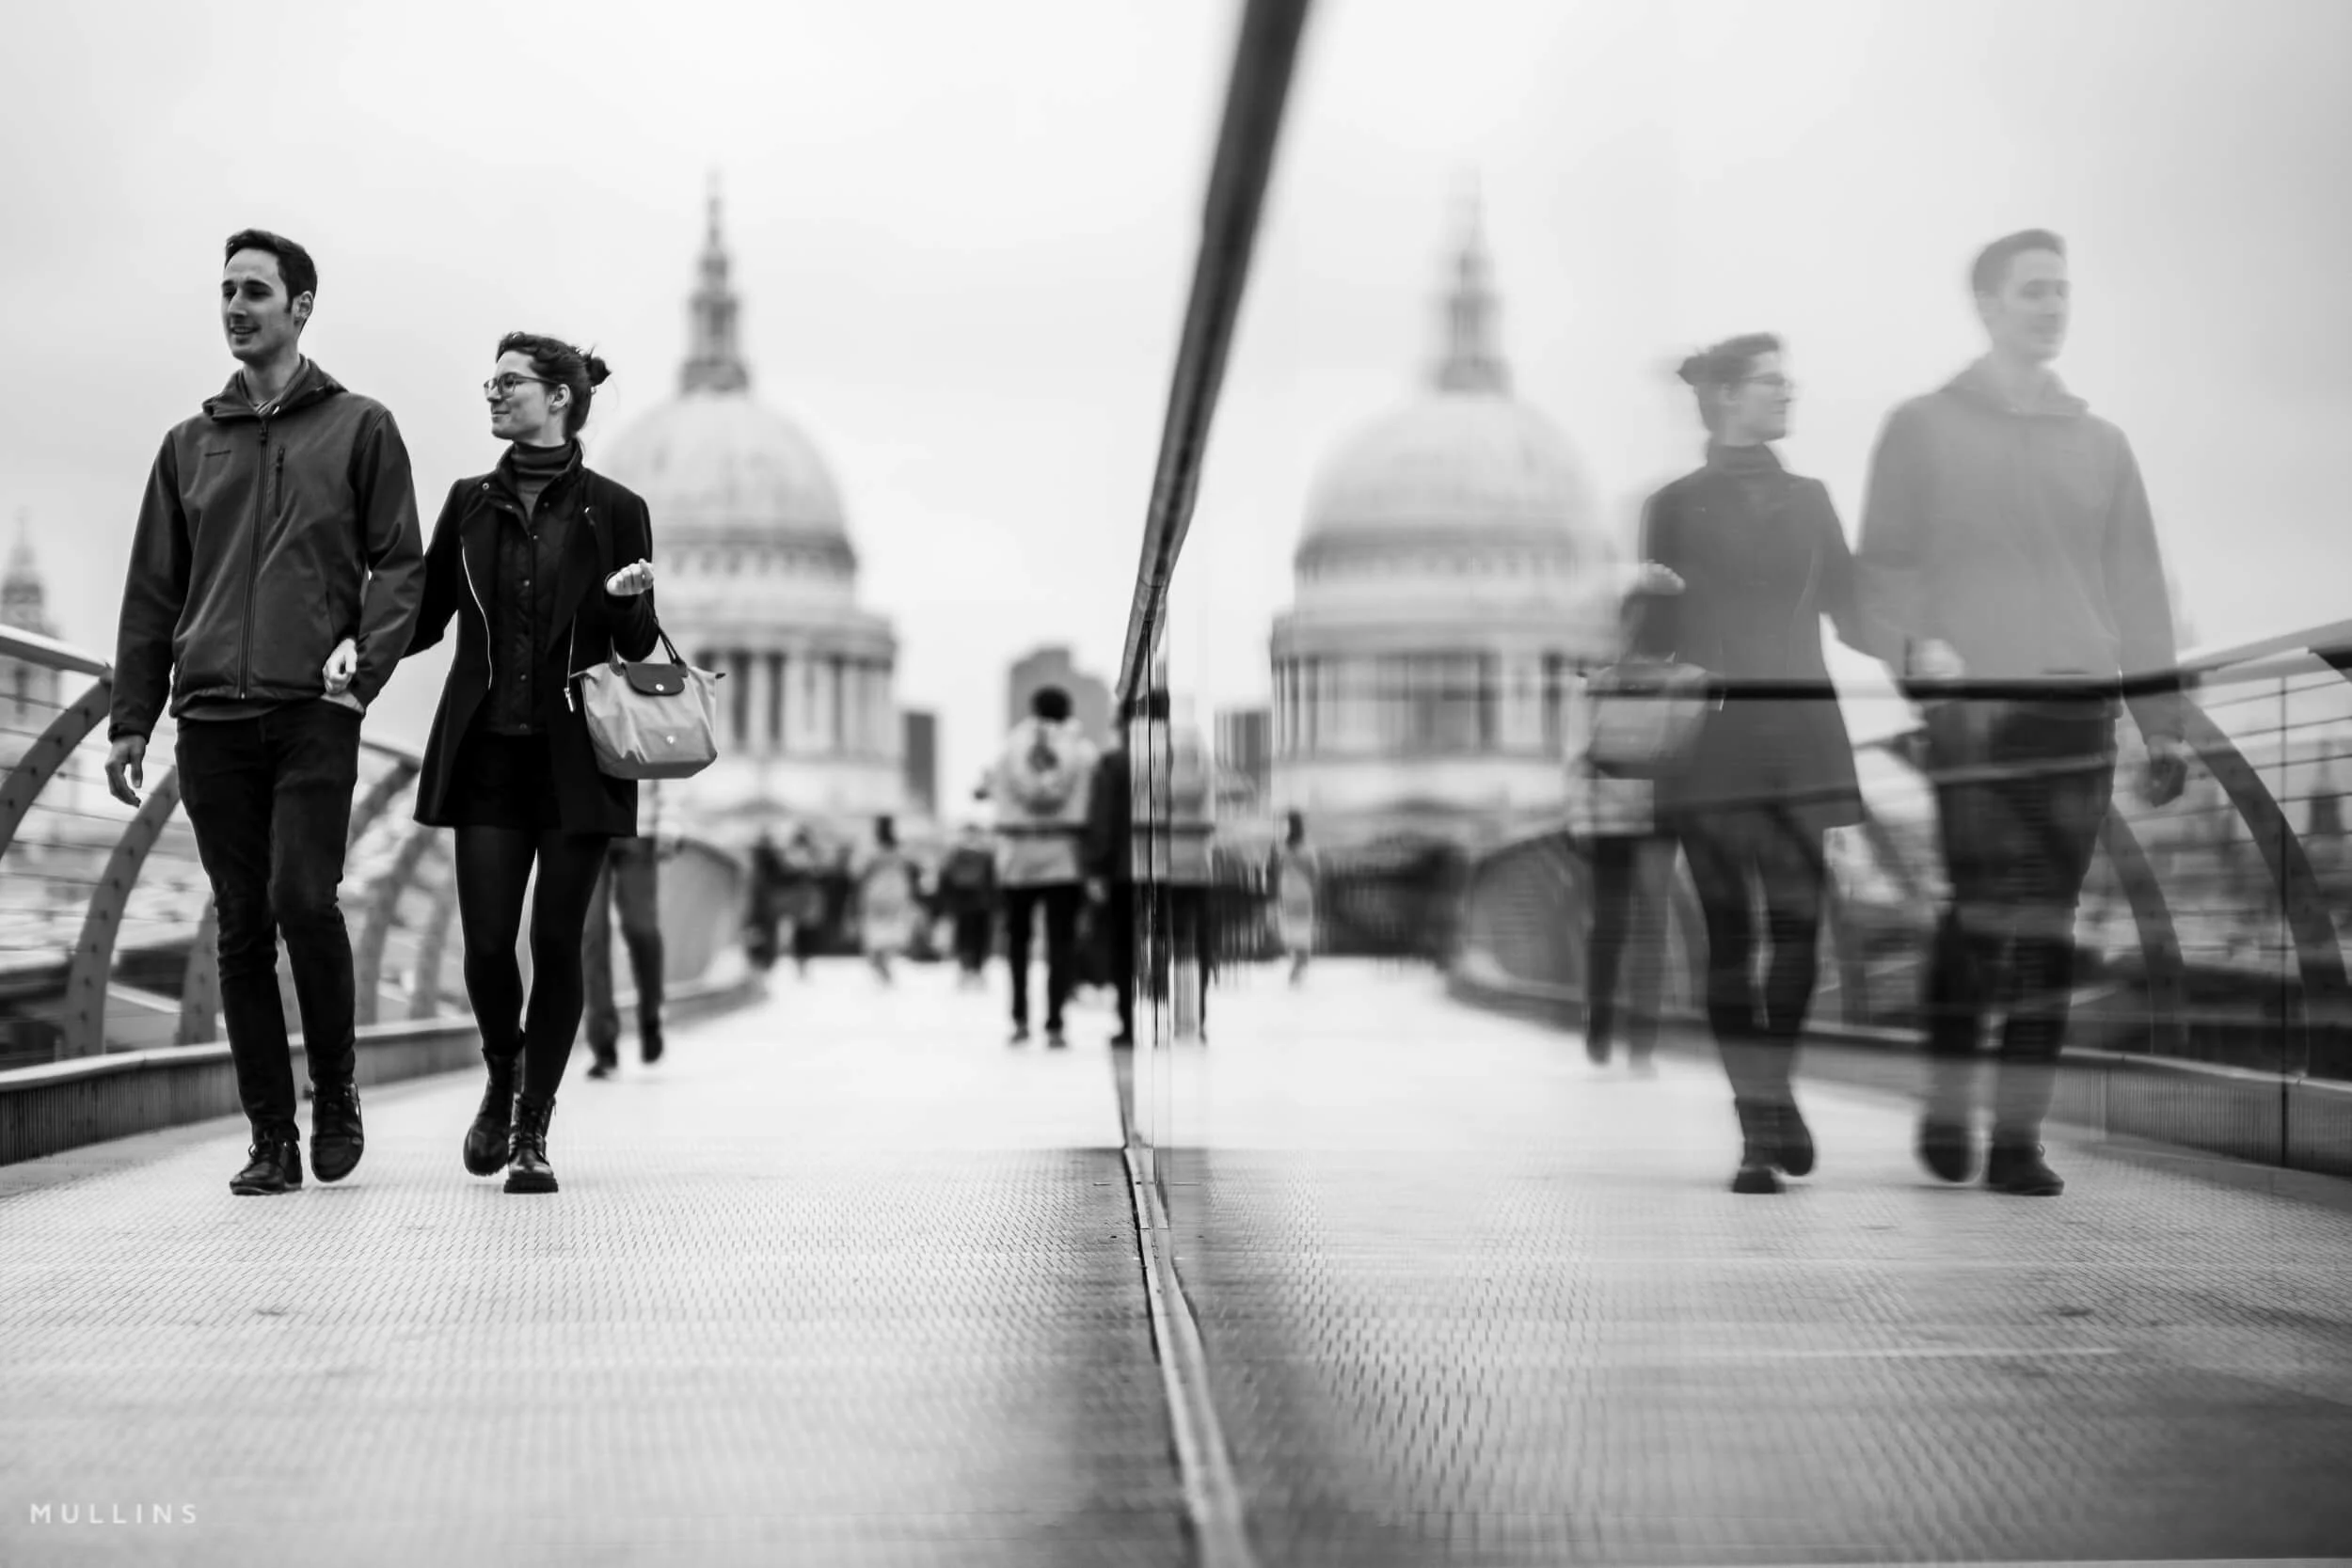
The touching arms connect the pair, while clear outlines around their heads and legs help us read both figures.
The useful question is whether you can understand the people and their relationship. A close pair can work beautifully when the important gestures remain clear.
When you look through the photographs
Compare frames taken moments apart. Which gaps have changed? Can you read each important figure immediately? Does an overlap add a relationship, or make the action difficult to understand?
5. Build a photograph in layers
Layering means finding interest at different distances within the same photograph. Something close to the camera can lead us towards a person further away, while the background adds another detail or tells us more about the place.
For this exercise, I want you to look for foreground and background interest that work together. Start with two useful elements and pay attention to how their relationship changes as you move.
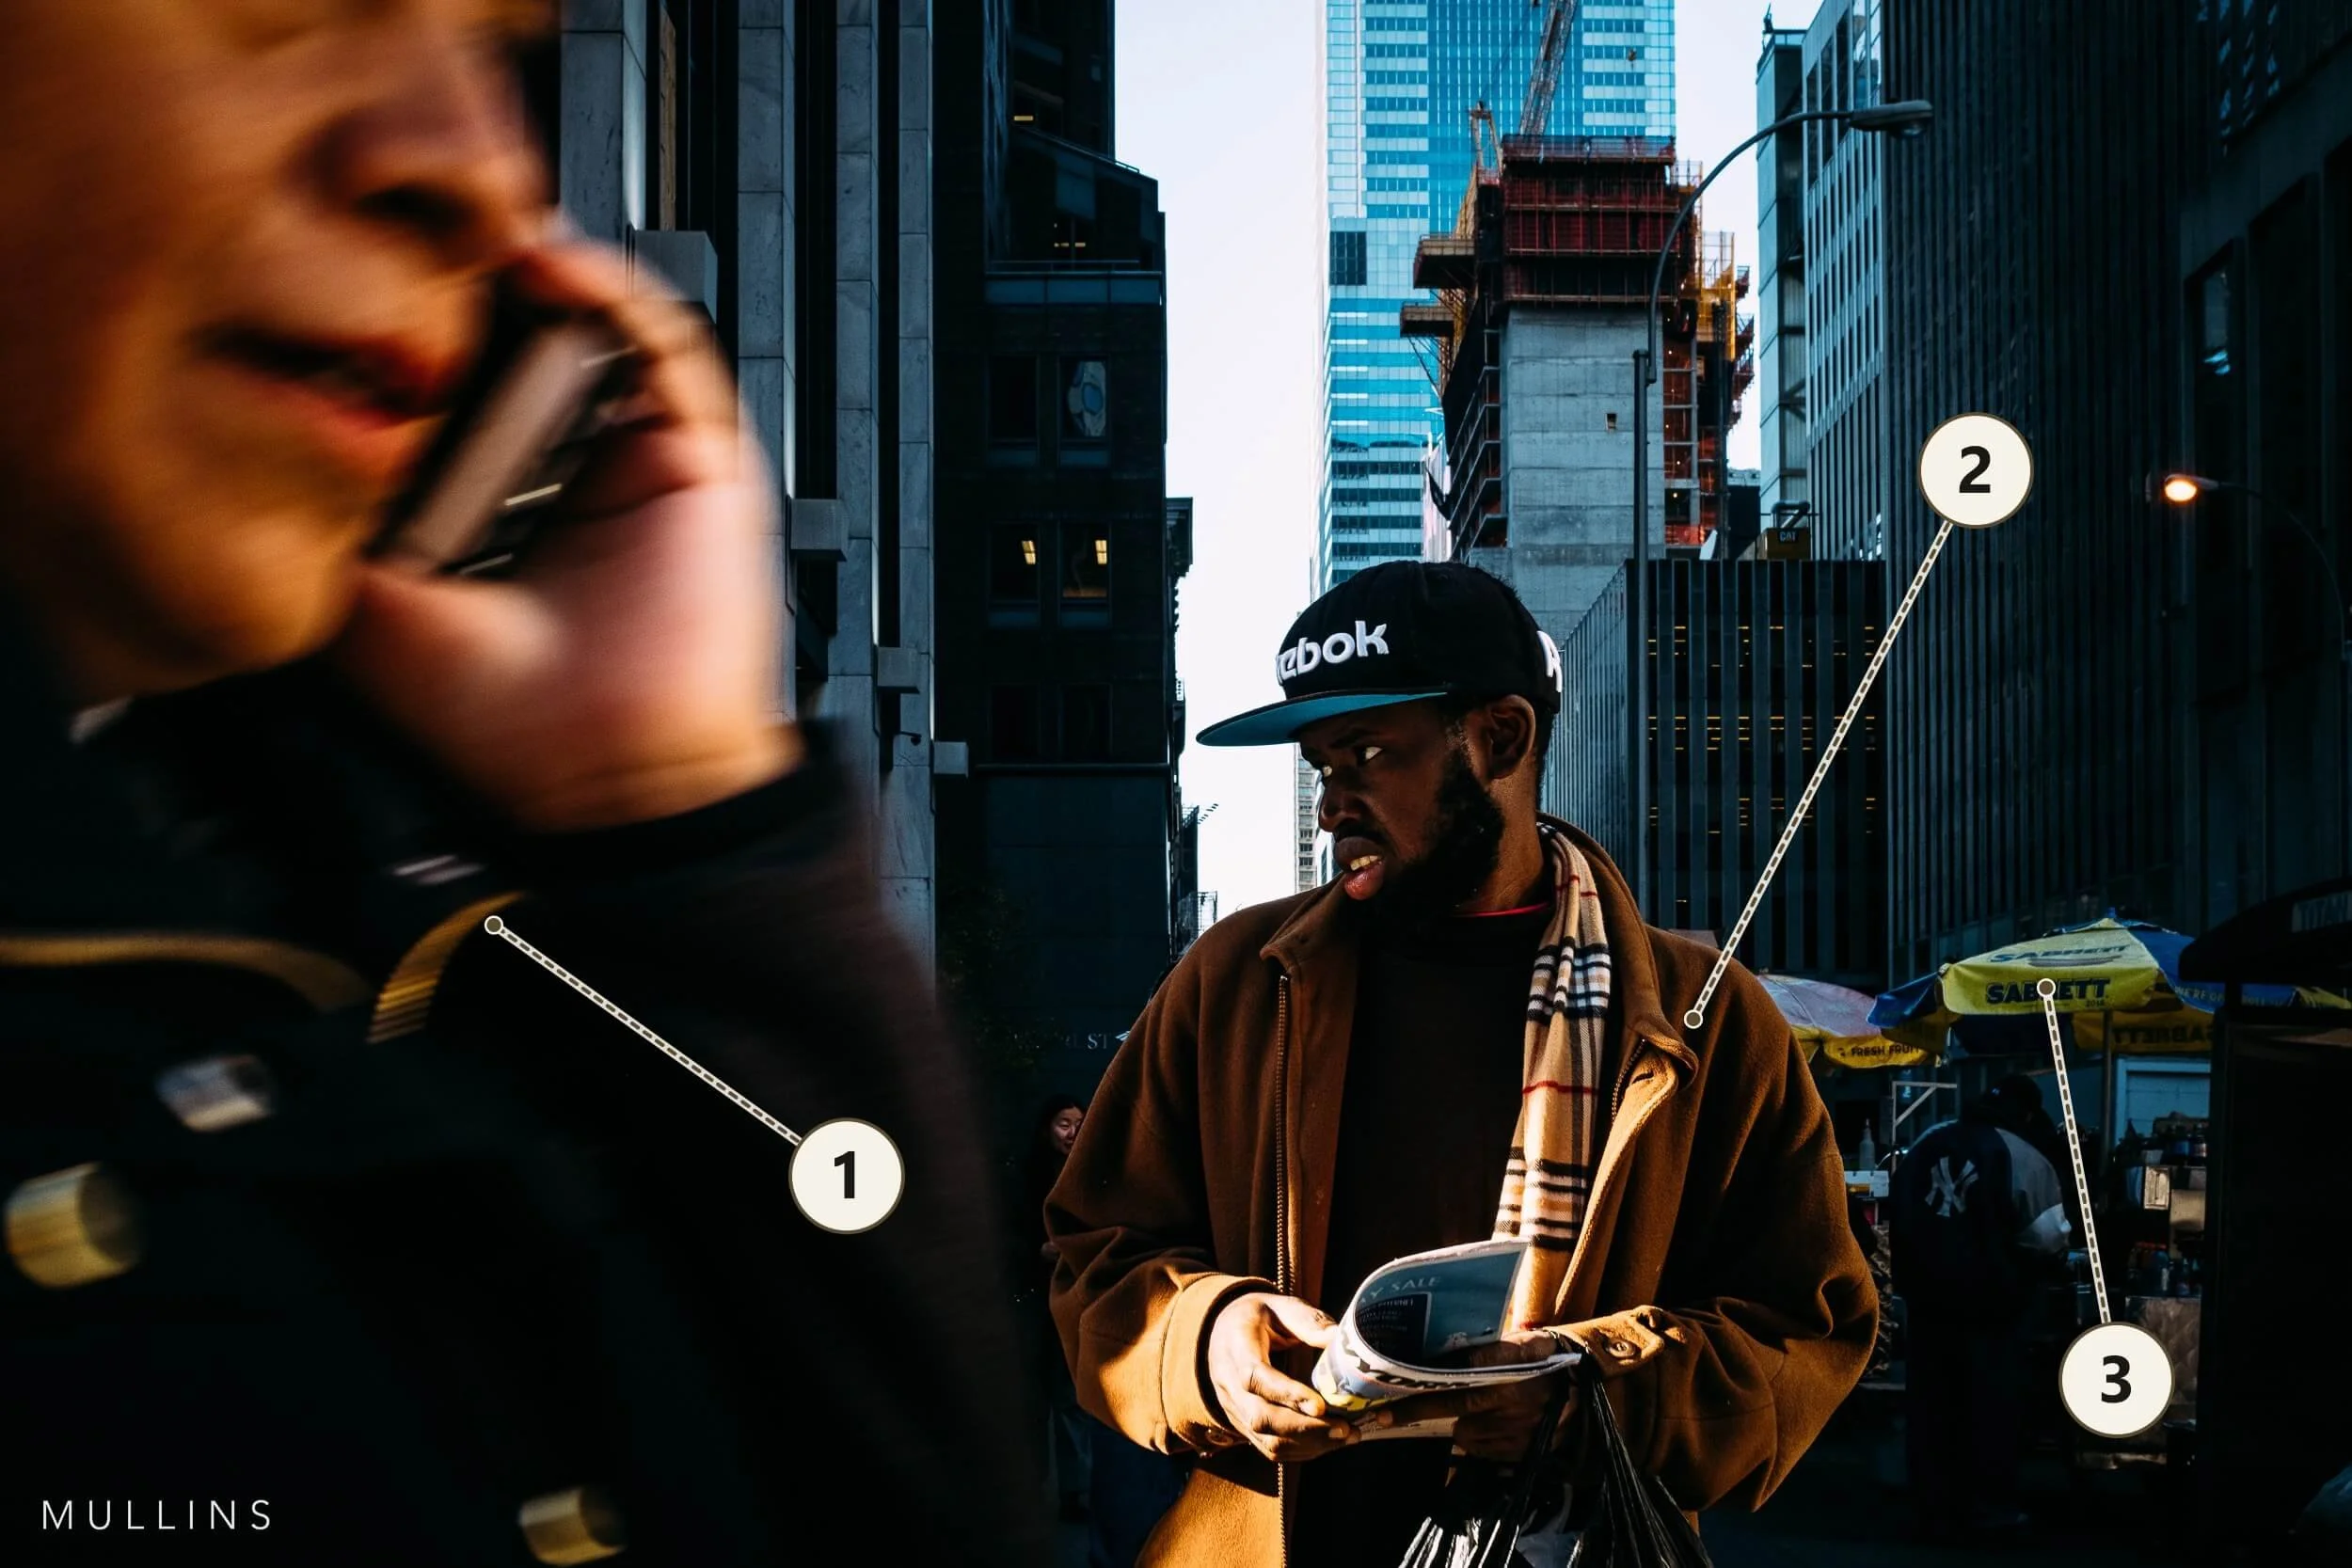
The close passer-by, the man in the brown coat and the street beyond create three distinct layers.
Foreground: The close, softly rendered passer-by gives a sense of being amongst the activity. Their size makes the distance to the other figures more apparent.
Main figure: Light on the man’s face and coat provides a clear point of attention. His face remains visible beside the passing figure.
Background: The stalls and buildings add context and carry the scene into the distance. They help describe the place around the people.
Each layer contributes something, while the important face and gesture remain clear.
The close figure fills much of the left side, but the man’s face remains clear beside them. His glance towards the left gives the two figures a visual connection. The buildings and stall umbrellas extend the scene behind him.
The foreground is soft, yet it still contributes. Its size and position give us a sense of being close to the passing activity.
Try it
Find a background with something worth watching: a person waiting, activity around a shopfront or an interesting arrangement of light and architecture.
Choose your position, then watch what passes nearer to you. Look for a moment when the foreground adds to the scene while leaving the important background detail visible. Small movements sideways can change those overlaps considerably.
Try changing your camera height, too. A lower viewpoint can bring nearby feet, steps or objects into the foreground.
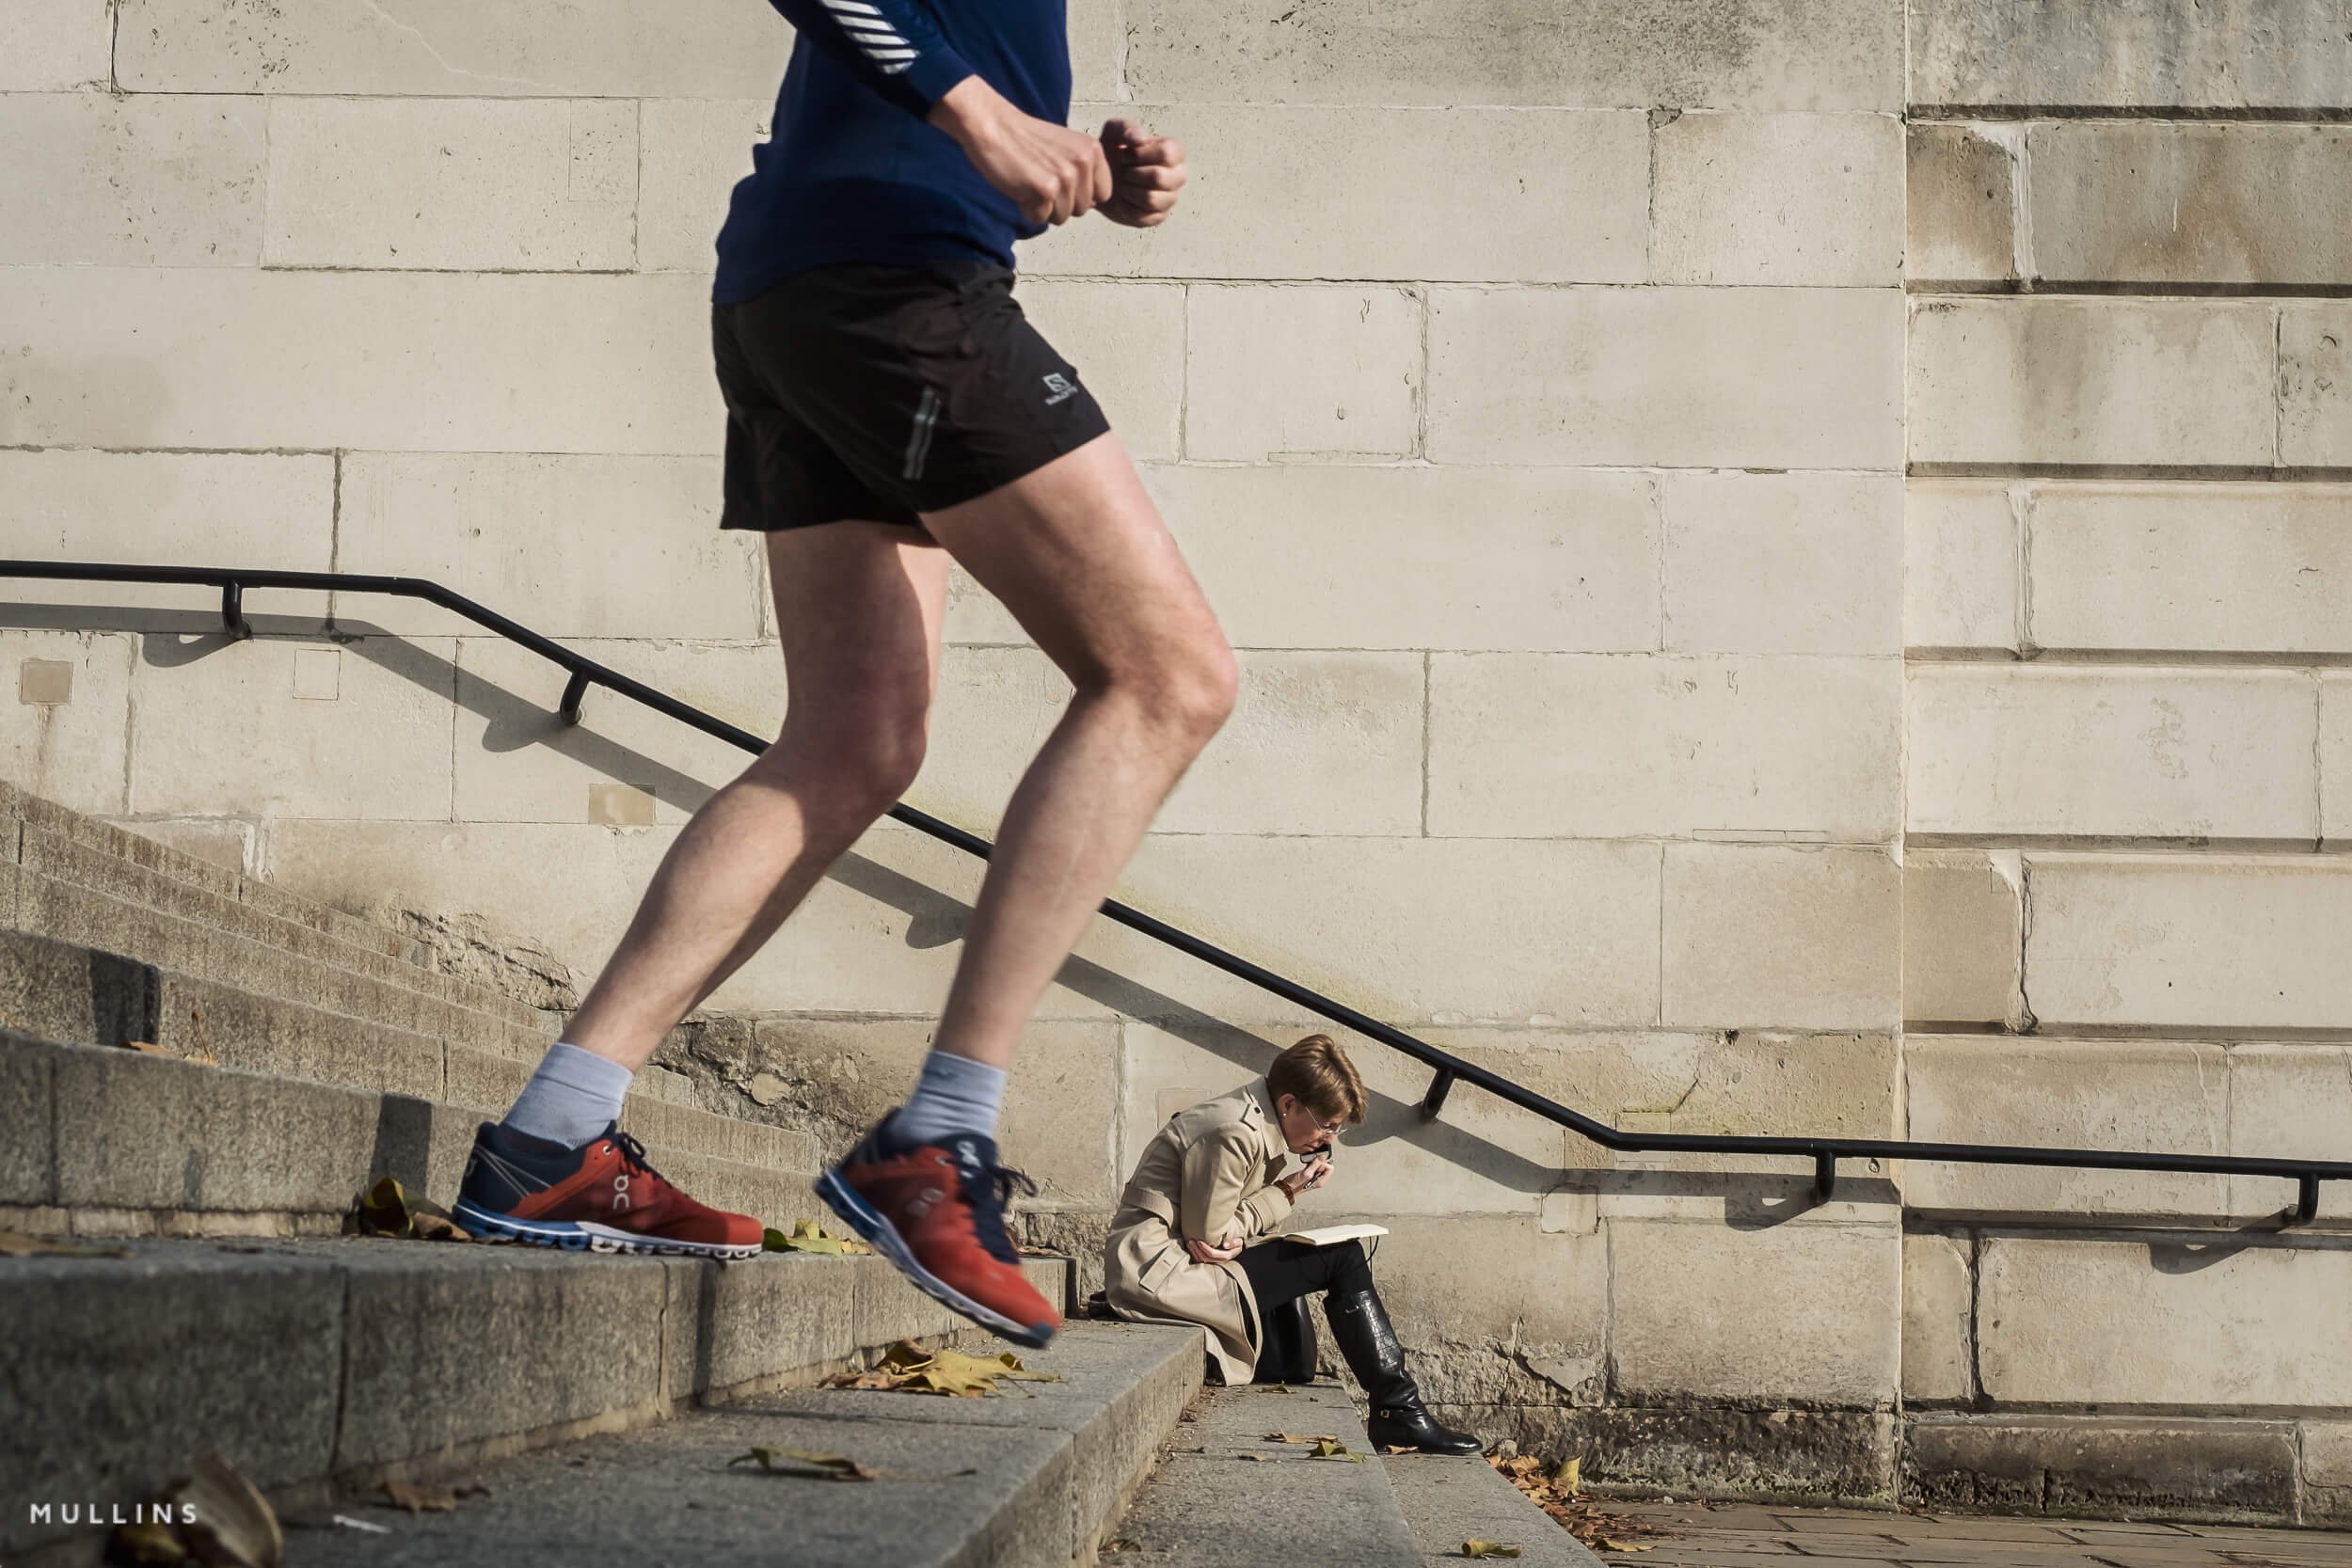
The large foreground stride contrasts with the smaller seated figure further down the steps.
Here, the difference in scale gives the photograph depth. The runner’s legs introduce movement across the foreground, while the seated figure provides a quieter detail beyond. The steps and handrail connect the two parts of the scene.
Why is this useful?
Layering helps you show people within the life of a place. You become more aware of what is happening around your main subject and how another gesture, shape or activity might contribute.
It also develops patience. Once you have found a promising background, you can stay with it and watch for something nearer to complete the composition. You begin to manage several parts of the frame at once.
When you look through the photographs
What does each layer contribute? Is the important action still clear? Does anything close to the camera obscure a detail you wanted us to see?
6. Let the street move
A slower shutter speed allows movement to register as blur. A passing figure can suggest hurry, a stream of people can describe a busy crossing, and someone standing relatively still can become a point of calm.
For this exercise, think about what the movement contributes to the photograph. You might want to suggest the bustle of a place, or draw attention to someone pausing within it.
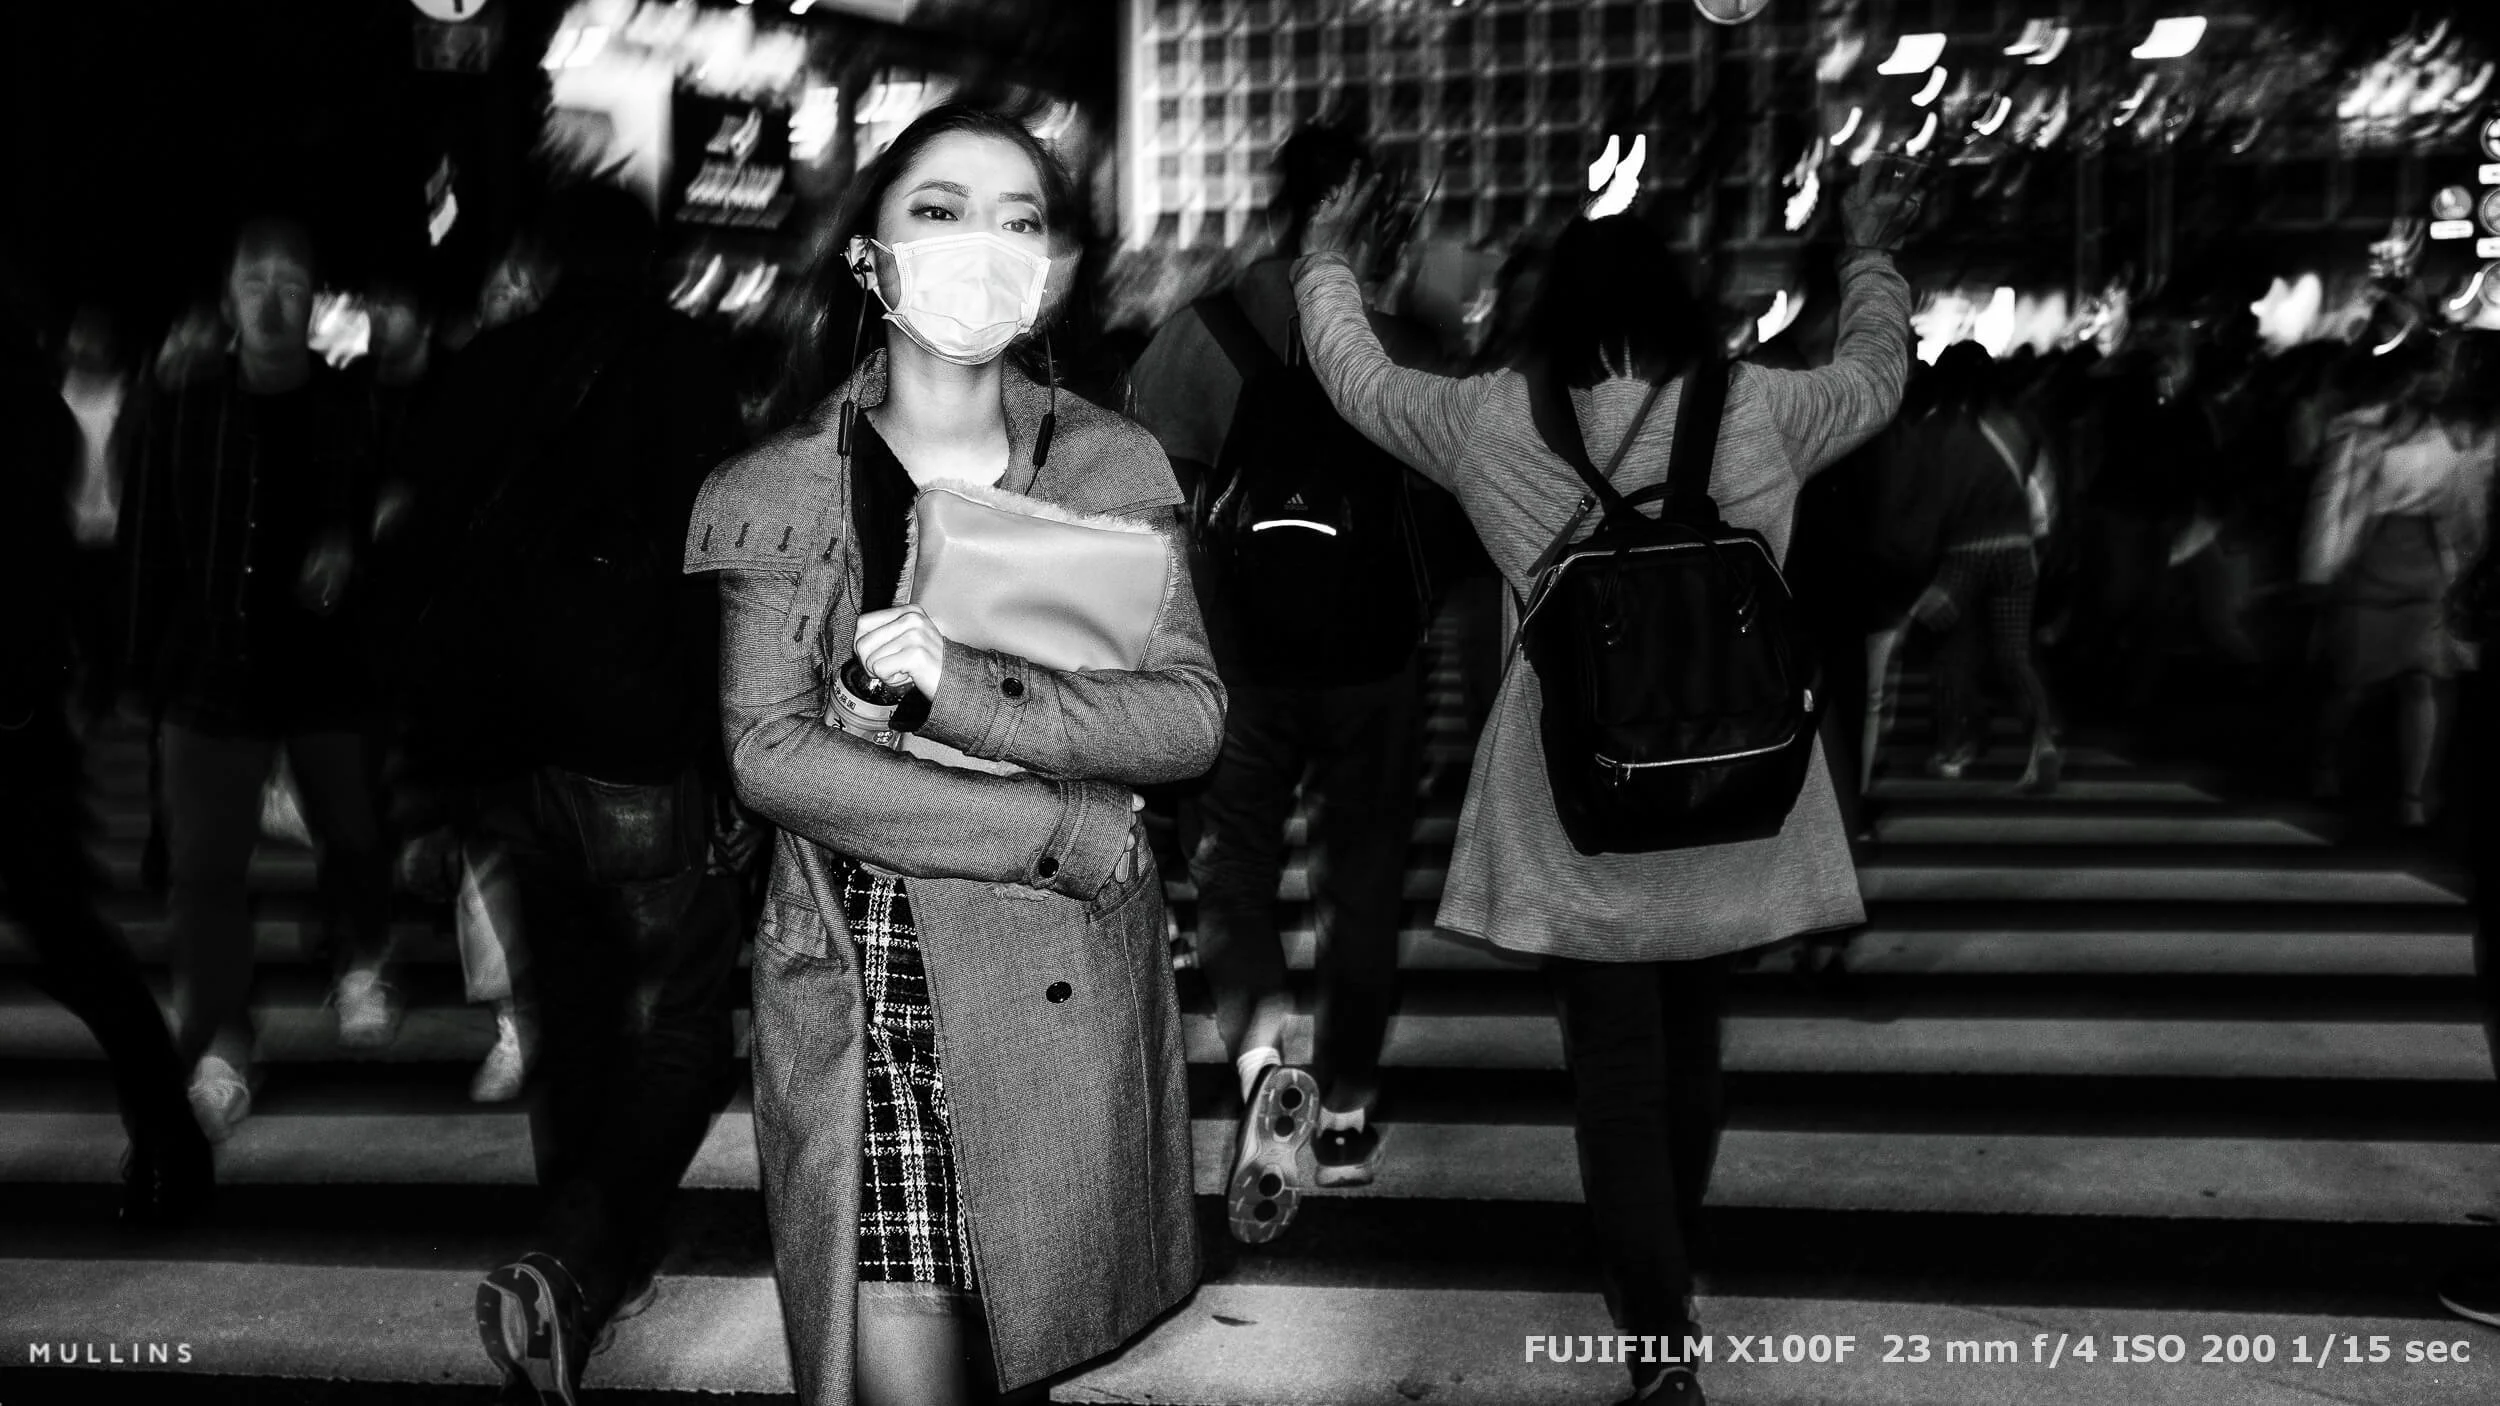
Made at 1/15 second with flash: the relatively clear face gives us a point of attention within the surrounding movement.
This photograph combines a slow shutter speed with flash. The brief burst of light helps retain detail in the nearby face, while the longer exposure records movement in the surrounding scene. The mixture of clarity and blur gives a sense of being in the middle of the crossing.
Try it
Begin using the light already available. Find a fixed element—a doorway, a sign or someone waiting—with people moving through the scene.
Keep the camera steady and try 1/30 second, then 1/15 second. Check the exposure and compare how the movement appears. These are starting points; adjust them to suit the speed of the activity and the amount of blur you want. Shade or fading light can make this easier to try.
Make a faster exposure too, so you can compare the different ways of describing the same place.
Once you are comfortable, try following a passing person smoothly with the camera as you take the photograph. This is called panning: the background can become streaked while parts of the person remain relatively clear.
Why is this useful?
Movement gives you another way to convey atmosphere. It can suggest the flow of commuters, the pace of a market or the contrast between someone waiting and the activity around them.
You also become more deliberate about shutter speed. You start choosing how you want time to appear within the picture, with sharpness and blur both contributing to that decision.
When you look through the photographs
Does the movement add something to the picture? Is there a clear point of attention? Which version best suggests how the place felt?
For more examples of using slower shutter speeds to explore pace and mood, have a look at my London street photography essay, Time Stands Still.
7. Tell a story with the five Ws
The five Ws—who, why, what, where and when—give you a way to think about the story within a street photograph. They encourage you to look at the people, the activity and the details that connect them to a place.
I use these questions to encourage curiosity. A photograph might answer some clearly and leave others open. Those unanswered questions can be part of what holds our attention.
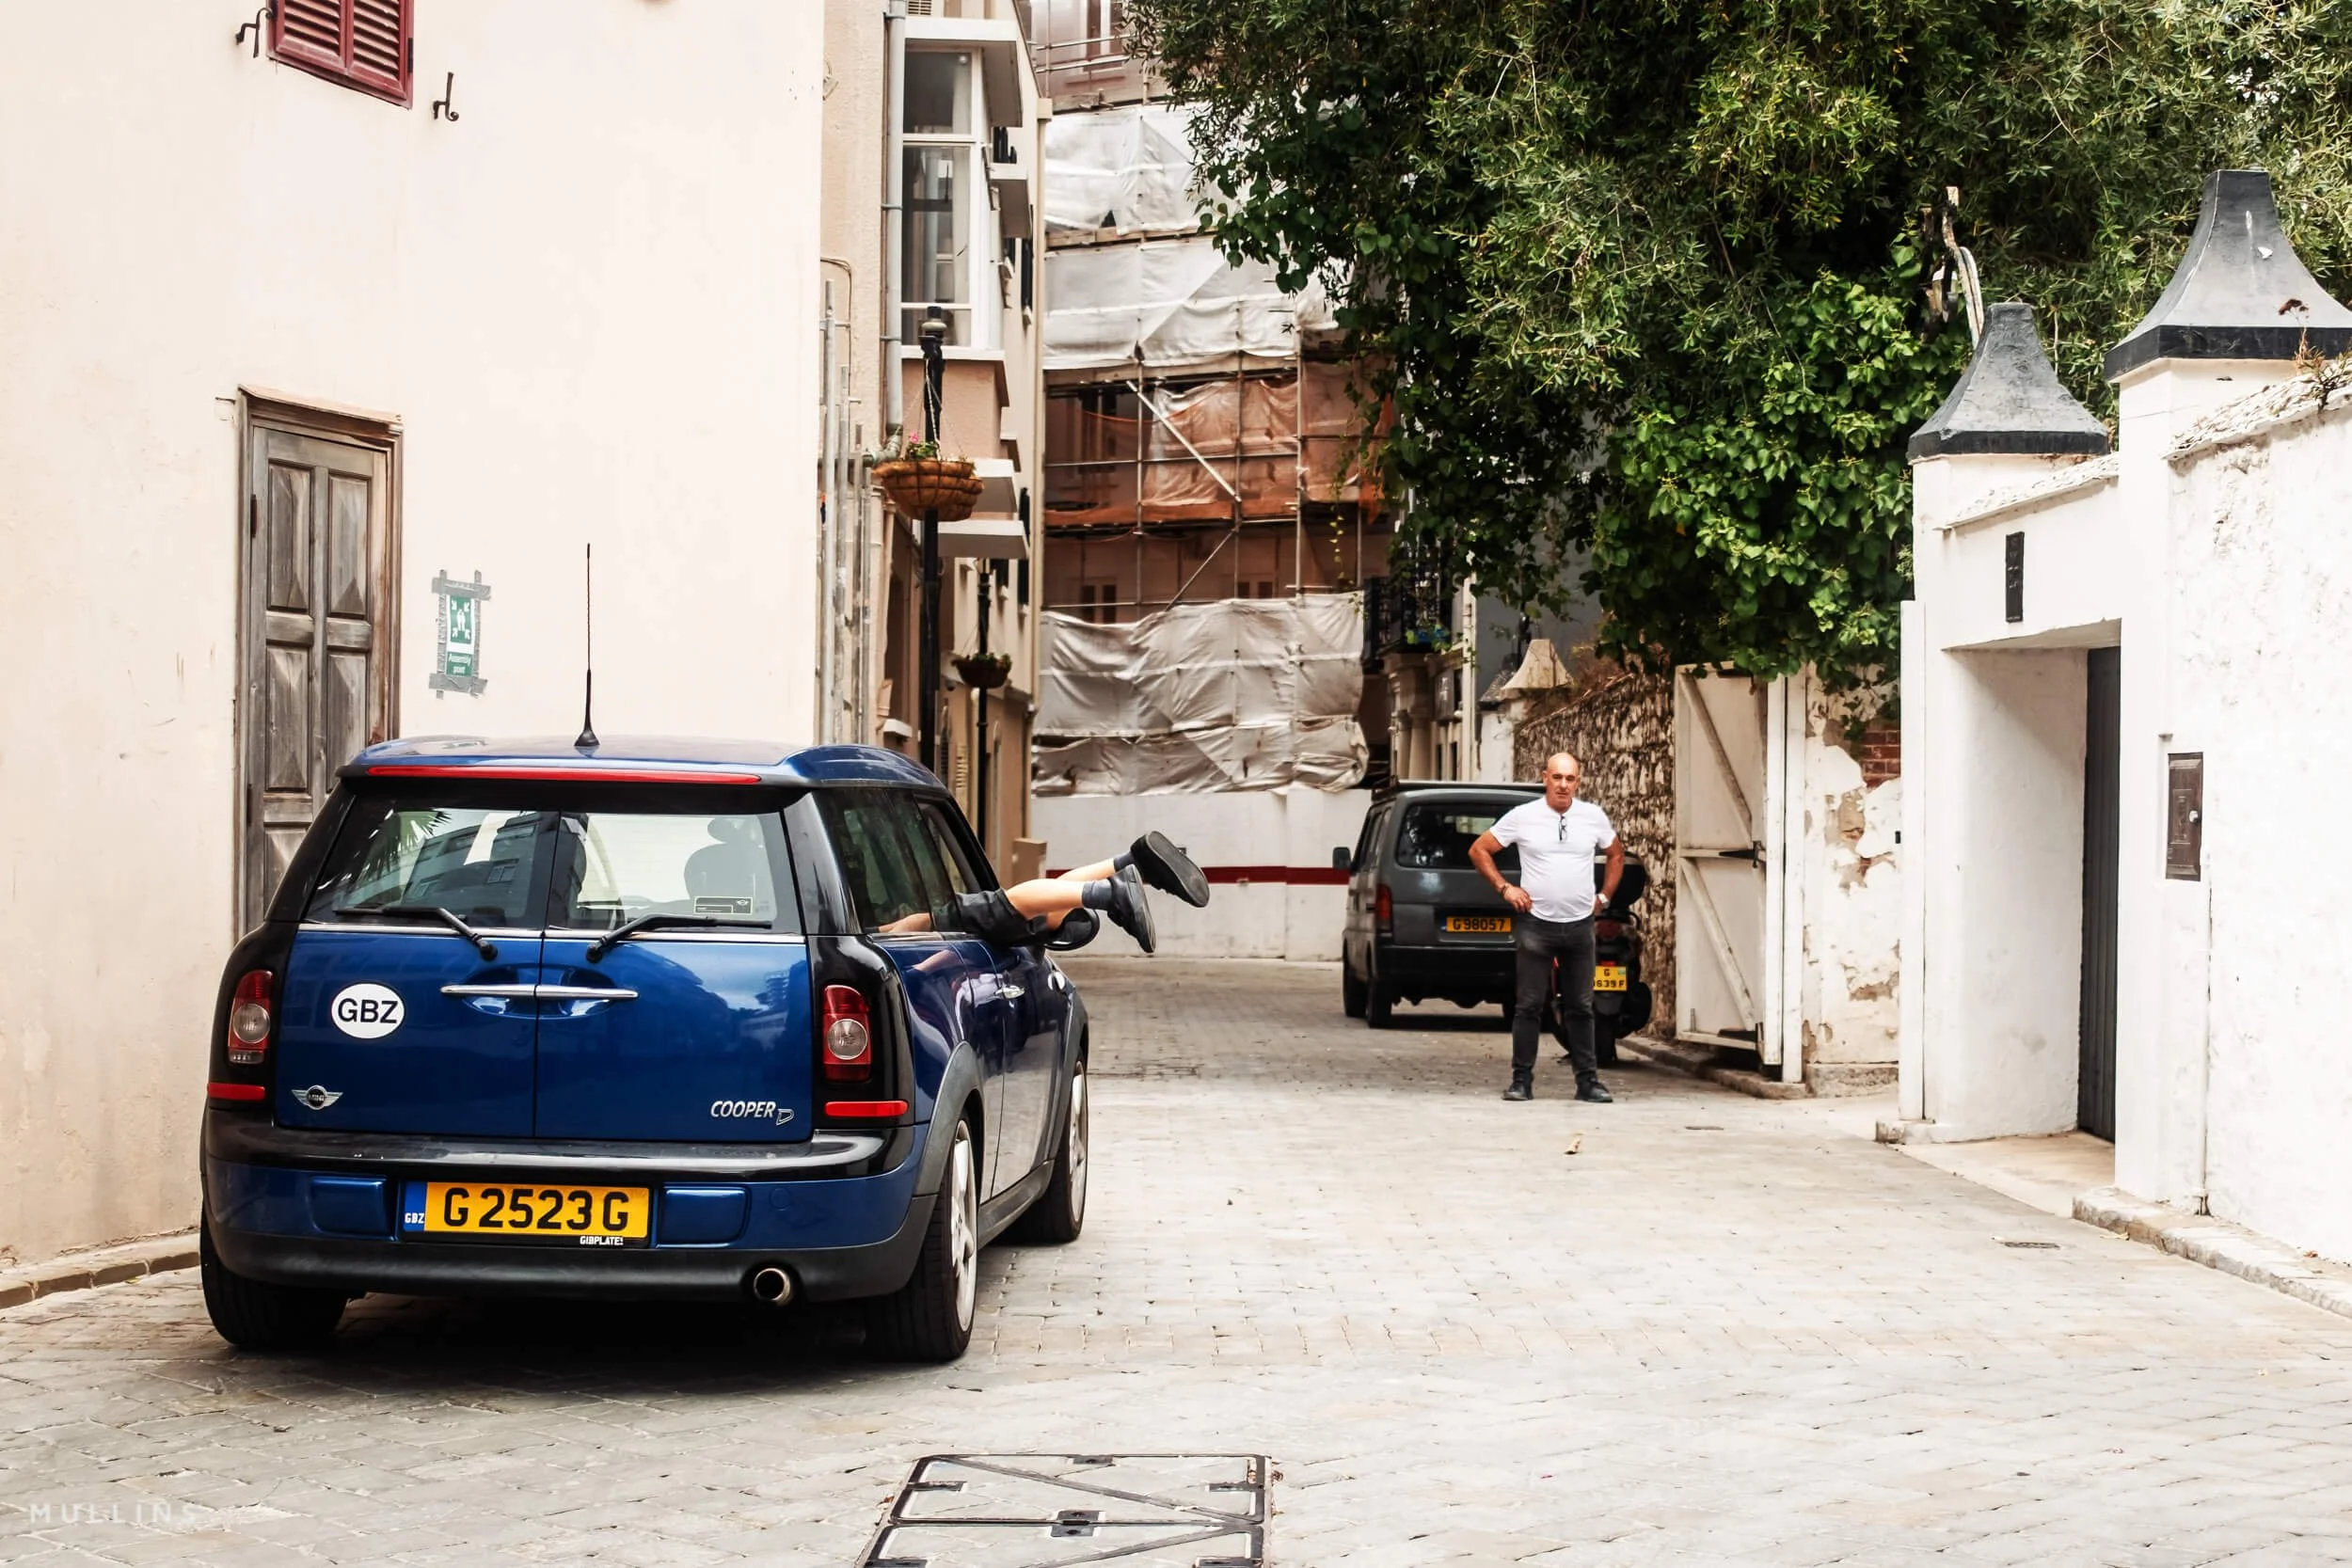
The unexpected legs and the figure further along the lane invite questions about what is happening.
We can see the car, the legs and the man standing beyond. Their arrangement gives us something to explore, but the photograph leaves the explanation open. We bring our own interpretation to the scene.
Use the five Ws
Who? Who or what is the main subject? Is there a relationship between the people or things in the frame?
Why? What might explain the activity? Which clues are visible, and what remains uncertain?
What? What is happening? Look for an action, gesture or small change.
Where? Which details give the scene a setting—a shopfront, street sign, building or familiar object?
When? What do the light, clothing and activity suggest about the time of day, season or period?
Try it
Choose one small location and spend twenty minutes watching it. Make three photographs: one that establishes the setting, one that shows an action or interaction, and one revealing detail.
Look at them together afterwards. Ask which of the five Ws each picture contributes, and whether the set tells you more than any one frame does alone.
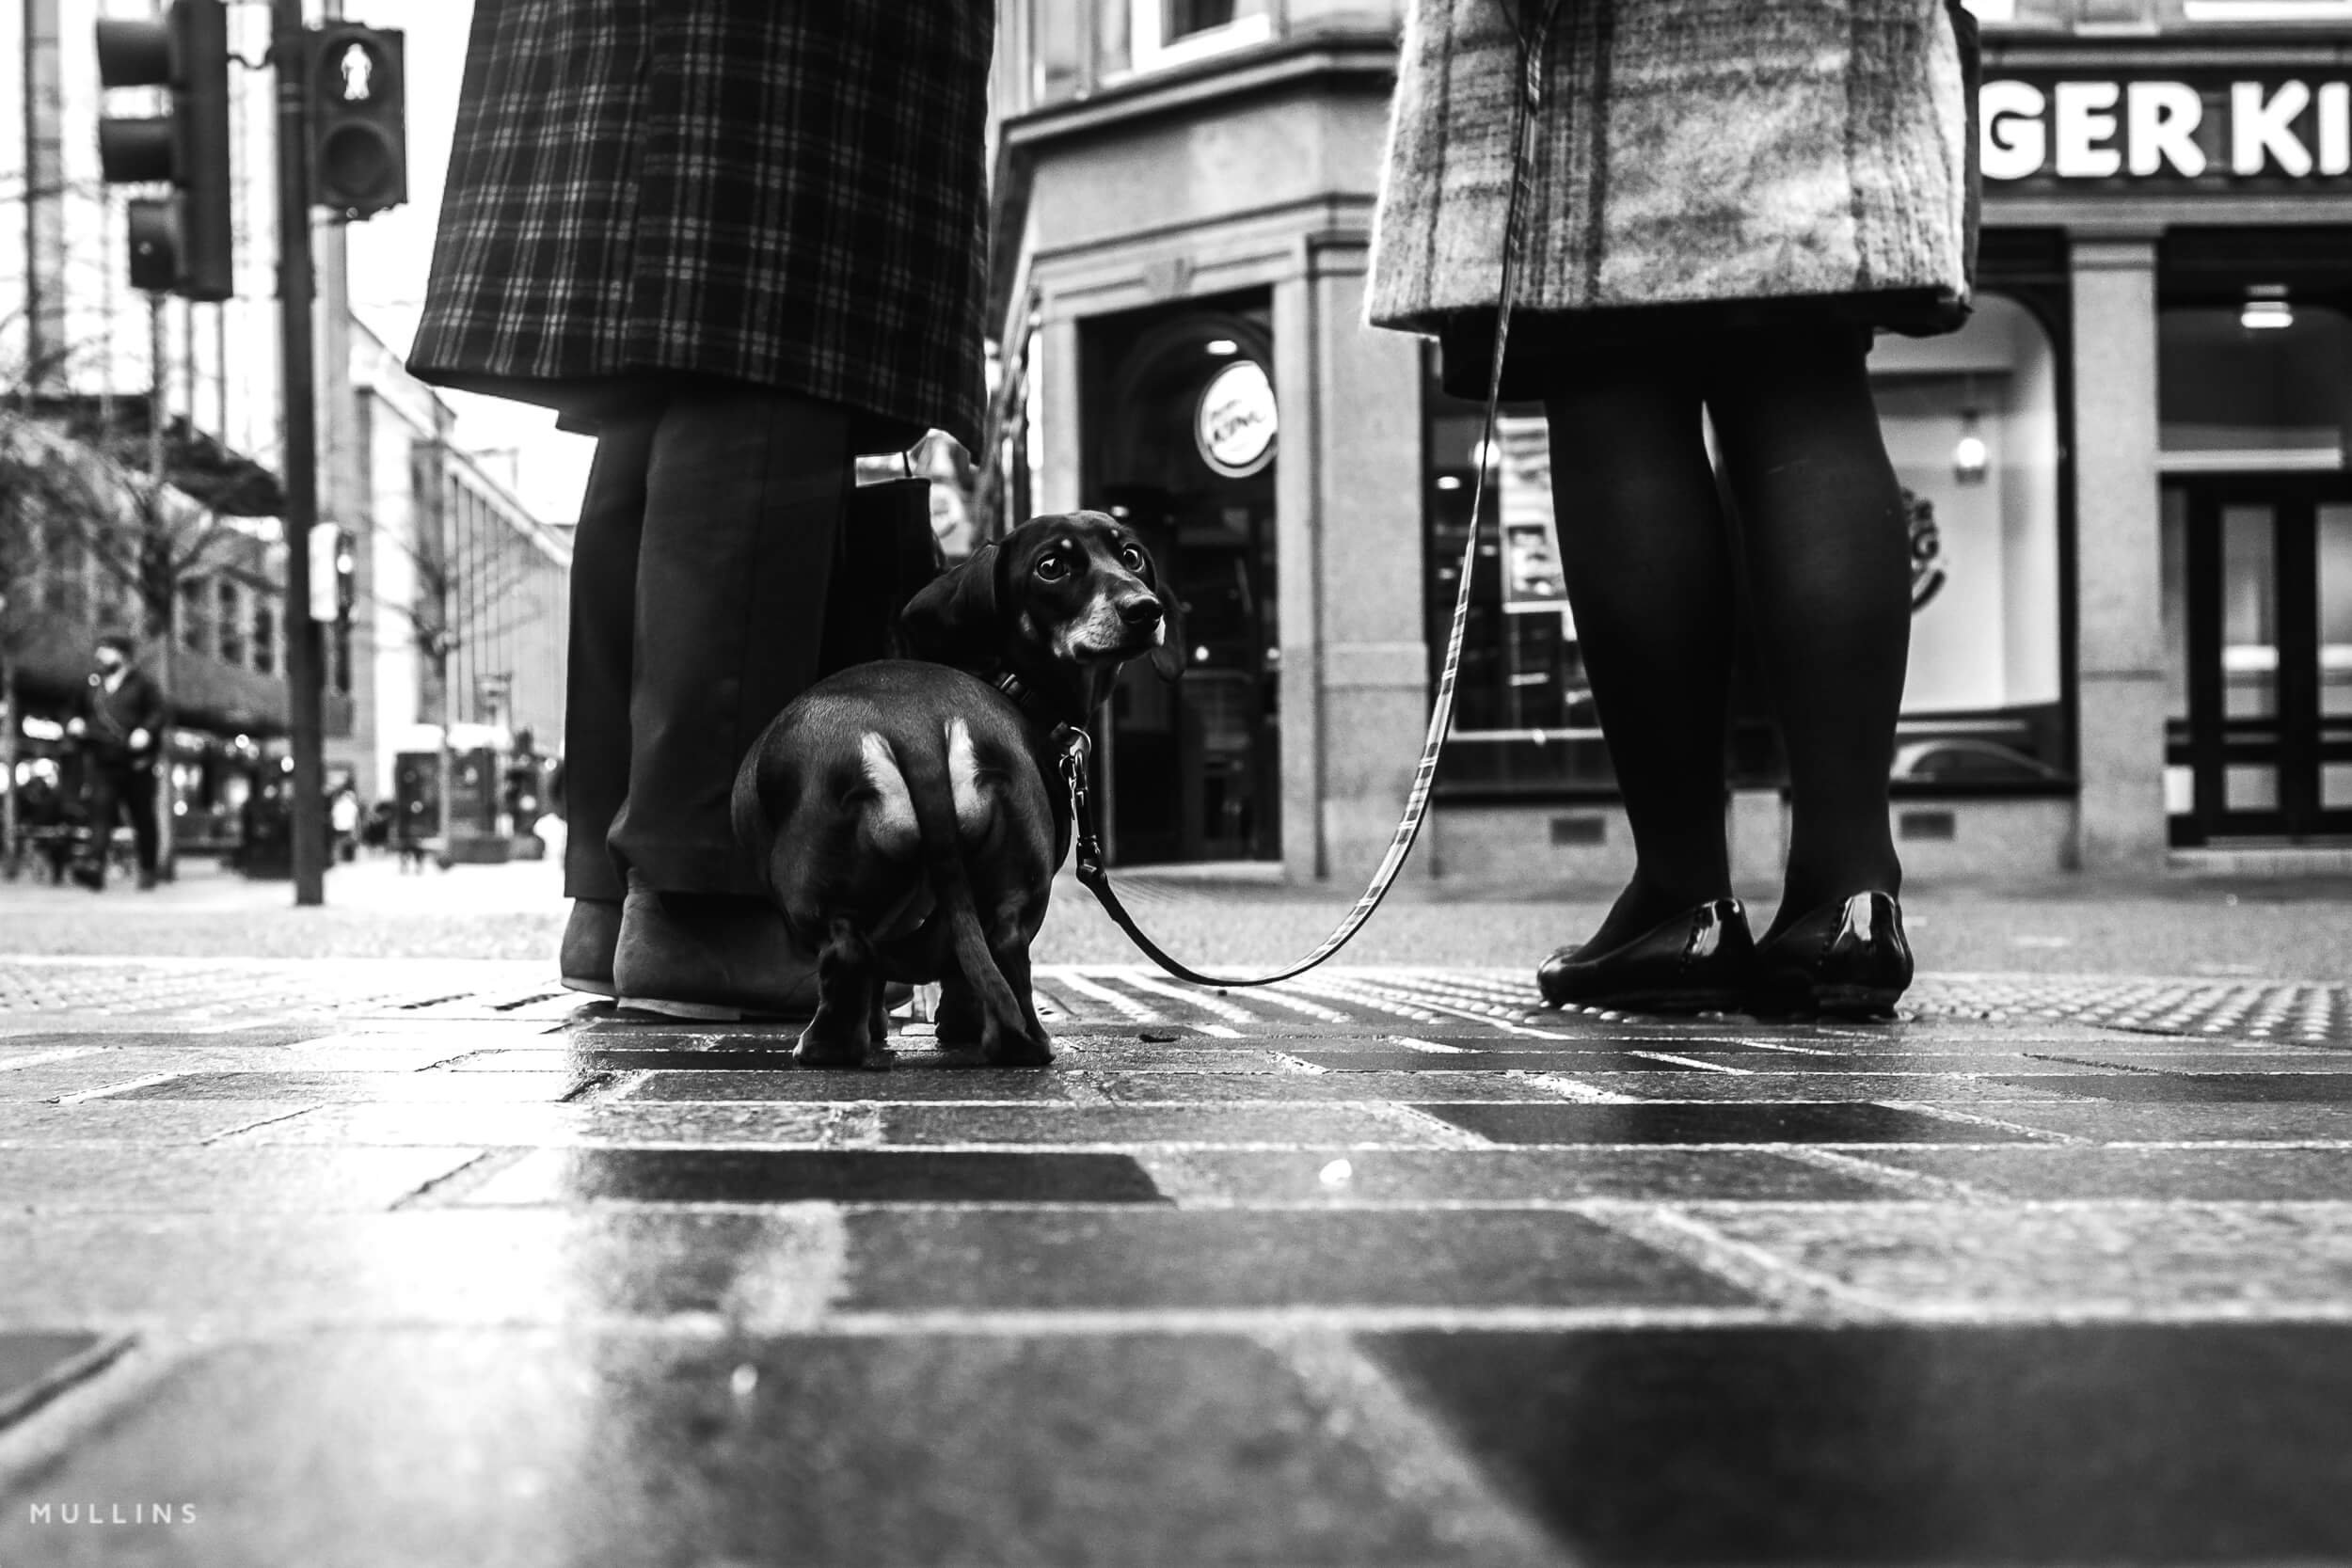
The dog’s backward glance, the lead and the crossing give us a small everyday incident to read.
Here, the dog becomes the main character. The surrounding legs, lead and crossing signals provide context, while the backward glance supplies the moment. Everyday activity gives you plenty of material for this exercise.
Why is this useful?
The five Ws help you notice context and relationships. You begin to see which details make an action understandable, and which raise an interesting question.
They also help when selecting photographs. In a short sequence, each image can contribute another part of the story: the place, the people, an action or a detail you might otherwise have overlooked.
When you look through the photographs
What does the picture show? What does it suggest? Which parts of your interpretation come from visible clues, and which have you supplied yourself?
You can find more on building a narrative in my Ten Top Street Photography Tips.
8. Listen for the story of a place
Make a short audio recording of an area, then step away, have a coffee and listen back. The sounds can reveal activity you barely noticed while concentrating on what to photograph.
I use this exercise to encourage a different kind of attention. Footsteps, deliveries, passing traffic or the clatter of cups can give you clues about how a place works—and something specific to explore when you return.
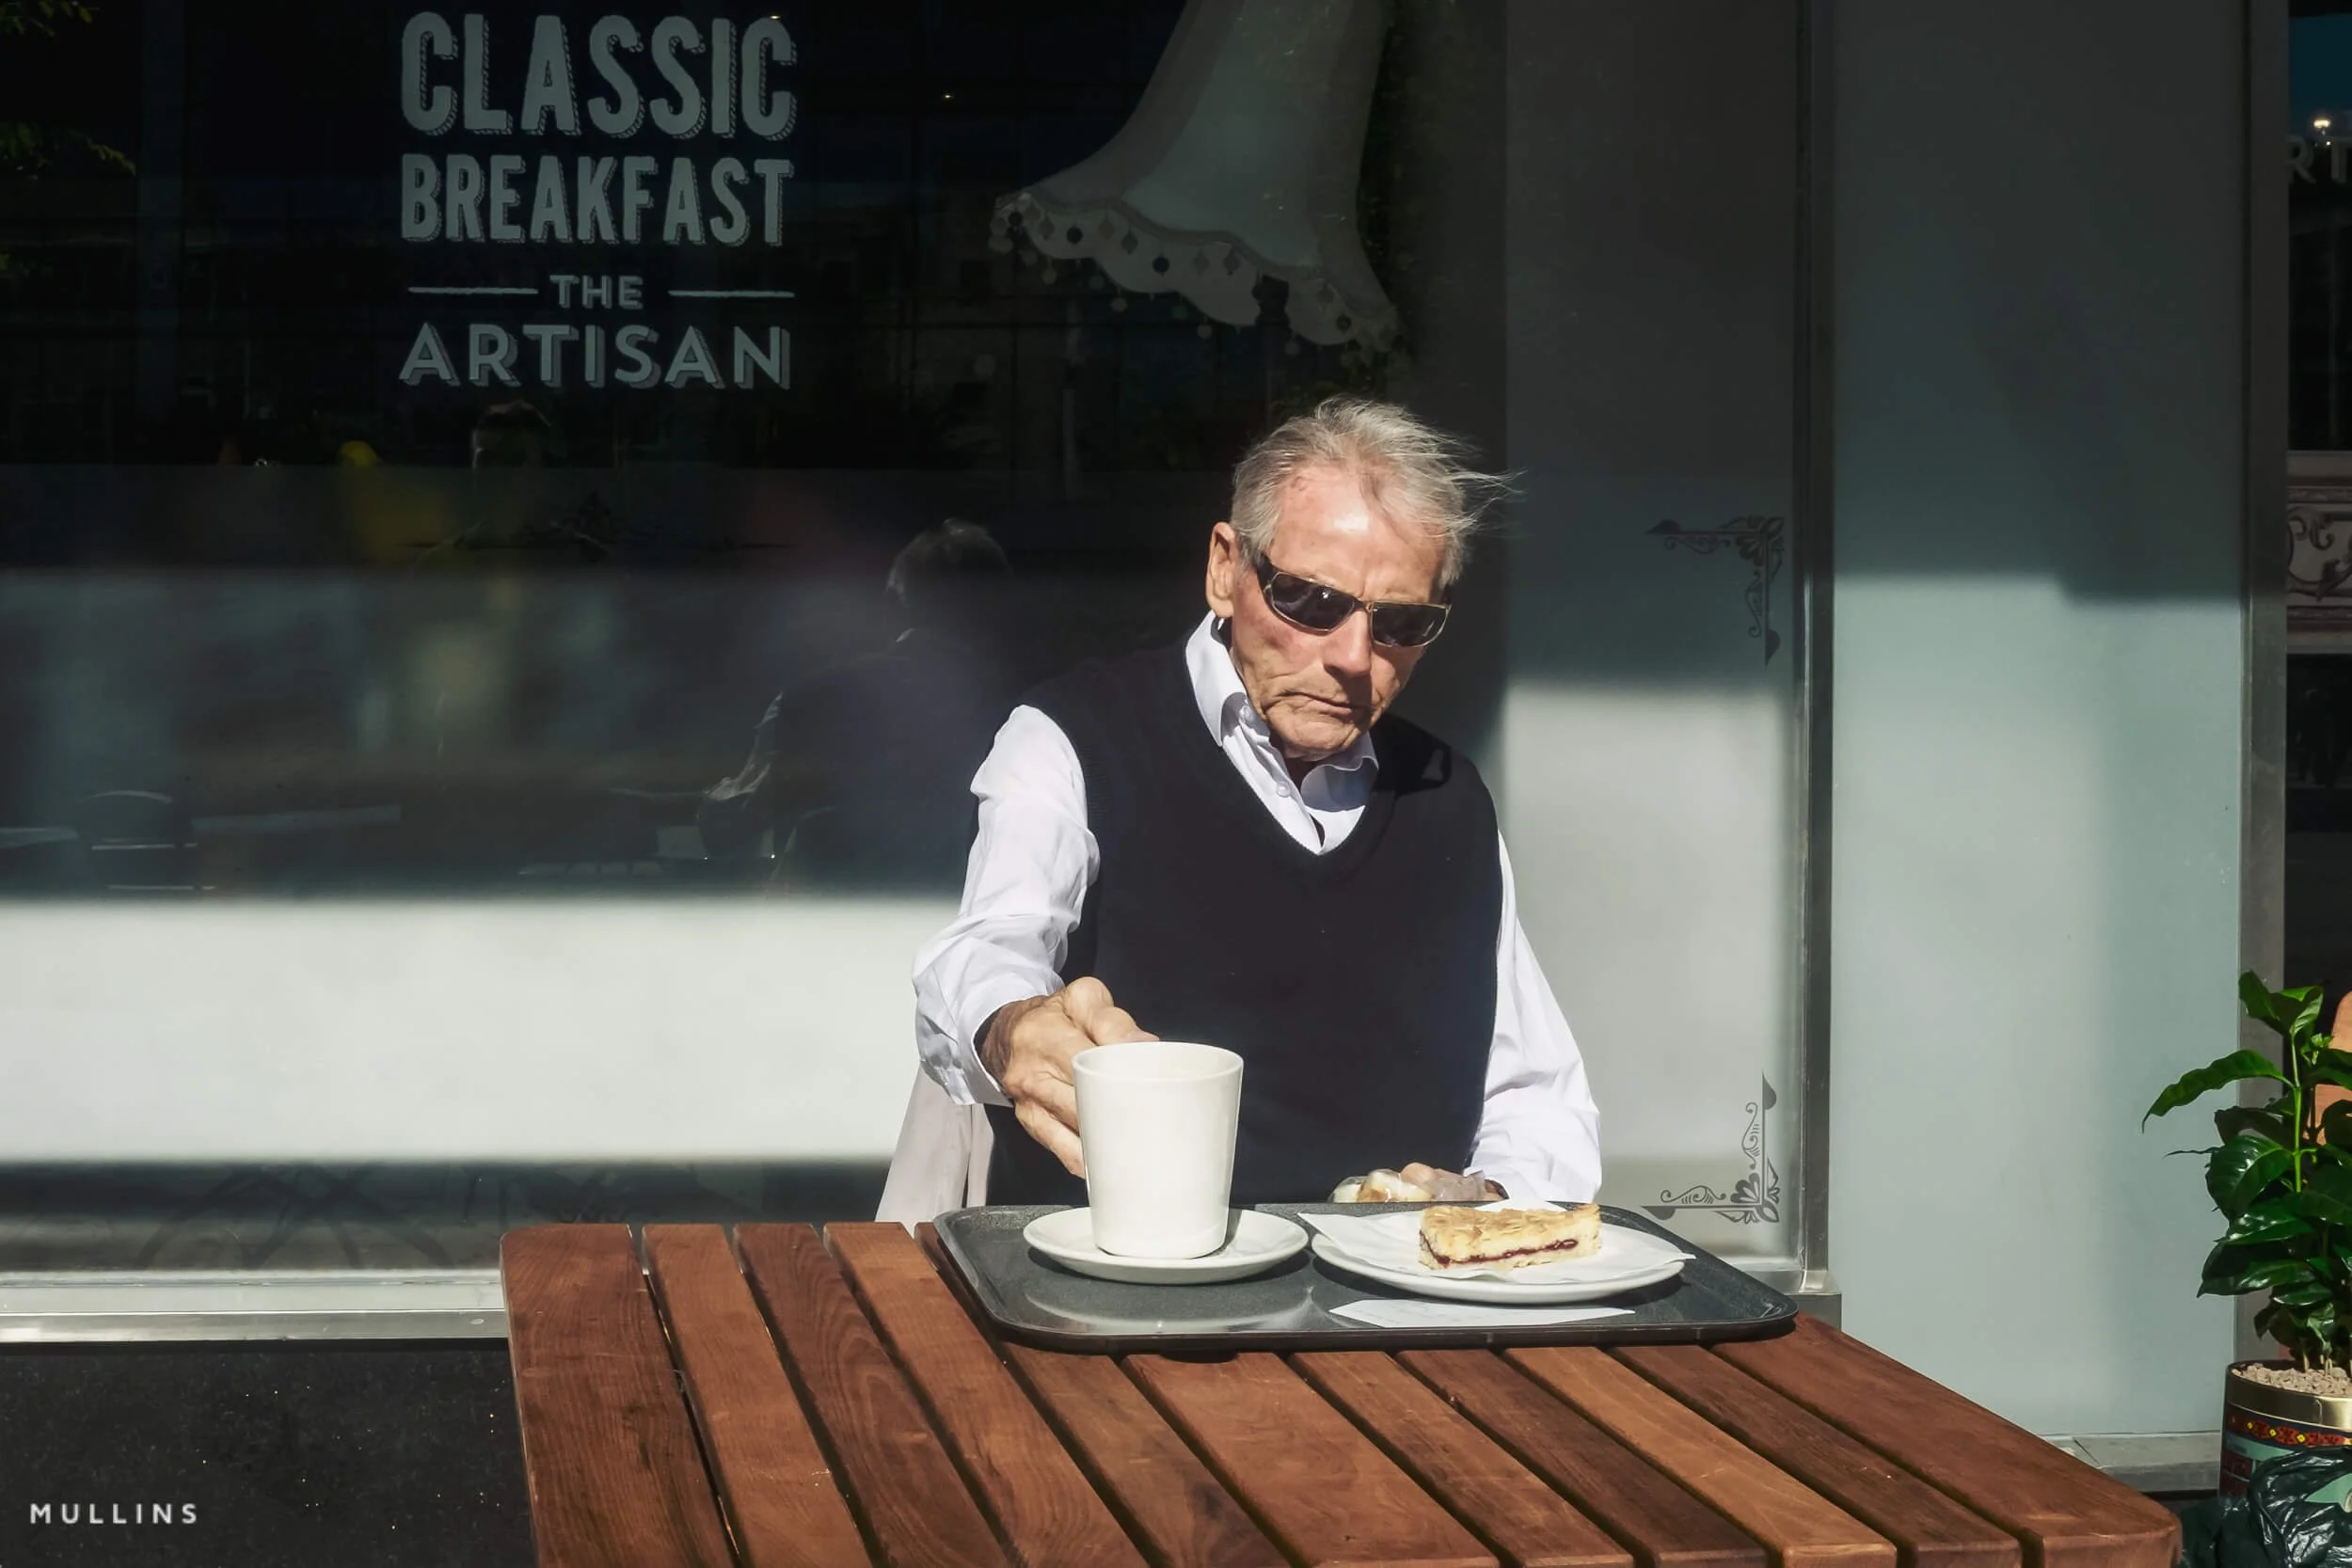
A pause over a coffee gives you time to listen back and decide what to explore next.
As you listen, notice what repeats. Which sounds are close, and which come from further away? Is there a steady rhythm, or does one sound interrupt everything else?
A delivery trolley might draw your attention to the working life of a shopping street. The sounds around a café might encourage you to watch the exchanges between staff and customers.
Try it
Record 60–90 seconds of general ambience. Use your phone and keep the recording focused on the sounds of the public space.
Step away and listen back over a coffee. Give the recording your attention, leaving your photographs aside for a few minutes.
Write down three sounds and the activity each suggests. Choose one that makes you curious.
Return and make a small set of photographs around that activity. Look for the people, gestures and details that could communicate something of what you heard.
If footsteps or passing dogs stood out in your recording, you might explore how people and animals move through a shared space. A lower viewpoint could help bring that activity into the foreground.
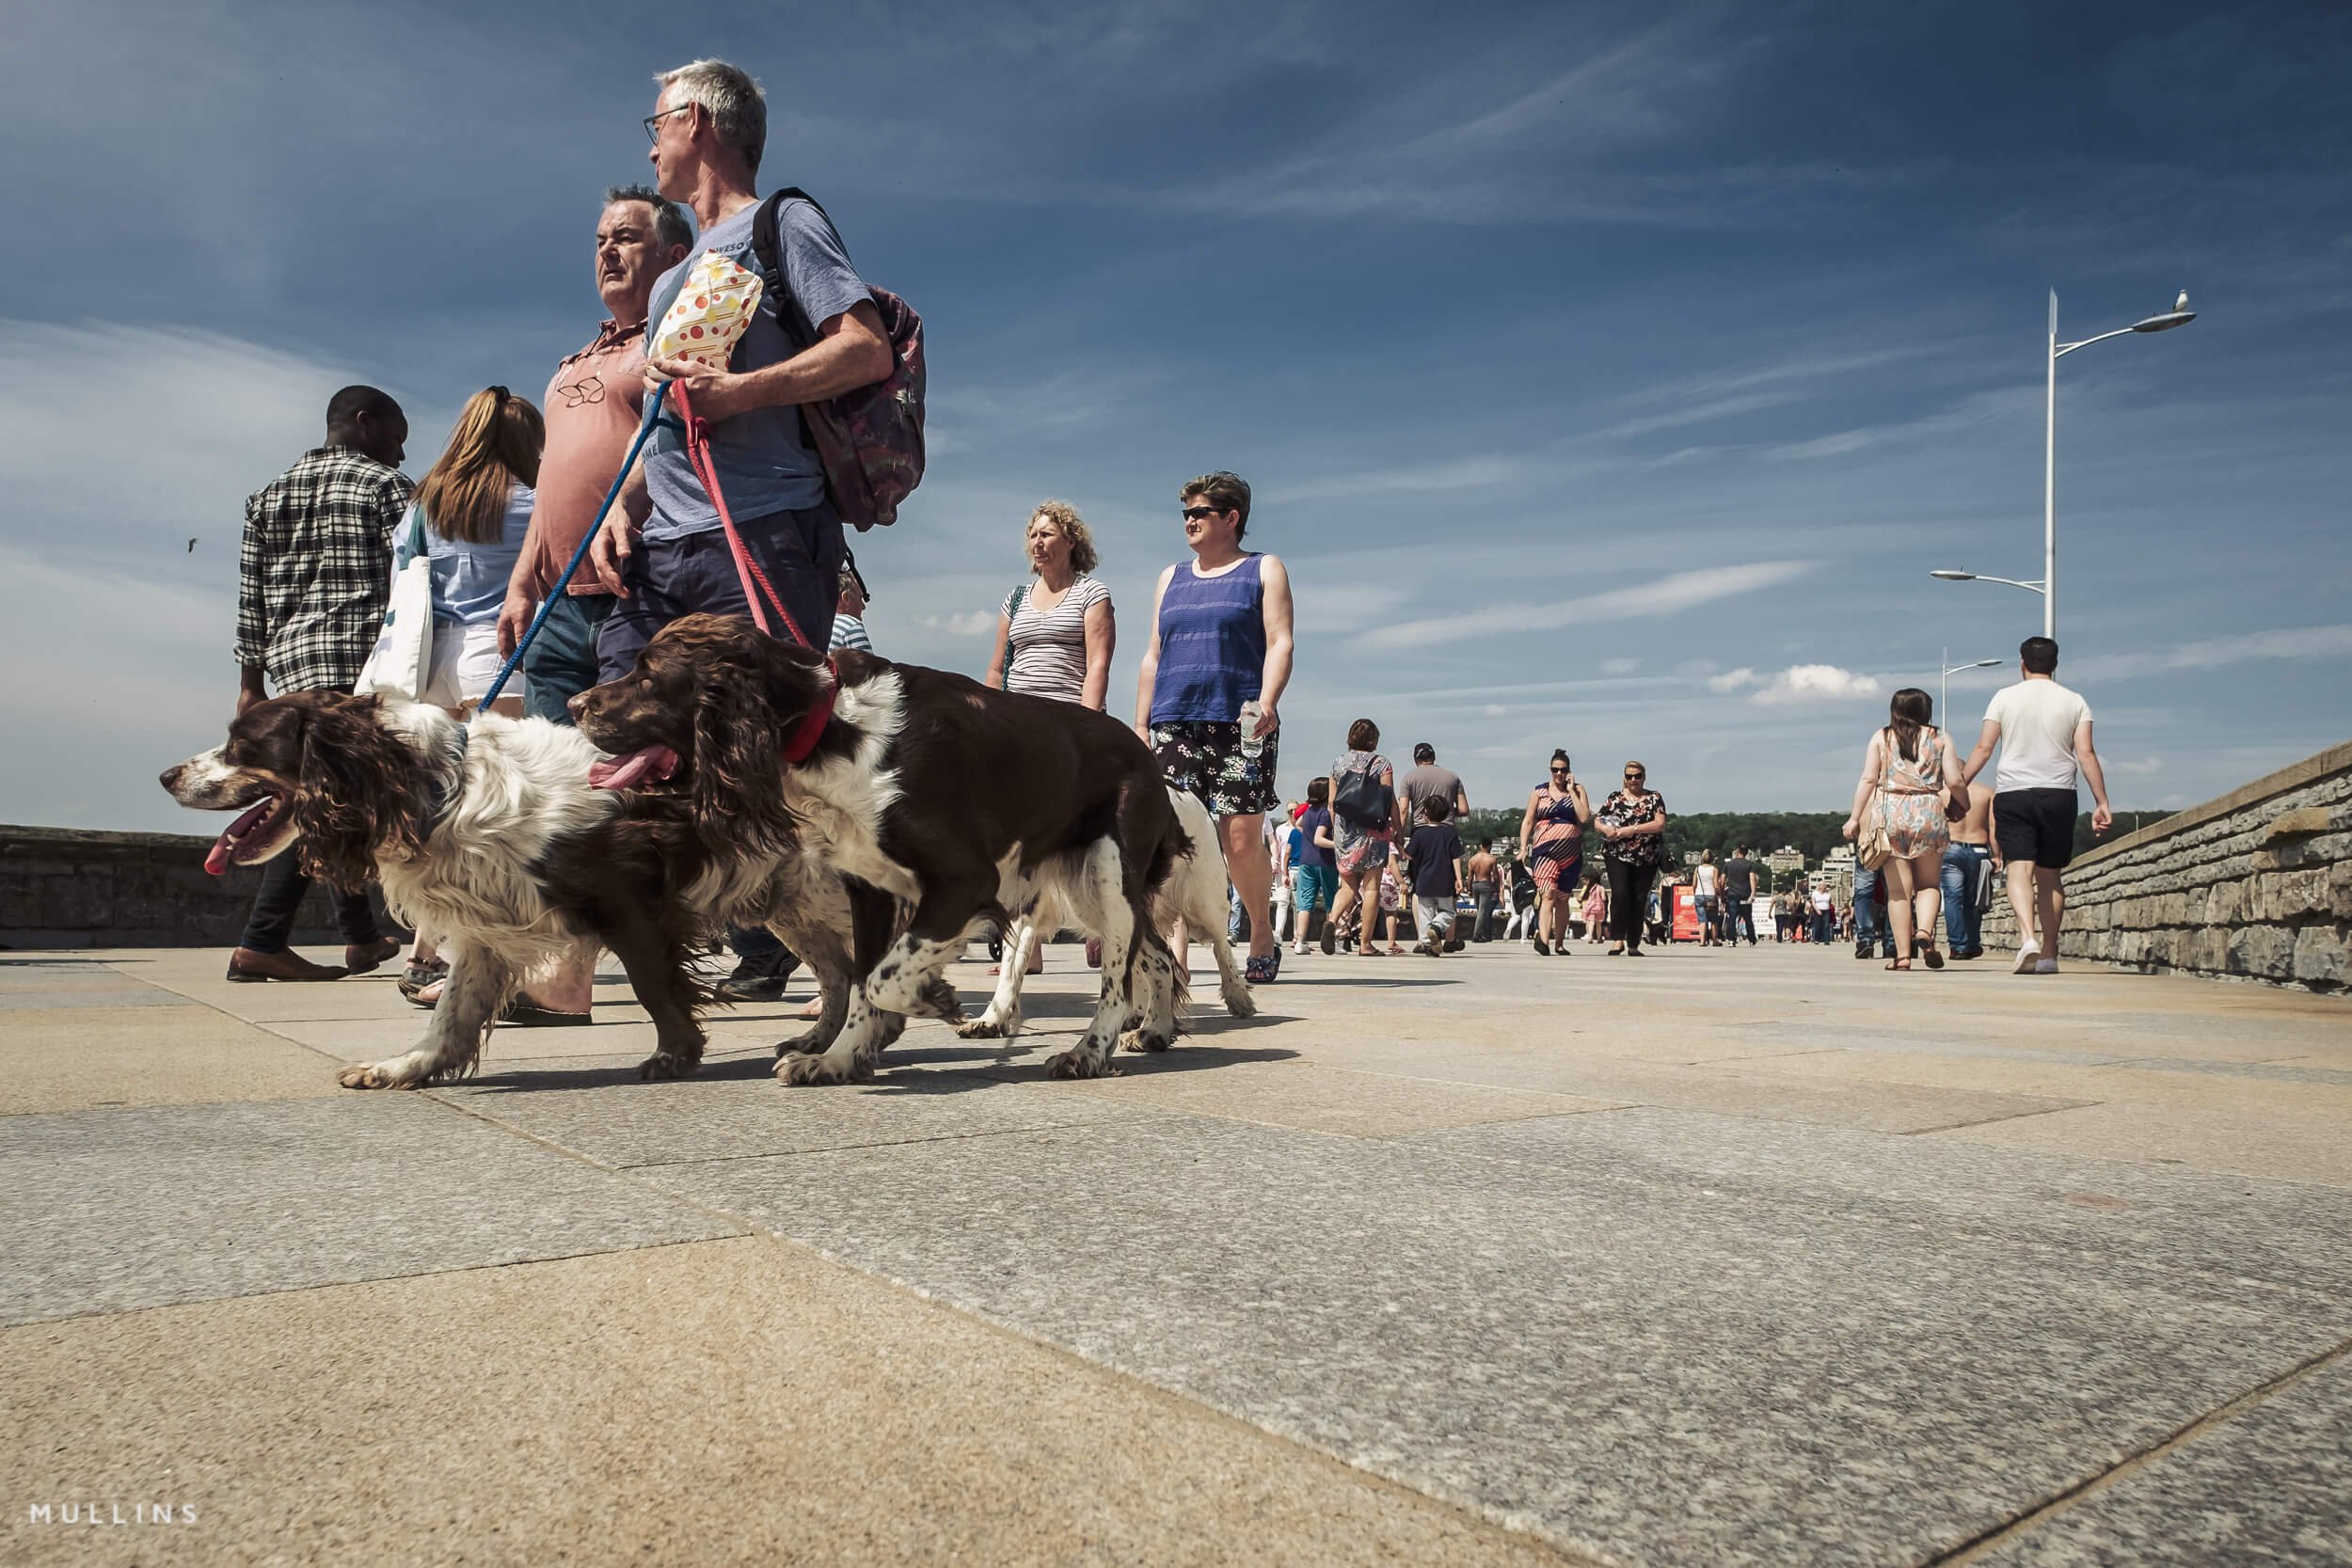
Footsteps and the sounds of passing dogs could provide a starting point for photographs along a promenade.
Why is this useful?
Listening can take you beyond your first visual impression. You might arrive somewhere attracted by its architecture, then discover that the activity around a small counter or delivery entrance holds your interest.
The recording gives you a reason to return with a clearer question in mind. It also encourages you to spend longer in one place, giving yourself time to notice the rhythms and relationships that a quick walk might miss.
When you look through the photographs
Which sounds led you towards a photograph? Did listening change what you noticed? Do the pictures suggest something about the activity or character of the place?
One photograph, unpacked
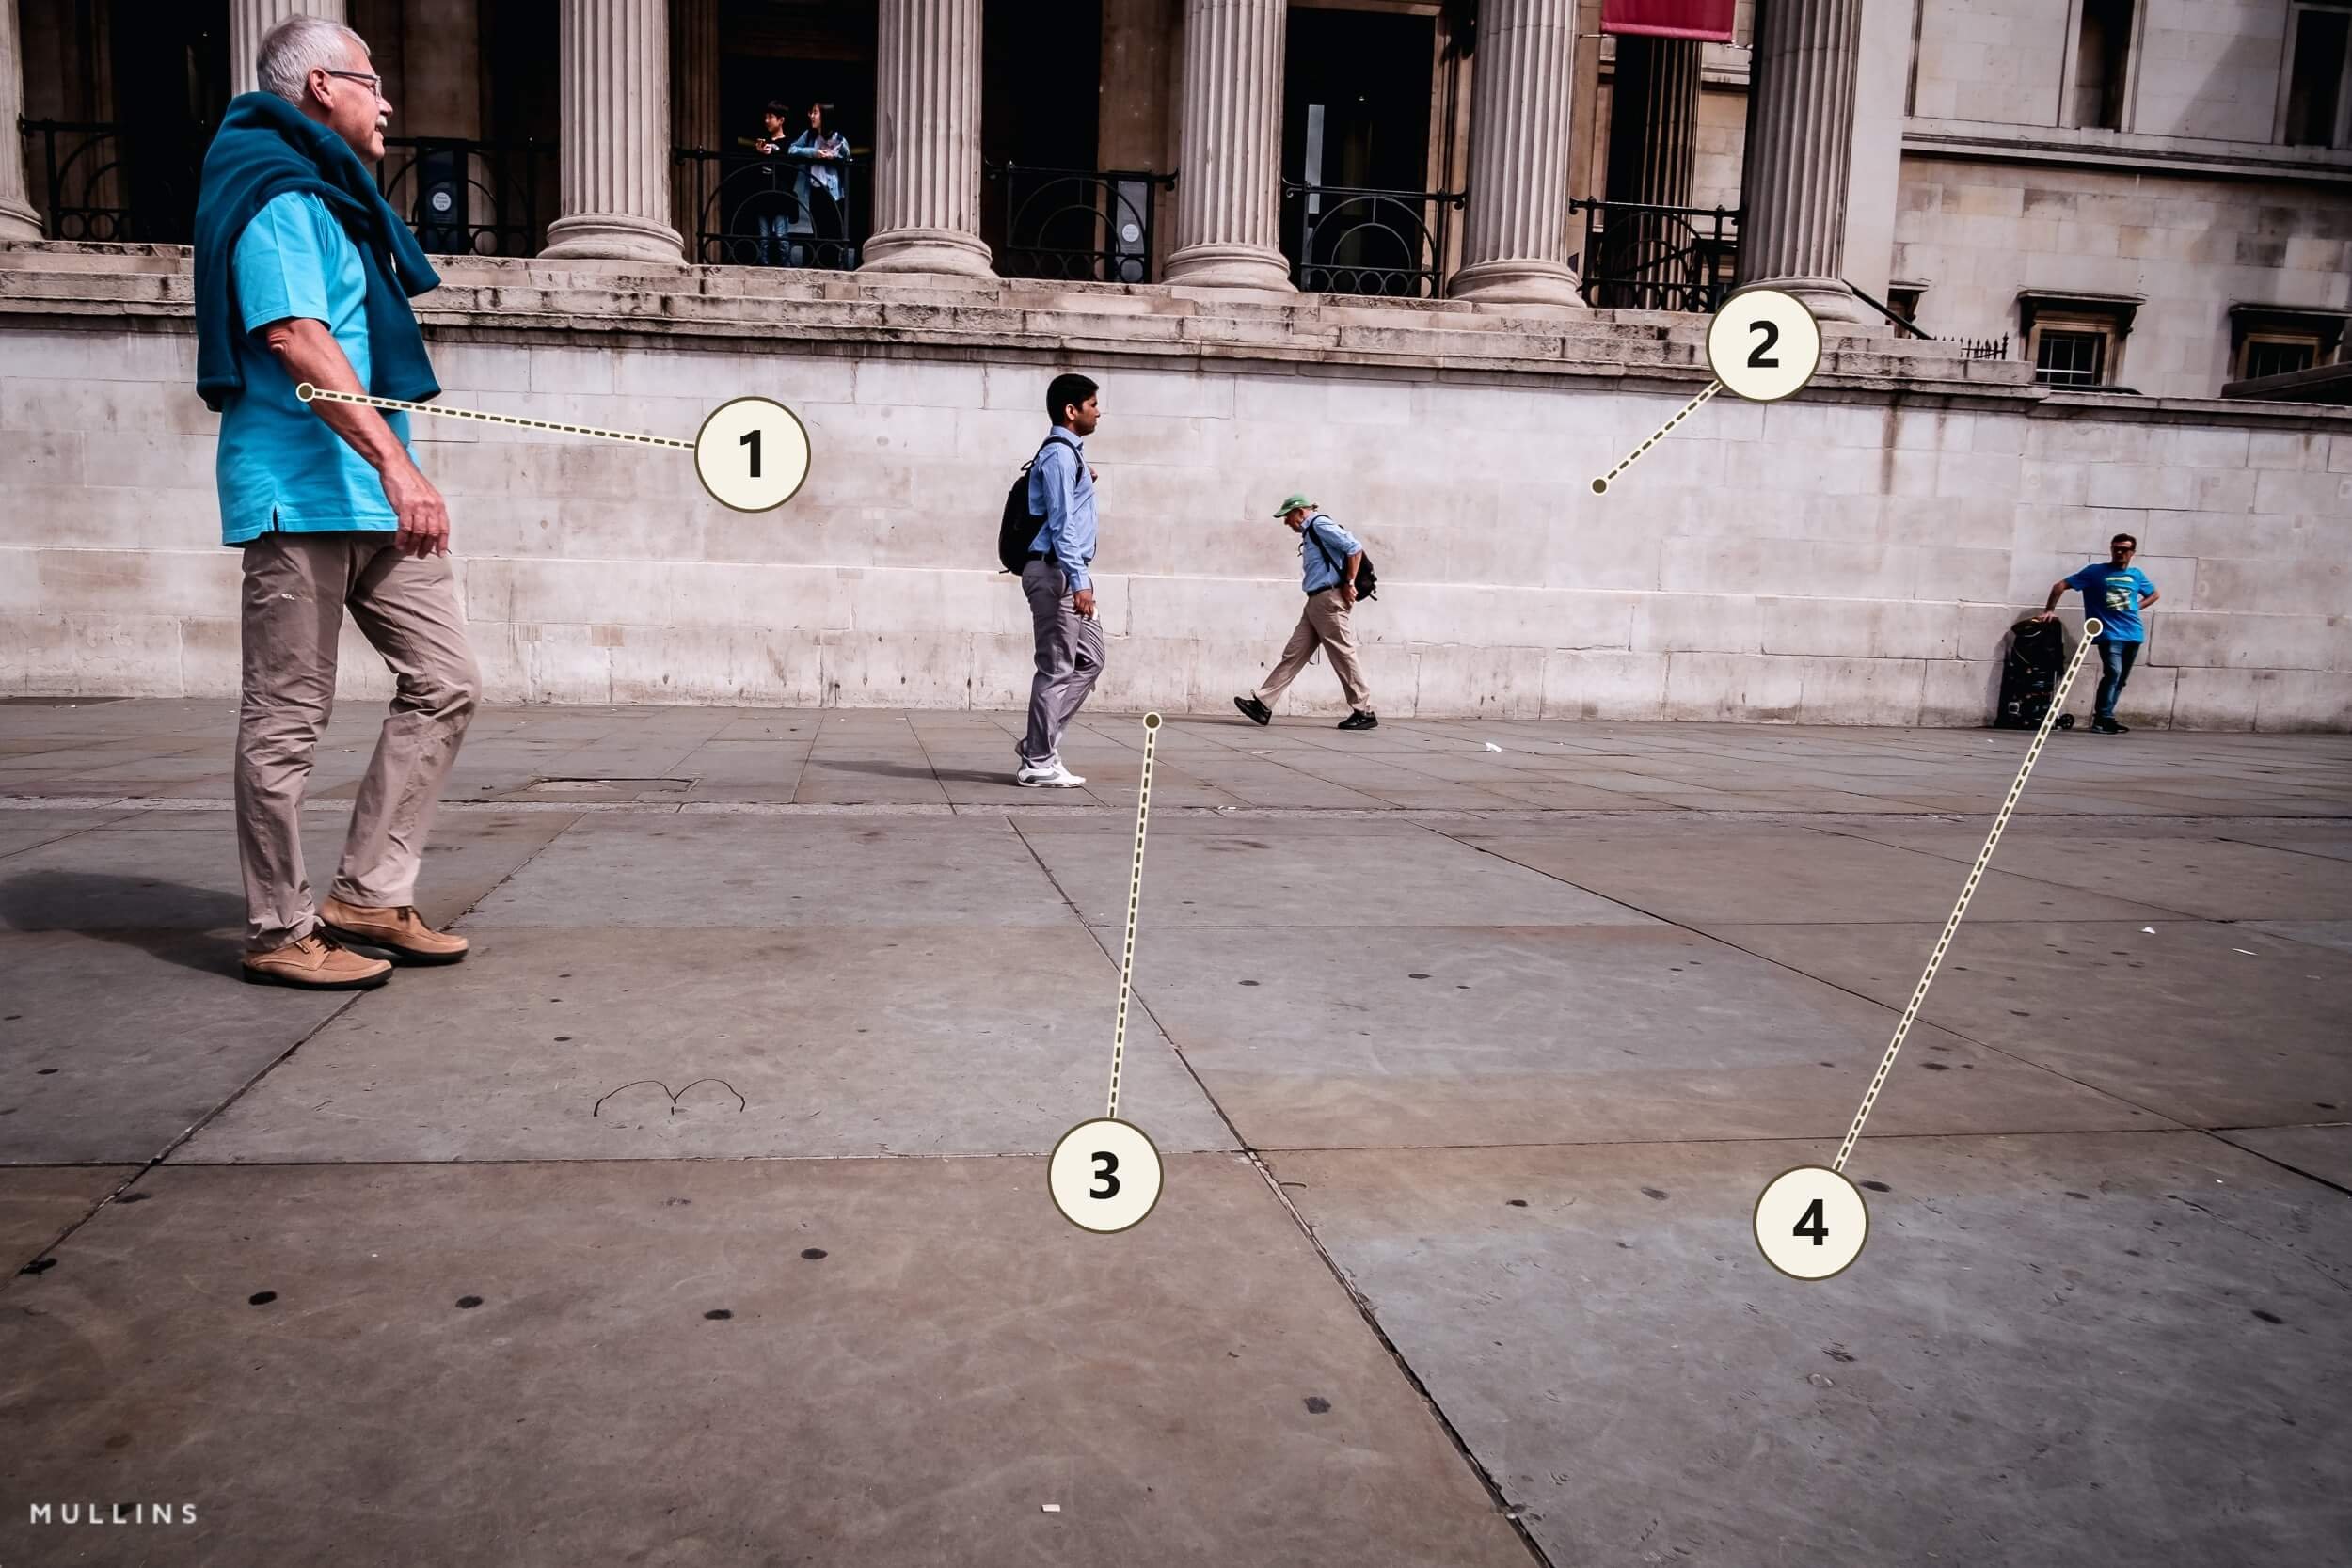
Several of the ideas we have explored can work together within one frame. Follow the numbered notes and consider what each element contributes.
Colour: Blue repeats across the photograph, connecting people at different distances and giving the eye somewhere to travel.
Background: The broad, pale wall helps the figures stand out. Its relatively quiet surface gives their gestures room to register.
Spaces: The gap between the central figures keeps their outlines and movements readable. Another step could change that relationship.
Depth: The change in scale, from the large nearby figure to the smaller people beyond, gives the photograph a sense of distance.
Try covering one part of the photograph with your hand. How does its absence change the picture?
Take it further: give yourself a small project
Once you have tried a few of these exercises, bring them together around a simple theme. A project gives you a reason to choose between possible photographs and to return when you feel there is more to explore.
Keep the boundary small: one shop, a short street or an hour in a familiar neighbourhood. That gives you time to notice connections between the people, details and activity.
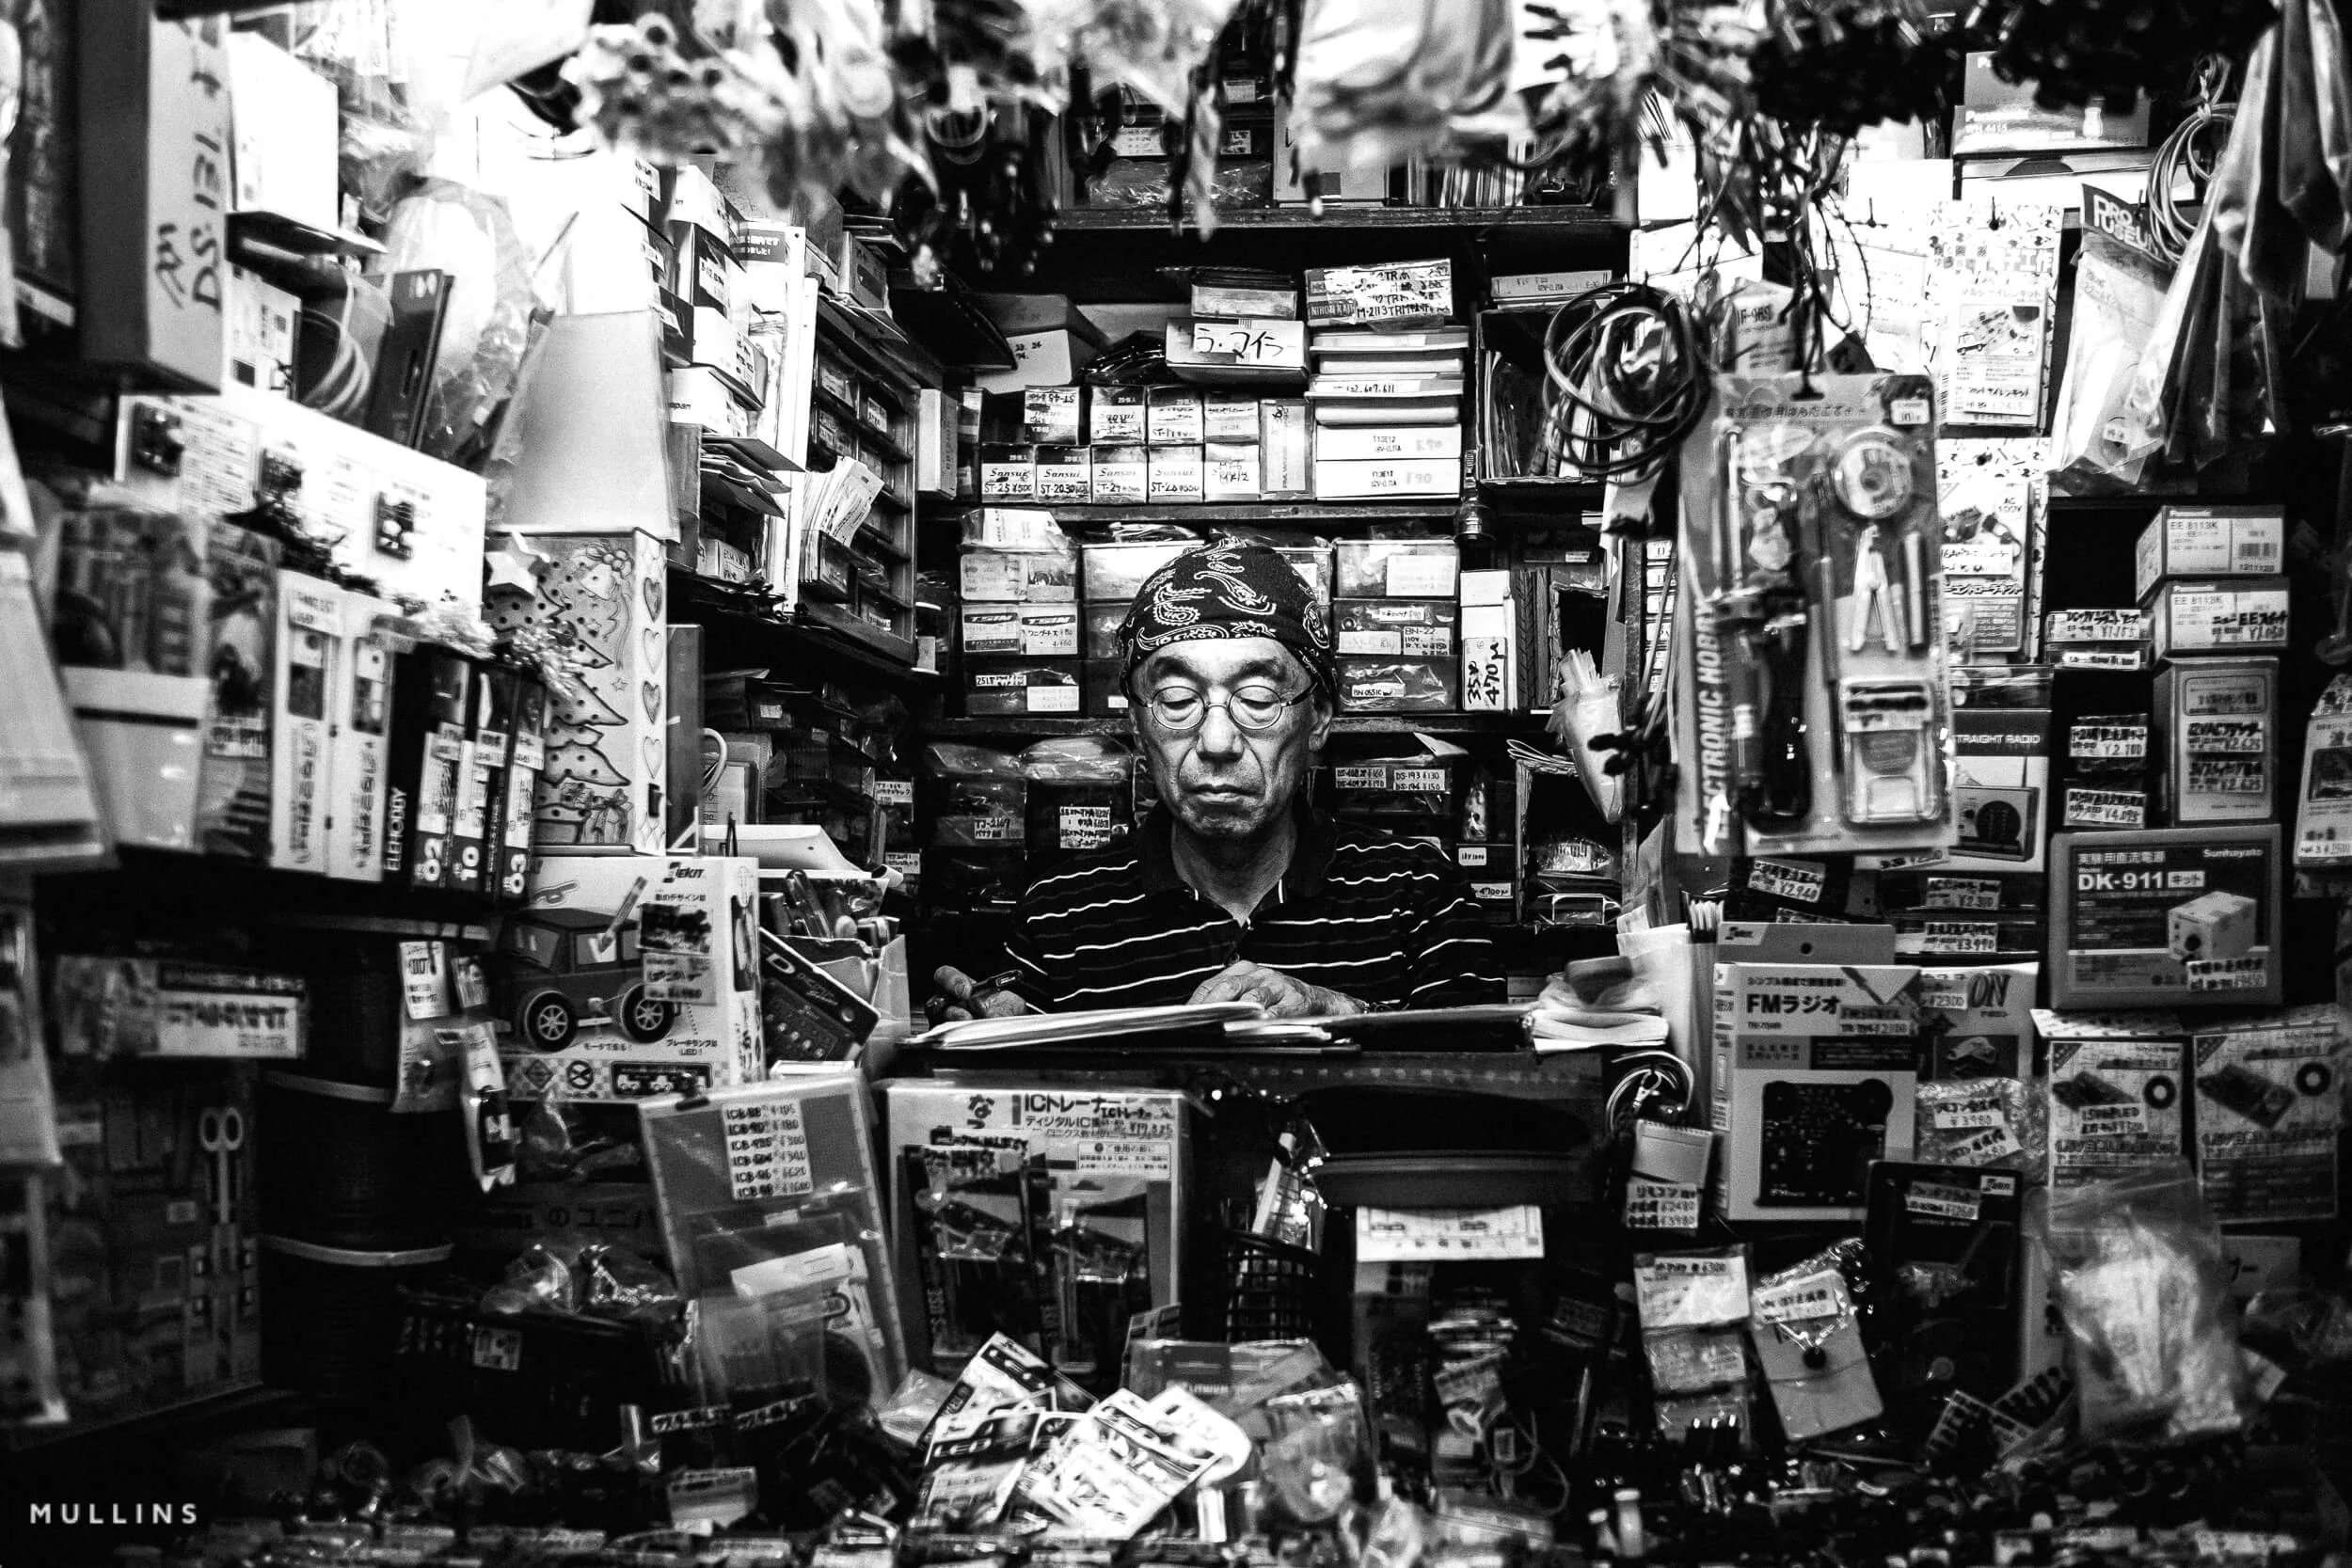
The person and the surrounding display work together to describe the character of the shop.
A shop can give you several photographs: its place on the street, an interaction at the counter, the arrangement of goods or a small detail of daily work. In this photograph, the crowded display contributes to our understanding of the setting. The person at its centre gives us a point of attention within it.
Another approach is to give yourself a brief that changes which details you notice. For “50s”, look for present-day scenes that would not seem out of place in the 1950s.
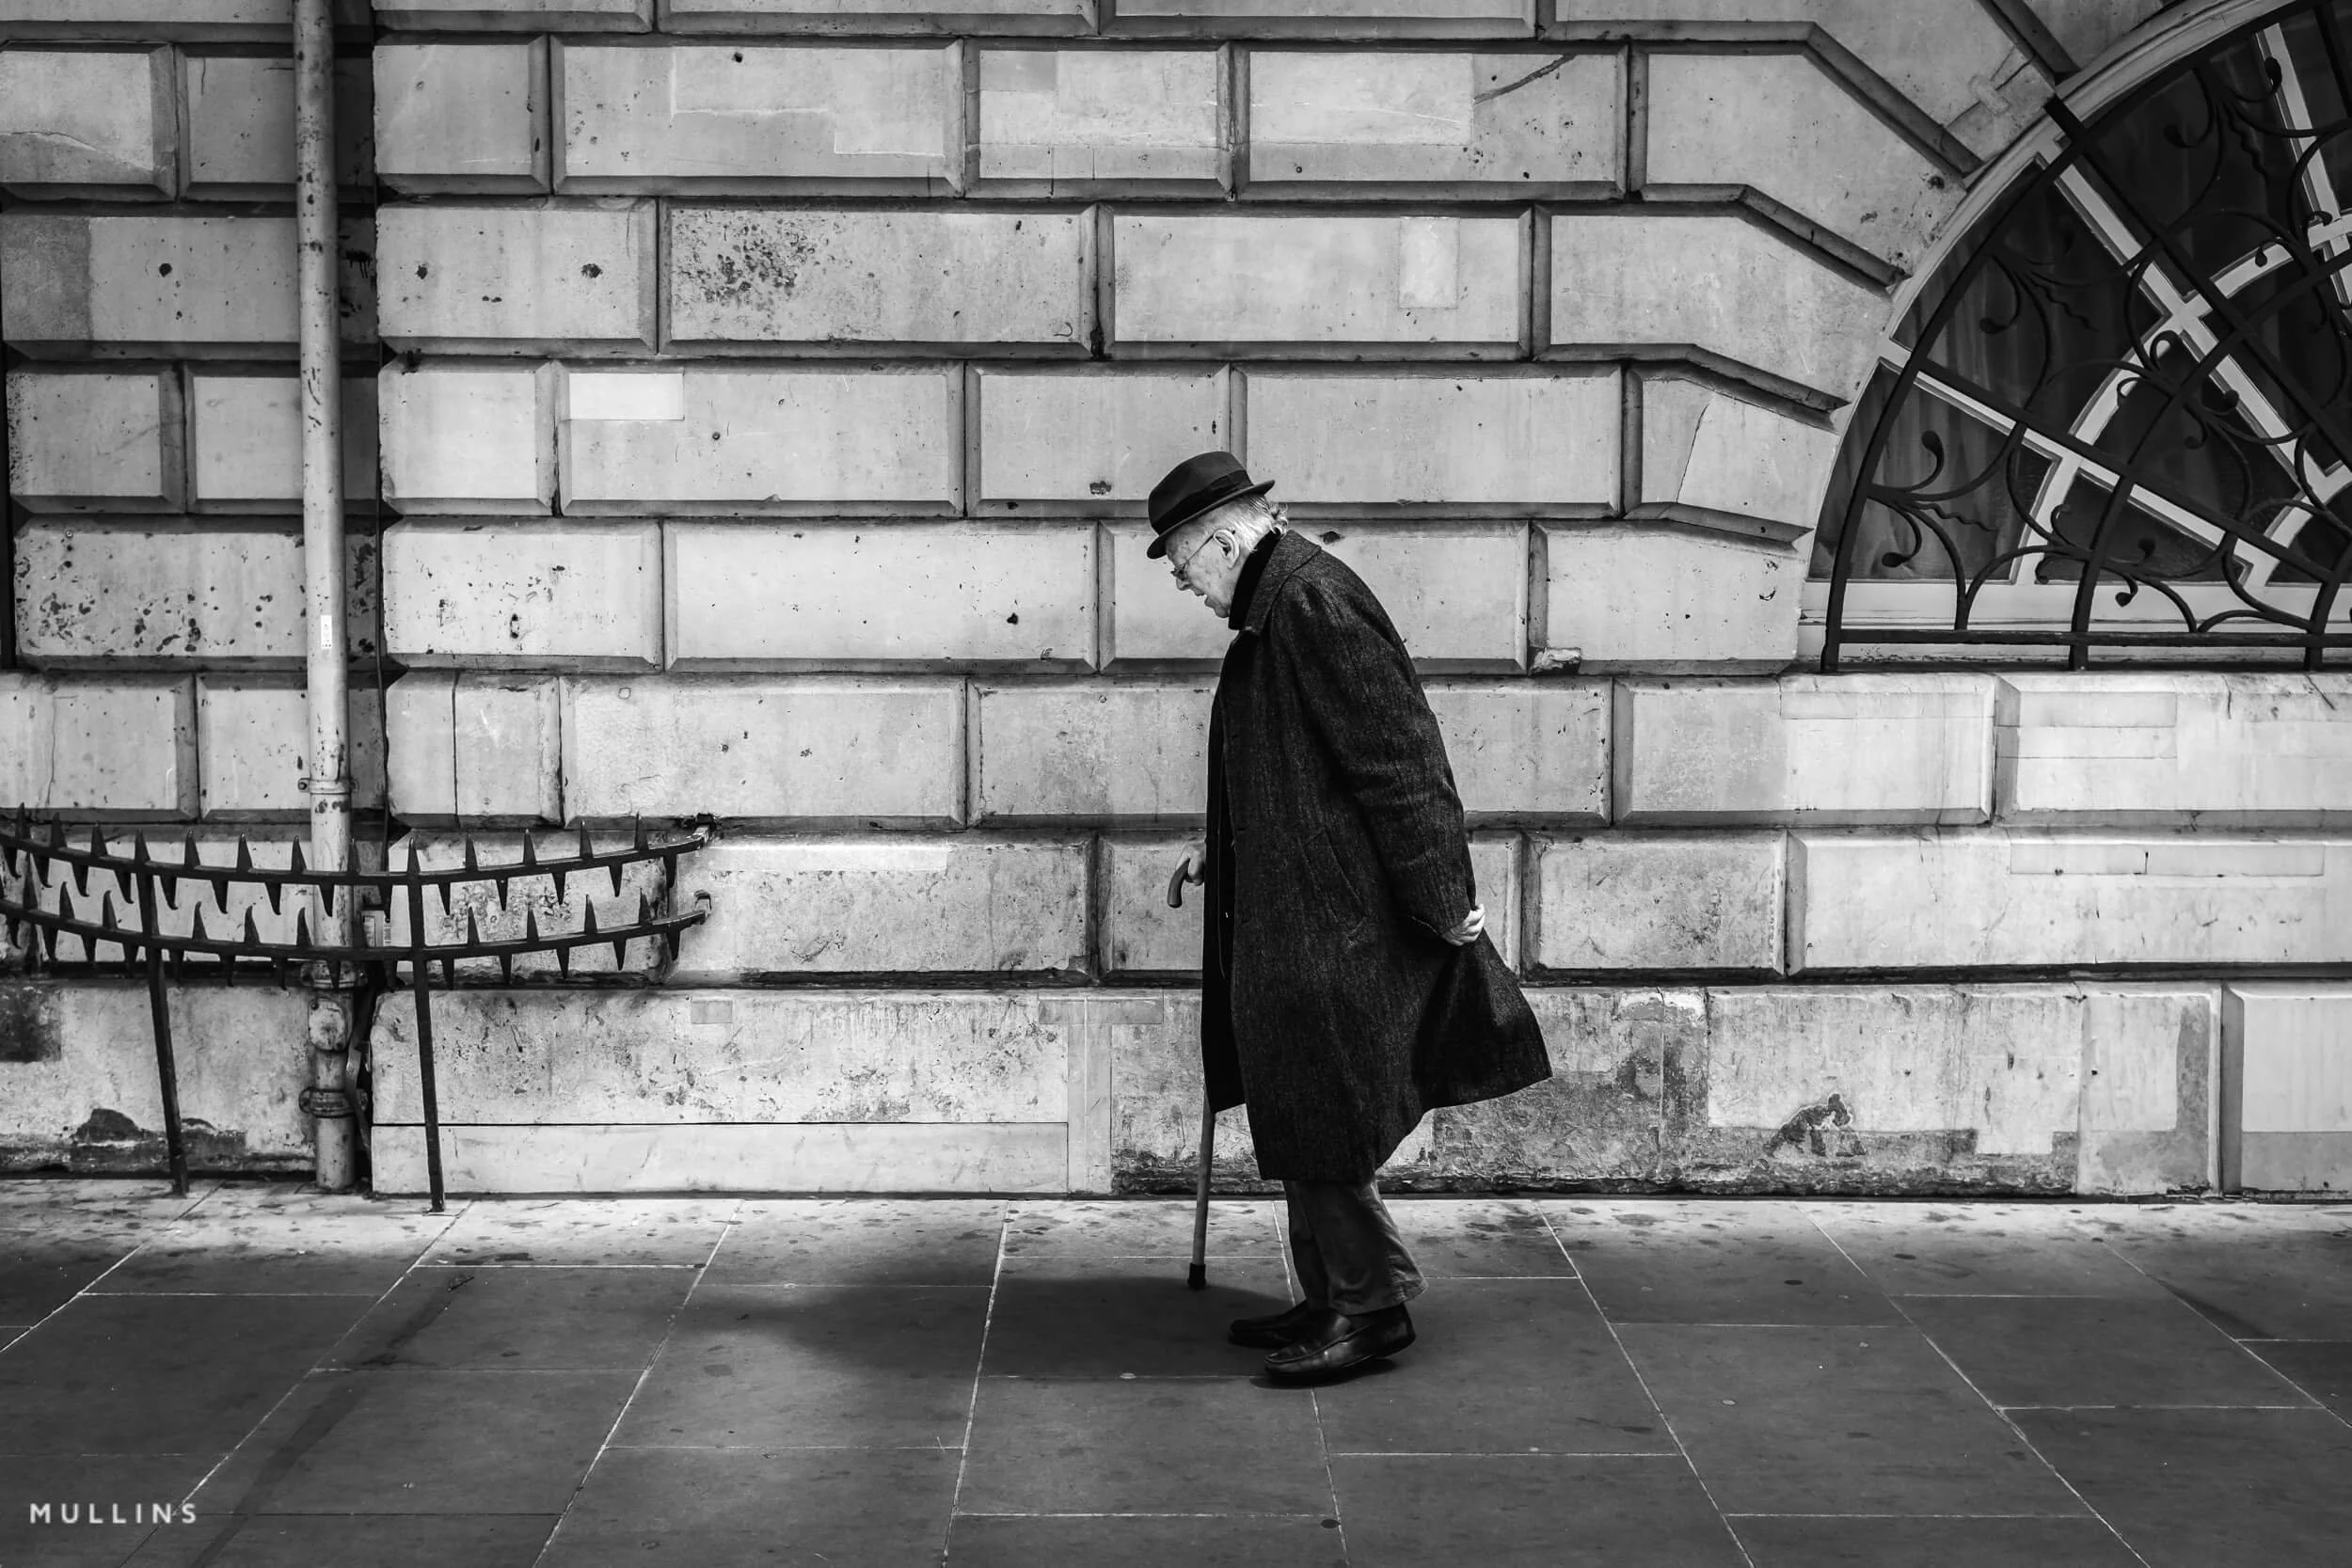
Traditional clothing and stone architecture offer a starting point for the “50s” brief.
The hat, overcoat, walking stick and architecture help this scene feel less tied to the present day. The exercise encourages you to inspect the whole frame: a phone, modern vehicle or prominent logo could change how the picture reads. Monochrome can contribute to the atmosphere, but the objects within the frame still matter.
Keep the project manageable
Aim for a first selection of five photographs. Look for a mixture of views, actions and details, with each picture contributing something to the theme.
Choose one of the briefs below and give it a little time. If the first walk leaves you with questions, use those to decide what to look for on your next visit.
| Project | Your brief | What it develops |
|---|---|---|
| For the love of the money | Explore everyday exchanges: buying, selling, delivering, displaying or waiting. Look for the relationships around the transaction. | Reading actions and relationships. |
| Sense of the city | Choose a small area and make photographs that suggest its character through people, light, details and pace. | Recognising atmosphere and building a sequence. |
| 50s | Find present-day scenes that could belong in the 1950s. Check clothing, architecture, vehicles and small objects throughout the frame. | Attention to details and the edges of the picture. |
| Off the beaten track | Spend time on an overlooked route or quiet corner. Return to see which activities and details recur. | Patience and familiarity with a place. |
| My shop front | Explore one shop through its frontage, people, displays and the activity around its entrance. | Connecting people with their surroundings. |
| A curious place | Find an unexpected relationship or visual puzzle. Include enough context for someone else to share your curiosity. | Observation and visual connections. |
Choosing and editing your photographs
Looking through the photographs is part of the learning. This is where you discover which decisions worked, which moments you missed and what you want to practise next.
There are two useful stages: choosing the photographs to keep, then deciding how to present them.
Start with a small selection
View the pictures together in a grid. If you made several frames of one scene, compare them closely. Notice how a small change in a hand, a gap between figures or something entering the background changes the whole photograph.
Make a first selection of five pictures. Ask yourself what each one contributes. For a project, look for photographs that add another detail or perspective to the set.
Judge each picture in relation to what you were practising. In the movement exercise, for example, consider what the blur communicates and whether the important action remains readable.
Process with the photograph in mind
Begin by asking where you want the viewer’s attention to go. Adjust the exposure and contrast so the important details remain clear. Let useful shadows stay dark where they help the composition.
In colour, look at how the colours work together across the frame. In monochrome, pay attention to the separation between light, middle tones and shadow.
If a crop improves the picture, check what you have removed. A little surrounding space or an apparently minor background detail might be contributing to the story.
Once you have edited the photographs individually, view the set together again. Check that the colour, contrast and overall feel sit comfortably alongside one another, while allowing each scene to retain its character.
Take one useful observation into your next walk
Write down one thing you want to try again. Keep it specific: “Wait for a clearer gap between the figures,” or “Stay with the background long enough for something to develop.”
That gives the next walk a purpose. Repeating the exercise with that observation in mind lets you see how your decisions are changing.
A starting point for your Lightroom edits
If you edit in Lightroom, my profiles and presets offer colour and monochrome starting points to help you develop a consistent finish across a set. You can then adjust the result to suit the light and character of each photograph.
Further reading and photographs to spend time with
Looking carefully at photographs can give you something specific to try on your next walk. Choose a picture that holds your attention and spend a few minutes working out what keeps you looking.
Further reading from Kevin
Light, Composition, Moment — A closer look at how these three elements work together, with examples from my documentary photography.
How to Be a Better Photographer in Five Easy Steps — More on observation, seeing in monochrome, creative imperfections and enjoying the process.
Free Street Photography Walks and Guides — A practical way to take these ideas outdoors, with a self-guided London walk and prompts to work through along the route.
Photographers to explore
Alex Webb
Look at the layers, strong light and colour relationships. Follow the arrangement from foreground to background and notice how several activities can remain readable within one frame. His Oaxaca photographs in Magnum’s Emotions of the Sun collection offer a useful starting point.
Harry Gruyaert
Spend time with the colour and the way light changes ordinary settings. Notice how a patch of colour, a shadow or a reflection contributes to the balance and atmosphere of a photograph.
Martin Parr
Look for the details of everyday life: food, clothing, leisure and the ways people share public spaces. Consider how small observations can become part of a larger project about a place or an activity.
The Martin Parr Foundation is another useful resource for exploring documentary photography through its collections, exhibitions, books and photographer interviews.
Take one observation into your own work
Choose a photograph and ask yourself:
Where does my eye go first, and what takes it elsewhere?
What does the foreground or background contribute?
Which gesture, detail or relationship holds my attention?
Then choose one idea to explore on your next walk. You might look for a repeated colour, a useful foreground shape or a small detail that says something about daily life.
A few more photographs to look through
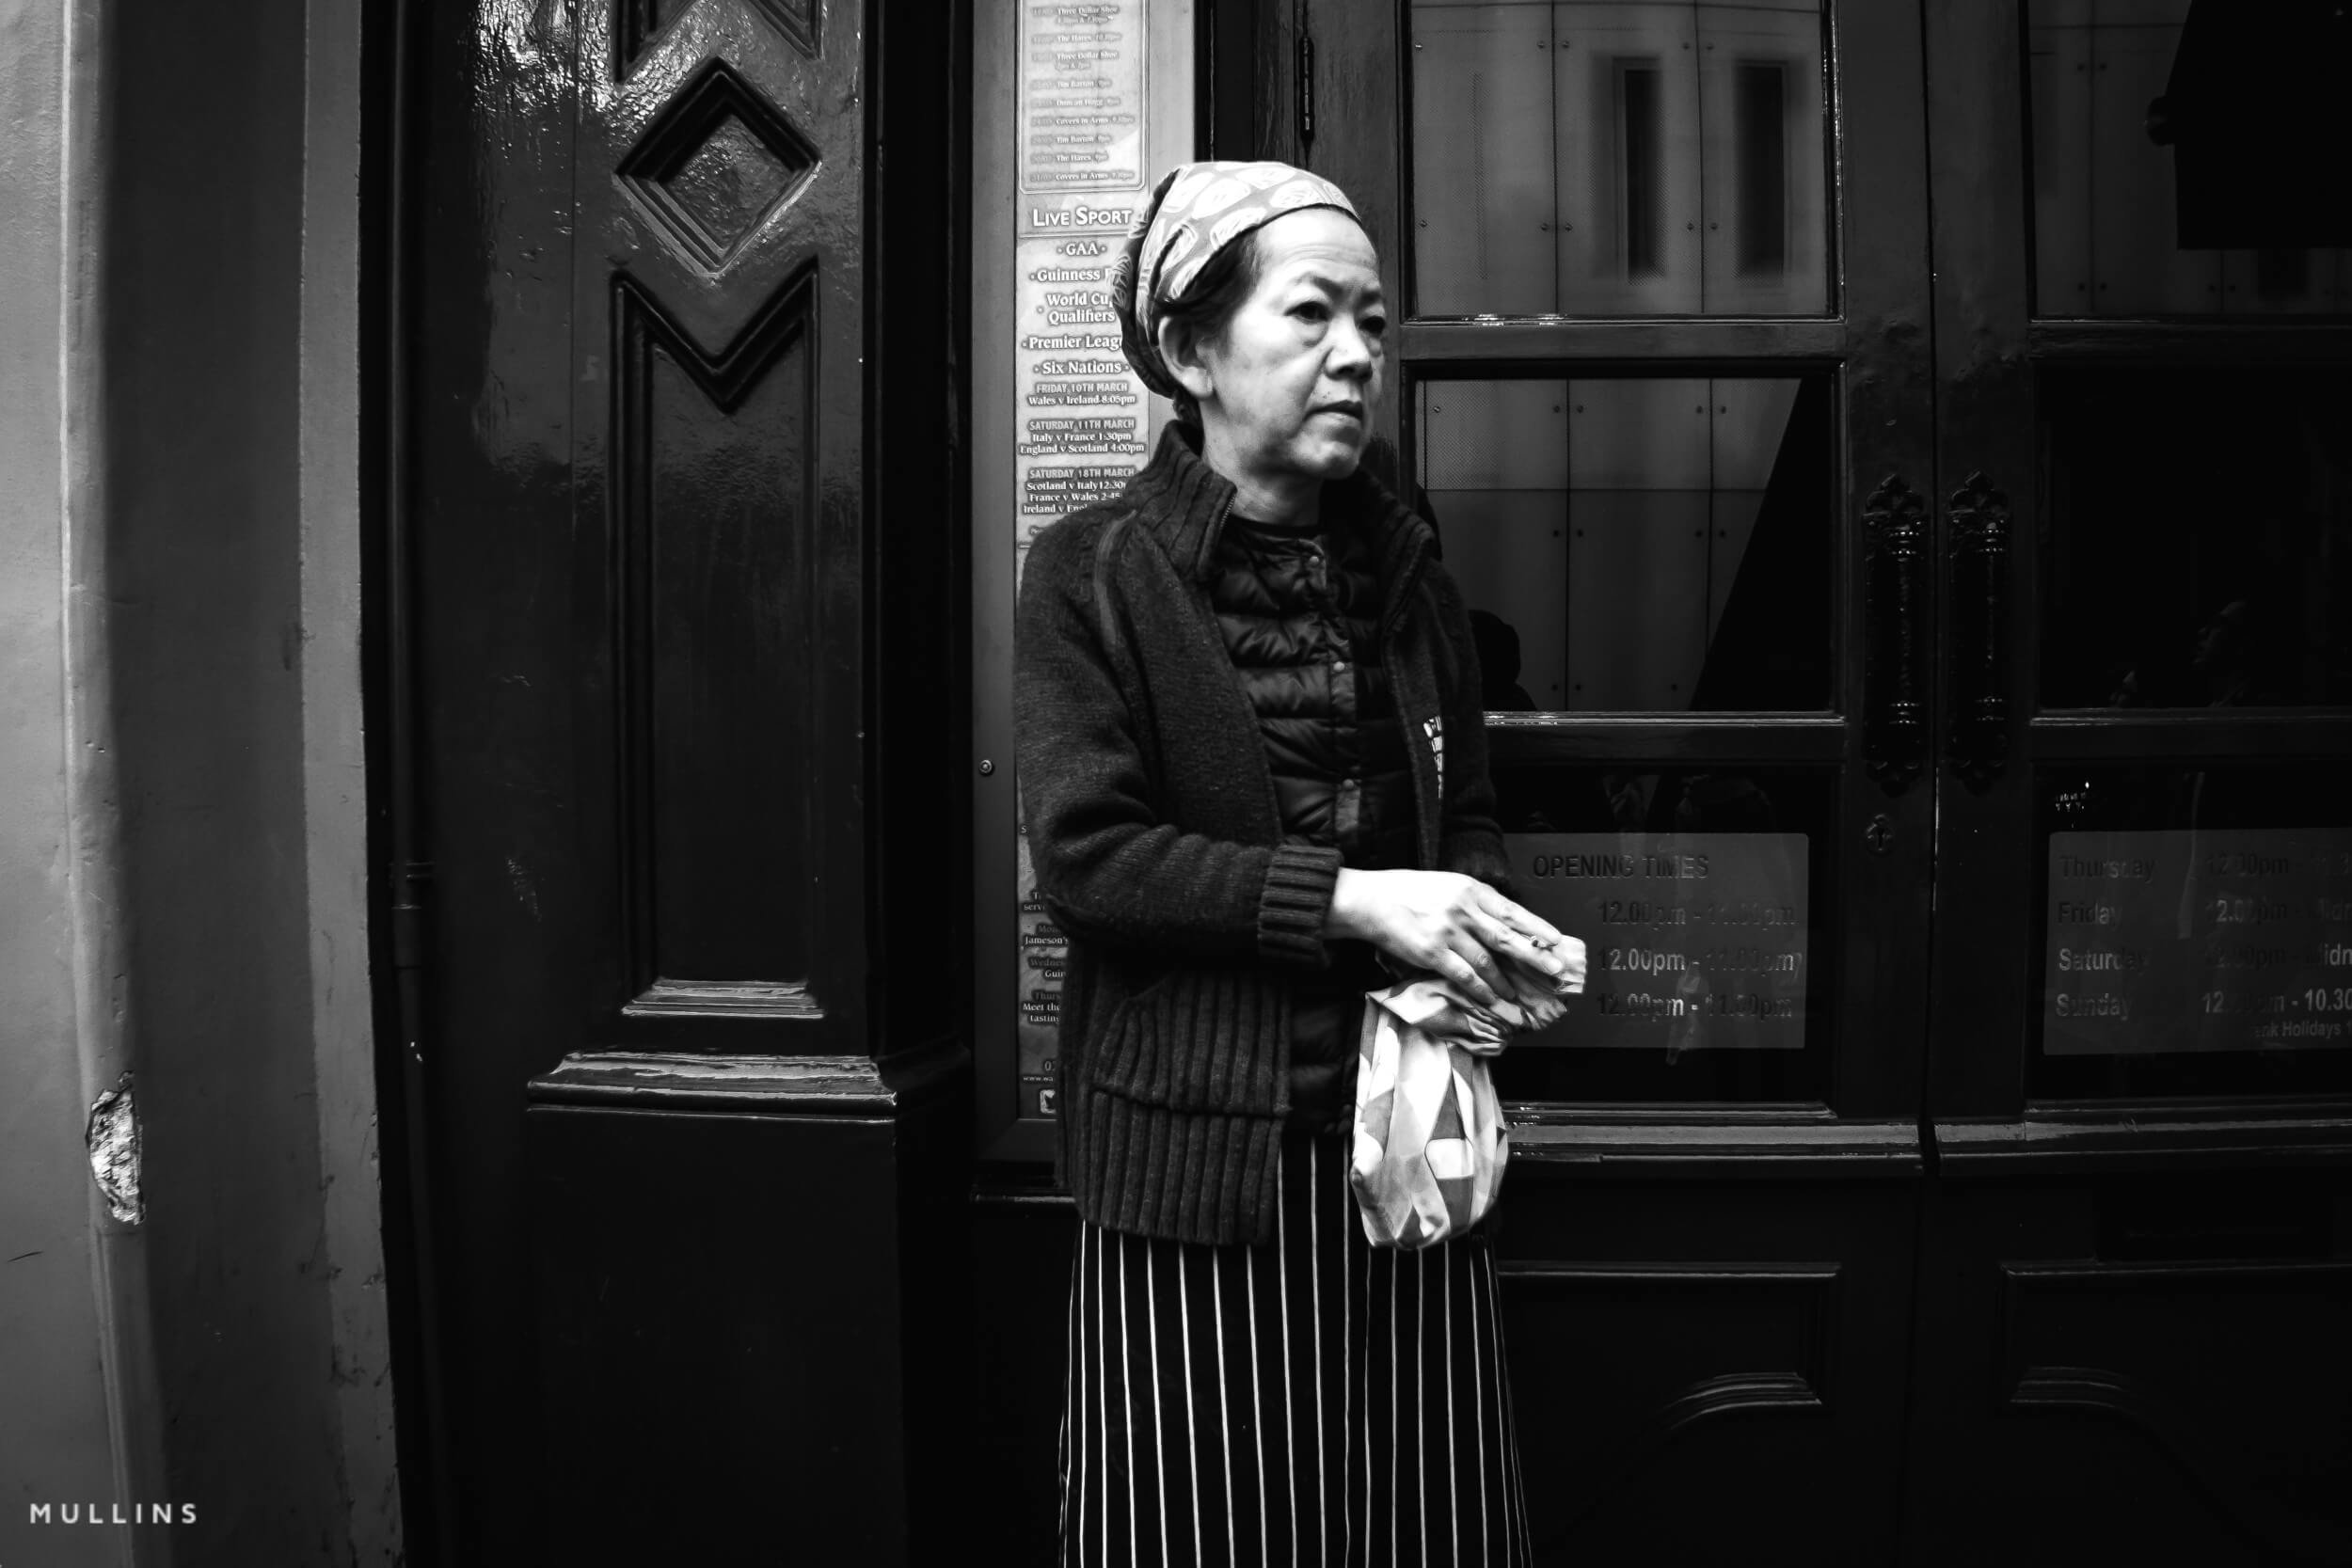
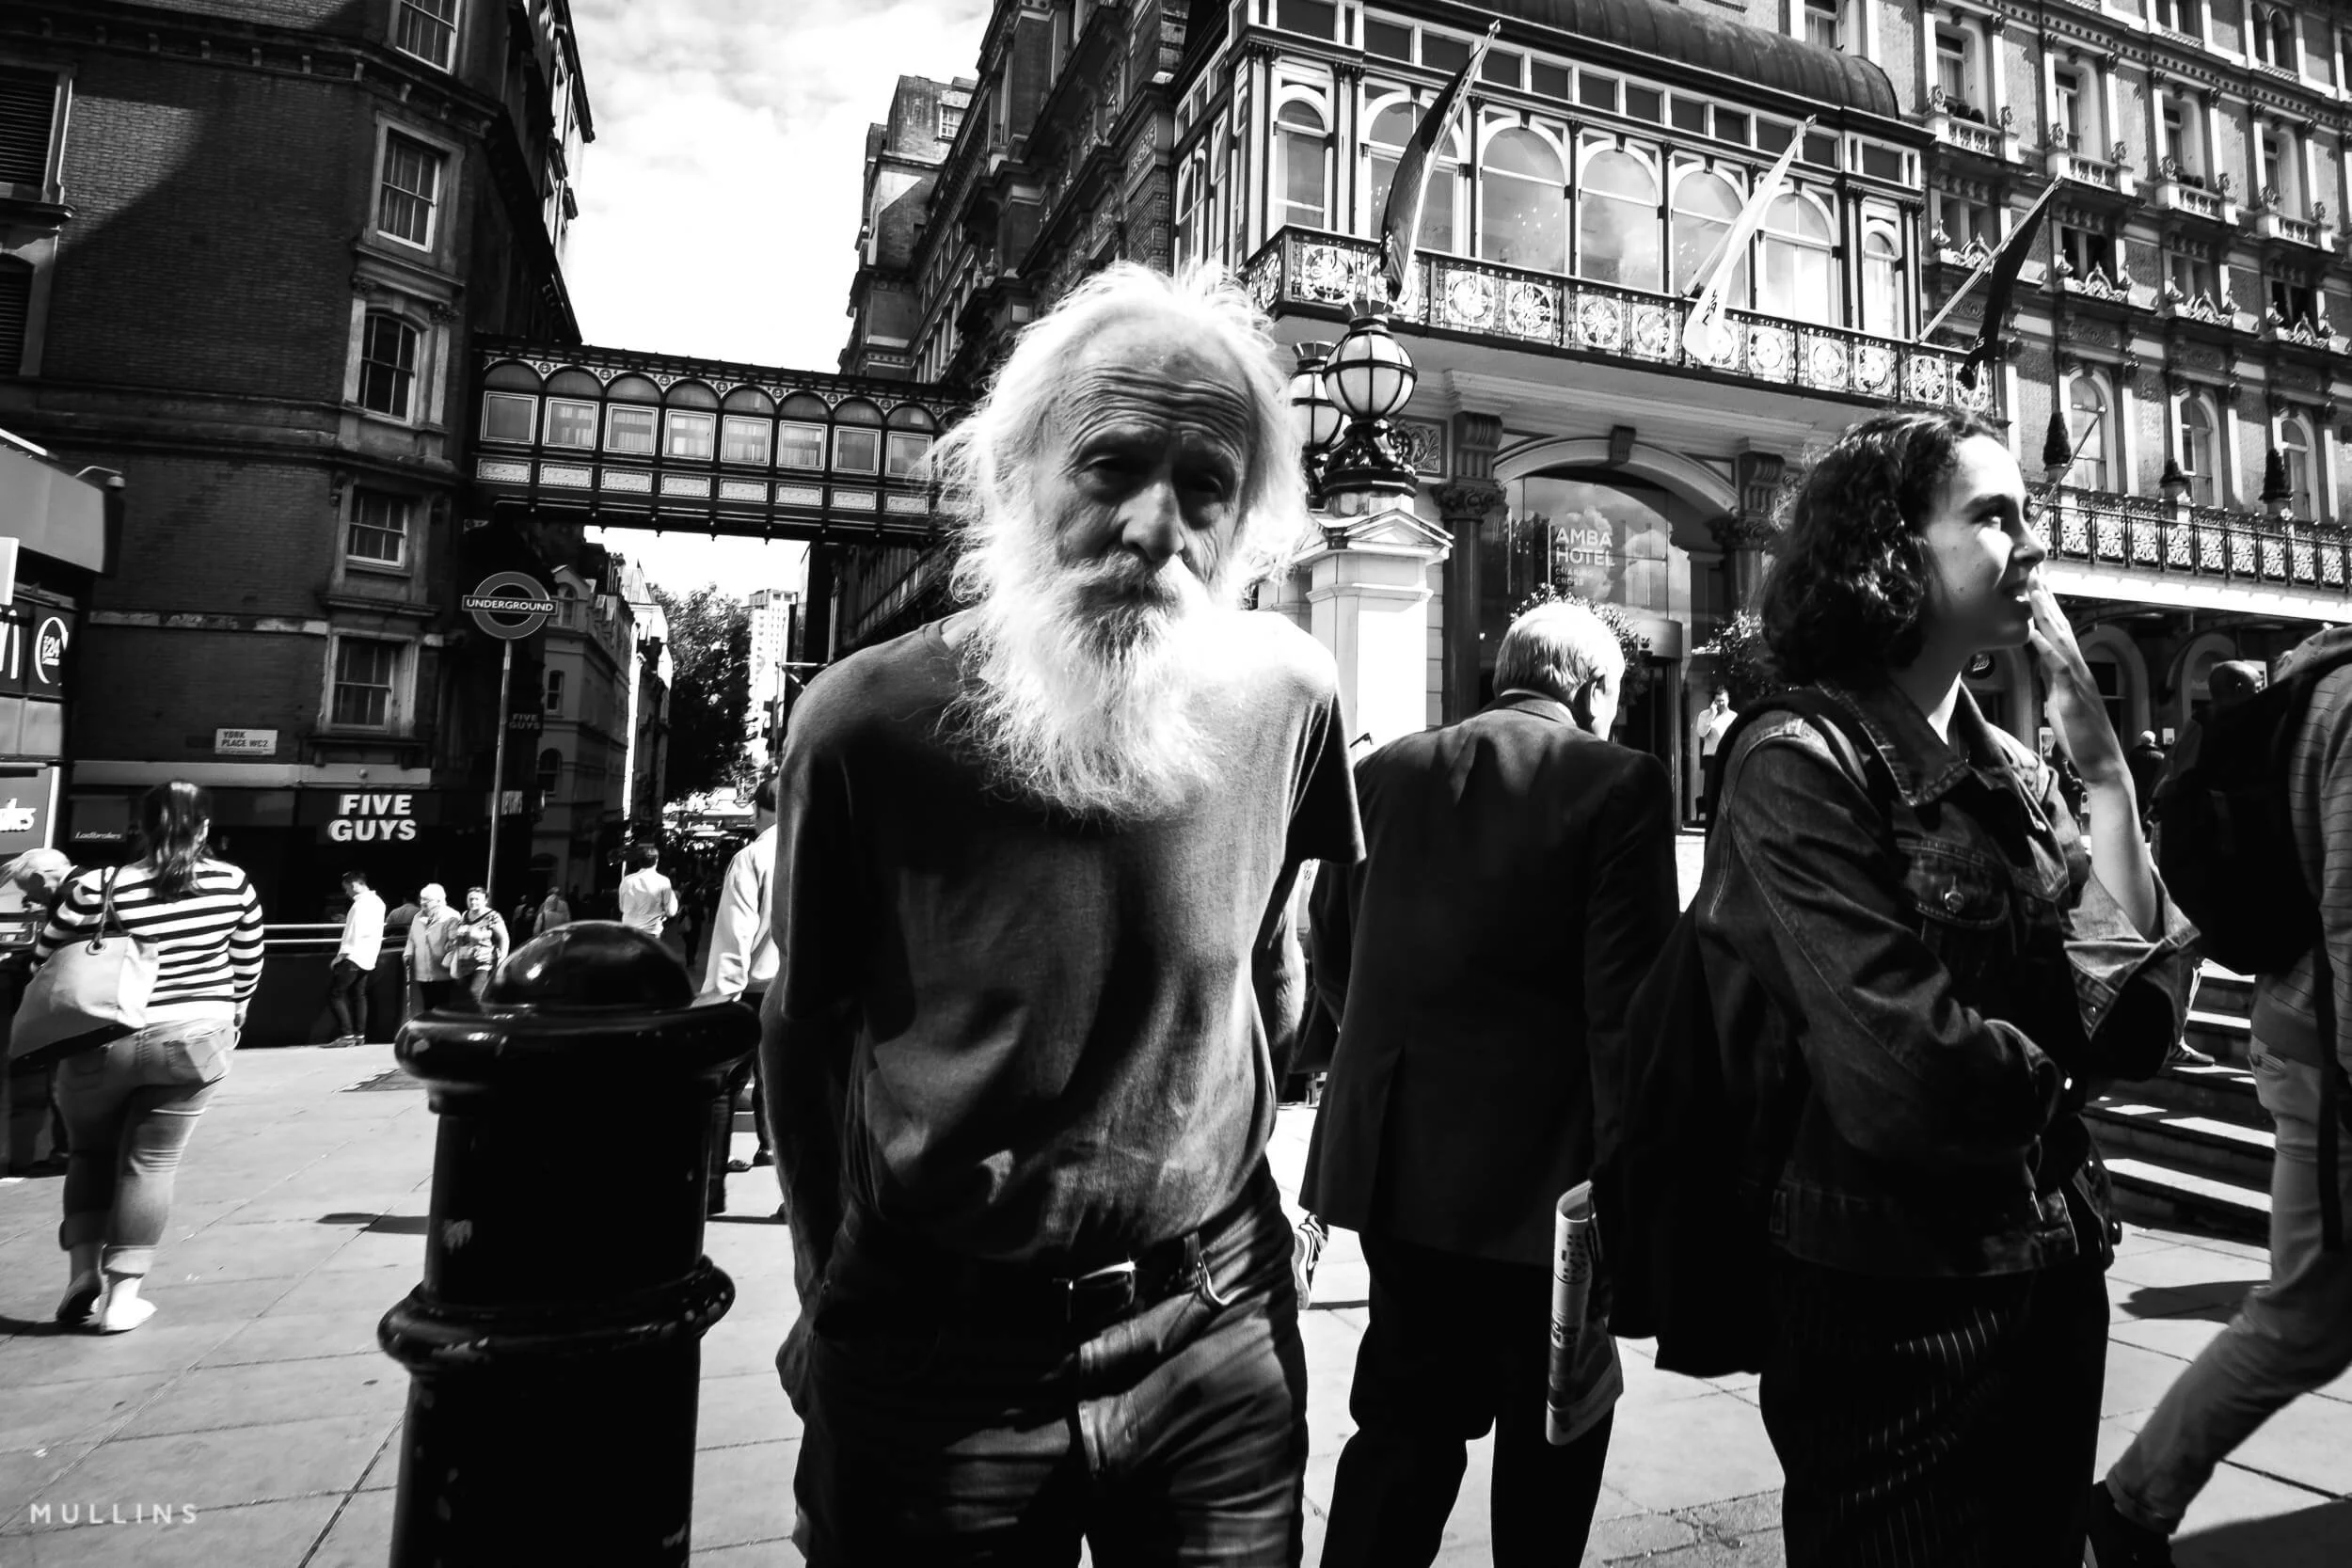
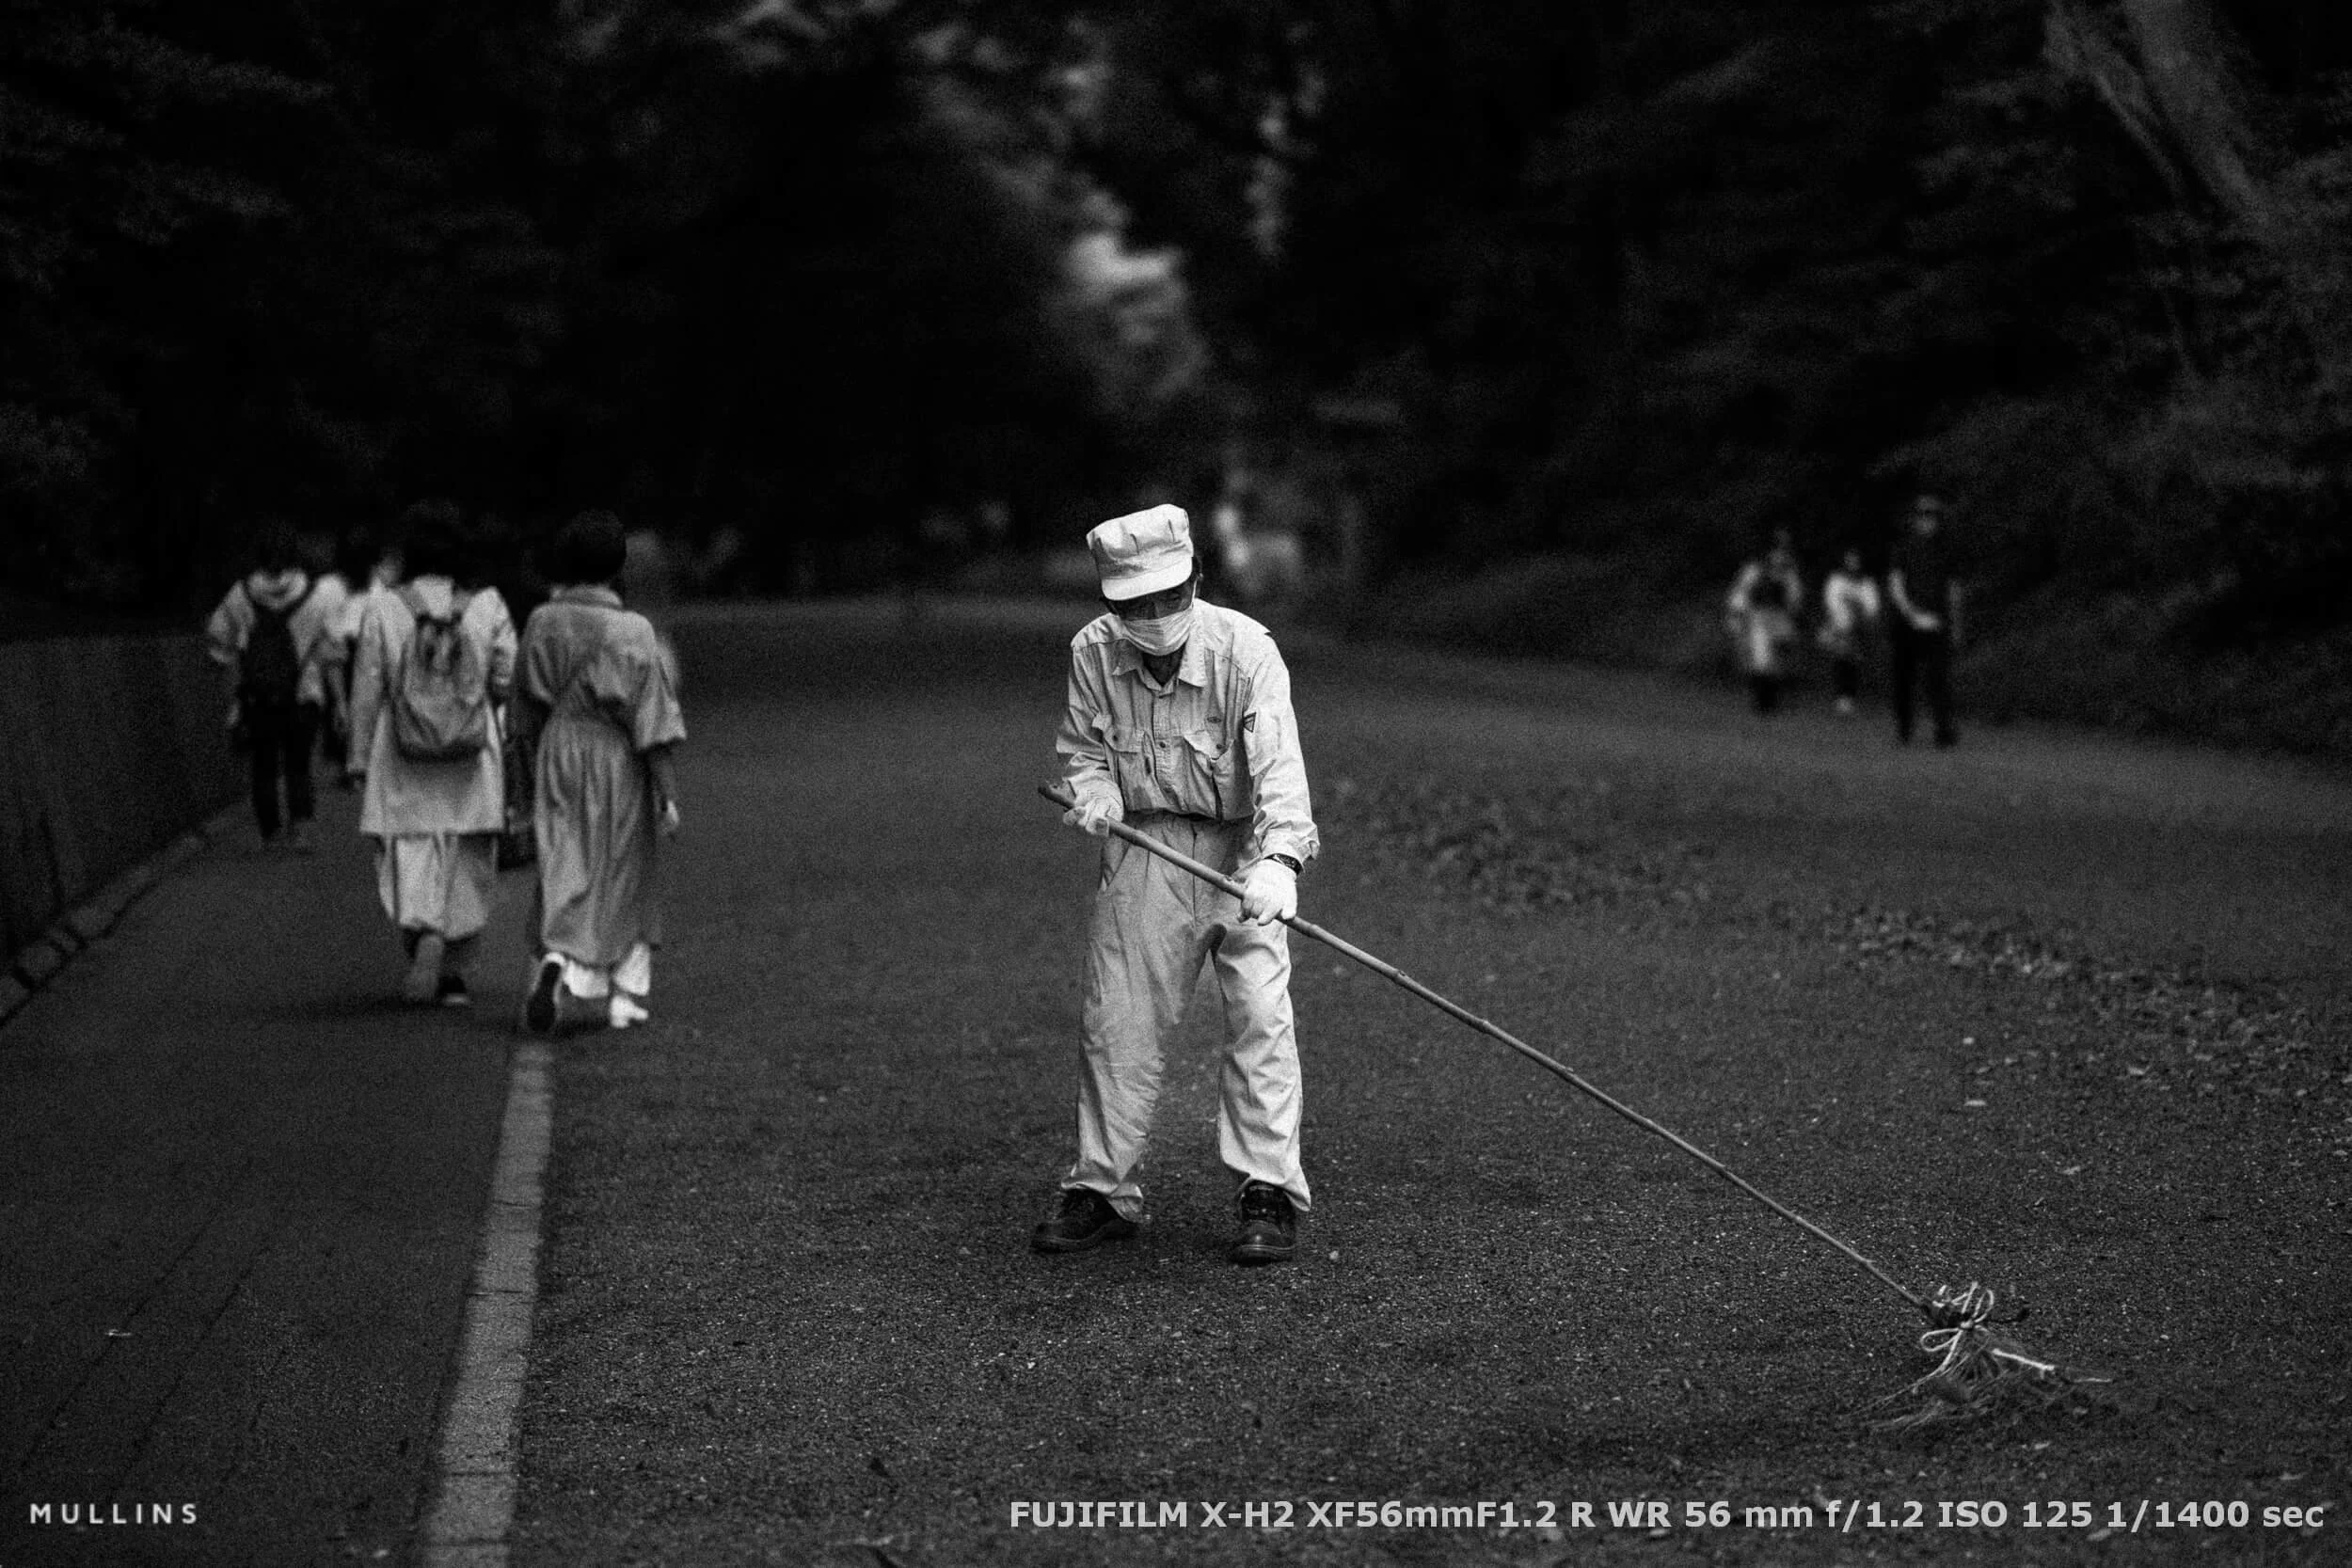
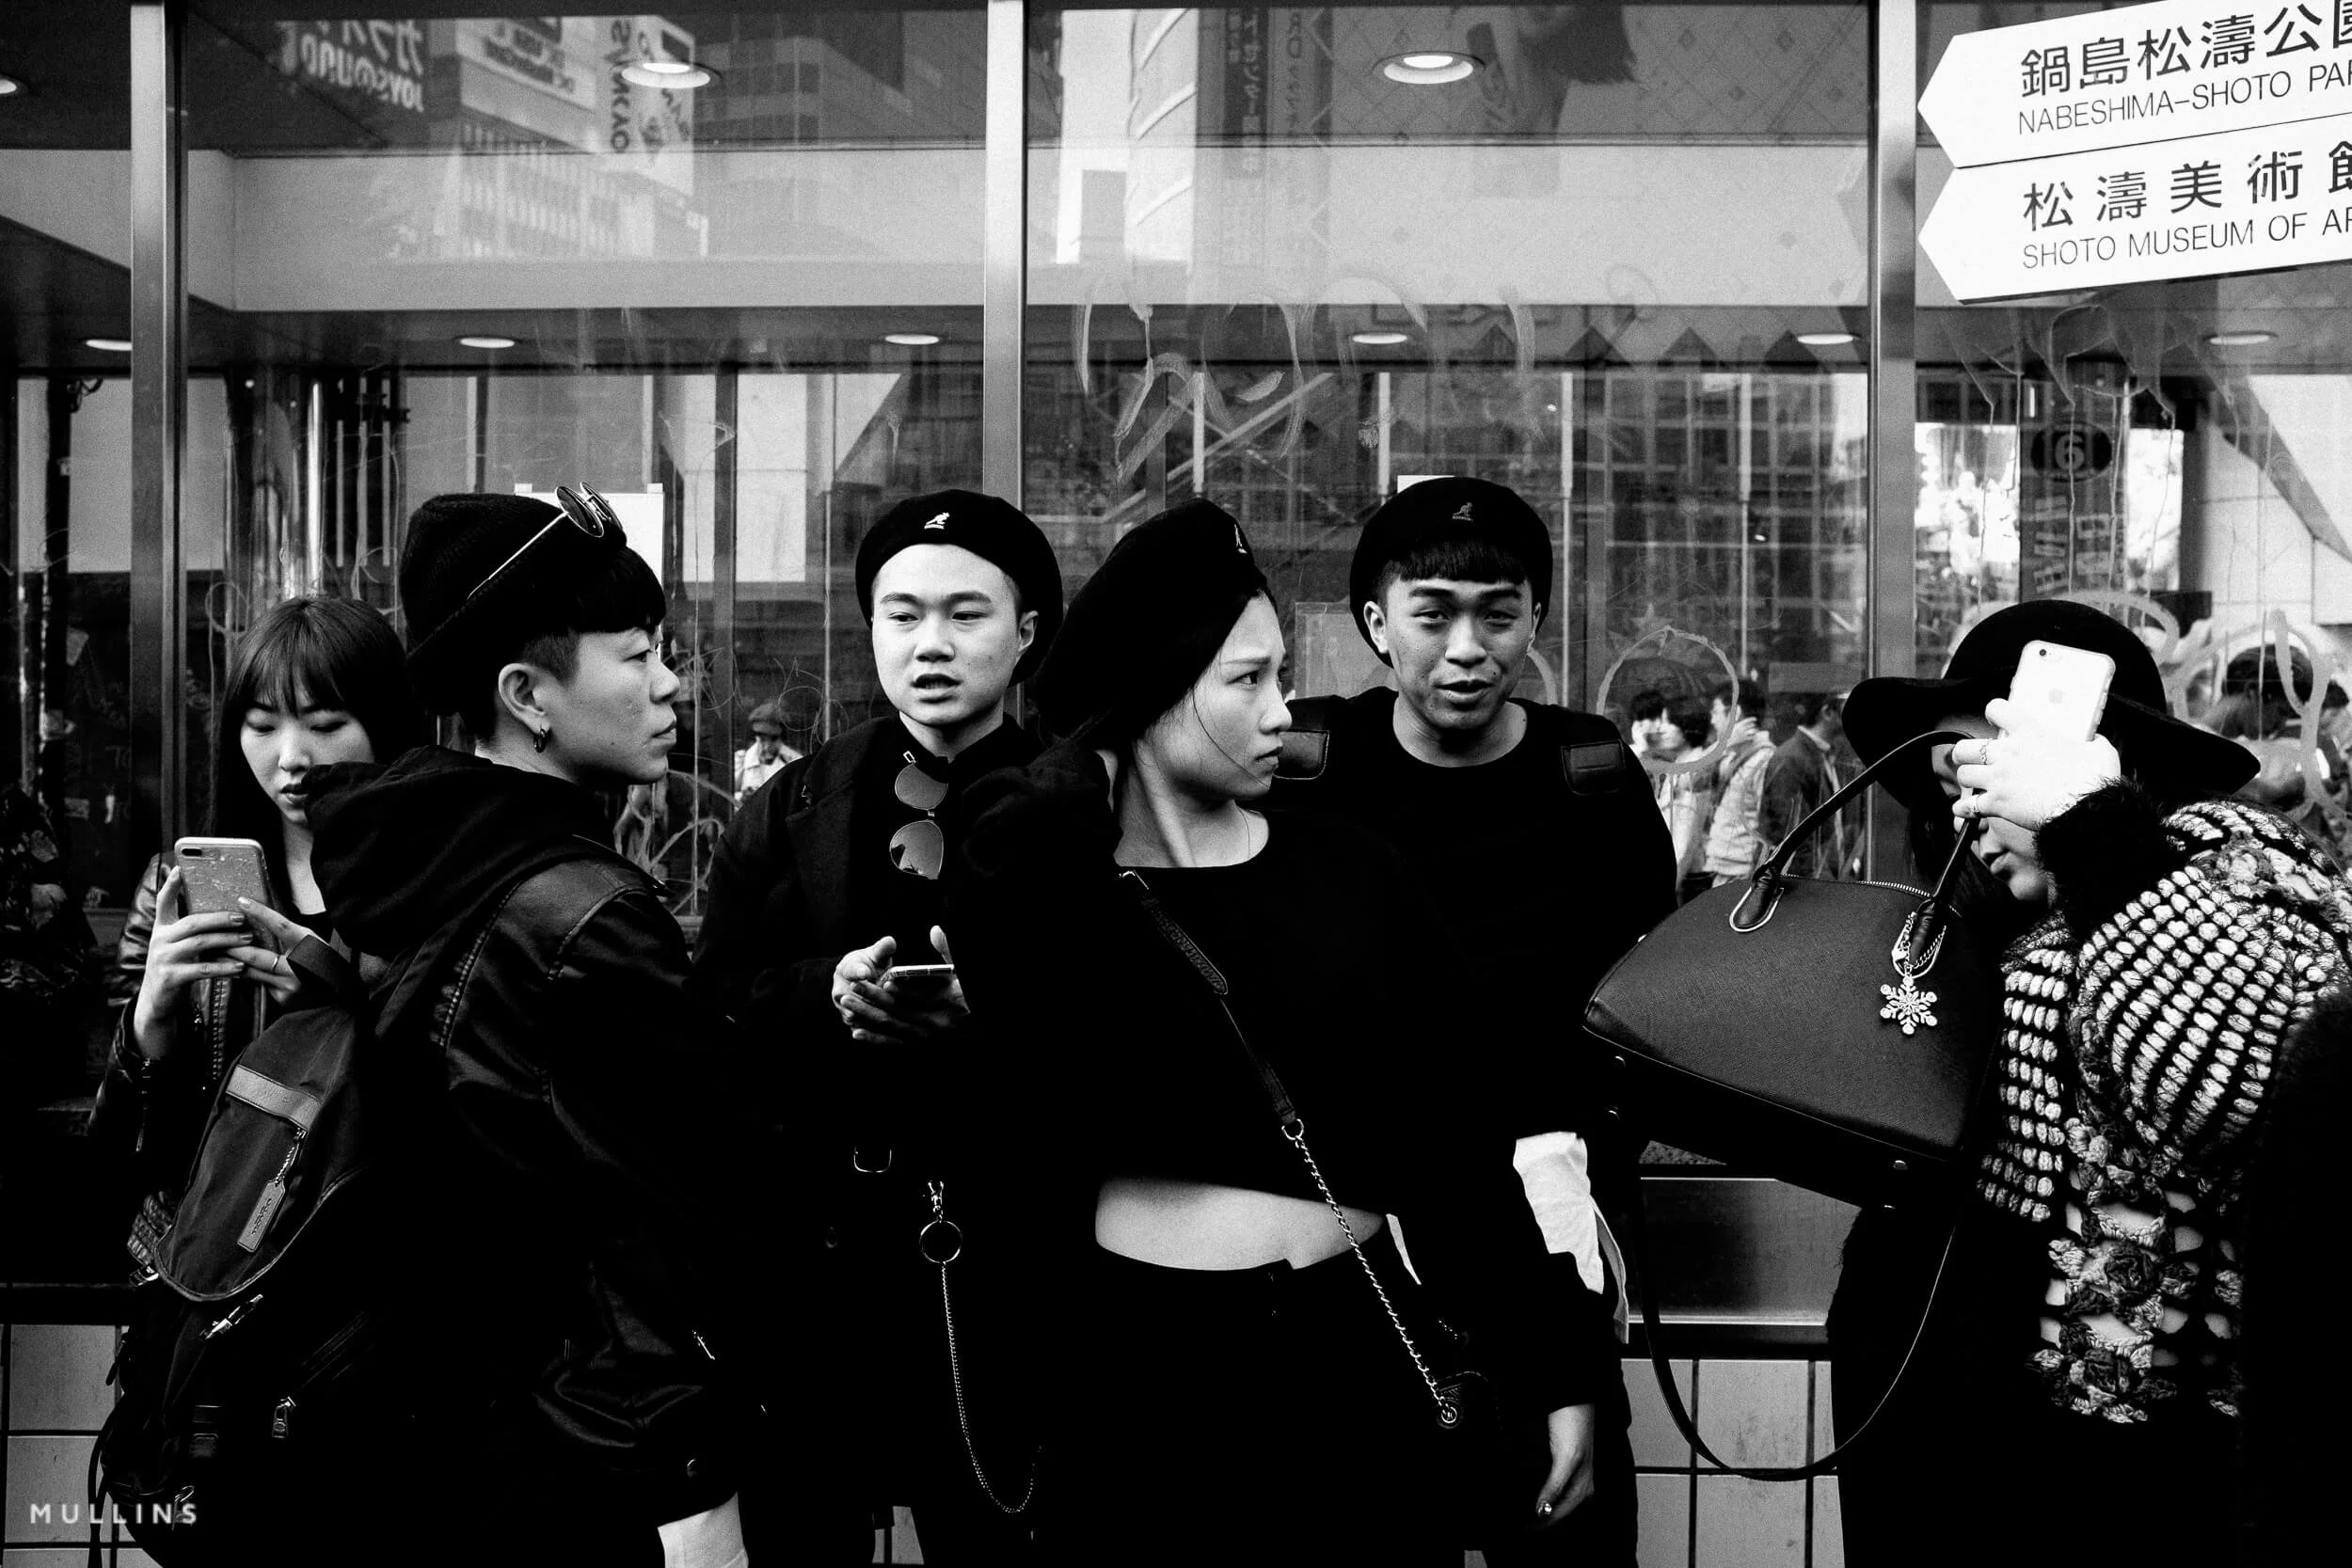
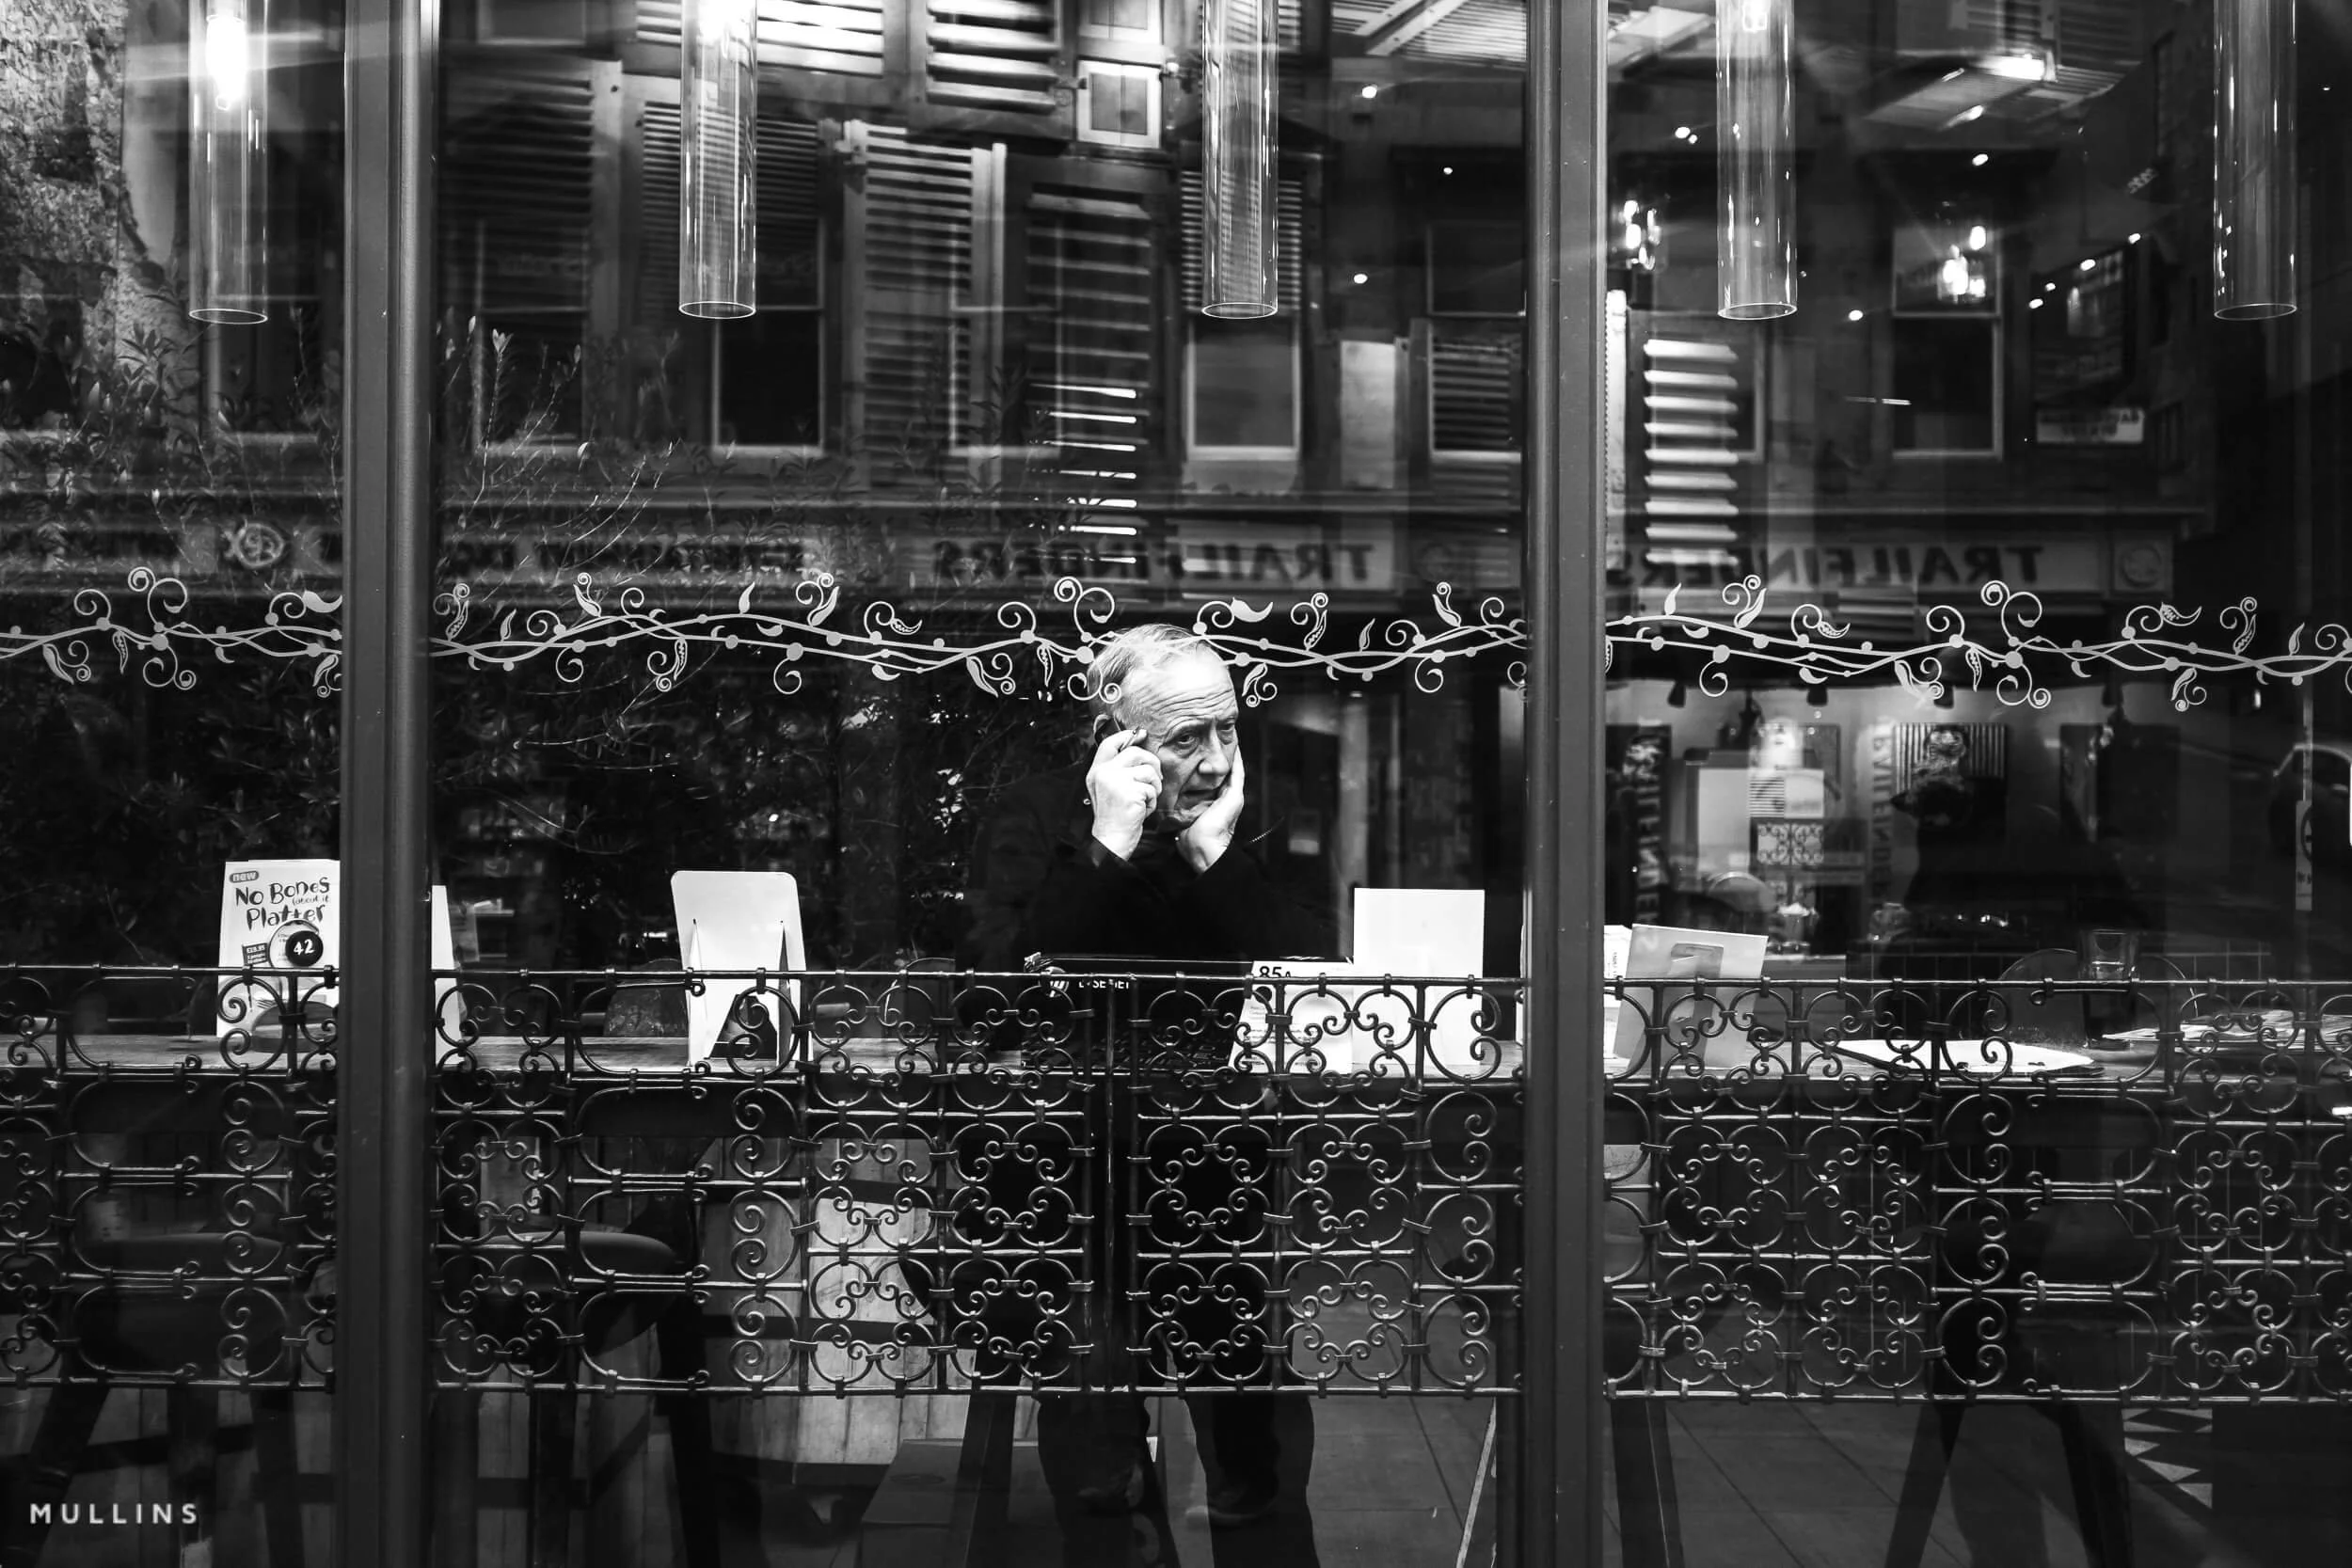
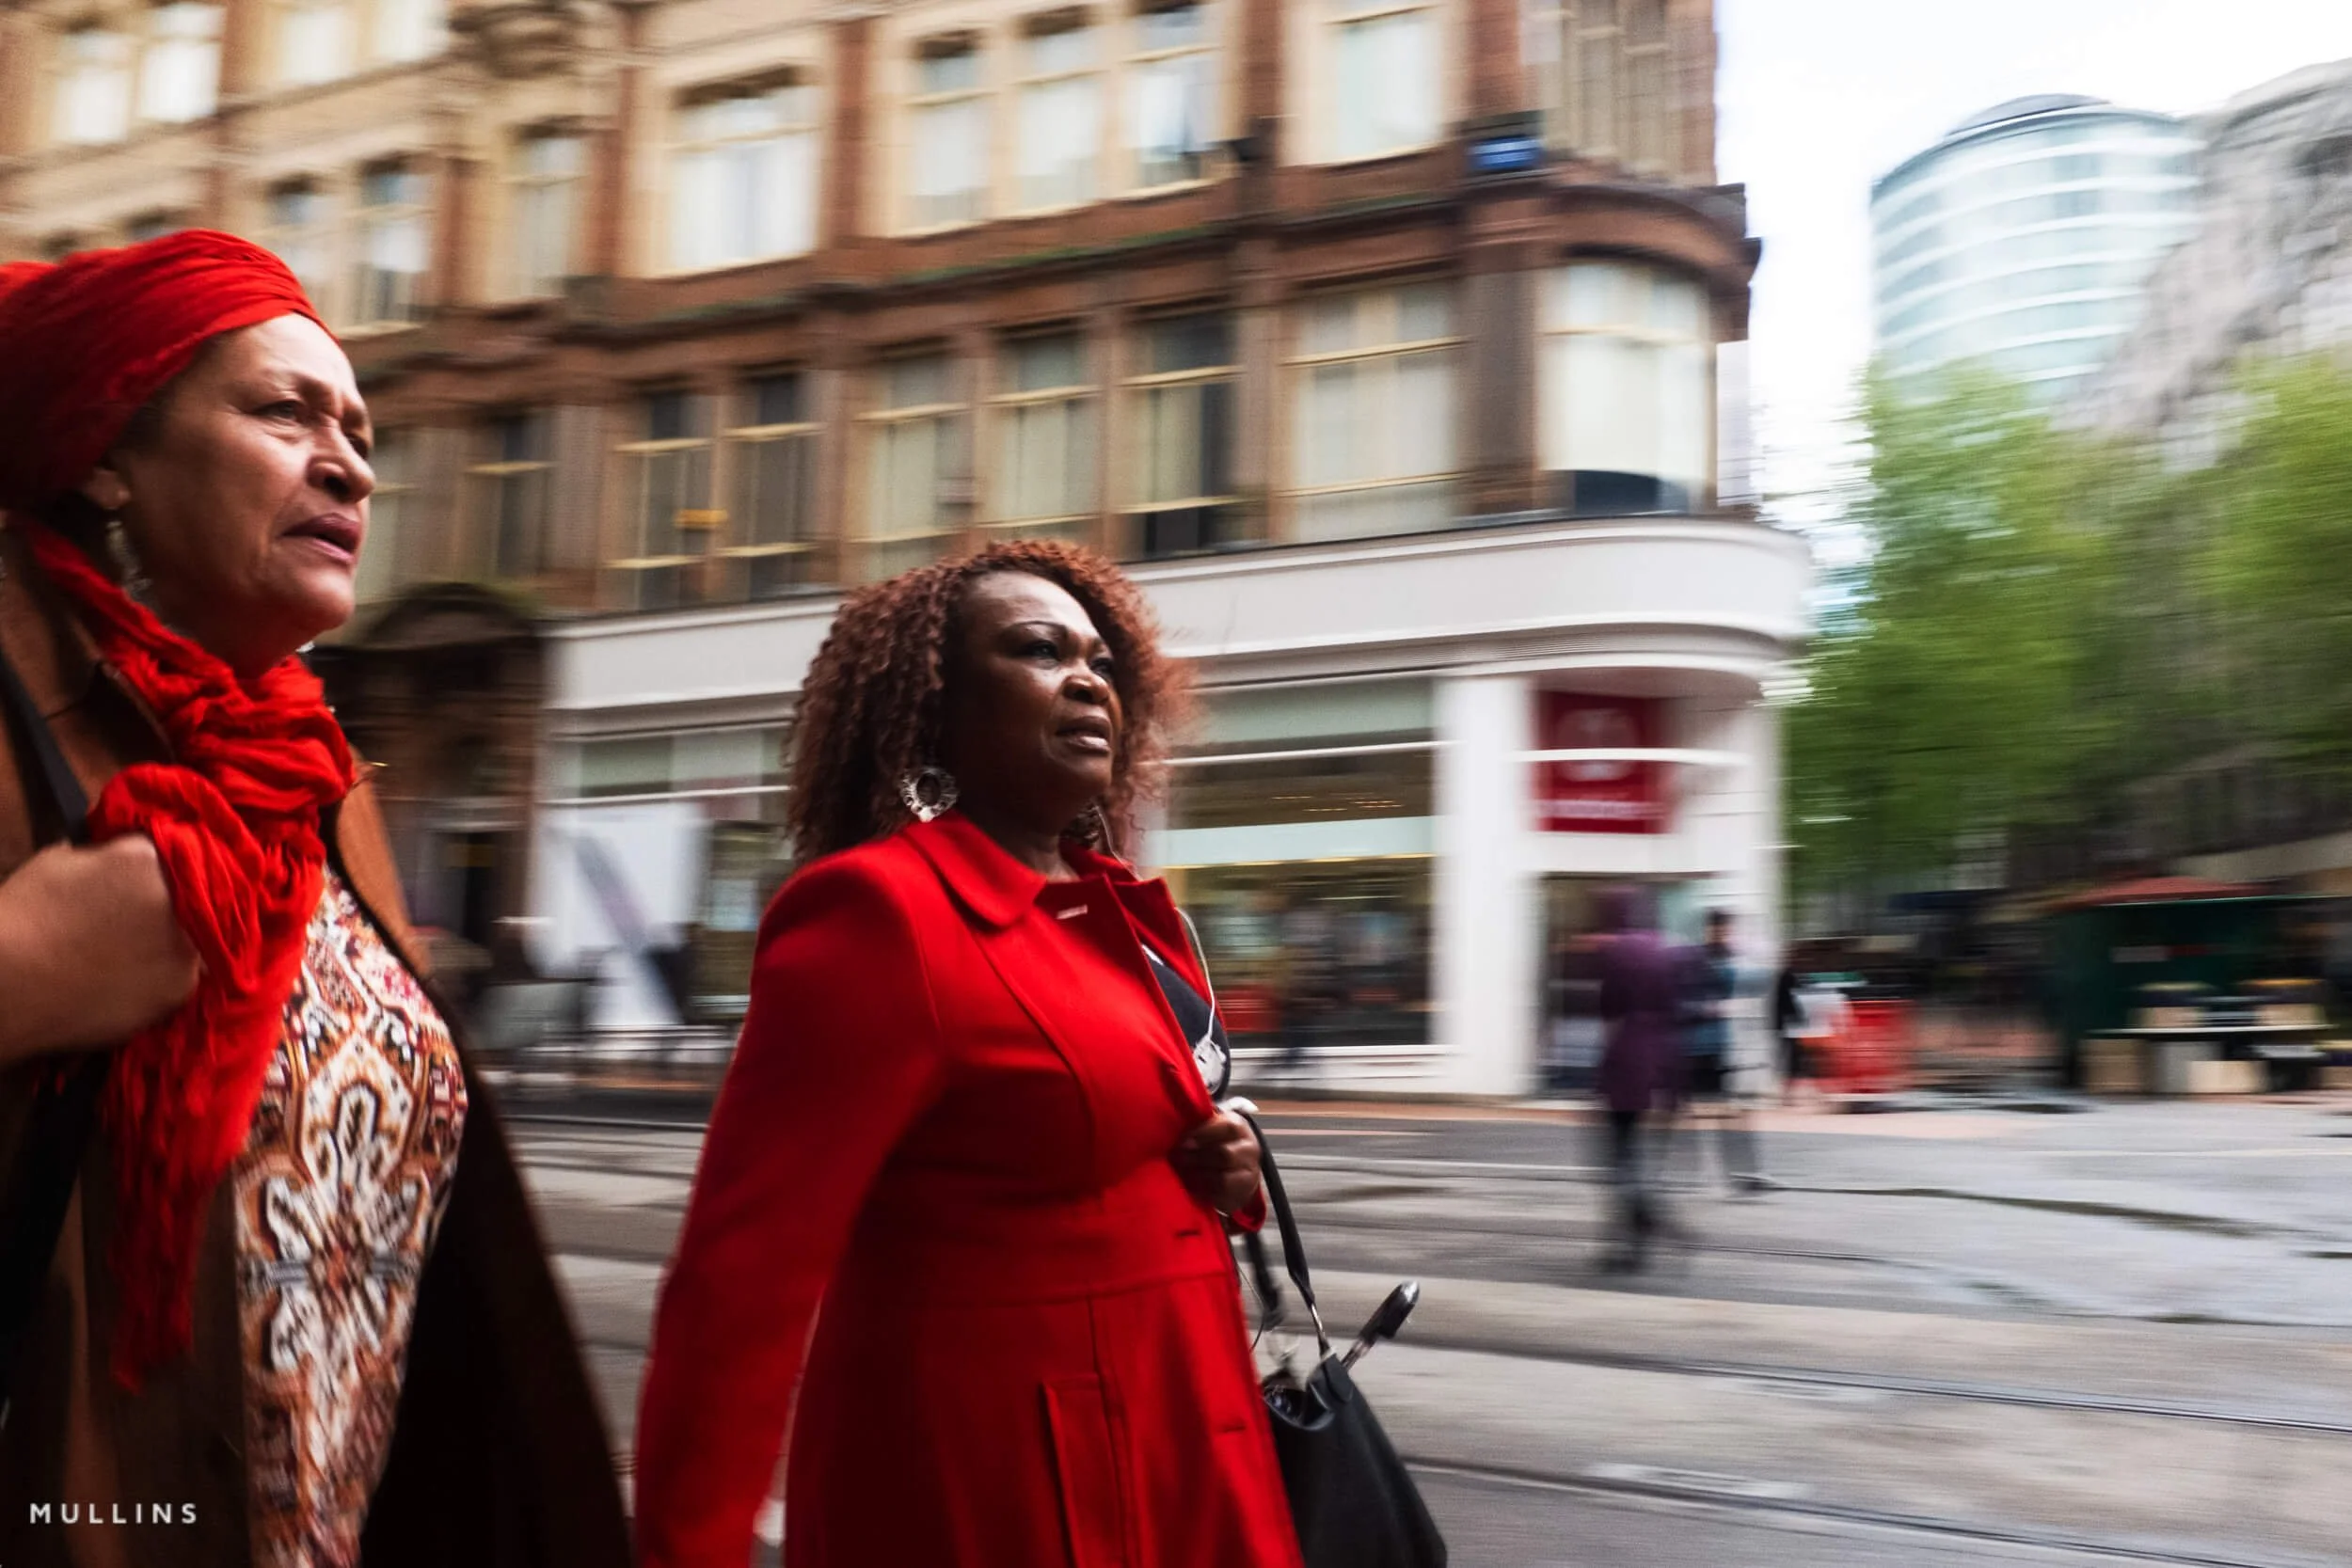
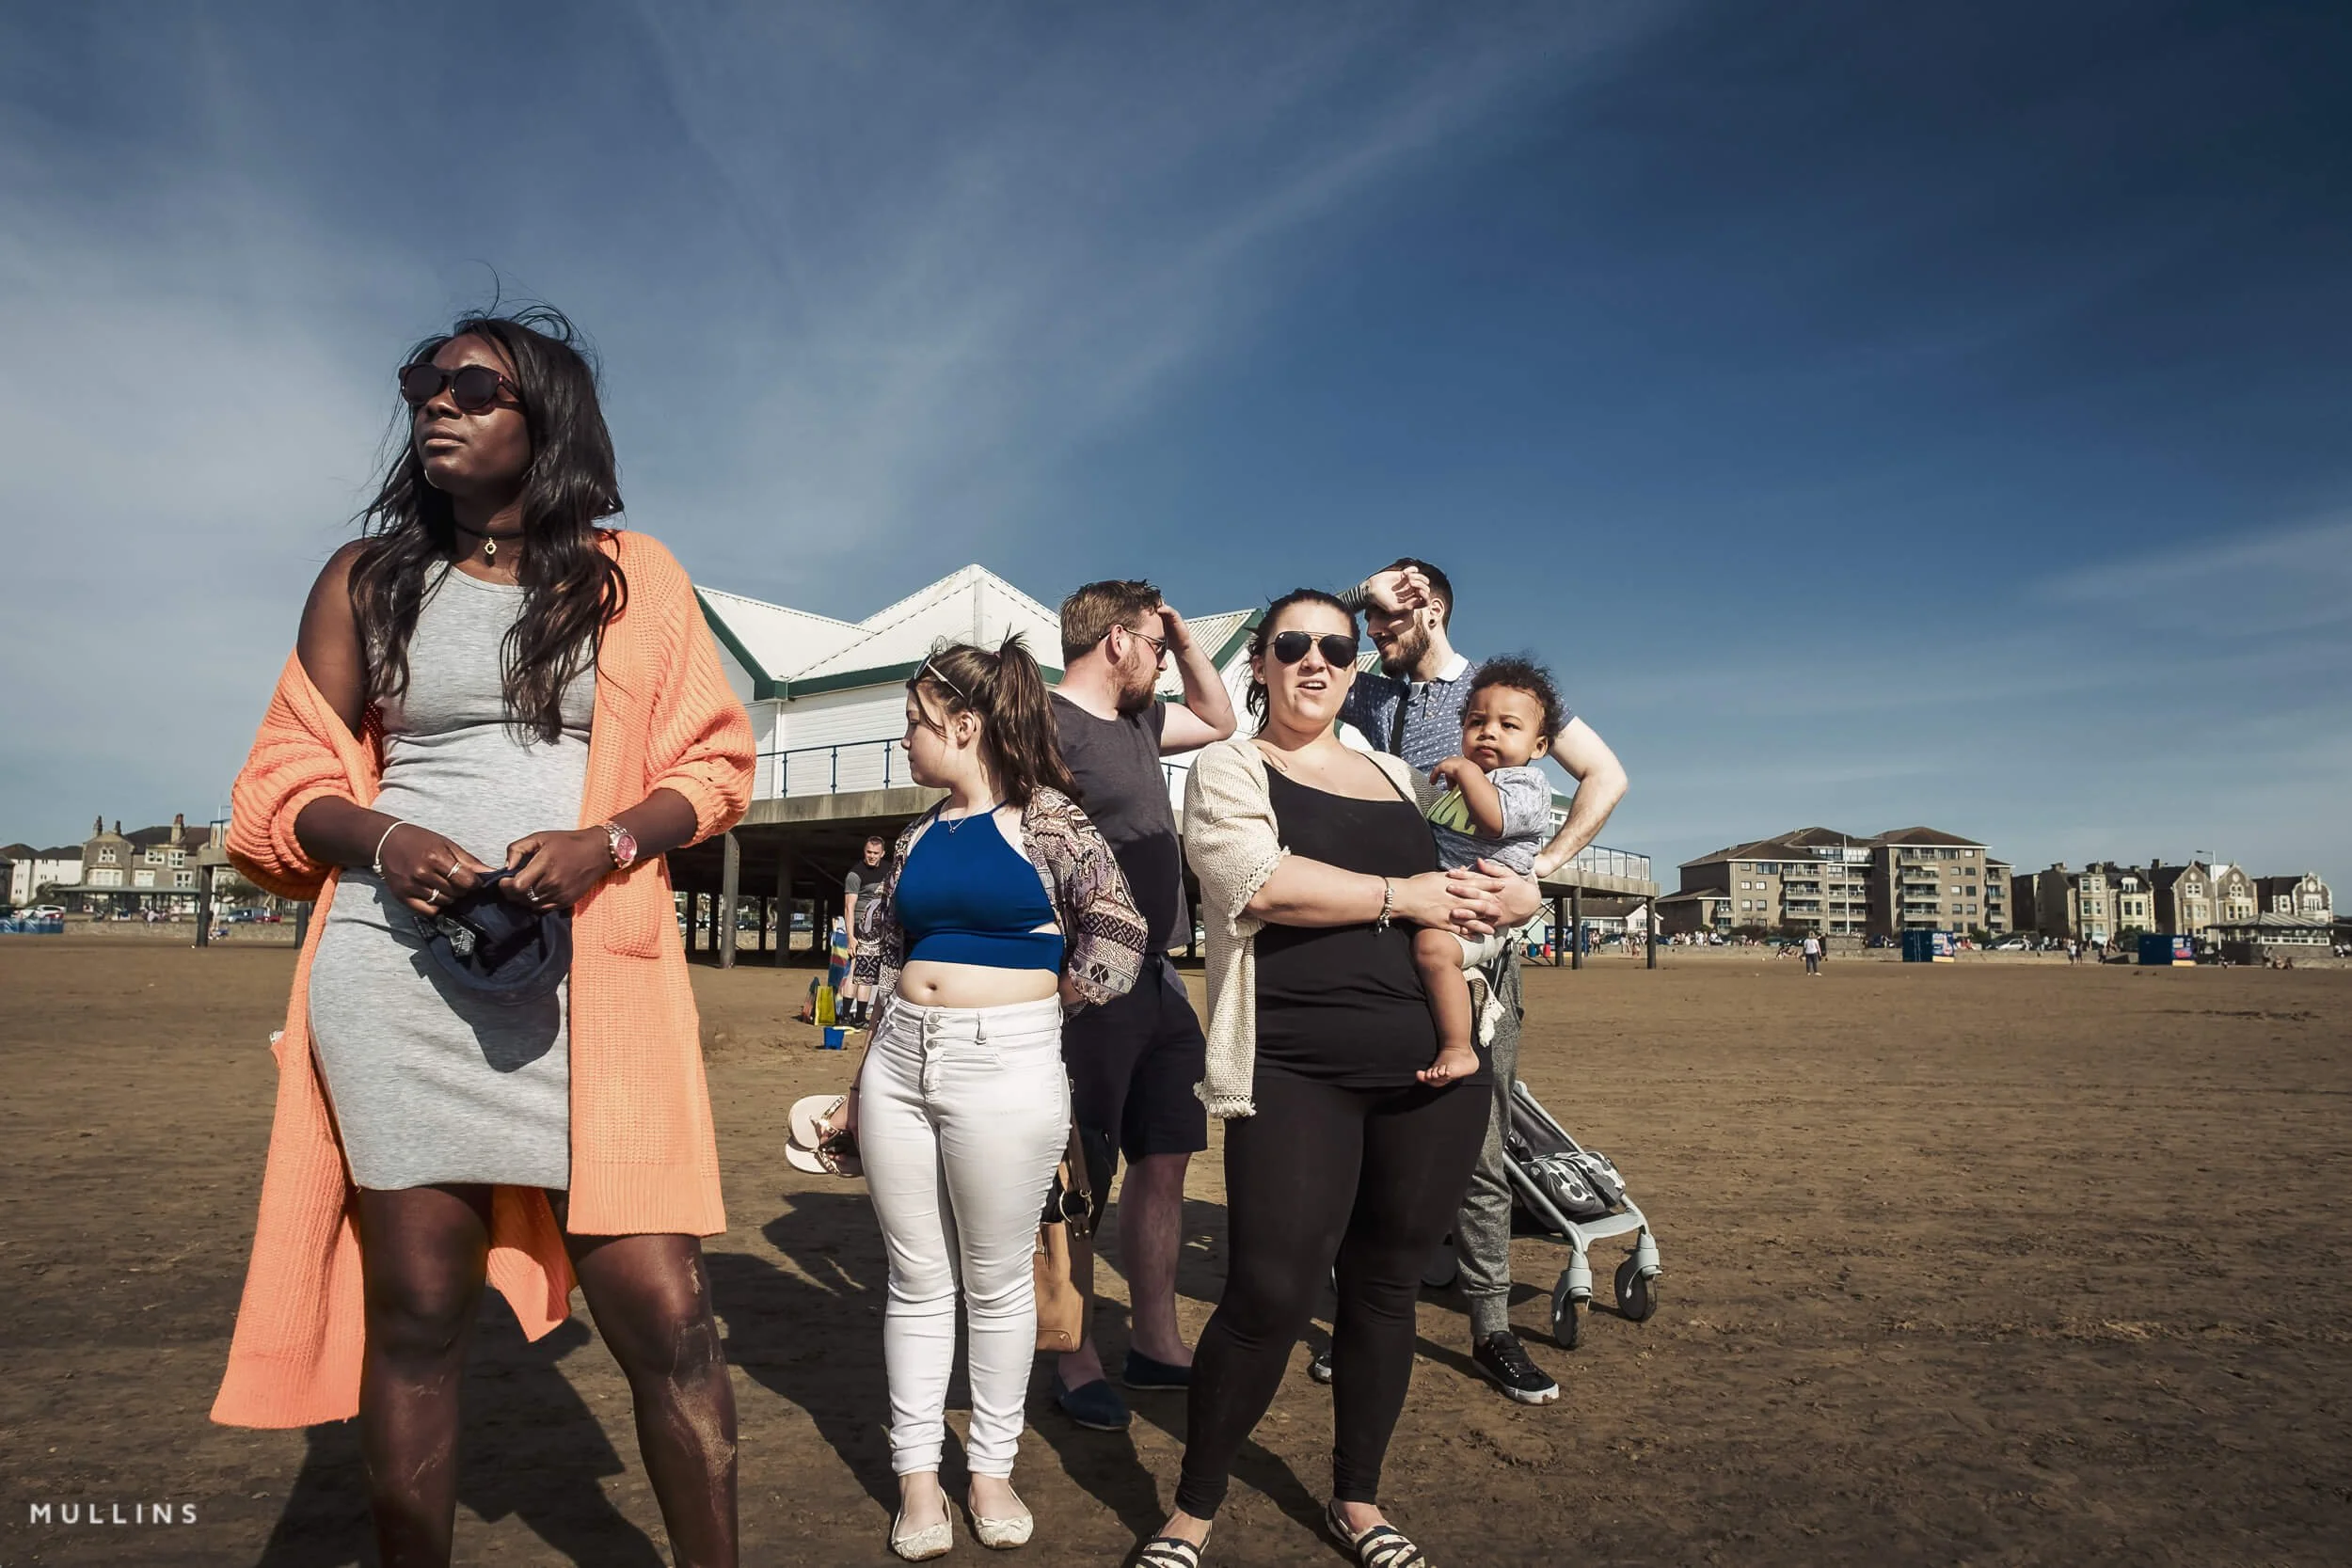
See which of the ideas from this guide you can find in these photographs. Look for colour relationships, spaces between people, layers and small stories.
Which picture holds your attention, and what keeps you looking?
Come for a walk
If you’ve found these exercises useful and would enjoy practising with some guidance and company, I’d love to see you on one of my street photography workshops.
We spend time working on observation, light, composition and timing, with room to ask questions, try ideas and get feedback as we go. The aim is to leave with a clearer understanding of your photographs and something useful to practise afterwards.