Understanding the Difference Between Profiles and Presets in Lightroom
When working with my Lightroom Preset Packs, you may have noticed two key elements—profiles and presets. While they might seem similar, they serve very different purposes in your editing workflow.
In this video, I’ll break down exactly how they work and how you can use them effectively.
Presets: The One-Click Edit
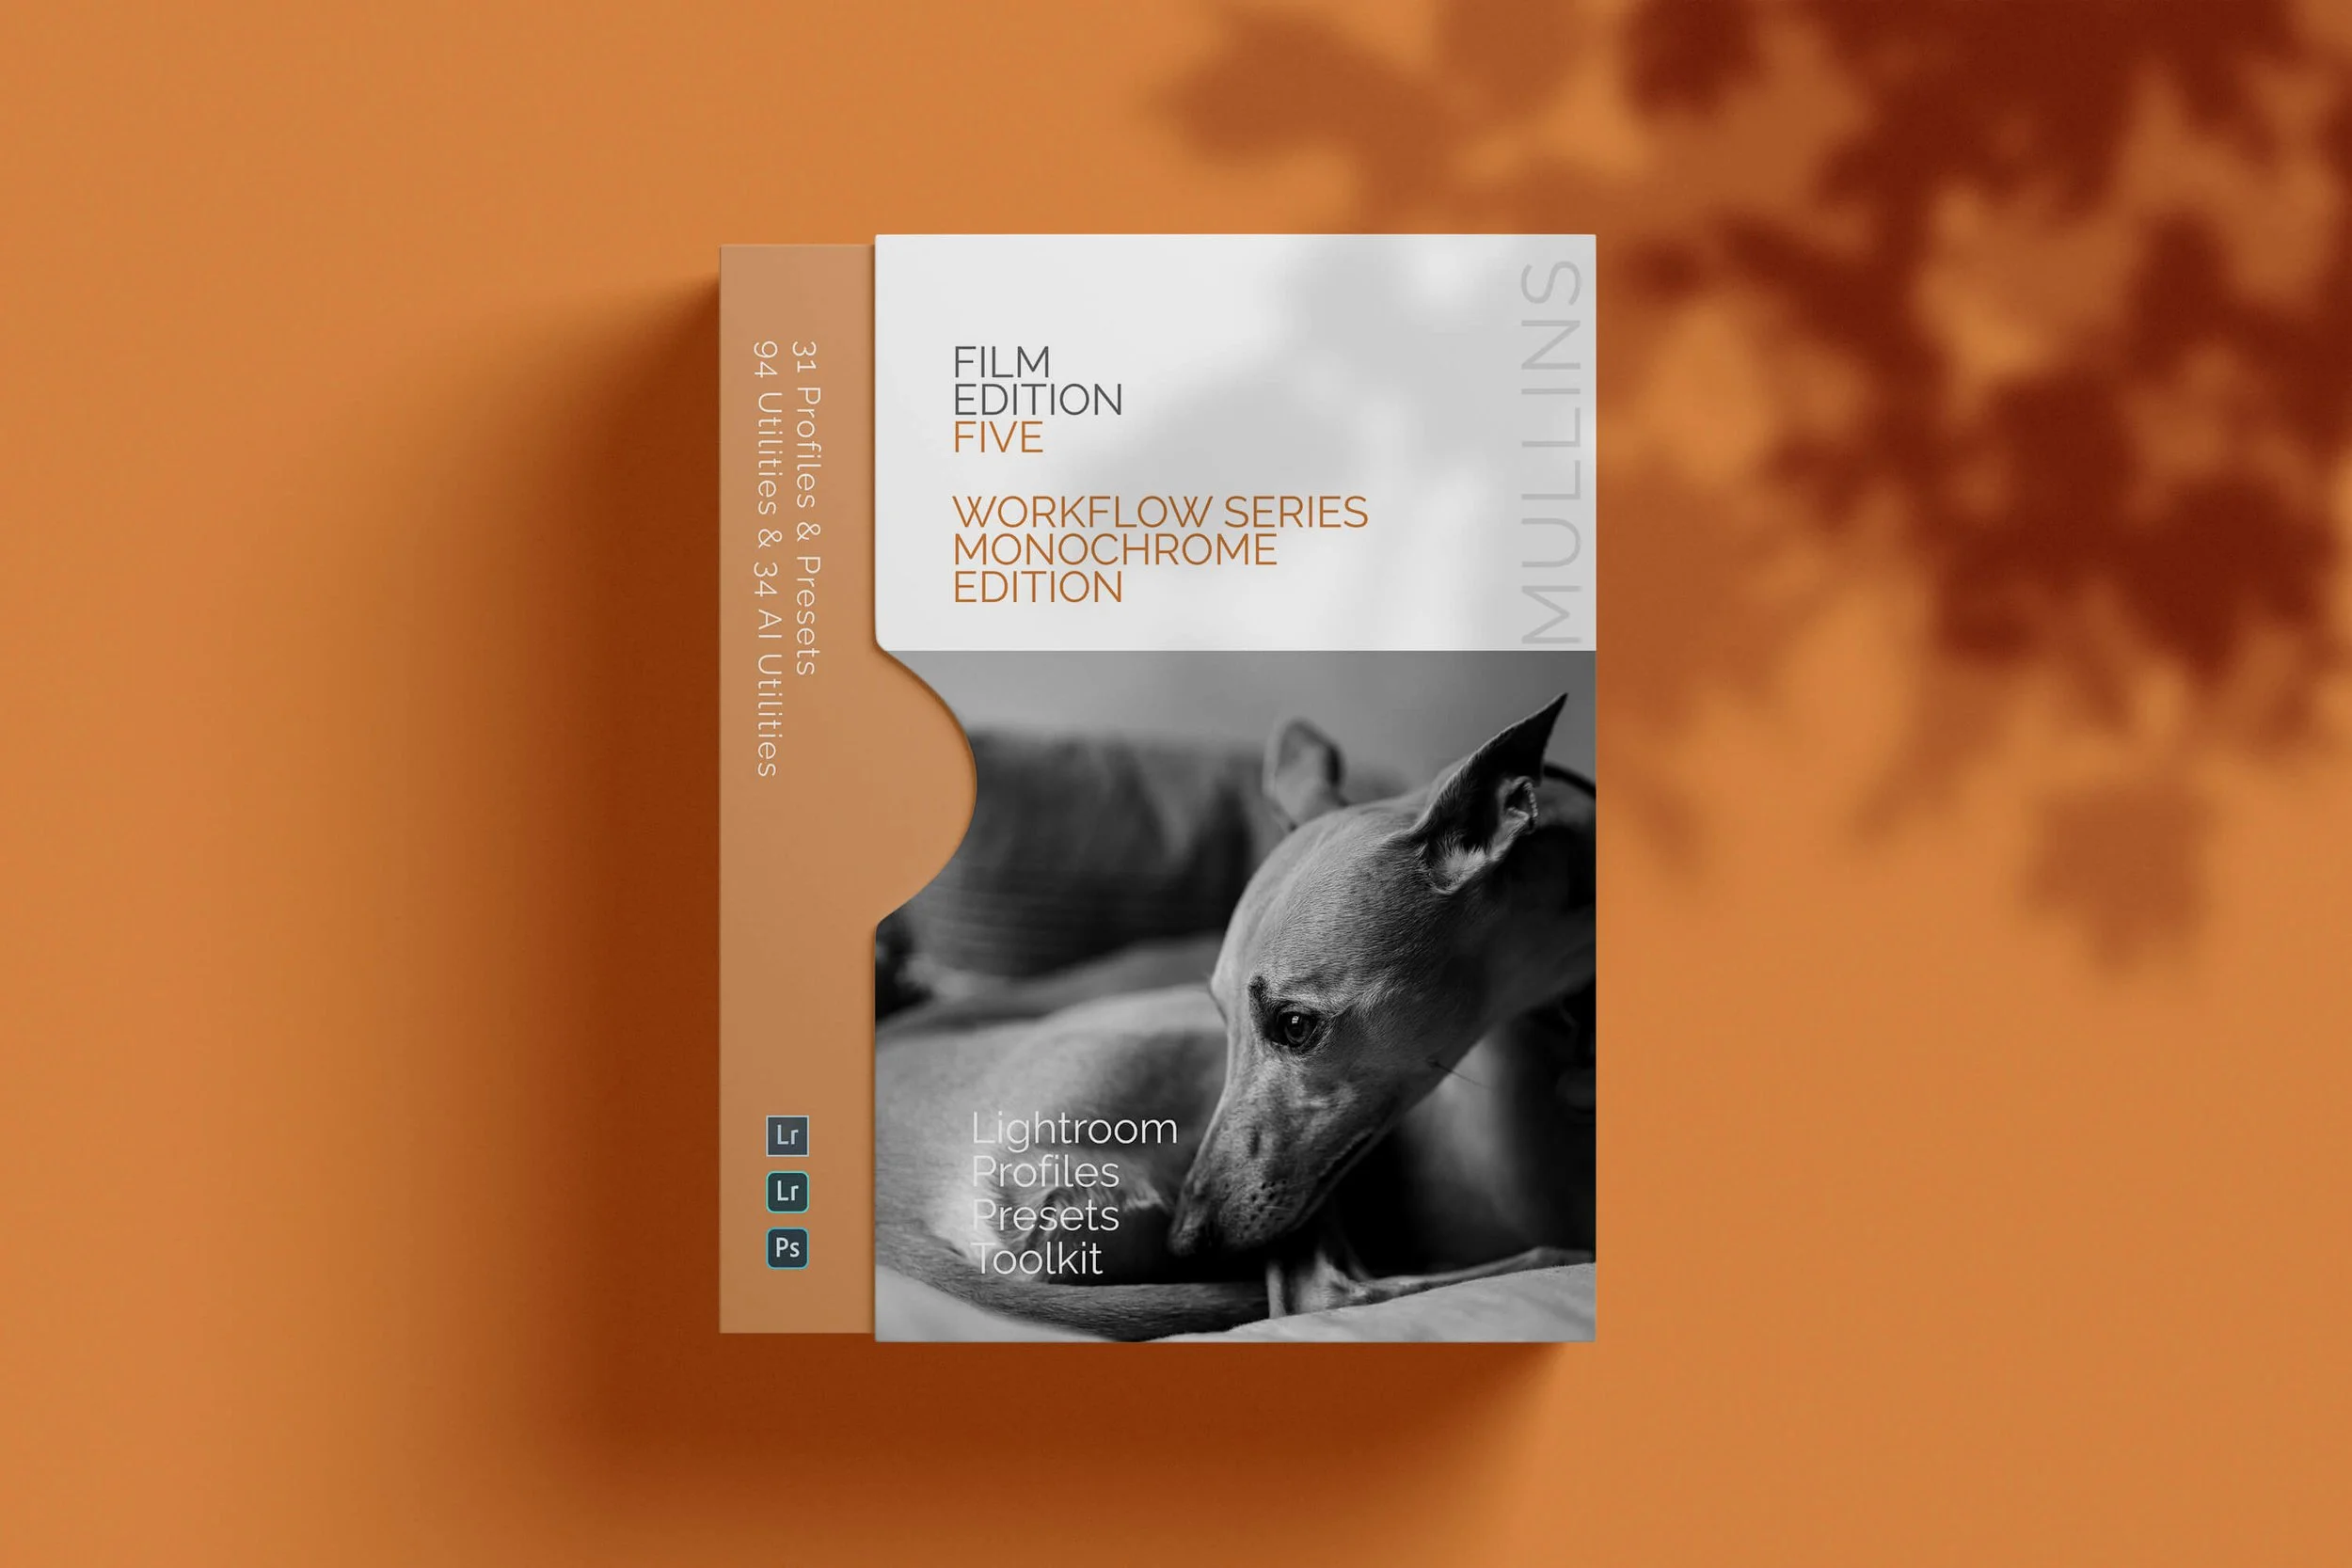
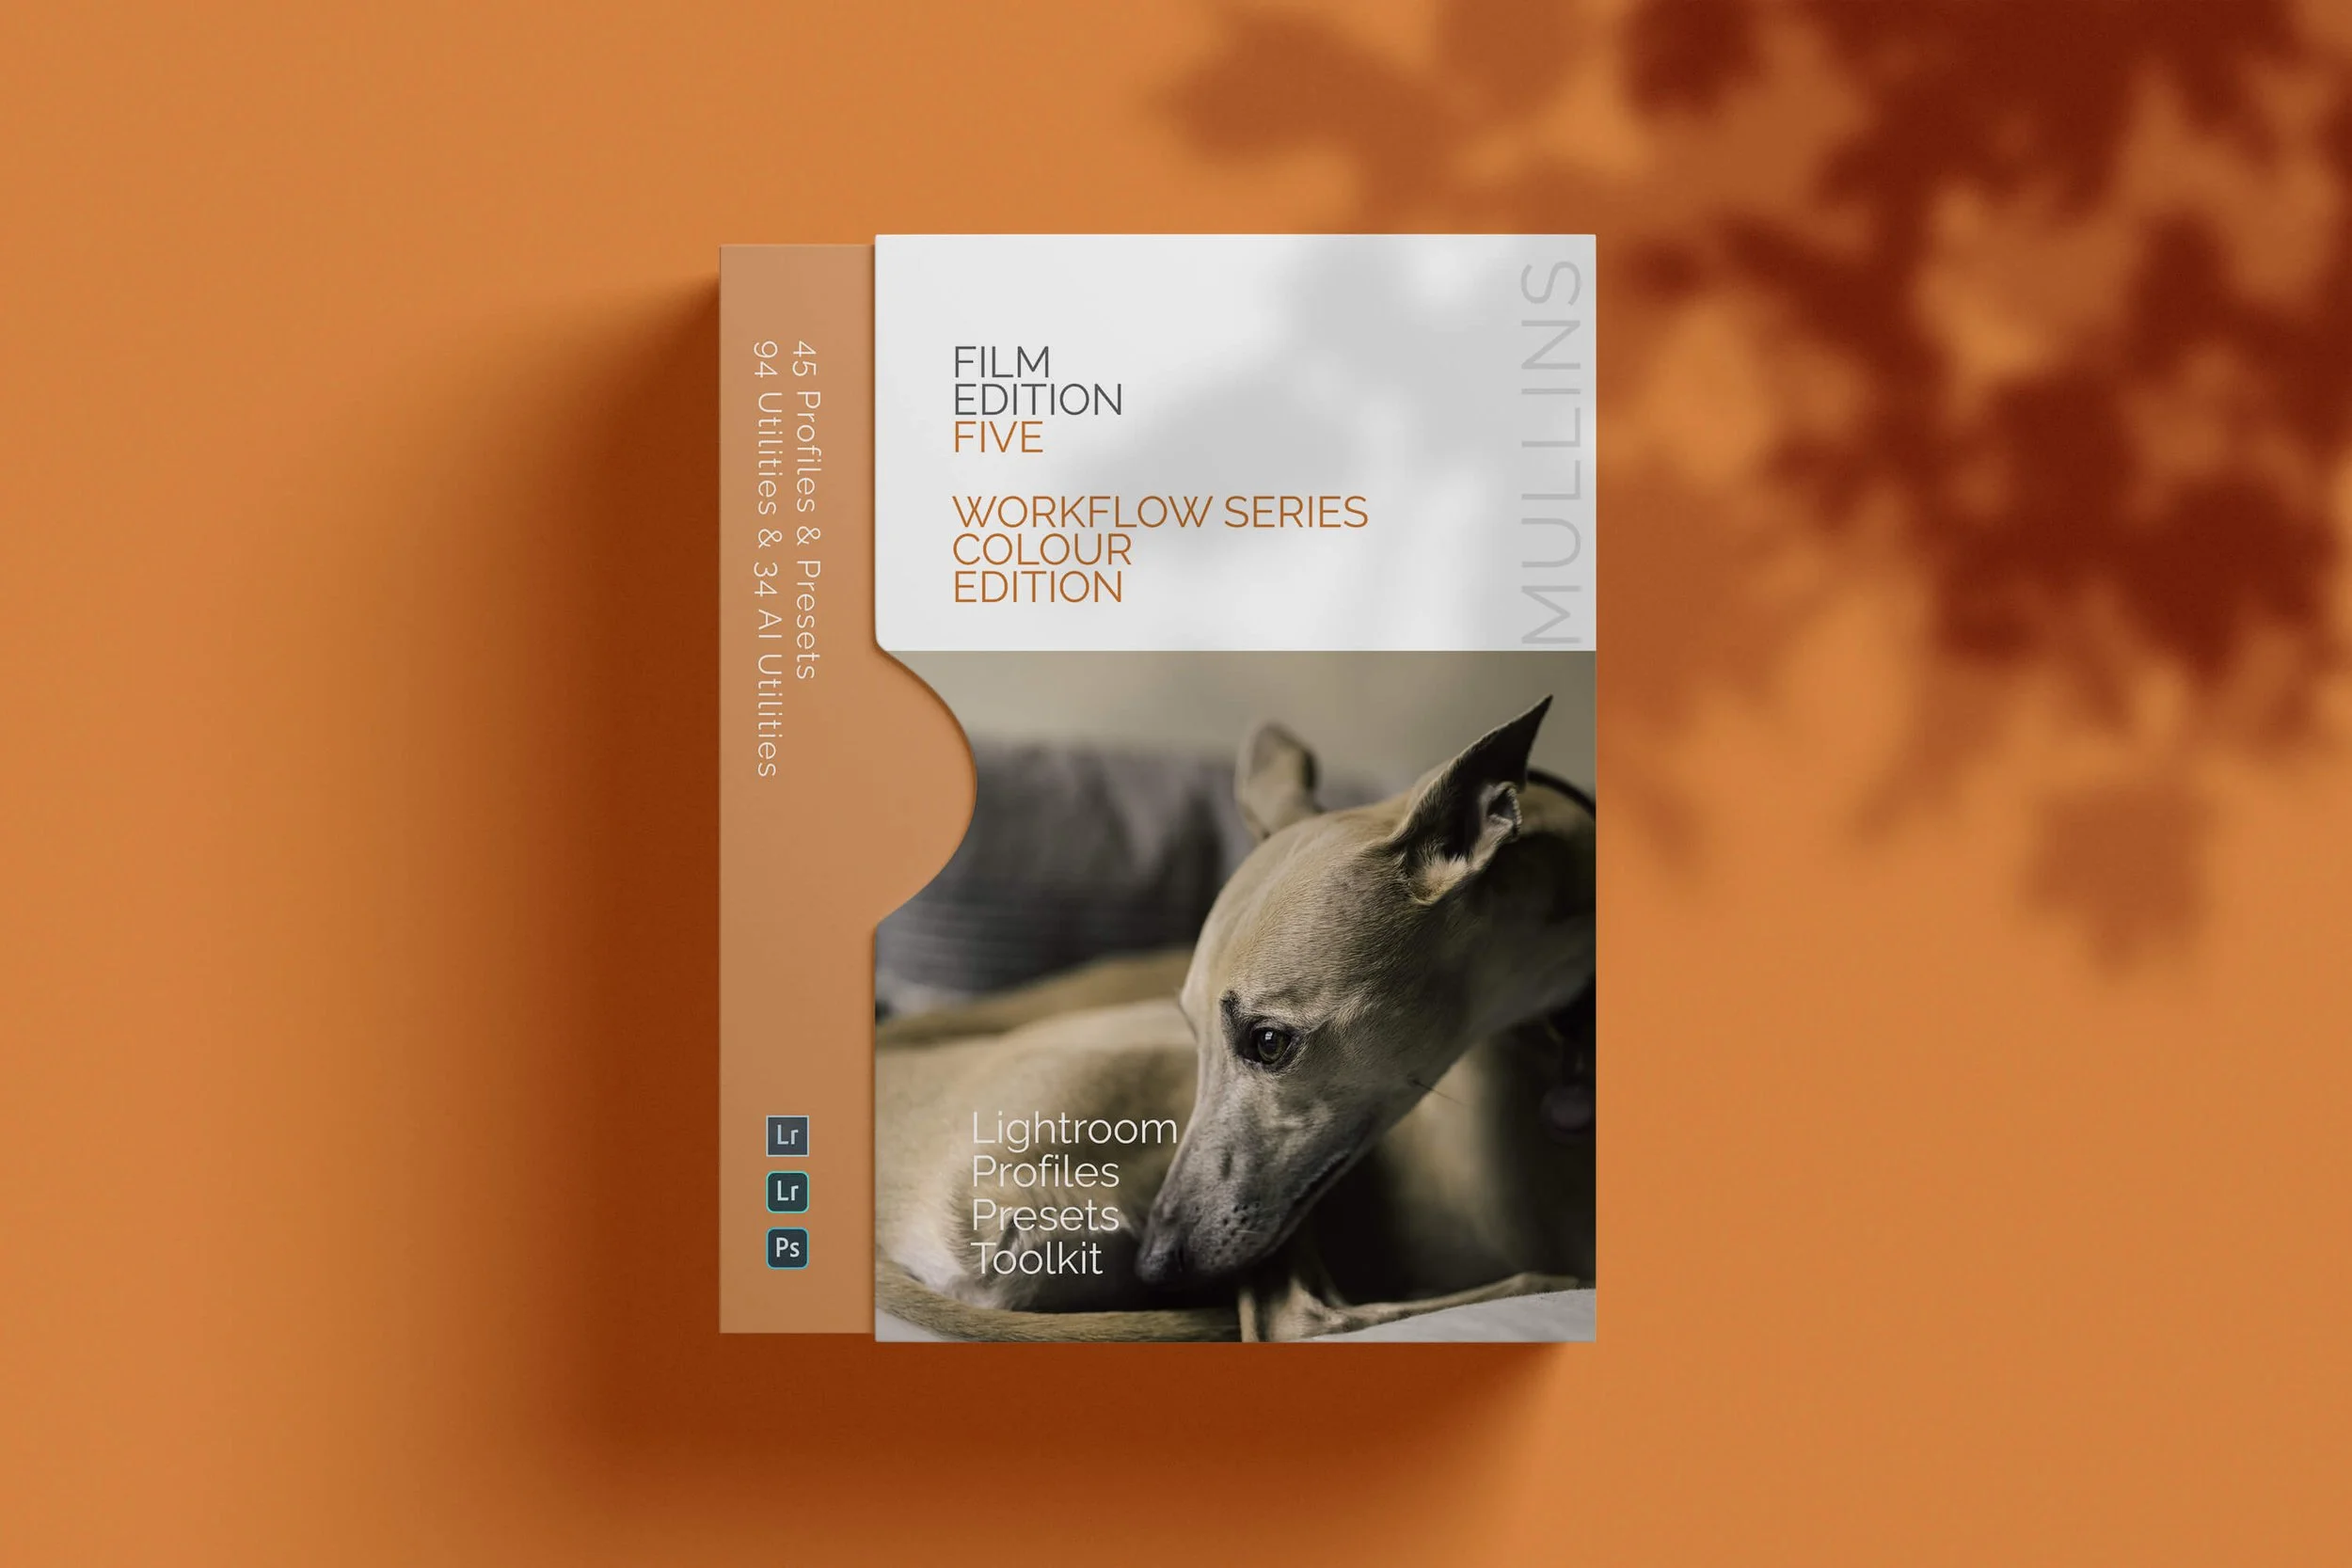
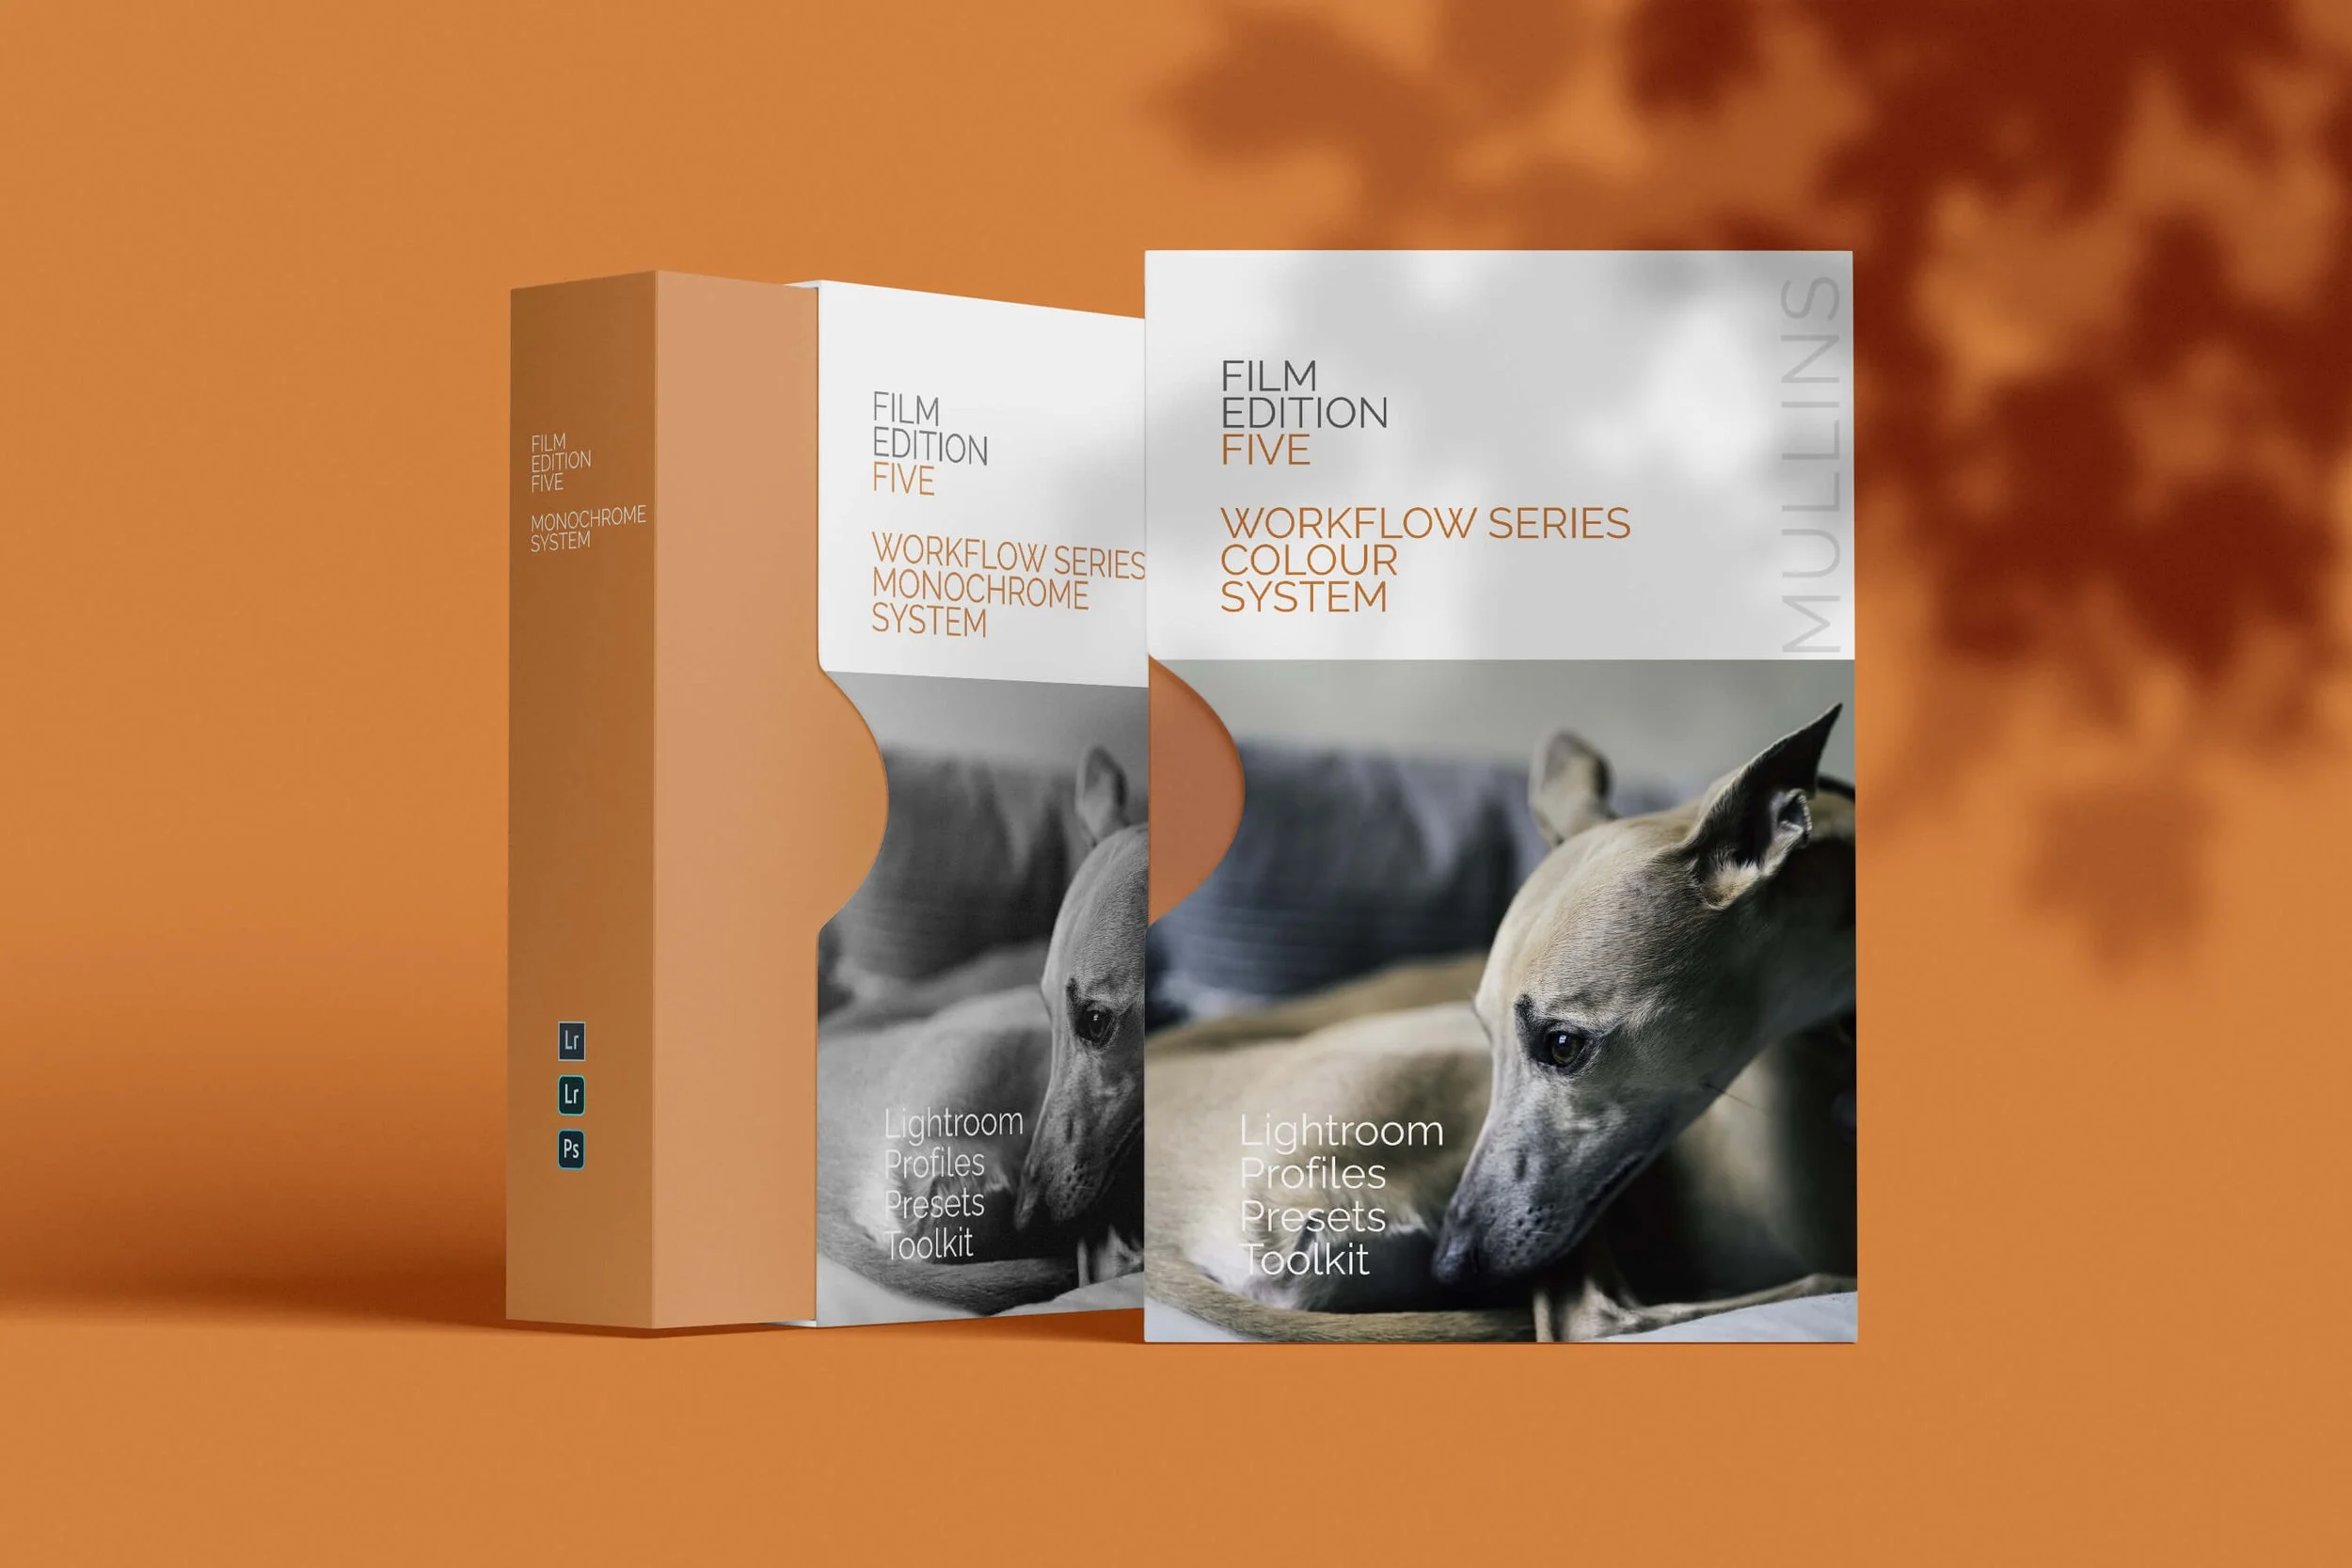
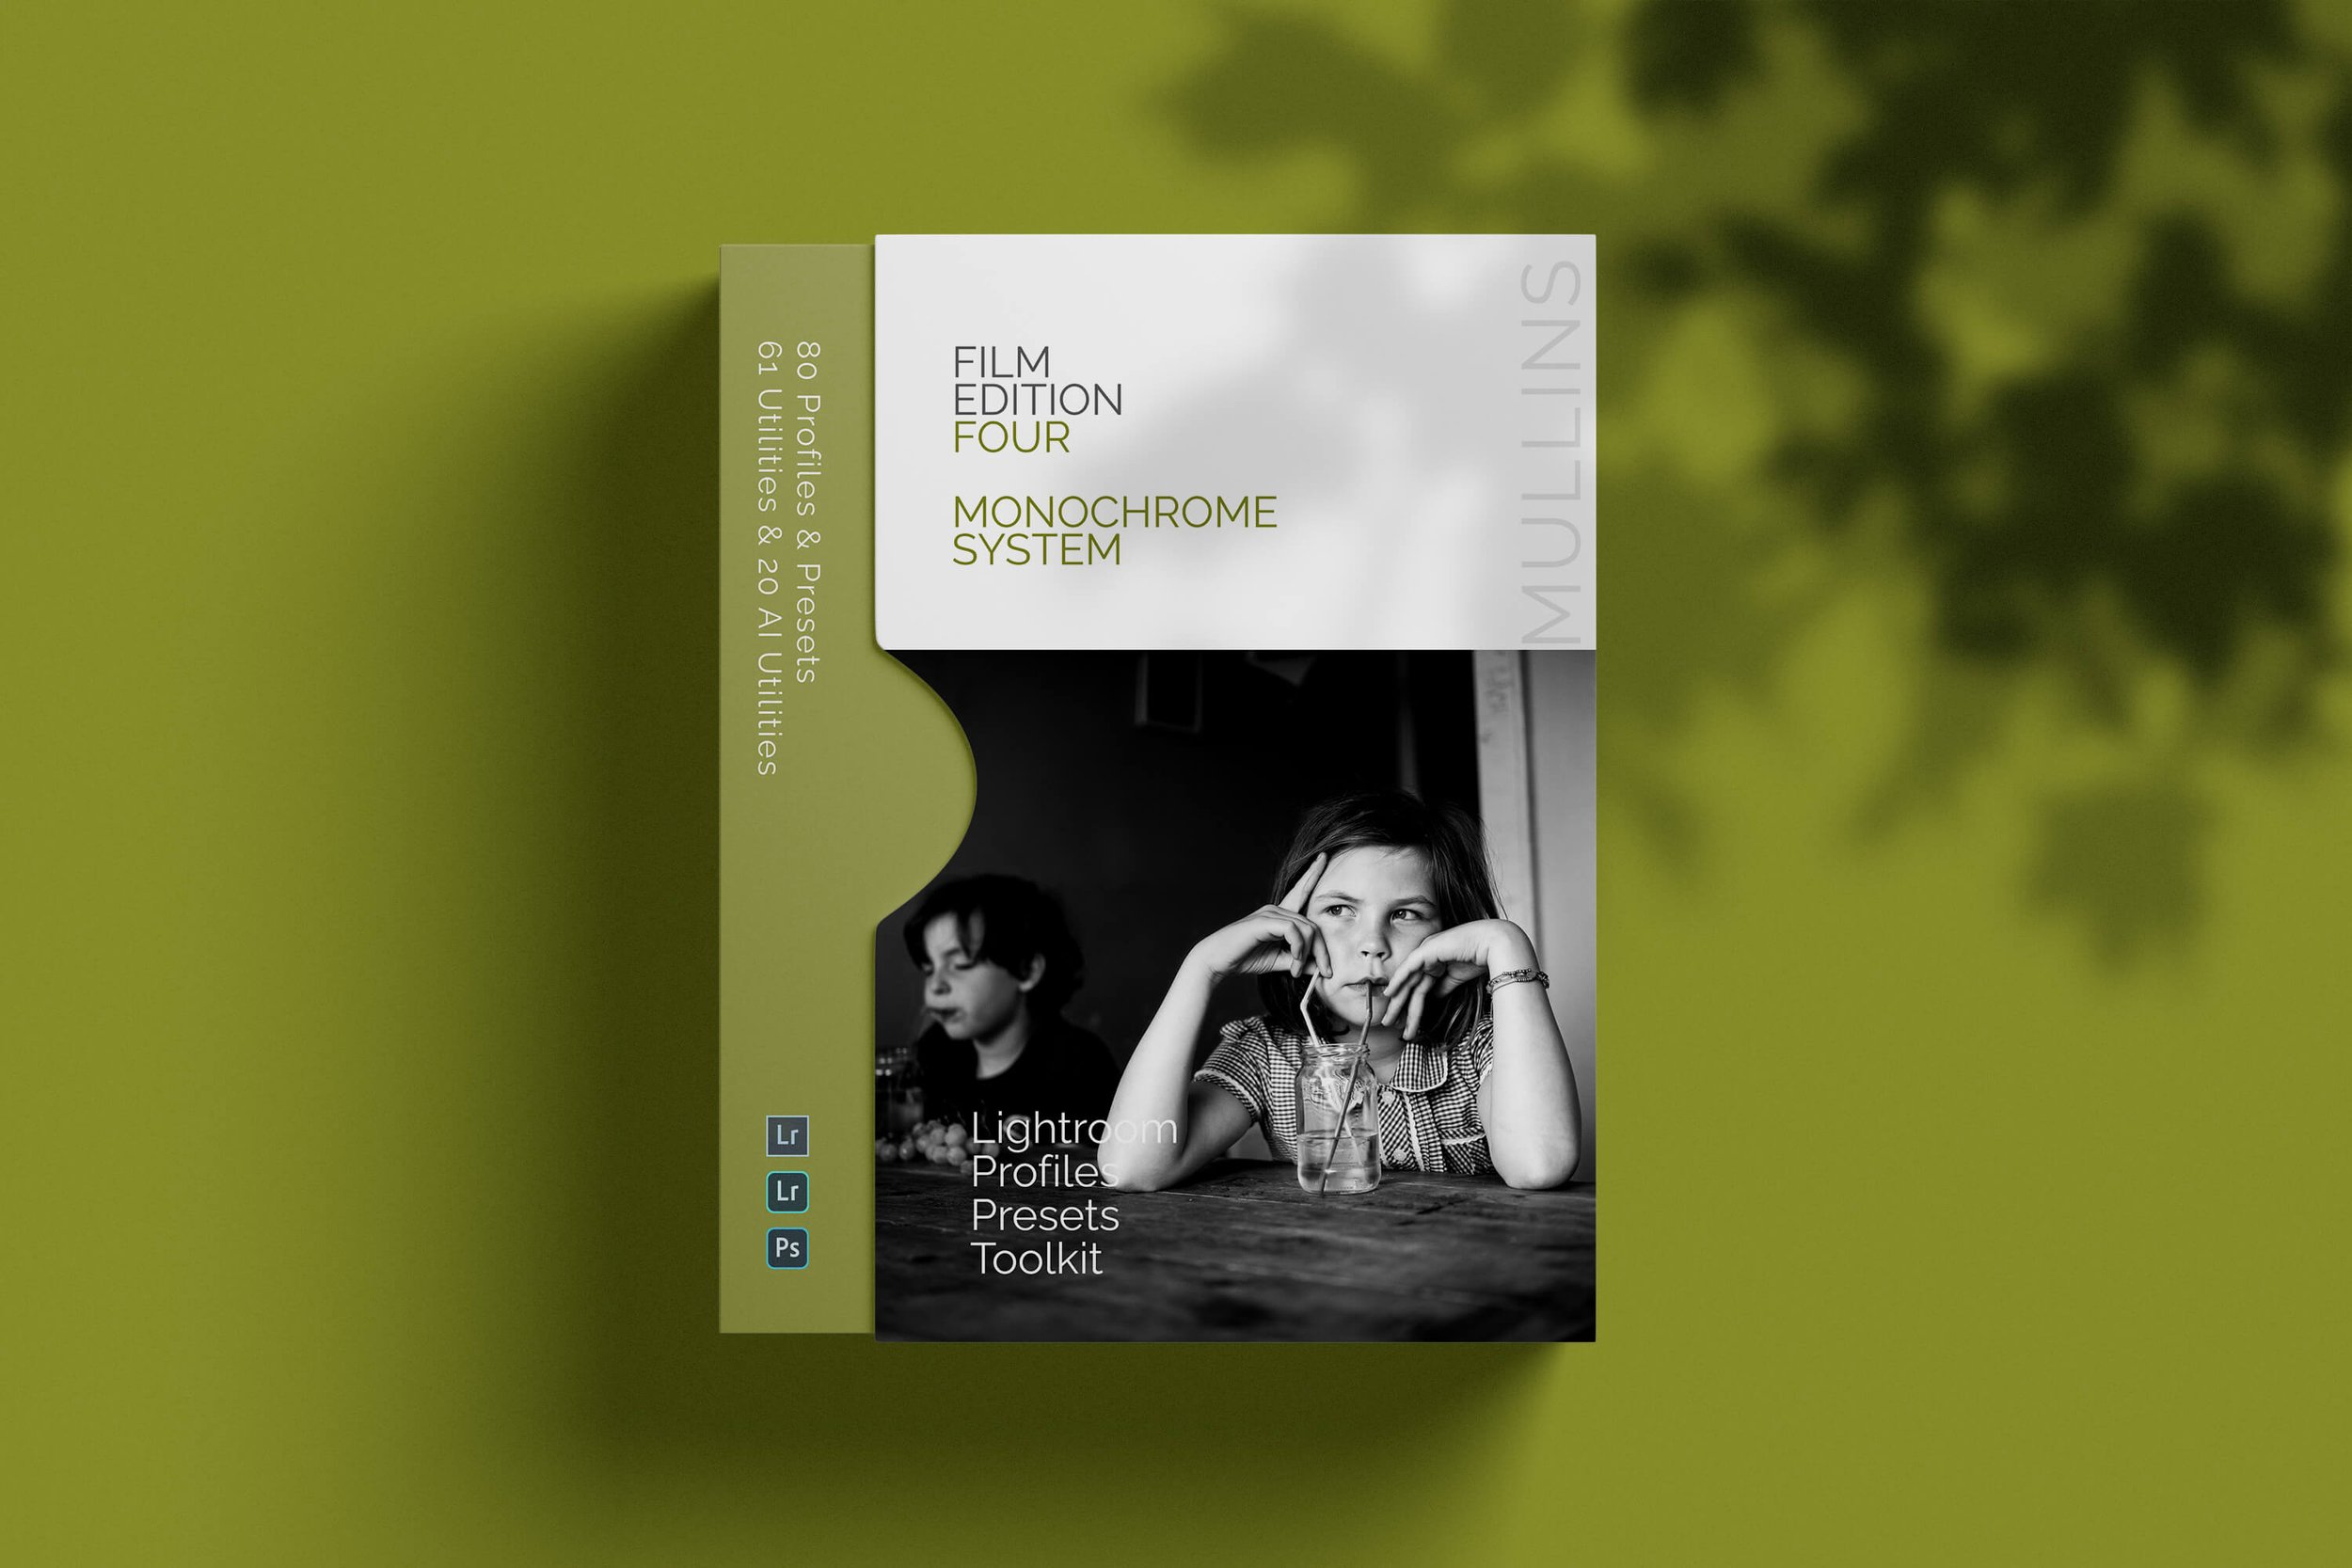
Presets in my packs—whether it’s Film Edition One, Two, Three, Colour Film, Monochrome, or the Silver Palette 2024—apply a carefully crafted look to your images. They include colour grading, tone curve adjustments, clarity tweaks, vignette, and grain to achieve a specific aesthetic.
When you apply a preset, you’re not just adding a colour profile; you’re also adjusting multiple settings in Lightroom to get that filmic feel.
For example, applying the Arizona Film preset from Film Edition Three will not only use the Monochrome Arizona profile, but it will also adjust clarity, tone curve, vignette, and grain—giving your photo a complete, professional-grade look in one click.
Profiles: The Subtle Starting Point
Profiles, on the other hand, act as the foundation of each preset. Every single preset in my packs is built on its own custom profile that I’ve created externally from Lightroom. However, profiles don’t touch your exposure, contrast, or grain settings—they simply shift the way Lightroom renders the colours and tones in your image.
If you like the look of a particular preset but want to keep control over the finer adjustments, you can just apply its profile manually from the Profiles panel.
This gives you the flexibility to start with the colour and tonal characteristics of a preset without any additional edits.
When to Use Profiles vs. Presets
Presets are best when you want a one-click edit that instantly applies a filmic look with adjustments like contrast, clarity, and grain.
Profiles are perfect when you want to retain control over the adjustments, using them as a subtle base to build your own edits.
Whether you use just the profiles or go all in with the presets, the goal is the same—to make editing faster, more intuitive, and to give your images a beautiful, film-inspired look with minimal effort.
Check out the video above to see the differences in action and find the best approach for your editing style!