

London Street Photography Walk & Guide: West End and Soho
A practical walk built for light, composition, and moment.
Street Photography Guide to London West End & Soho
If you want a London street photography walk that actually feels doable, try this one.
Its not a vague list of “best locations” that leaves you wandering about like a lost tourist, but a proper route you can follow.
Each stop tells you where to stand, what to look for, and what to do when you get there. Do it once, or come back and run it again with a different little project in mind. It still works.
What this walk covers
A self-guided London street photography walk through the West End and Soho, built as a practical route you can actually follow.
It includes an interactive map with numbered stops, a Start Walk mode that saves your progress, 12 stops with prompts, angles and small side-street nudges, plus a short version if you only have 60 to 90 minutes.


Photography, permissions, and what to expect
This walk takes place almost entirely in public space. Under UK law, street photography is legal in public places, and you do not need a permit to photograph people, buildings, or everyday life for personal, editorial, or artistic use. If you can see it from a public street, pavement, or square, you are generally allowed to photograph it.
Private property is different. Shops, cafés, galleries, and some courtyards are privately owned, even if they feel public. In those spaces, the owner or staff can set their own rules. If you’re asked not to photograph or to move on, the simplest response is to do exactly that. There is always another moment somewhere else.
In practice, this part of London is very used to cameras. Problems are rare. You’re not required to delete images or explain yourself, but being calm, polite, and confident goes a long way. Trust your instincts, avoid confrontation, and remember that good street photography comes from observation, not pushing situations that don’t feel right.
Stop 1: Tottenham Court Road / Centre Point crossing
This is the perfect place to start because it forces you into layers straight away. Stand back from the curb and let the city do what it does. Don’t chase pictures, build them.
Where to stand:
Pick a corner where you can see at least two crossing streams at once. You want enough space behind you to step back without getting clipped by someone’s coffee. Ideally, you’ve got Centre Point, Outernet or a big block of signage in the background, not a messy line of shop fronts.
Angles to look for:
Low-ish angle for legs, shadows, bags, and that feeling of movement without needing faces.
Slightly higher for structure: buses, street signs, signals, and the geometry of the crossing lines.
If the light’s decent, look for a bright patch on the pavement and build the frame around that. Let the highlight do some of the work for you.
Little idea:
Try shooting across the crossing rather than down the street. It cleans up the background quickly and also gives you separation between people. Down-the-street tends to stack everyone into one cluttered column.
Mini exercise:
Make one frame with three layers (foreground legs, midground subject, background signage). Then do it again, but this time your midground subject has to be doing something slightly different: turning back, hesitating, reacting, laughing, checking their phone, anything. That second bit is the difference between “a busy crossing” and “a moment”.
Advanced ideas (optional, but fun):
The anchor frame: Choose a clean background shape (a sign, bus side, building edge) and don’t move. Wait until a single person lands exactly where you want them. If you miss, don’t chase. Just wait again.
The near-miss: Compose so the foreground almost blocks the subject, but not quite. A bag strap, a shoulder, a coat edge. You’re basically creating tension without losing the picture's readability. Harder than it sounds.
The shadow-only frame: Shoot a frame where the main story is told by shadows and feet. Faces are allowed, but not required. It forces you to simplify.
Two moments, one frame: Pick one person and wait for a second person to interact with the frame. Not literally interact, just create a relationship: mirroring stride, opposite direction, crossing paths. That’s when it starts feeling like street photography rather than “people walking”.
Common trap:
This is where people machine-gun the shutter because it feels busy. You’ll get photos, of course, but you’ll also get a lot of nothing, too. If you slow down and commit to one composition for even 60 seconds, you’ll usually get something better. Annoying, but true.
Added notes for this area:
This whole patch has changed massively over the last few years, and it’s now one of those places where you can photograph “new London” without trying too hard. Centre Point is basically the big visual anchor, and the constant flow around Tottenham Court Road makes it feel busy even when it isn’t. If you want an extra five minutes before you properly start, the Outernet screens and the general signage chaos nearby can give you reflections, colour and graphic shapes to play with in a really easy way.
If you’re grabbing a quick coffee before you go off for the day, do it here. It’s a proper “reset point” later too, because you can easily jump onto the Tube or peel off towards Soho without too much effort.
Stop 2: Denmark Street
Denmark Street is about detail, texture, and character. It’s also a brilliant discipline stop. The street is short, visually busy, and very tempting to rush through. Don’t. This is where you slow everything down and let your enjoyment of the place carry the photograph.
Where to stand:
Either end of the street works well. Position yourself so the street behaves like a kind of tunnel, with shopfronts and doorways narrowing the frame. You want depth, not width. Once you’ve picked a spot, stay there longer than you perhaps feel comfortable doing so.
Angles to look for:
Straight-on, eye-level frames that let the repetition of doors, posters, and signs do the work.
Slightly off-centre compositions so the street feels less symmetrical and more human.
If the light’s directional, let it rake across brickwork and faces rather than flattening everything out.
Little idea:
Wait for someone to step into the light instead of trying to catch them mid-stride. Denmark Street can reward patience. People pause here: checking phones for guitar prices, adjusting bags, looking into shop windows. Those moments are quieter and often better.
Mini exercise:
Five frames without moving your feet. If you’ve made five and none of them work, don’t move yet. Make another five. See what happens.
Advanced ideas (optional, but useful):
The doorway moment: Choose one doorway and commit to it. Wait until someone either enters or exits in a way that tells a small story. Hands, posture, and hesitation all matter more than faces here. It’s not about what the person looks like; it’s about the story of the moment they are in.
The half-frame subject: Let your subject sit at the very edge of the frame, partially cropped by a doorframe or shop sign. The street carries the context, not the person.
Texture-first frame: Make one image where the first thing you notice is texture, not the person. Brickwork, peeling posters, scratched glass. The human element should arrive second.
Stillness test: Try one frame where nothing dramatic is happening. No gesture, no stride, no obvious action. If it still works, you’re in the right place.
Common trap:
Treating this like a quick link between “bigger” locations. Denmark Street looks small, but it’s dense. If you rush it, you’ll come away with forgettable filler images. If you slow down, you’ll often get one frame that holds its own against much louder images elsewhere.
Added notes for this area:
Denmark Street is famous for its music history. It’s been nicknamed the British Tin Pan Alley, and it’s long been packed with music shops, studios, publishers and all the usual backroom stories you’d expect from central London. If you’re into music at all, it’s one of those streets where you can really get lost in.
Extra idea: don’t just shoot “guitar shop fronts”. Look for the bits that suggest what the street is, without showing it literally. A case being carried, someone tuning up inside a doorway, stickers on glass, a reflection of a headstock in a window. That sort of thing.
Stop 3: Soho Square
This can be a bit of a reset point. A calm space surrounded by noise, movement, and pressure. That contrast is exactly why it works. After busy streets and tight framing, Soho Square lets you breathe and observe quieter human behaviour.
Where to stand:
Work the edges of the square rather than the middle. Position yourself so you’re shooting across benches, not straight at them. This gives you layers and lets people drift into the frame naturally rather than feeling posed.
Angles to look for:
Shoot through trees, railings, or branches to add a bit of separation and softness.
Slightly longer focal lengths work well here. They compress the scene and isolate gestures without overdoing it.
Look for clean backgrounds behind benches so the person, not the park clutter, strengthens the frame.
If the light is broken or patchy, use it. A bright patch on a bench or pavement can quietly spotlight your subject without them ever knowing.
Little idea:
Look for people who pause alone, even when surrounded by others. Someone scrolling, thinking, eating, staring into space. The emotional contrast matters more than what they’re actually doing.
Mini exercise:
Photograph “solitude” in one frame. Just a quiet moment that still feels intentional by the subject.
Advanced ideas (optional, but worth trying):
The framed pause: Use foliage or railings to frame your subject within a natural frame. Don’t overdo it.
The near-empty bench: Wait until it’s almost empty. One person at one end, space everywhere else. Let the emptiness do some of the storytelling.
The glance-away moment: Watch for the split second someone looks away from their phone or food. That tiny pause often says more than the action itself.
Foreground distraction: Let something soft pass through the foreground: a cyclist, a dog lead, a shoulder. As long as it doesn’t dominate, it can add depth without breaking the calm. Perhaps pan with your camera to add a sense of motion.
Common trap:
Trying to make this stop “interesting” by forcing action. Soho Square isn’t that place. If you push it, the images feel rushed and pointless. If you let the quiet be quiet, you’ll often end up with one of the most emotionally grounded frames of the walk.
Added notes for this area:
Soho Square is an old square with that slightly odd London feeling about it. It’s the kind of place where people stop to rest or meet others.
Stop 4: Berwick Street
If the market is active, this can be a goldmine. If it’s quiet, it still works because there’s always someone doing something. Buying, waiting, watching, deciding.
Where to stand:
Work just off the edge of a stall or shopfront, where transactions naturally occur. Close enough to see hands and expressions, far enough that you’re not interrupting the exchange. If you feel awkward, you’re probably too close.
Angles to look for:
Slightly off to the side, so hands, faces, and products overlap rather than line up neatly.
Eye level or just below works well here. It keeps things human and grounded.
Use the stall edge, counter, or table as a natural foreground anchor.
Watch for repetition. Similar gestures happening again and again are your cue to settle in and wait.
Little idea:
Hands tell stories. Bags changing hands, money hovering, fingers pointing, hesitation before a choice is made. Often, the photograph happens just before the words. Don’t photograph credit cards!
Mini exercise:
Make three photographs that clearly show interaction without relying on faces. If someone cropped the heads out, the picture should still make sense.
Advanced ideas (optional, but fun):
The decision moment: Watch someone hover before committing. The pause is more interesting than the purchase.
Parallel gestures: Two people doing similar things at once. Reaching, pointing, counting, weighing. It adds story to the frame.
The watcher: Look for someone observing an interaction they’re not part of. A stallholder waiting, a passer-by glancing in, a customer listening in. Secondary characters can also matter, and this can aid layering.
Transaction without transaction: Shoot the setup or the aftermath, not the exchange itself. Open bags, empty hands, closed tills, folded notes. It’s subtler and often stronger.
Common trap:
Faces and smiles. They’re fine, but they’re not the story here. The story is behaviour. Slow down, watch the patterns, and let the interaction come to you rather than chasing expressions.
Added notes for this area:
Berwick Street Market has a proper London market vibe when it’s on, and it’s been going a long time. Even if the market stalls aren’t in full swing, the street still gives you that “people doing something” energy: deliveries, shop staff, people carrying stuff, people weaving through each other.
Stop 5: Old Compton Street
This is people being people. Fast, messy, expressive, unpredictable. You’ll almost always get stronger results shooting across the street rather than trying to photograph down it.
Where to stand:
Work crossings, pinch points, and any place where the pavement narrows. Doorways opposite cafés, corners near crossings, spots where people hesitate before committing to a direction. Anywhere that naturally slows the pace, even for half a second.
Angles to look for:
Start wider than you think. Let the street breathe a little and give the subject somewhere to exist. Think of actors on a stage.
Once you’ve got the rhythm of the street, tighten up slightly to isolate without losing context.
Eye level works well here. Too low and it becomes chaotic. Too high and you lose connection. Think carefully here.
If the light’s bouncing between buildings, use the contrast. Old Compton Street often gives you faces popping briefly into light before disappearing again.
Little idea:
Look for eye contact between strangers. It happens more than you’d expect: a glance, a smirk, mild irritation, curiosity. You don’t need a full interaction. Half a second is enough.
Mini exercise:
Isolate one person in a busy frame without cropping tightly. They should feel separate because of timing and placement, not because you’ve zoomed in or cropped everything else away.
Advanced ideas (optional, but fun):
The crossing collision: Shoot just before or just after the crossing opens. People are still moving at different speeds and in different directions, which creates a more dynamic frame.
The look-back moment: Watch for someone glancing over their shoulder. It adds instant narrative and works brilliantly in busy streets like this.
Foreground interruption: Let a passer-by briefly break the frame without blocking the subject completely. A shoulder, hair, jacket edge. It adds a layer of story.
Paired movement: Look for two people moving in opposite directions but sharing a visual rhythm: similar stride, matching posture, or mirrored gestures. It can turn an unpredictable scene into structure.
Common trap:
Trying to capture everything. Old Compton Street will happily give you twenty frames a minute, but very few will hold up. Pick a strip of pavement, commit to it, and let people pass through your frame rather than reacting to every new face. You’ll miss some things. You’ll also make better photographs.
Added notes for this area:
Old Compton Street is one of Soho’s most well-known streets, and it’s strongly associated with LGBTQ+ life in London, with bars and venues that have been part of that history for decades. It’s a vibrant and wonderful area of London.
Stop 6: The Photographers' Gallery area
This stop is about patience. The temptation in London is always to keep moving, to look for the next thing. Here, the work happens when you stop and let the light do the heavy lifting.
Where to stand:
Anywhere you can clearly see a defined patch of light on pavement or a wall. Ideally, the background behind that light is darker or quieter, so the contrast does the separating for you. Don’t worry if nothing’s happening yet. That’s kind of the point.
Angles to look for:
Backlit silhouettes where shape matters more than detail.
Faces or hands briefly lit as someone steps into the light, then disappears again.
Side-on angles work well here. You want people entering and exiting the light, not walking straight towards you.
Pay attention to how long the light stays consistent. Once it shifts, move on.
Little idea:
Pick one patch of light and commit to it. Don’t reframe. Don’t chase. Let the world pass through your composition.
Mini exercise:
Three frames only. That’s it. Each frame should feel like you shot it on purpose. If you miss, you miss. That pressure usually improves the third frame dramatically.
Advanced ideas (optional, but fun):
The almost-frame: Shoot the moment just before someone fully enters the light. A half-lit face or shoulder often feels more interesting than full illumination.
Light as subject: Make a frame where the light itself is the story and the person is secondary. If the person vanished, the photograph should still hold up.
Negative space discipline: Leave more empty space than you might feel comfortable with. Let the subject occupy a small part of the frame and resist the urge to fill it.
Repeat visitor: If someone walks through the light, misses your frame, and loops back again, wait. Second passes are often better than the first ones.
Common trap:
Overshooting because the light looks “good”. Light alone isn’t enough. Wait for a relationship between light and moment, even if it takes a minute longer than you’d like.
Added notes for this area:
The Photographers’ Gallery is a bit of a pilgrimage spot if you’re into photography, and it’s been around since the early 1970s. Even if you don’t go in, the area around it works for exactly what you’re trying to practise: light patches, people pausing, people looking up, people slowing down near entrances.
If you do go in, grab a coffee or check out the amazing bookstore. Then back out. It can genuinely reset your eye before you head back into the bustle.
Stop 7: Carnaby Street
Carnaby is messy. Brilliant, loud, distracting, and full of competing information (especially on the weekends). Which is exactly why it’s such a good place to practice. If you can make something readable here, quieter streets suddenly feel easy.
Where to stand:
Pick a junction, corner, or slight bend where people naturally turn, hesitate, or change pace. You want reactions. Entrances to shops, side alleys feeding into Carnaby Street, or points where the street narrows all work well. Once you’ve picked a spot, stay put.
Angles to look for:
Wide enough to show the chaos, but not so wide that nothing has structure.
Frames where one person is clearly doing something different from everyone else.
Slight diagonals often work better than straight-on compositions here. They help guide the eye.
Watch how people enter and leave the frame rather than what they’re wearing.
Little idea:
Stand still for ten minutes. Literally, don’t move. Treat the street like a stage set and let the actors do the work. If you keep moving, you’ll miss the action.
Mini exercise:
Photograph entrances and exits. One person arriving, one person leaving, one person pausing. If nothing’s entering or exiting, you’re probably standing in the wrong place.
Advanced ideas (optional, but fun):
The supporting cast frame: Compose so that your main subject is small, but clearly the protagonist. Everyone else becomes background noise, even though they’re closer to the camera.
Gesture over identity: Ignore faces for a few minutes. Look for hands, shoulders, body language, bags swinging, heads turning. Carnaby Street is full of readable gestures.
The reaction shot: Don’t photograph the obvious thing. Photograph the person reacting to it. A glance, a pause, a smirk, a moment of confusion.
The repeated background: Use the same background for multiple frames and wait for different people to pass through it. You’ll start to see patterns in behaviour very quickly.
Common trap:
Trying to photograph everything. Carnaby Street rewards restraint. If you don’t decide what matters in your frame, the street will decide for you, and that’s not a great thing.
Added notes for this area:
Carnaby Street is famous for 1960s fashion and youth culture, and it still trades on that energy. Whether you care about that history or not, it explains why the street feels performative. People act slightly more “on show” here. They’re shopping, posing, looking, meeting, carrying expensive bags, doing the whole central London thing.
Stop 8: Kingly Court
Kingly Court gives you great geometry to work with. Clean lines, repeating shapes, controllable light. After the noise of the surrounding streets, it’s a chance to slow down and think about composition first, subject second.
Where to stand:
Start in the centre of the courtyard to understand the symmetry, then deliberately move to an edge. The edge positions usually give you cleaner layers and fewer distractions, especially if you’re shooting across rather than straight in.
Angles to look for:
Upwards for symmetry, balconies, windows and repeating shapes. This works particularly well if you keep people small in the frame.
Downwards or across for people cutting through patterns, tiles, or light patches.
Slight off-centre frames often feel more interesting than perfect symmetry once you add people.
Watch how long people linger here. Movement tends to be more purposeful rather than rushed.
Little idea:
Yes, people walking through stripes of light is the obvious one. Make one of those if you want, then force yourself to wait for something quieter: a pause, a turn, a glance upward in the middle of all that structure.
Mini exercise:
Composition first, subject second. Build a frame you like with no people in it. Then wait for one person to enter and complete it. If the person doesn’t improve the frame, let them walk through and wait again.
Advanced ideas (optional, but fun):
The small human: Make a frame where the person occupies less than ten per cent of the image but is still clearly the reason the photograph exists.
Broken symmetry: Start with a symmetrical frame, then wait for one element to disrupt it. One person stopping, turning back, or standing still often works better than movement here.
Up and down contrast: Make one upward-looking frame and one downward-looking frame from roughly the same spot. You’ll start to see how architecture and behaviour fight for your attention.
Light without people: Make a frame that works even if nobody enters it. If the light and structure don’t hold up on their own, the people probably won’t make it better.
Common trap:
Perfect symmetry with no tension. It looks neat, but it’s often lifeless. Geometry is the foundation here, not the entire subject. The photograph still needs a human decision or moment to finish it.
Added notes for this area:
Kingly Court is basically a little courtyard escape off the Carnaby grid, and it gives you structure: balconies, repeating lines, contained space, and people moving through it at a slower pace. It’s a good contrast because it’s still busy-ish, but it’s not a wide-open street where everything runs away from you.
Stop 9: Liberty area
This stop is all about reflections and layers, and it’s one of the easiest places on the route to make a photograph that feels like it’s doing more than just describing what was in front of you.
Where to stand:
Position yourself across from the larger windows rather than right up against them. You want enough distance for reflections to make sense: people outside, displays inside, street elements floating on top. If you’re too close, everything collapses into one plane.
Angles to look for:
Slight angles rather than dead-on. A small shift left or right often reveals an entirely different relationship between reflection and reality.
Frames where the reflected world is stronger than the “real” one.
Faces appearing briefly in glass, then disappearing again as people move.
Look for moments where it’s not immediately obvious what belongs where.
Little idea:
If the glass looks boring, move a metre. Seriously. Reflections change dramatically with tiny movements, and most people don’t move enough.
Mini exercise:
Make one frame where inside and outside genuinely blend. If someone had to look twice to work out what they’re seeing, you’ve probably done it right.
Advanced ideas (optional, but fun):
The ghost frame: Wait for a reflected face or figure to appear over something unrelated inside the shop. A mannequin, a lamp, a display. The less logical the pairing, the better.
Reflection first, person second: Compose for the reflection and let the person outside be secondary or even partially cut off. It helps stop the image from becoming a simple street portrait.
Double behaviour: Try to catch a moment where someone inside and someone outside are doing something similar. Looking down, reaching, turning. It’s rare, but when it happens, it’s gold.
Edge-of-glass tension: Use the window frame as a hard edge that cuts through the image. Let parts of people or reflections fall outside the frame rather than keeping everything neatly contained.
Common trap:
Standing still and waiting for something to happen. Reflection work is active. Small movements matter. If nothing’s working, it’s usually because you haven’t moved enough, not because there’s nothing to photograph.
Added notes for this area:
Liberty is one of those London landmarks that looks like it shouldn’t be there, because of the Tudor-revival style frontage. It’s been a big part of West End shopping history for ages, and it’s visually brilliant even if you never go inside.
Stop 10: Piccadilly Circus
This is usually beautifully chaotic here. Lights, movement, noise, tourists, commuters, performers. Your job here isn’t to shoot it all like a tourist, it’s to find stillness inside it.
Where to stand:
Work the edges rather than the centre. Anywhere crowds funnel, pause, hesitate, or bunch up slightly (think Tube Station Exits). The edges give you just enough distance to observe without being swallowed by the flow.
Angles to look for:
Try to shoot across the movement, not with it. Shooting with the flow tends to flatten everything.
Slightly wider frames help here, but only if there’s a clear subject anchoring the chaos.
Look for frames where movement surrounds a moment rather than becoming the moment.
Let the environment stay busy. Don’t try to clean it up too much.
Little idea:
Look for the person not doing what everyone else is doing. Standing still. Turning back. Waiting. Watching. That contrast is the photograph.
Mini exercise:
One subject, many distractions. Your frame should feel busy, but your subject should feel like the obvious part of the photograph. If you need to crop tight to make it work, start again.
Advanced ideas (optional, but fun):
Stillness frame: Find someone who isn’t moving and build the frame so everyone else blurs past them. Even without motion blur, the contrast in body language usually works.
Reaction over action: Photograph the person reacting to the chaos rather than the chaos itself. A raised eyebrow, a half-smile, running for a bus, a moment of overwhelm perhaps.
Light as distraction: Let the screens and signage compete with your subject. If the subject still wins, you’ve nailed it.
Edge-of-frame composition: Place your subject close to the edge of the frame and let the chaos occupy the rest. It often feels stronger than centring them.
Common trap:
Photographing the place instead of the people. Piccadilly Circus makes it very easy to come away with lots of “I was here” photos. Slow down, pick one person, and let everything else become “Street Photography”.
Added notes for this area:
Piccadilly Circus is obviously a classic. The screens, the crowds, the constant movement. But it’s also got proper history sitting in the middle of the chaos, including the Shaftesbury Memorial Fountain with the famous statue people call Eros.
Stop 11: Chinatown (Gerrard Street)
Chinatown is signs, steam, reflections, and compression. It rewards you for getting close and committing to photographs, and it can punish hesitation very quickly.
Where to stand:
Start just inside the gates to let the signage stack naturally, then move deeper into Gerrard Street, where it tightens, and the layers begin to compress. You want narrow sightlines and overlapping elements.
Angles to look for:
Shoot through hanging signs so they become part of the frame, not just decoration.
Work between people rather than waiting for gaps. Chinatown rarely gives you empty frames unless you are there at 4 am on a Tuesday morning.
Slightly longer focal lengths can help here, but distance matters more than lens choice.
Watch how steam and smoke move. They change the frame every few seconds.
Little idea:
Steam, umbrellas, raincoats, and reflections are your best friends, especially when it’s damp. Don’t wait for “clear”. Clear is boring here.
Mini exercise:
Make a frame where your subject is partially obscured, but the photograph still reads instantly. If you have to explain it, it’s not working yet.
Advanced ideas (optional, but fun):
The reveal frame: Wait for steam or smoke to partially clear, just enough to reveal a face or gesture, then let it close again.
Layer compression: Stack at least three visual elements in the same vertical slice of the frame. Signs, person, steam, background. If it feels tight, you’re doing a good job.
Cut the head: Deliberately allow faces to be cropped by signs or umbrellas. Chinatown allows this better than most places because the environment carries so much information.
Gesture over identity: Hands lifting bowls, passing bags, holding umbrellas, reaching for menus. These moments often say more than faces here.
Common trap:
Standing too far back and trying to photograph “the street”. Chinatown works best when you stop being overly polite and start composing with intention.
Added notes for this area:
London’s Chinatown has a real sense of place, and Gerrard Street itself goes back centuries (it was laid out in the late 1600s). These days, it’s the lanterns, the signage, the gates, the food, the constant foot traffic. It can be absolutely rammed, which is annoying… but also perfect for layered frames.
Stop 12: Covent Garden Piazza
This is your closing scene. It’s an easy place to overshoot because there’s always something happening, so the trick here is restraint. End the walk with a step in your stride, not exhaustion.
Where to stand:
Stick to the edges of the Piazza rather than the centre. The edges are where people wait, watch, and react. Buskers draw crowds, queues form, and anticipation builds. All of that happens before the action, not during it.
Angles to look for:
People waiting rather than moving.
Small reactions: a glance, a sigh, a smile, someone in shock at a street performer.
Shoot across benches, queues, or performers rather than straight at them.
You’re looking for behaviour, not tourist photos.
Little idea:
No burst shooting. One frame at a time. Force yourself to decide when the moment is actually there, rather than spraying and praying.
Mini exercise:
Make one image that feels like an ending. Not just “another busy place”, but something that suggests pause, reflection, or completion.
Advanced ideas (optional, but fun):
The after-moment: Don’t photograph the peak action. Photograph what happens just after. Applause fading, people turning away, a performer resetting, someone stepping out of a queue.
The observer frame: Look for the person watching rather than participating. Covent Garden is full of performers, but some strong stories often sit just outside the circle.
Framed reactions: Use pillars, arches, or the edges of the square to frame a single reaction within a busy environment. Let the business exist, but don’t let it dominate.
Stillness as punctuation to the day: End with a calm frame. One person standing still while the world moves around them works beautifully here, especially as the final image of the walk.
Common trap:
Trying to “sum up London” in one photograph. You don’t need to. You’re not finishing a project, just finishing a walk. One honest, well-observed moment is enough.
Added notes for this area:
Covent Garden’s piazza was one of London’s first planned squares, designed in the 1630s, and it’s strongly associated with Inigo Jones and that whole “Italianate London” vibe. Which is a fancy way of saying: it’s built like a stage, and people behave like they’re on one. That’s why it is what it is.


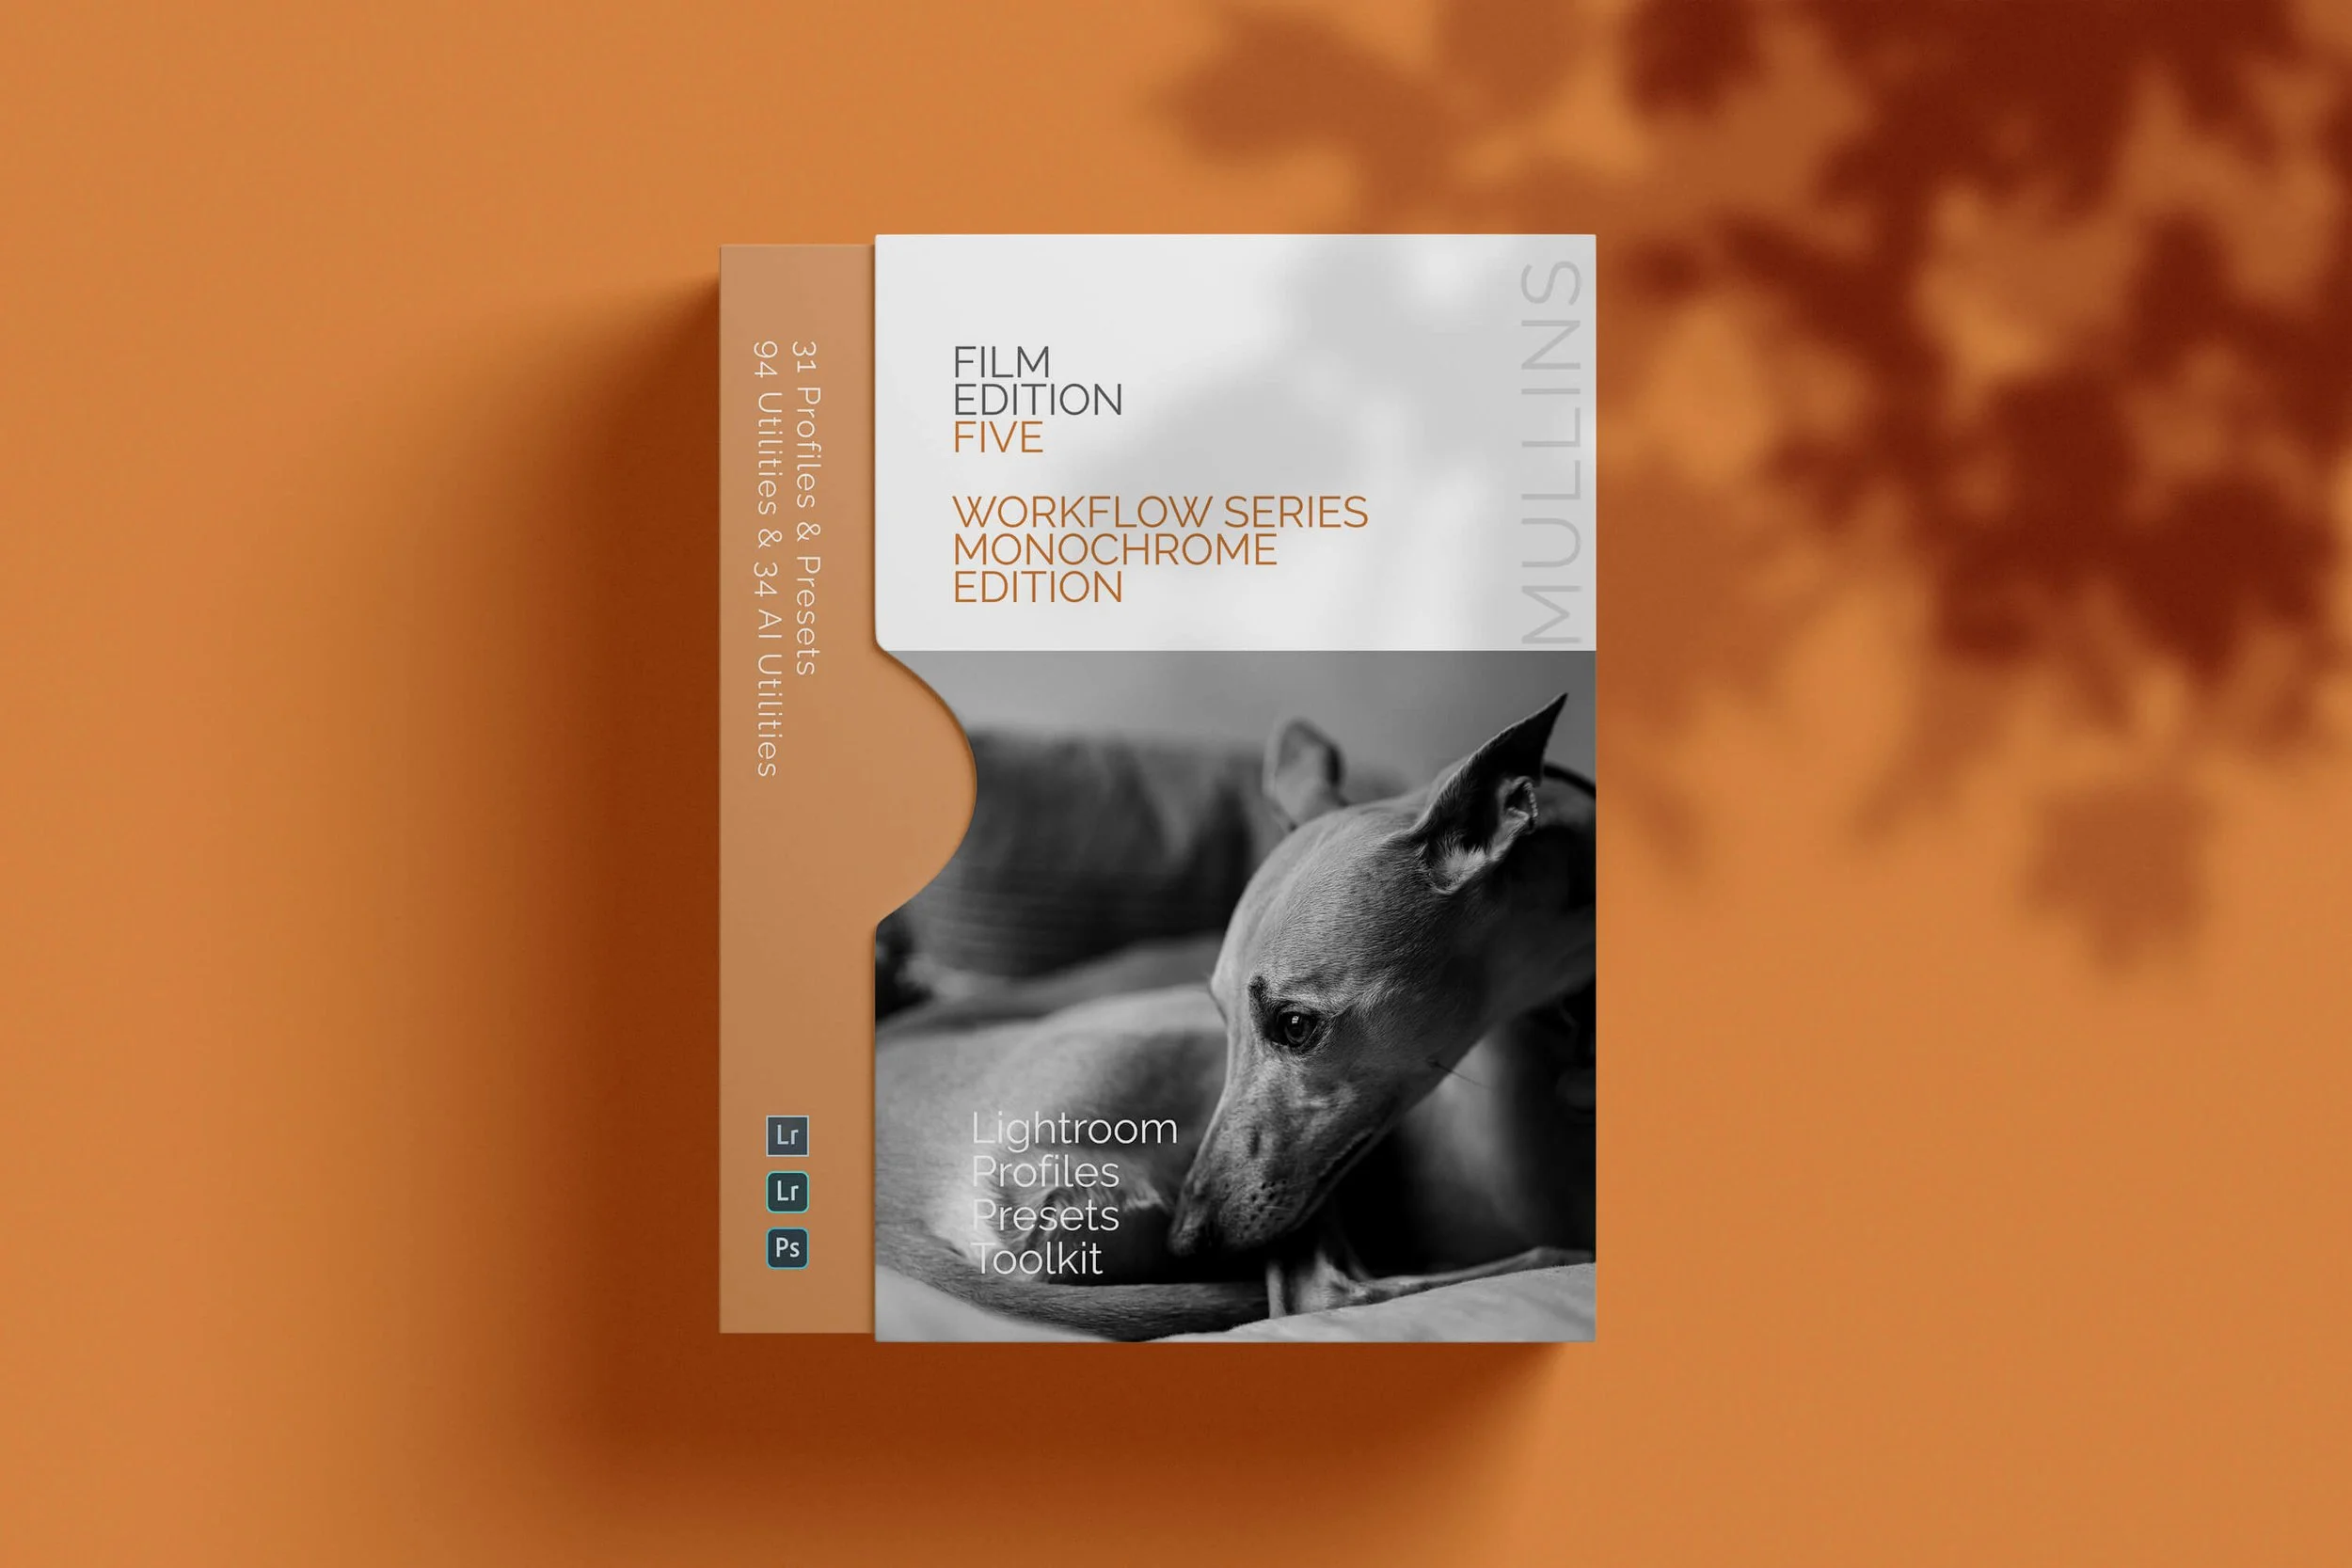
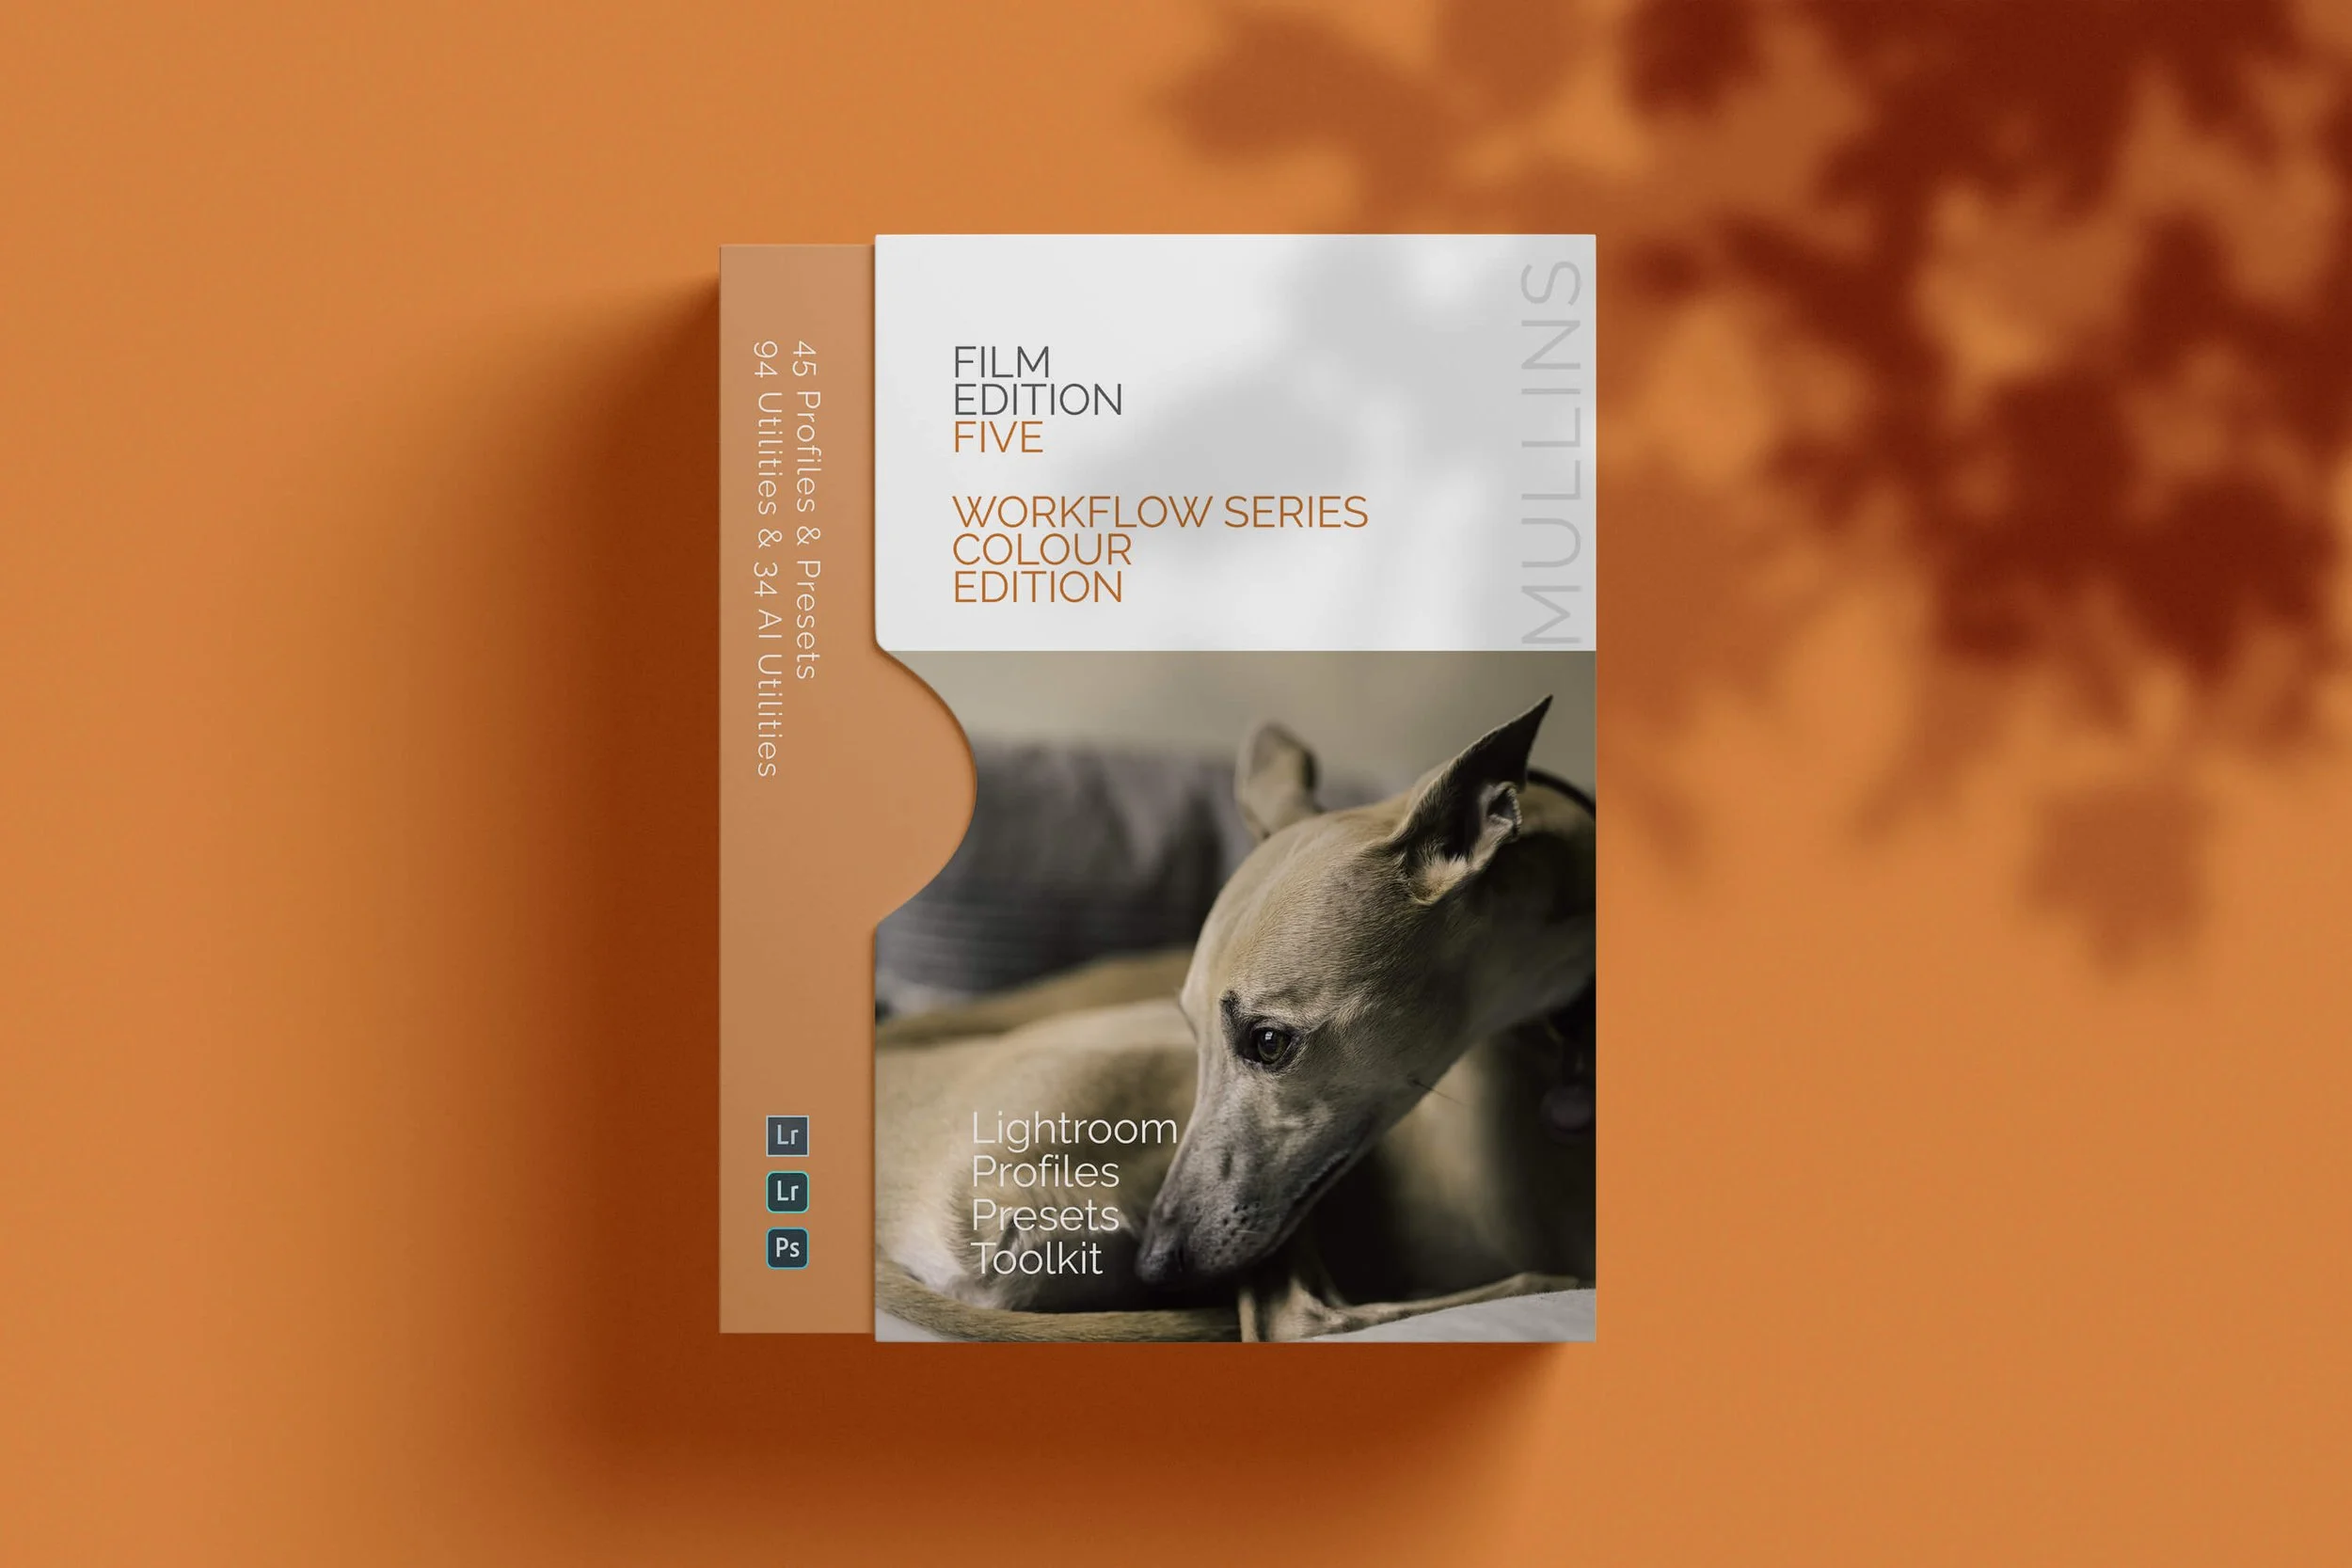
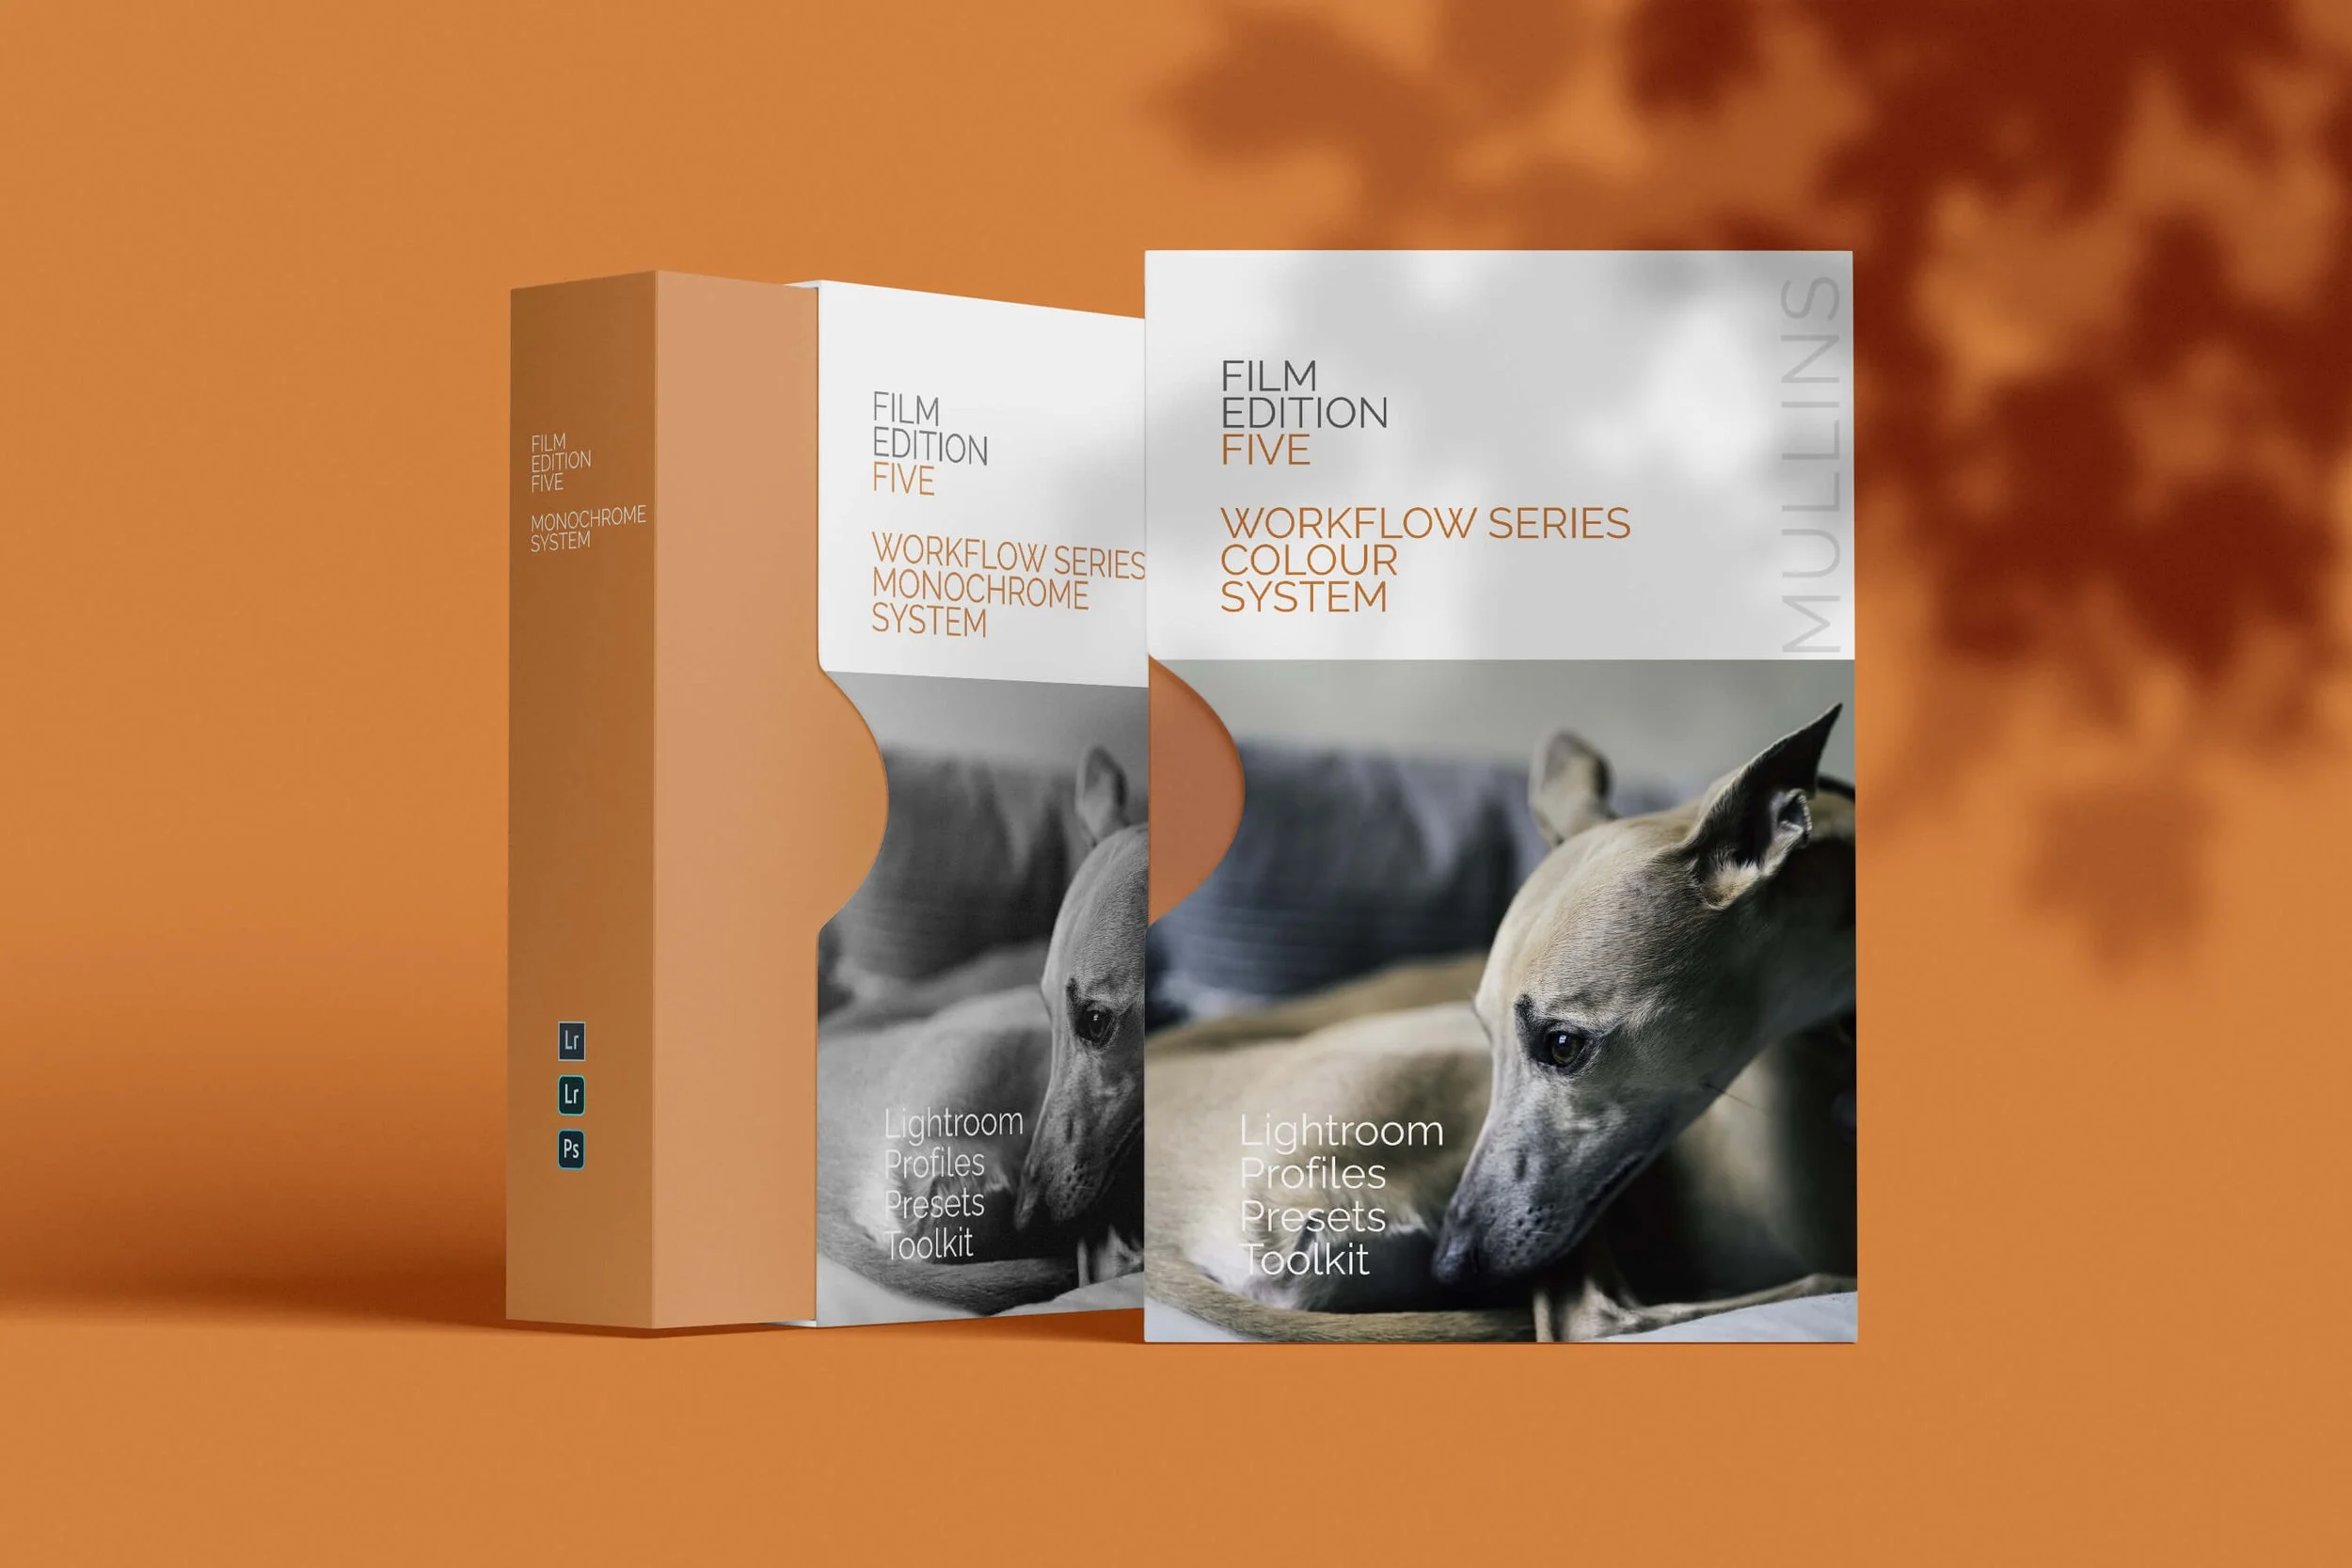
Want the look I use?
My Lightroom presets are built for a clean, natural documentary style. They work with any camera, and they’re designed to be quick and consistent for people and street work.
Want to shoot with Kevin?

If you’d rather experience this kind of walk in person, I also run small, practical street photography workshops.
They’re not about walking in a line or copying shots. We move slowly, stop often, talk about what’s working and what isn’t, and I’ll help you see what you might be missing.
The same ideas you see on these walk pages – light, composition, moment – just applied in real time.
Group sizes are kept small, and there’s plenty of space to ask questions, experiment, and work at your own pace.
Shoot this route with me
If you want to do this walk with guidance, exercises, and feedback while you shoot, my London street photography workshops are built around routes like this.
FAQ
-
It’s designed as a 2 to 3 hour route, but there’s a short version built in if you only have 60 to 90 minutes.
-
Yes. The prompts are simple and practical. You can shoot it with one lens and keep it straightforward.
-
Weekday mornings give cleaner frames. Late afternoon into evening gives more energy and theatre crowds.
-
No. Use what you have. If you want to keep it simple, pick one focal length and stick to it for the whole walk.
-
Absolutely. Change the mini project. Go “reflections only”, or “gesture only”, or limit yourself to 36 frames.
-
Yes. It’s built to be used on the move, and it saves your progress so you can resume.