Moving from DSLR to Mirrorless: 5 Questions I’d Ask (Answered)
TL;DR: If you photograph people for a living, mirrorless gives you quiet shutters, dependable (in most cases) face/eye tracking, and a live view that reduces exposure guesswork. Select two bodies, three sensible lenses, and create a workflow that supports both JPEG and RAW formats. Test it on real jobs before you commit.
Who this is for
Photographers coming from film or DSLR who shoot weddings, street, or family work
People who value candid moments, quiet operation, and a balanced bag
Anyone mirrorless-curious who wants plain, practical answers rather than spec sheets
A quick definition
This isn’t a lab test. It’s a working photographer’s guide built around five questions I would ask before changing systems. I’ll use Fujifilm examples because that’s my day-to-day world, but the thinking applies to any modern mirrorless kit.
Why this matters: There are no retakes at a wedding or during a fleeting family moment on the sofa. Your kit must lock focus, perform well in poor lighting, and remain quiet. It also needs to be light enough that you’re still making good decisions after shooting for eight hours. Get these choices right, and you'll see a rise in your keeper rate, a drop in edit time, and a calmer demeanour for your clients.
My road to mirrorless (the short version)
I started with DSLRs and the wonderful illusion that more weight equals more professionalism. For years, I carried two large cameras with big lenses and accepted that ceremonies would sound like a press pit. The first time I shot a quiet civil ceremony with a silent shutter, nobody looked up. Not once. That was a turning point. The more I leaned into rangefinder-style bodies and small primes, the more natural my pictures felt.
People relaxed. I relaxed. I still care about craft. I just make fewer compromises to get it.
1) Autofocus in real life, not a spec sheet
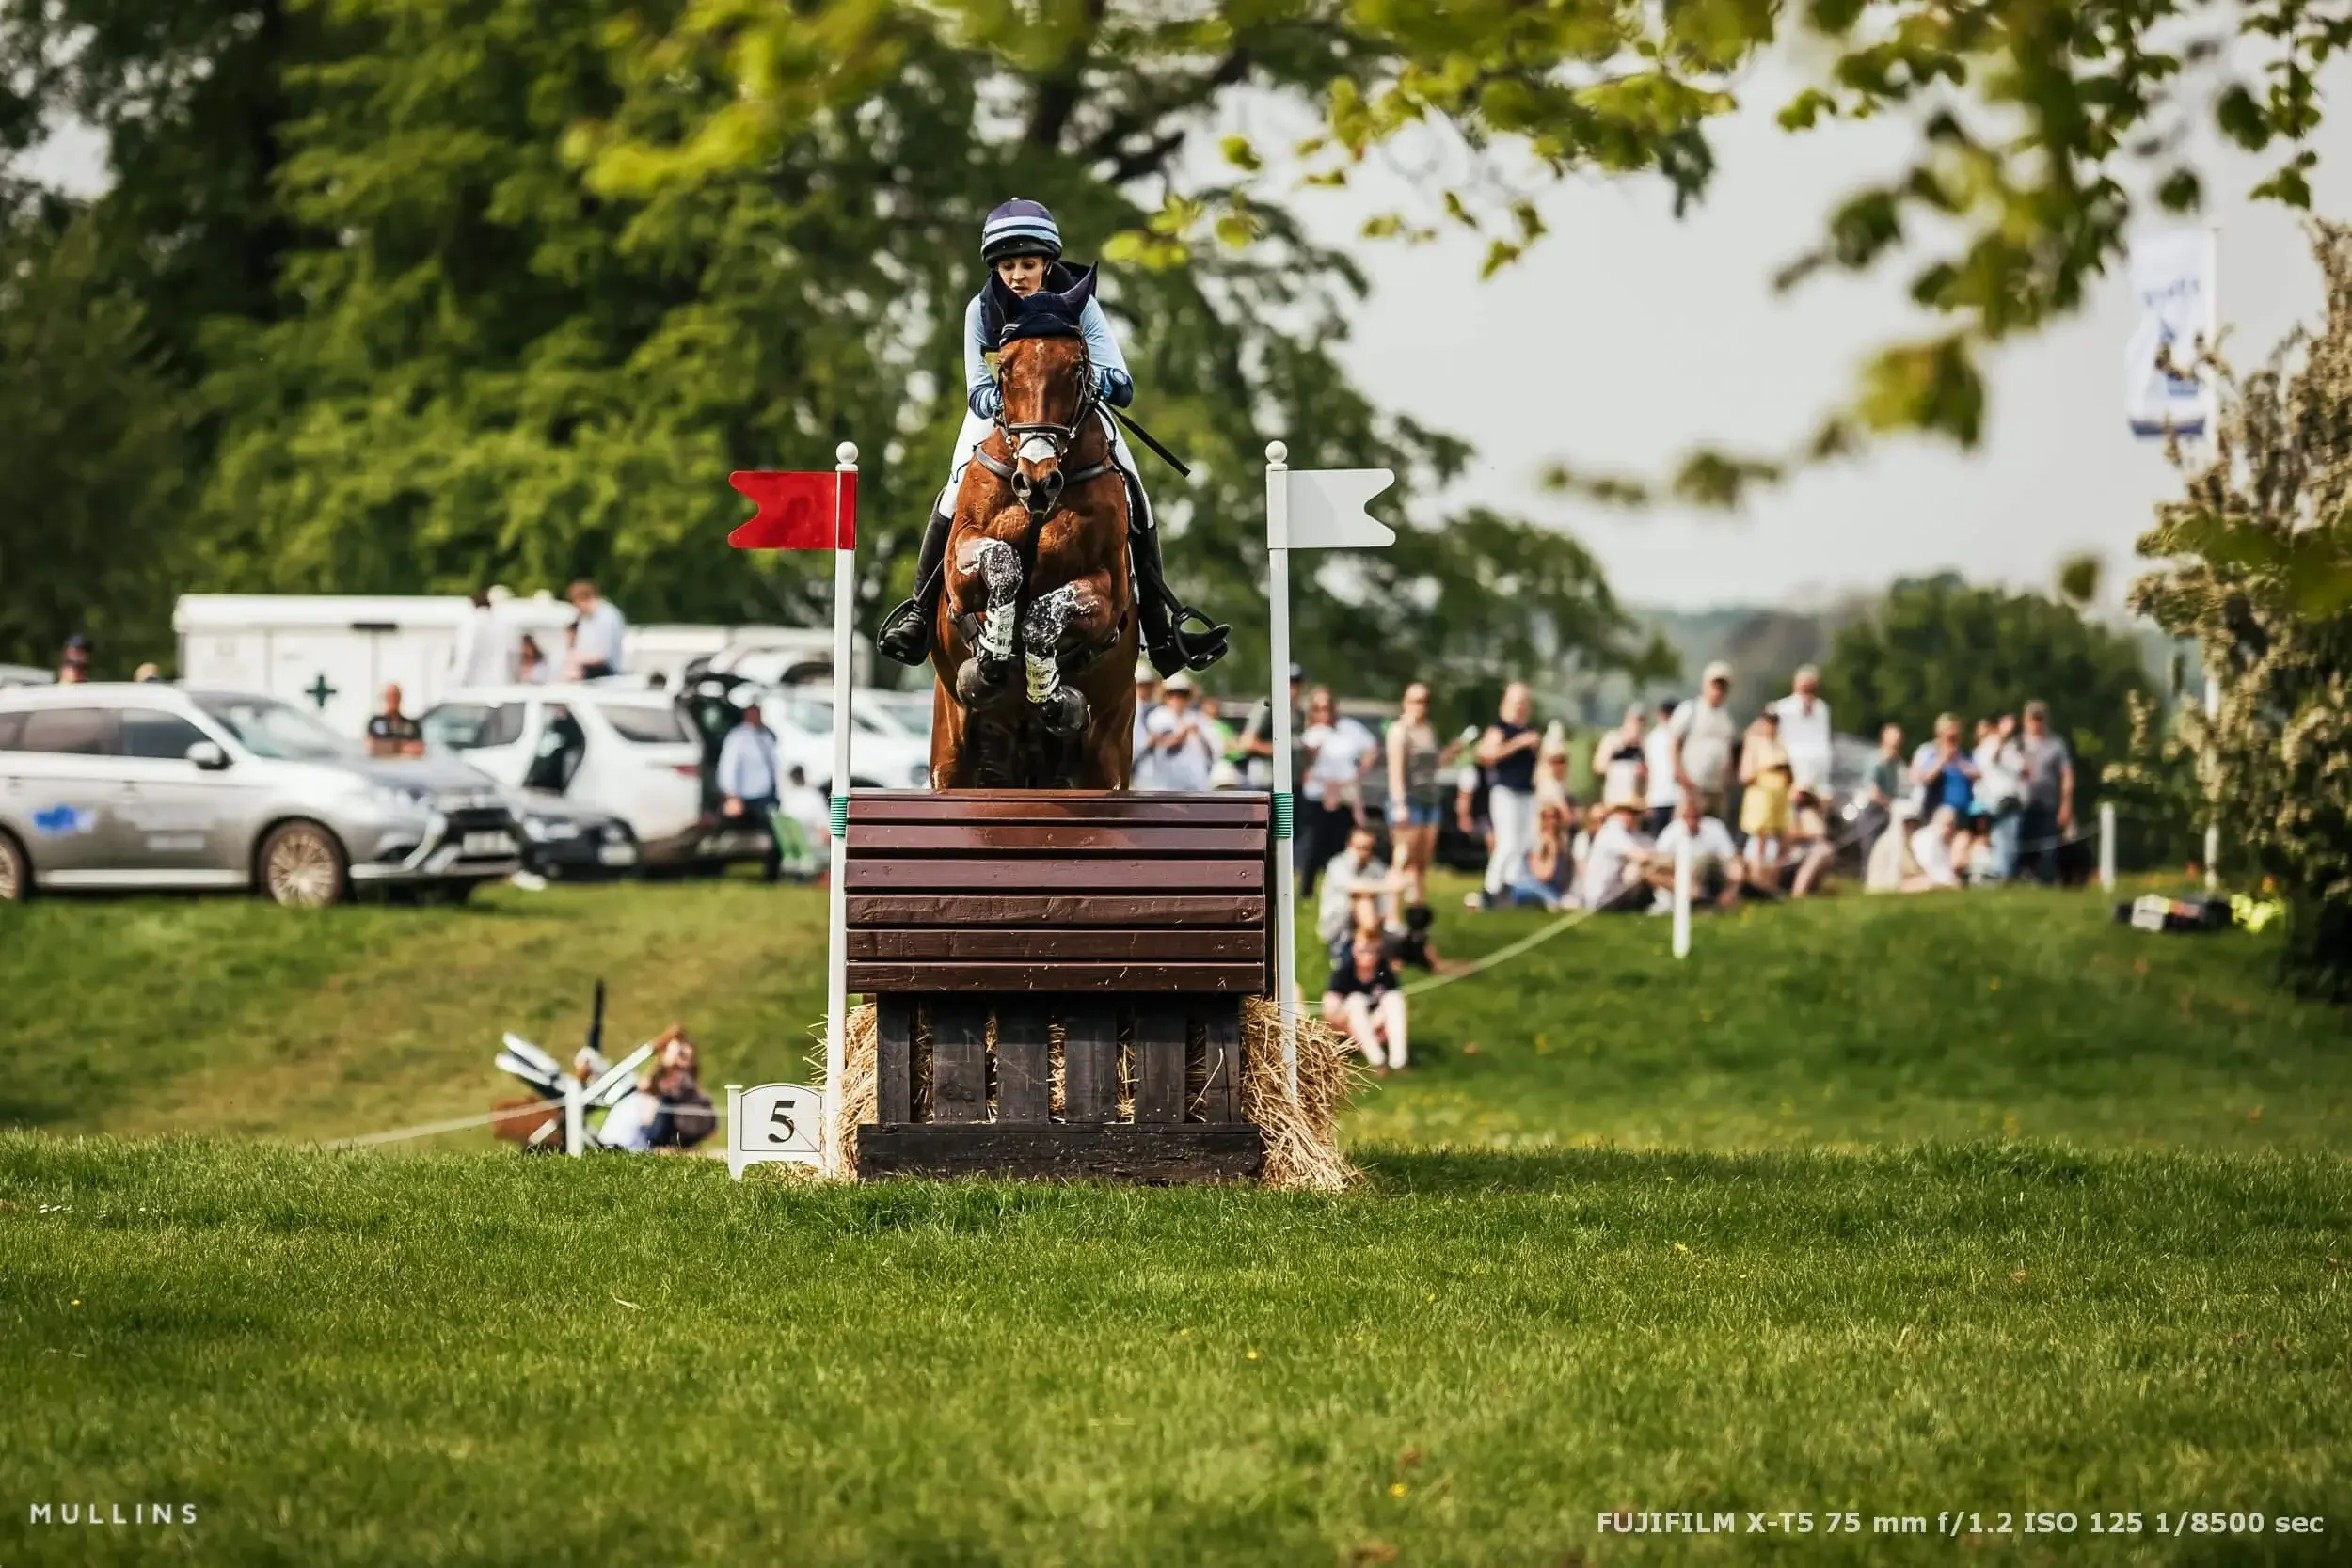
If you want to know whether a mirrorless body is ready for paid work, try loaning one and taking it to the three places that break cameras and photographers: backlit situations, dimly lit places, and fast-moving subjects. If it copes there (which it will), it will cope most places.
What I expect from AF on a job
Face and Eye Detect that behaves. It should find the right face, stick to it through messy foregrounds, and let me override with a thumb nudge. Now, if you want to truly depend on face detection, which I don’t, you might want to do side-by-side testing of Fujifilm cameras and Sony cameras. I’m told the latest Sony cameras have incredible face and eye tracking. But don’t let that one feature be your deciding factor.
Single AF for real movement. A small zone down the centre gives the camera room to breathe during aisle walks or hugs without wandering off to a stray boutonnière.
Predictable sensitivity. In backlight, I prefer slightly stickier tracking so it doesn’t jump to the rim-lit shoulder behind my subject.
Low-light behaviour. DJ lights and fog are not your friends. I don’t ask the camera to do magic at f/4 and ISO 12,800 while I’m dragging the shutter to 1/30. I use fast glass, IBIS, and sensible speeds. Technique still matters.
Keeper rate, honestly
With current mirrorless bodies, my keeper rate is much better than my best DSLR days and better on moving subjects. The real gain isn’t just numbers. It’s confidence. Fast AF lets me frame a touch looser, watch hands and context, and shoot through micro-moments without riding the focus point like a video game. The trade-off is that you must stay awake. Subject detection is brilliant until it chooses the wrong person.
How to test AF in a single weekend
Prep or getting ready: Stand in a doorway and let the backlight flood the room. Ask a subject to move toward you while turning their head. Watch if the camera stays on the closest eye or flips to contrasty hairlines.
Street test: Shoot a busy crossing. Lock onto one face mid-frame, hold the shutter for two seconds, then check for drift to brighter signage.
Dance floor: Under LEDs, use both electronic and mechanical shutters. If you see banding on electronic, switch to mechanical and raise the shutter to 1/200 or 1/250. Take notes.

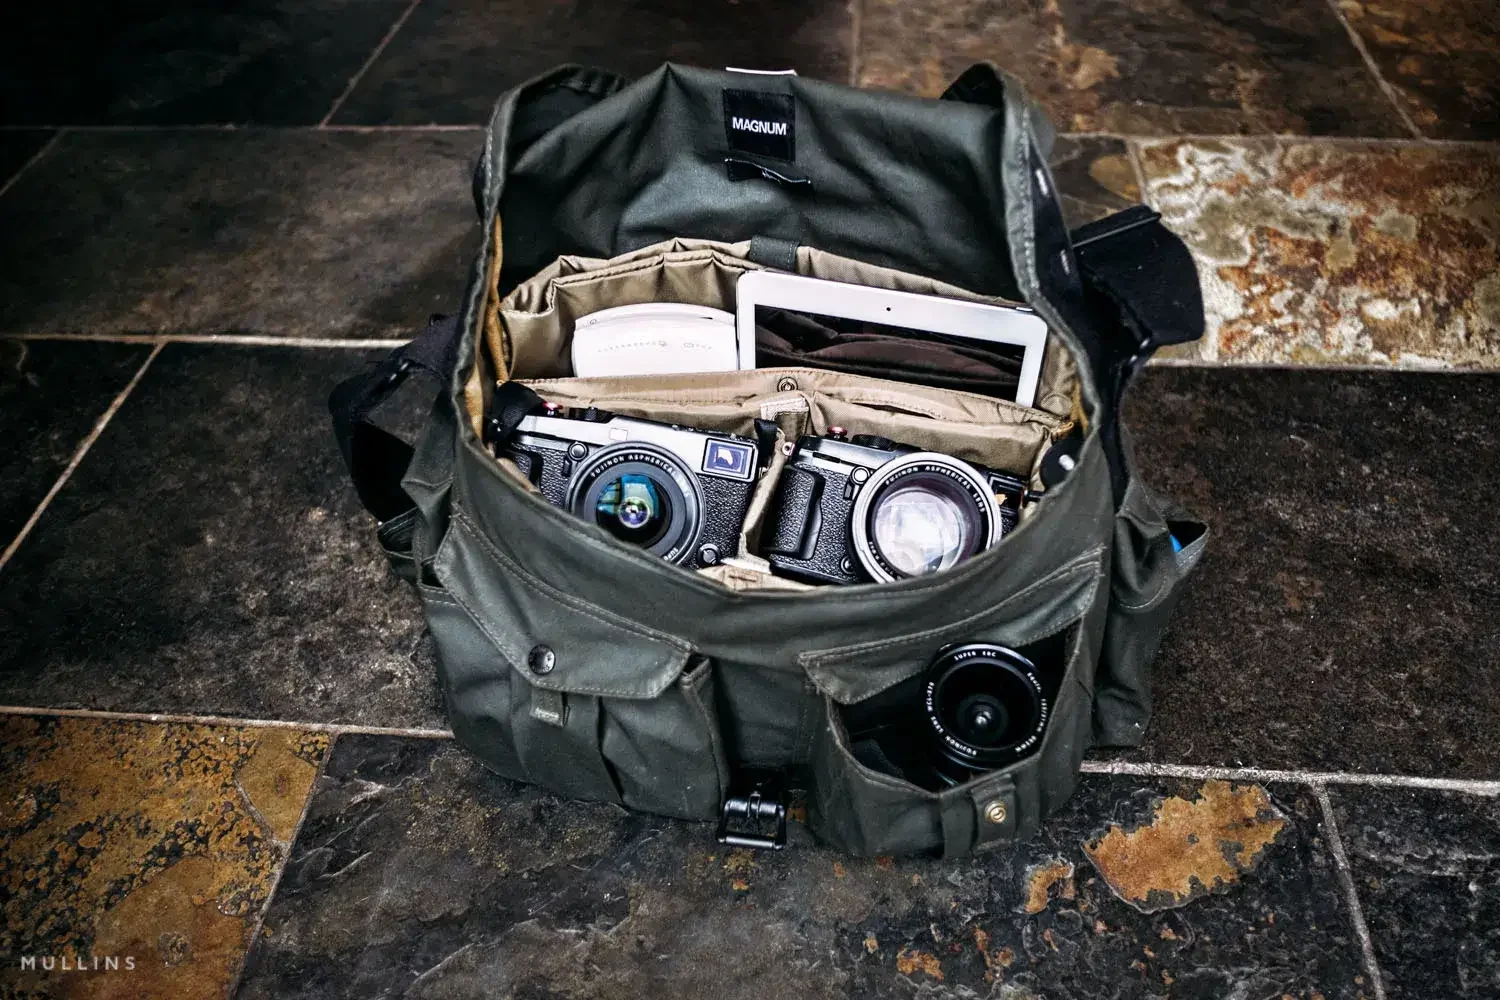
2) The working kit: two bodies, three lenses
I like to think in triangles. For people work the classic triangle is 28-50-85 (full-frame terms). On Fujifilm APS-C, that’s roughly 18 mm, 33/35 mm, 56 mm. Two bodies, three primes, everything covered without fuss.
Prime-led kit (light, fast, quiet)
Bodies: One rangefinder-style for discretion, one SLR-style for balance with heavier lenses.
Lenses:
18 mm f/1.4 or 18 f/2 for tight spaces and storytelling frames
33 mm f/1.4 or 35 f/2 as the everyday lens
56 mm f/1.2 for portraits, ceremonies, and small compressions
Why it works: The look is consistent, and the bag is not a heavy burden. You can shoot a full wedding day without longing for a physio. On the street, I often carry only the 18 or 35 and leave everything else at home.
Zoom-friendly kit (weather, speed, events)
Lenses: 16-55 f/2.8 and 50-140 f/2.8
Add: A small 23 f/2 or 27 f/2.8 pancake for when you need to be invisible
Why it works: You lose a little stealth and gain a lot of speed. For rain, press-style events, and days when you can’t swap lenses, these two zooms are honest tools. I still carry one small prime because the mood in a room changes when you put away the big glass.
Balance for a 10-hour day
Use a grip on whichever body holds your longer lens.
Keep IBIS in mind when pairing lenses to bodies. Slower shutter confidence on one body is a real fatigue saver.
Run separate straps so each camera lives in a consistent place.
A simple lens map if you’re coming from full frame
Your 35/1.4 or 35/1.8 becomes 23/1.4 or 23/2 on APS-C.
Your 85/1.8 becomes 56/1.2 or 56/1.4.
Your 28 becomes 18.
If you loved 50, try 33/1.4.
3) Colour and workflow: JPEGs you can trust, RAWs when you need them
One of the strongest mirrorless arguments is that the EVF display shows you pretty much what you'll get. That invites a smarter use of in-camera JPEGs without giving up the safety of RAW.
The JPEG plan you could use
Film simulations with intent:
ProNeg Std when skin tone accuracy matters under mixed light
Classic Chrome for a documentary palette with gentle contrast
Acros for clean mono that doesn’t crumble on odd lighting
White balance discipline: I often set Kelvin with a tiny bias rather than letting Auto hop around a venue. Consistency beats micro-tweaks.
Highlight control: I protect dresses, white shirts, and foreheads. I nudge highlight tone down in camera so my JPEGs come out with usable headroom.
When I still reach for RAW
Violent mixed light where I plan to split tone later
Commercial colour where brand accuracy is non-negotiable
Personal reinterpretations where I know I’ll move tones around for a specific feel
A hybrid delivery that saves time
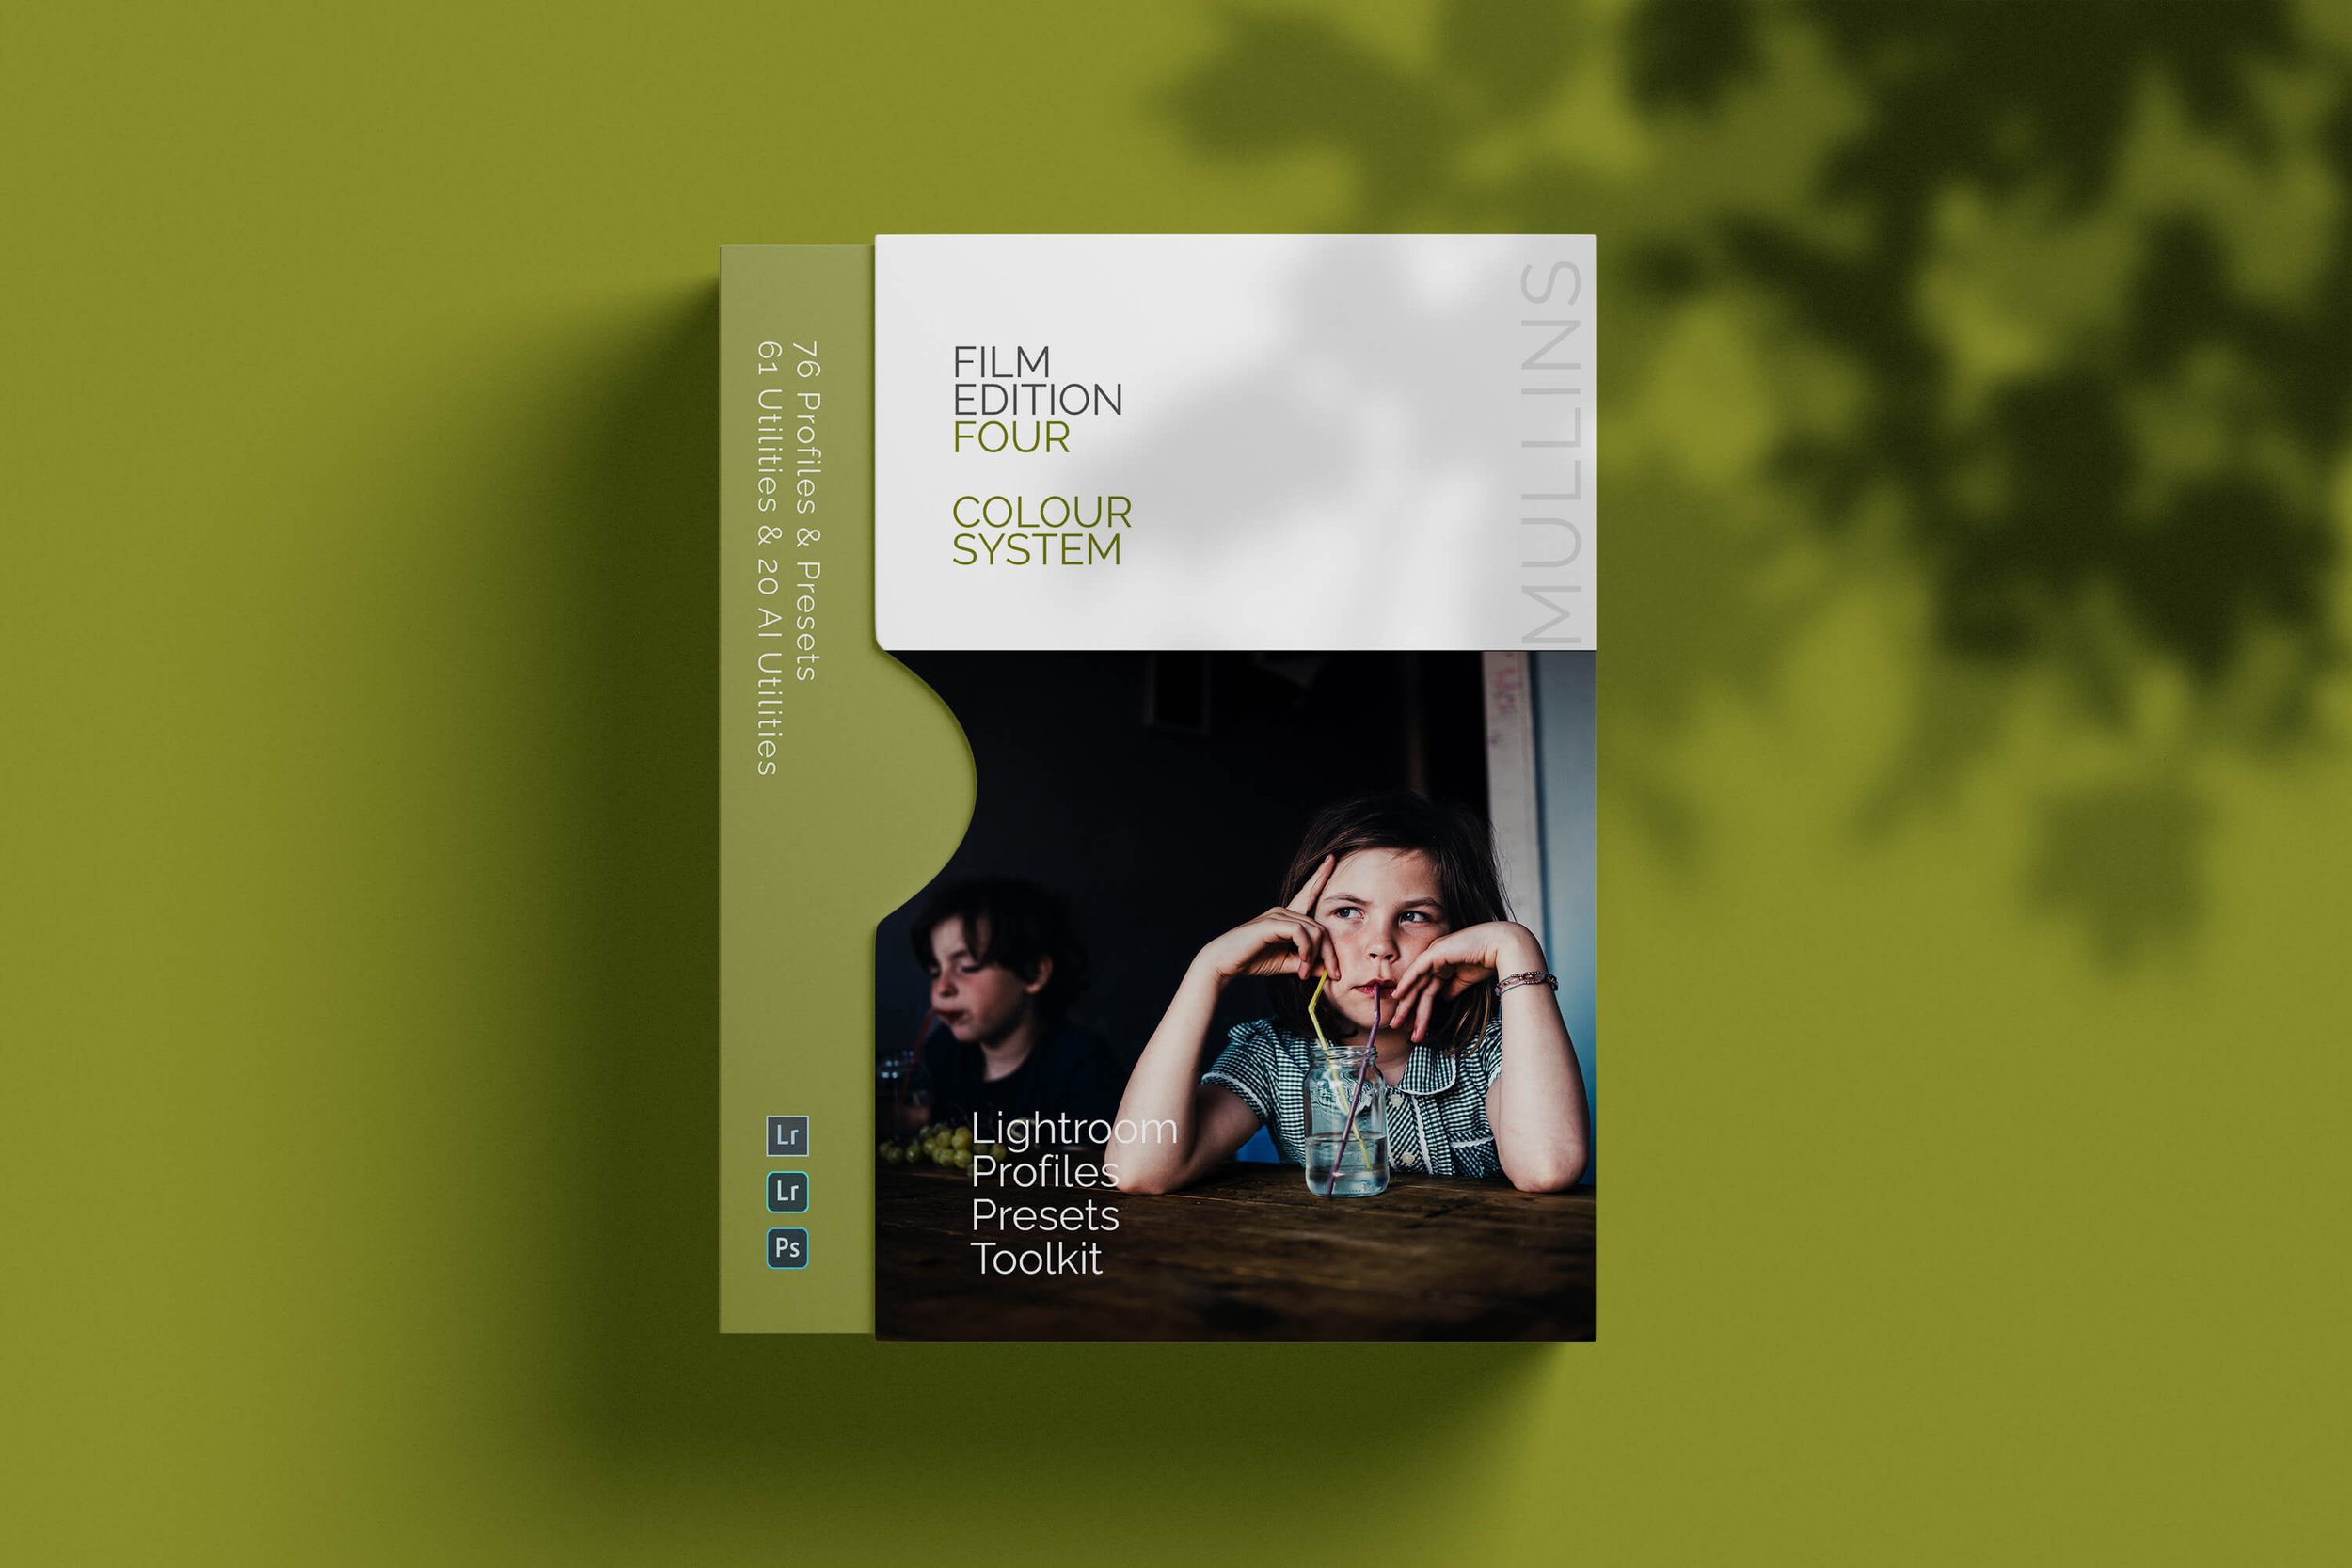
Shoot RAW+JPEG. Cull with JPEGs for speed and clarity of intent. When you hit a frame that needs proper work, jump to its RAW. By editing less, you finish quicker and still have room to rescue the difficult shots. If you want my colour and mono looks in Lightroom, my preset sets are built for well-exposed documentary files with shape in the light.
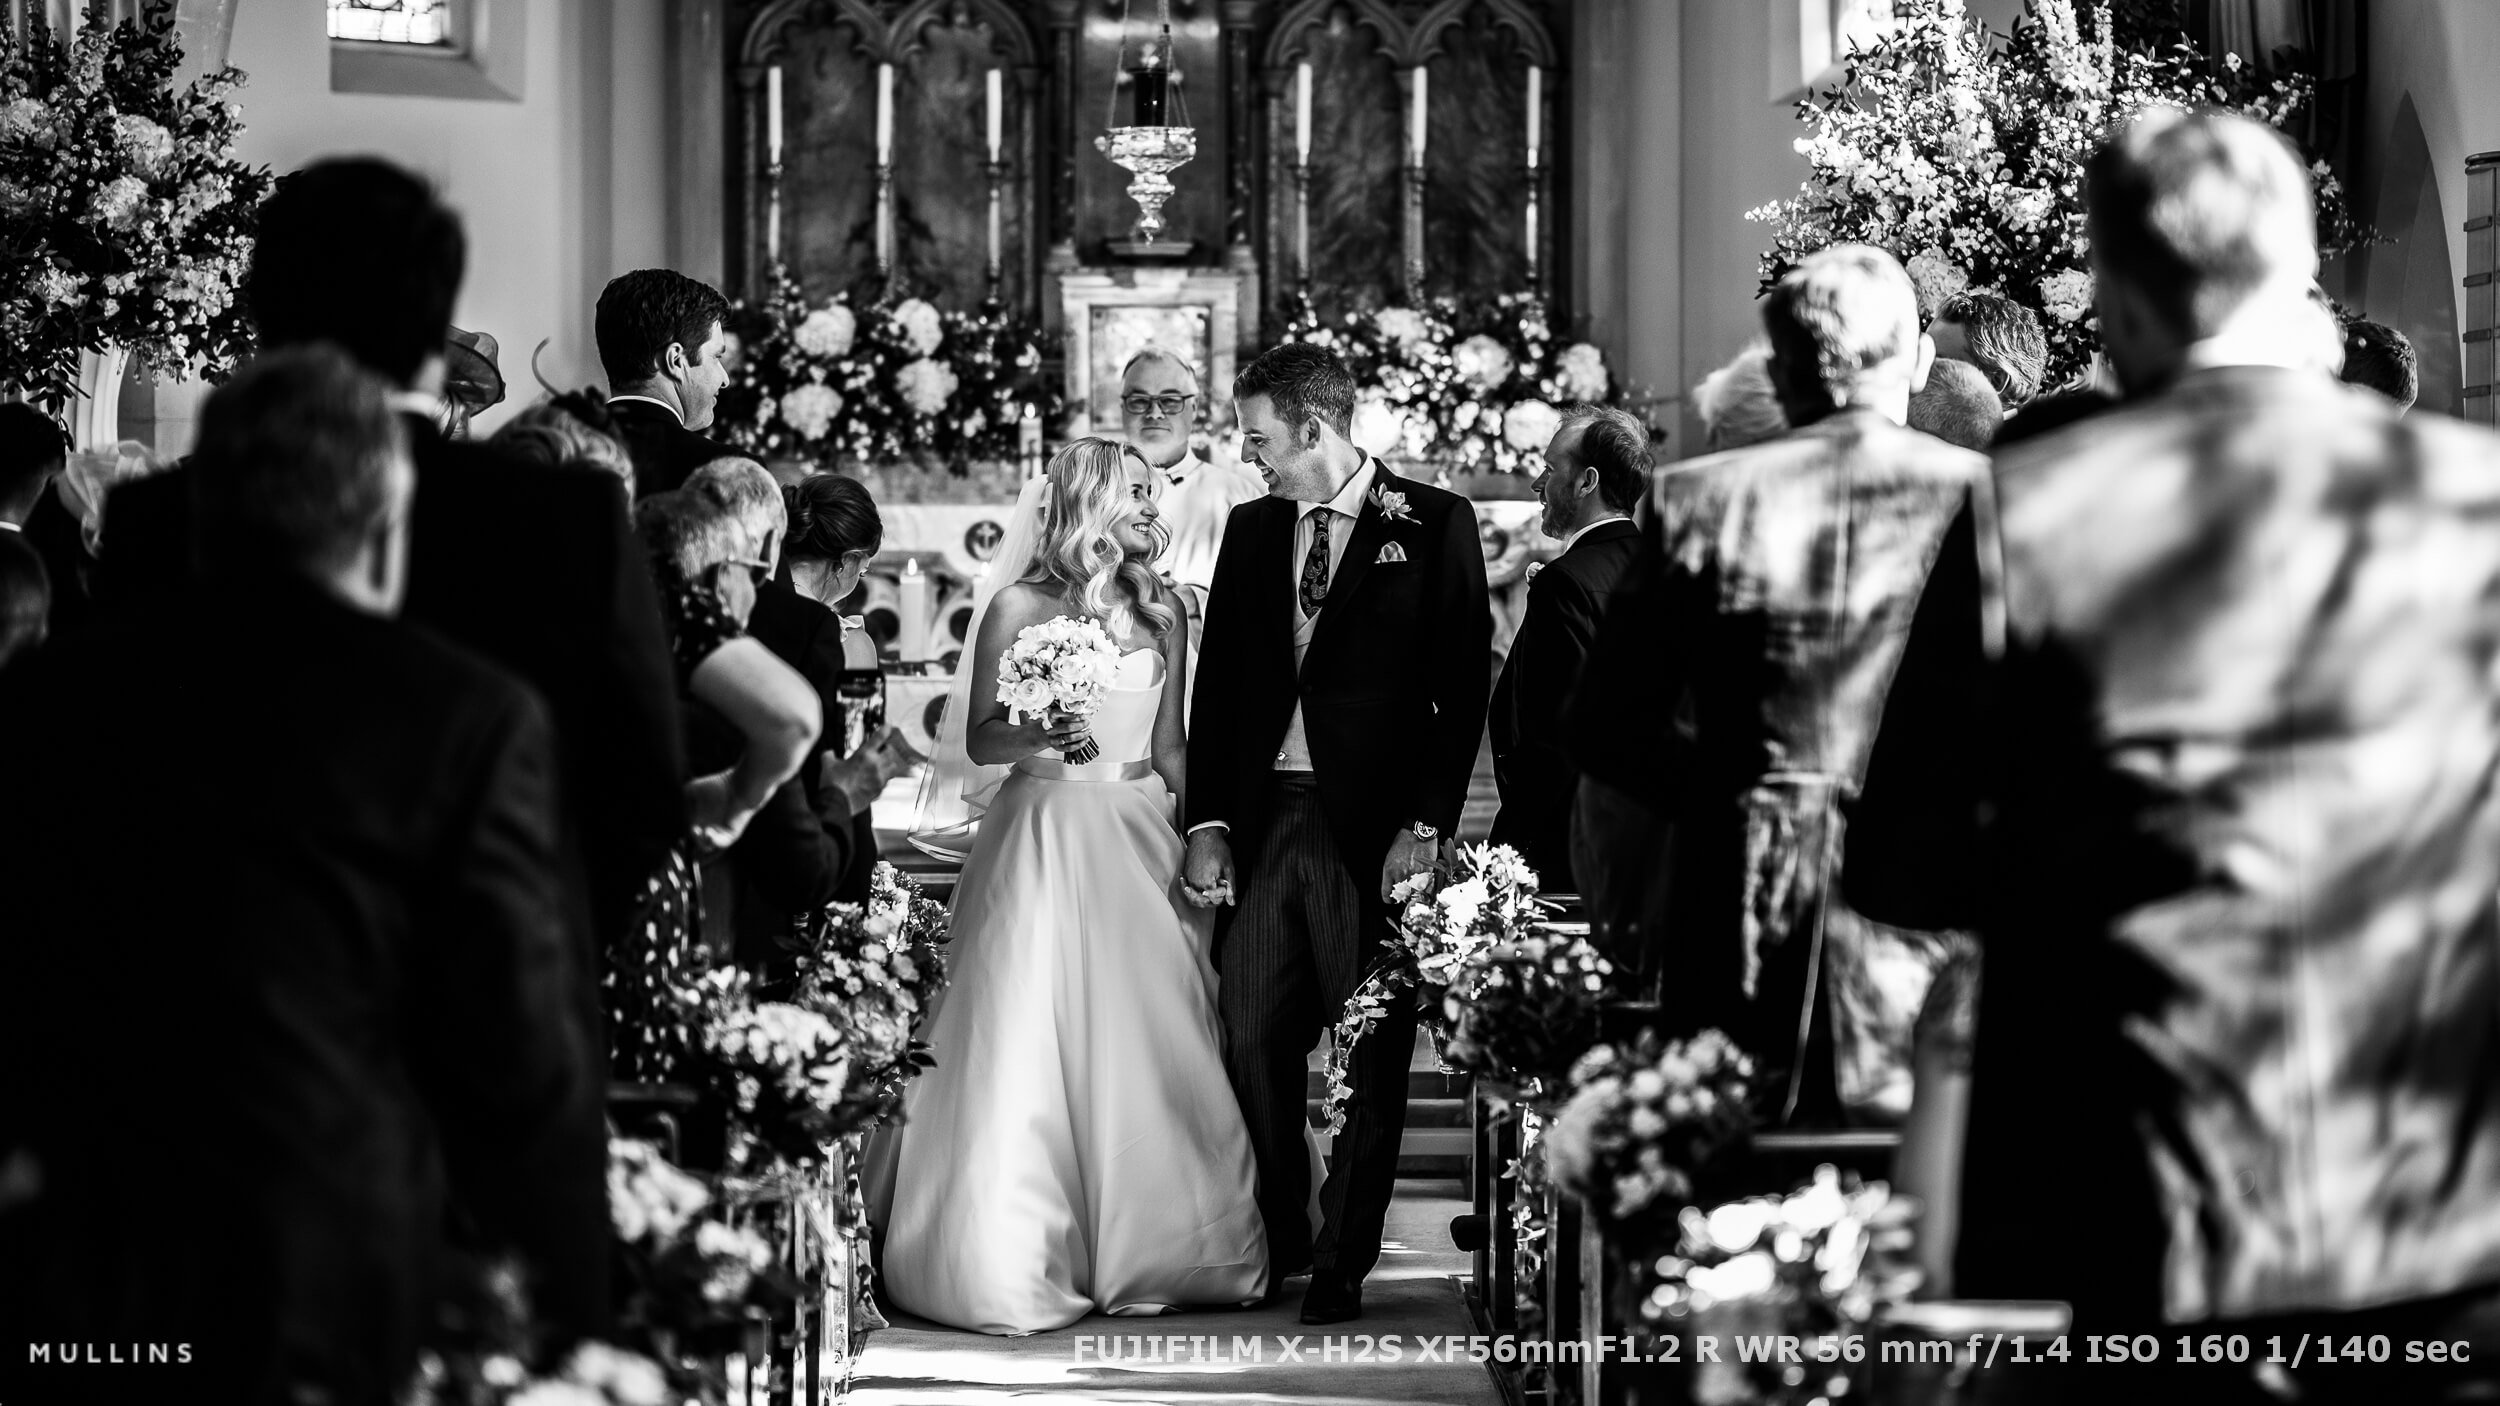
4) Ergonomics, EVF, silence, and staying unobtrusive
The quiet of mirrorless isn’t a novelty. It changes behaviour. Guests lean in closer during vows. Kids forget you. Registrars stop glaring at you. That matters.
The EVF as a decision tool
Set a neutral preview. I avoid heavy contrast in the EVF because I want to judge light, not a stylised picture.
Use exposure preview to avoid chimping. You can stay engaged with what people are doing rather than peeking at the back screen after every frame.
Map magnify or focus check to a button to confirm critical details during formals or rings.
IBIS and real shutter choices
IBIS gives me a free stop or two for speeches and prep. It doesn’t freeze kids on a trampoline, but it lets me stay at cleaner ISOs.
Electronic shutter: Silent and glorious in ceremonies. Watch for banding under certain LEDs and rolling shutter on fast motion.
Mechanical shutter: My default on dance floors or any scene with pulsing light.
Set a minimum shutter speed in auto modes so the camera doesn’t drag to 1/20 at the wrong time. I usually set it to 1/125.
Rangefinder-style vs SLR-style
Rangefinder-style: Face is offset, subject feels less confronted at close range, especially on the street or during prep.
SLR-style: Deeper grip, better balance with long lenses, more comfortable if you spend hours on a 70-200 equivalent.
I like one of each. It keeps options open while maintaining familiar controls.
5) Business practicalities that save a job
This is the dull list that keeps jobs safe. Ignore it at your peril.
Batteries: Bring three per body. Mirrorless endurance has improved, and USB-C top-ups are a gift between venues.
Dual card slots: Always. I use RAW+JPEG to both or RAW to slot 1, JPEG to slot 2. It is cheap insurance.
Weather sealing: Bodies and lenses that are happy in light rain. Add a towel, a handful of dry cloths, and small clear bags for real downpours.
Flash, TTL, and HSS: Make sure your triggers talk properly to your system. Test HSS outdoors for backlit portraits and use simple, repeatable settings indoors for speeches.
Service in the UK: Know turnaround times for sensor cleans and repairs, and keep a matching second body so your muscle memory doesn’t change if one goes in.
Legacy glass: Adapters are fun for personal projects. For paid work, I prefer native AF. Consistency and hit rate win.
A practical transition plan
I don’t recommend burning bridges straight away. Keep your DSLR kit for a short while and phase in mirrorless with intent.
Month 1: learning and light jobs
Use mirrorless for street and family sessions.
Shoot RAW+JPEG, deliver a mix, and study where JPEGs already look done.
Build muscle memory for dials, AF modes, and the joystick override.
Month 2: hybrid weddings
Carry both systems, but assign clear roles. For example, consider mirrorless for prep, ceremony, and candid reception, and DSLR for couple portraits if that’s your comfort zone.
Review keeper rates for key scenes. Tweak AF sensitivity and zone size.
Month 3: commit with backups
If the numbers and your gut both say yes, switch your main bodies to mirrorless, keep one DSLR as a backup for a year, and sell it when you’re confident.
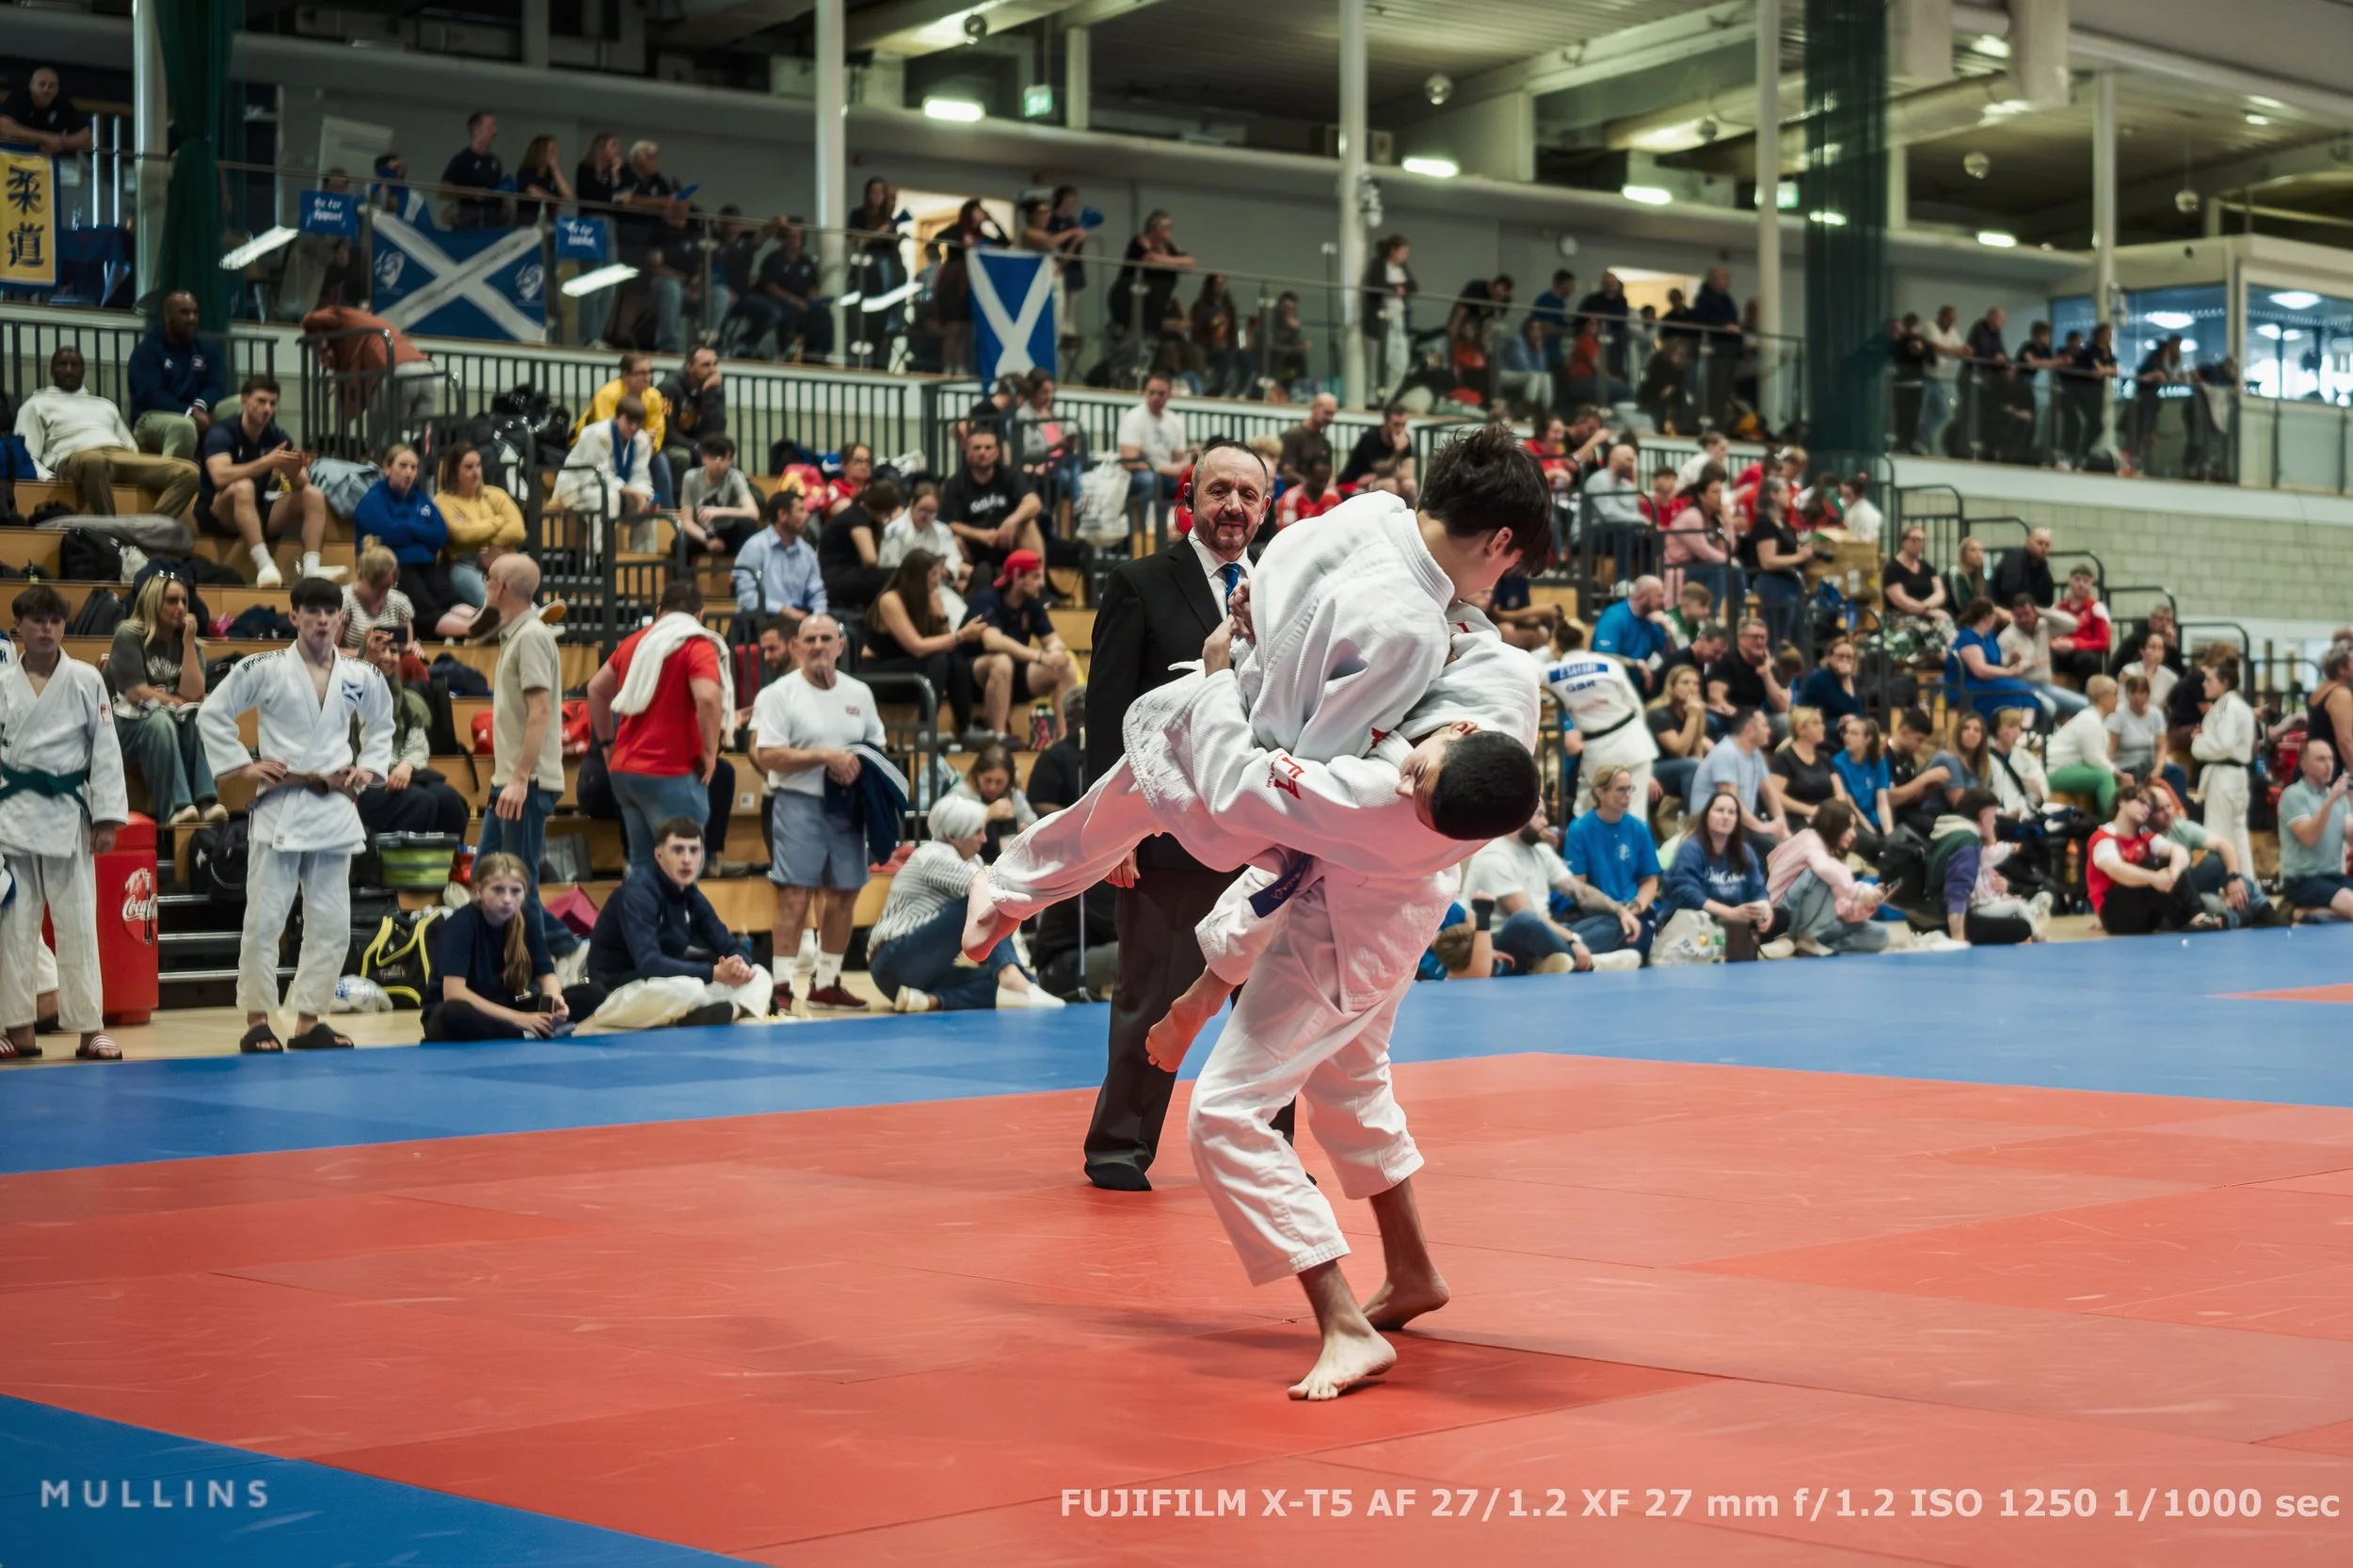
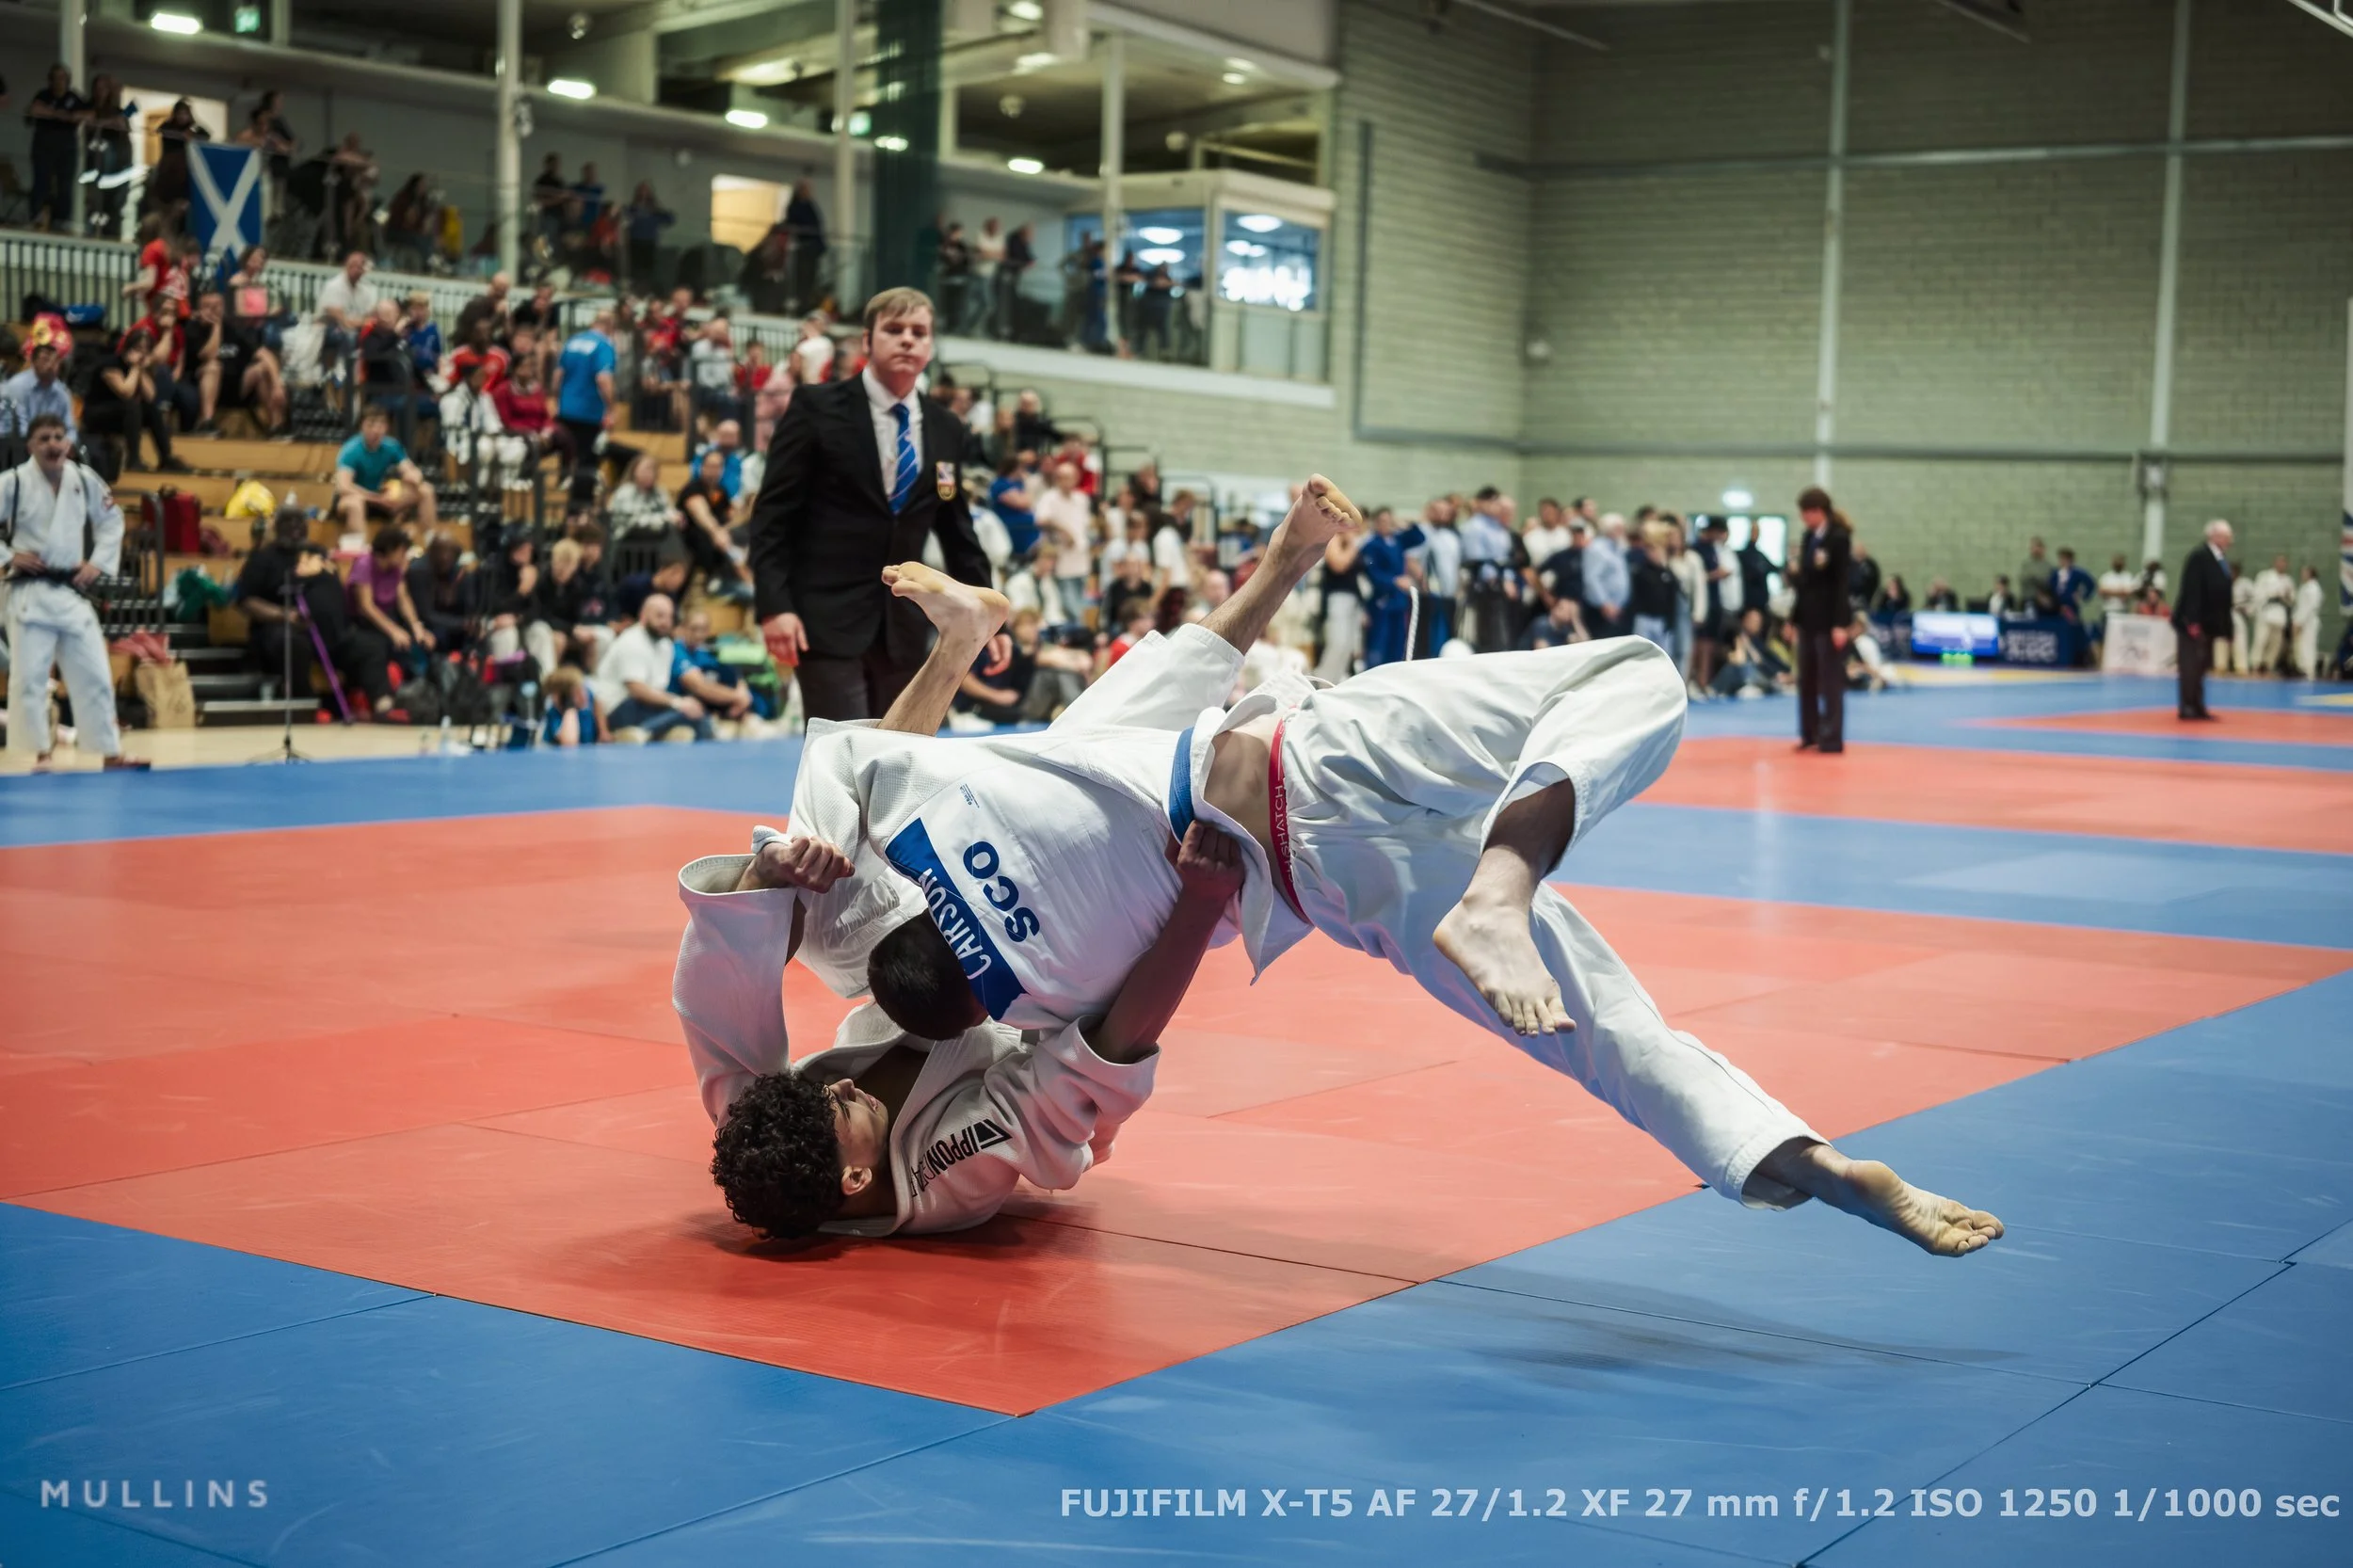
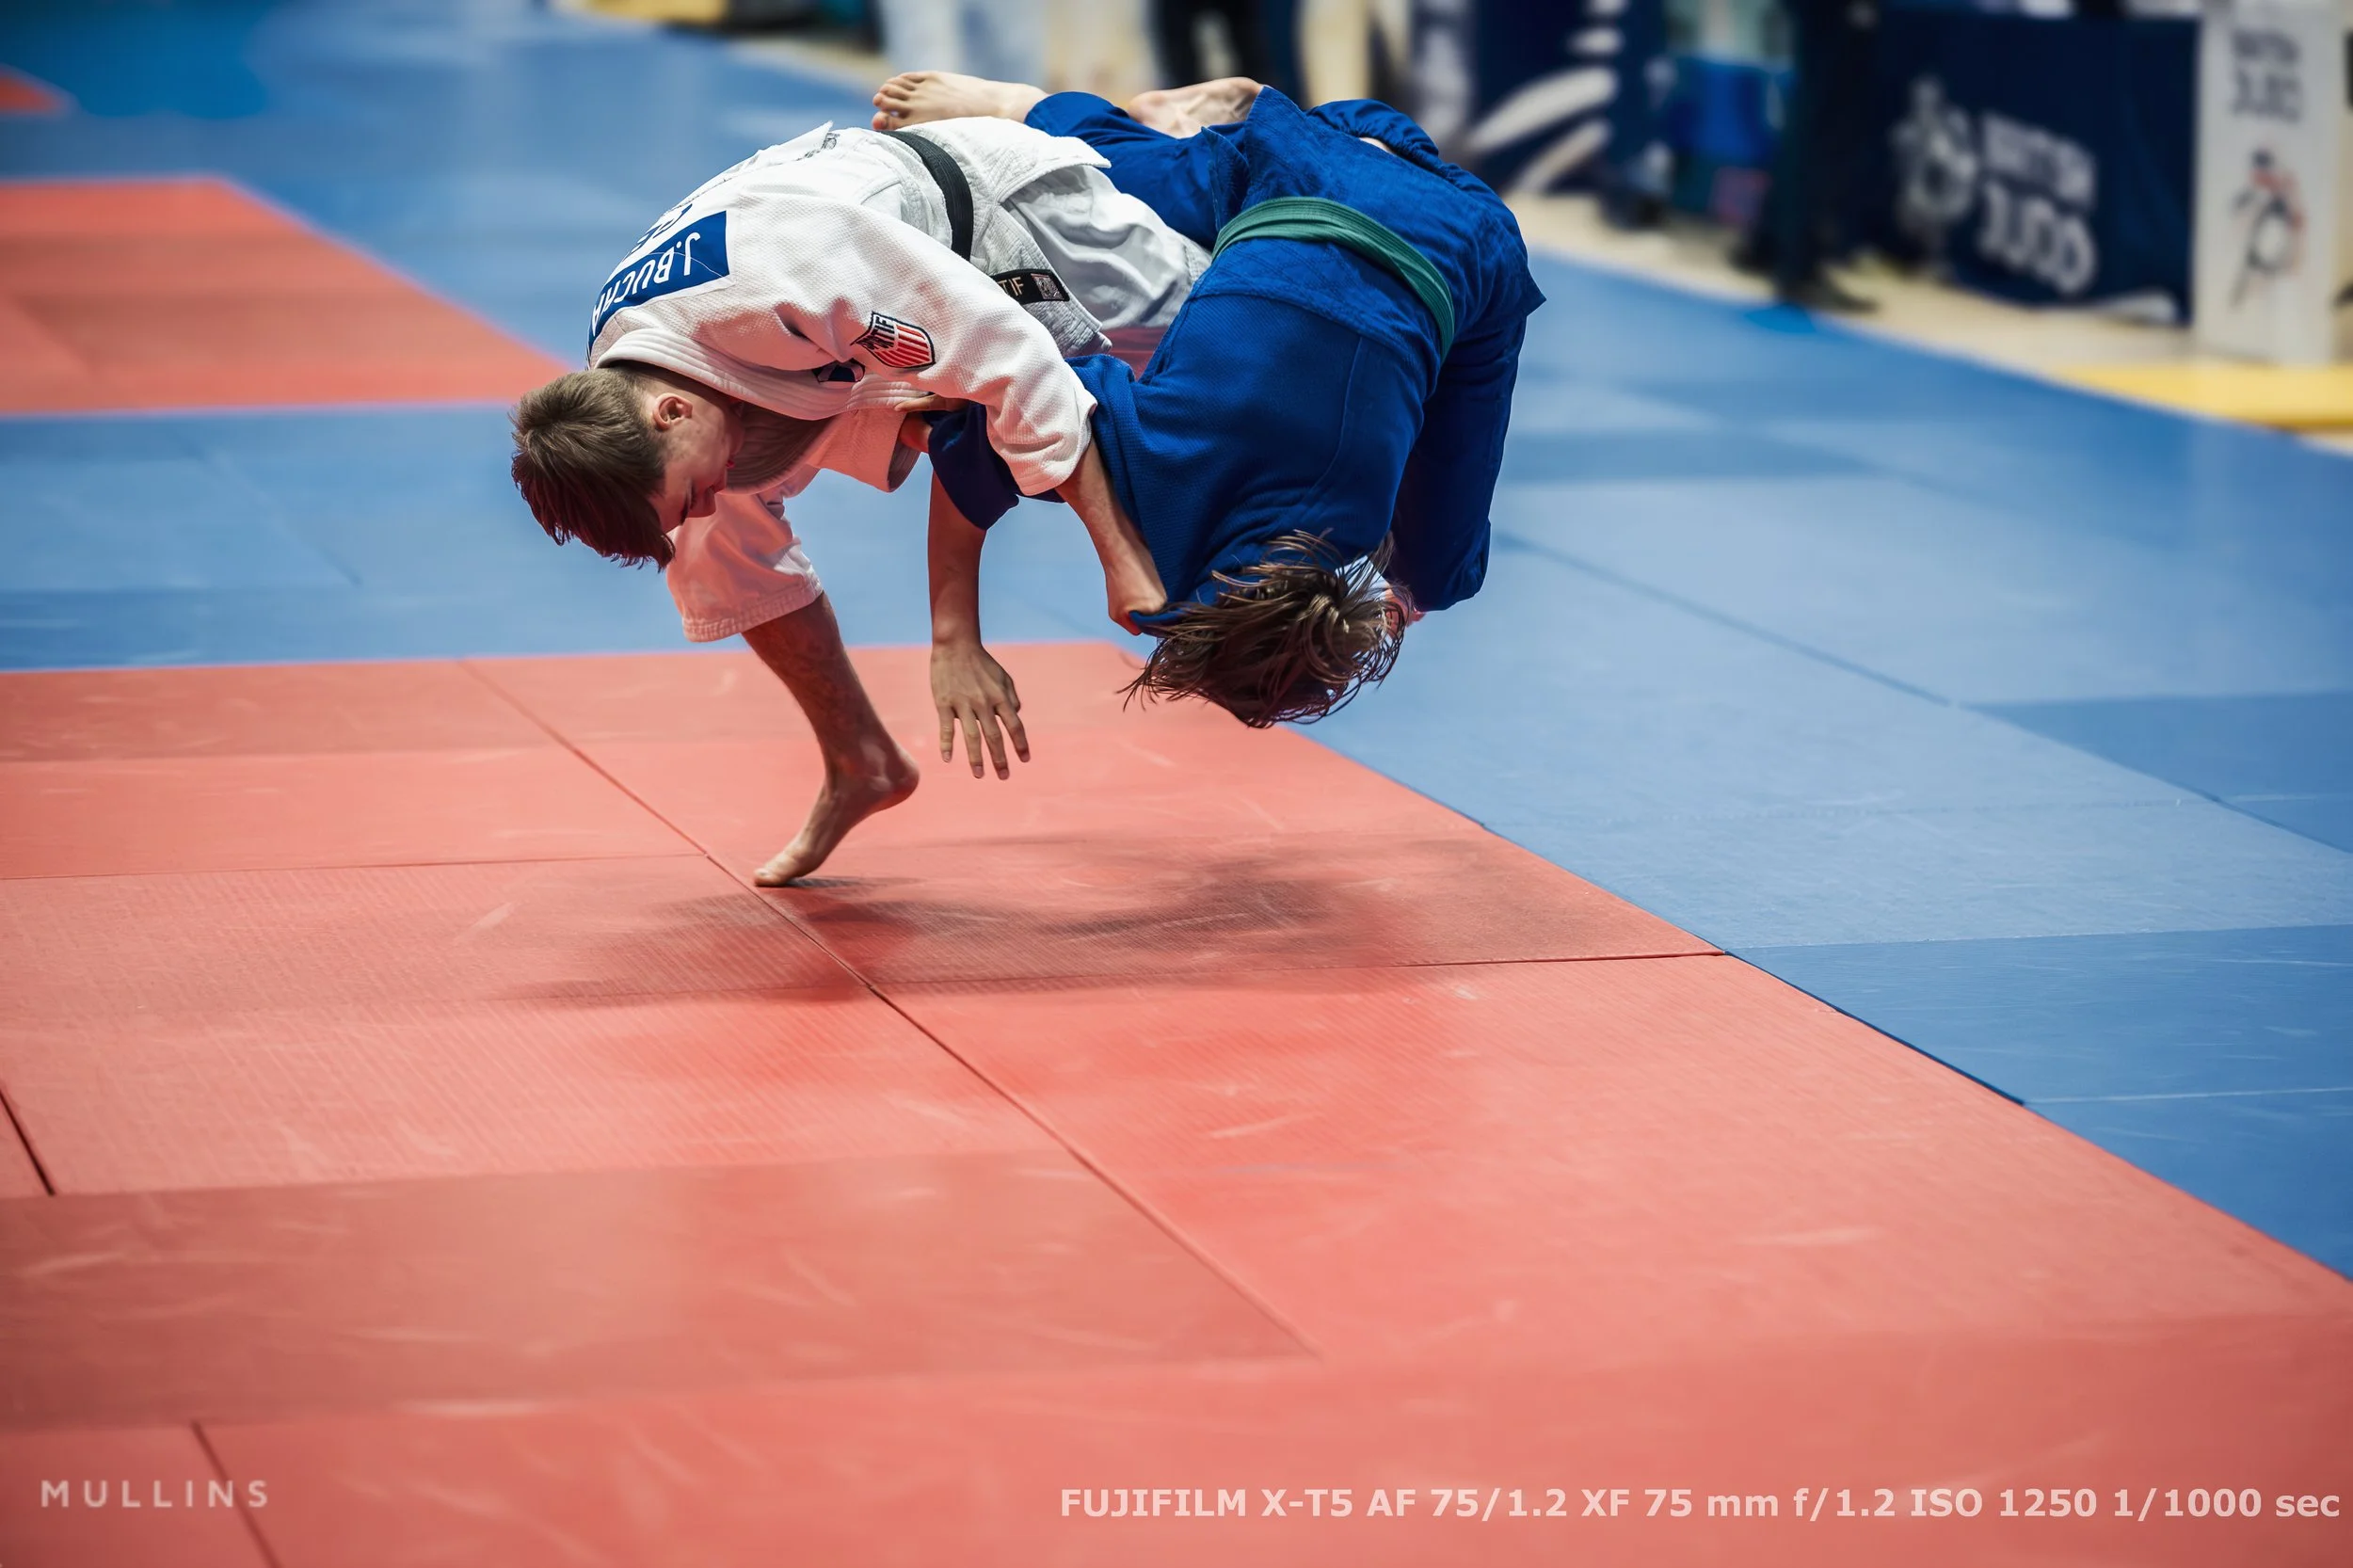
Real-world scenarios and how I shoot them
1) Backlit confetti
Setup: AF-C, small Zone mid-frame, minimum shutter 1/1000 if possible, electronic or mechanical depending on the light.
Notes: Confetti tricks AF with bright flakes. The joystick nudge keeps the camera honest. I stand slightly to the side, pre-focus as they step out, and let the camera work.
2) Tiny registry office with mixed light
Setup: 18 or 23 prime, f/1.4 or f/2, IBIS on, mechanical shutter if there are fluorescent fixtures.
Notes: I actually set my cameras to black and white all the time. You may not want to do this, but it helps a lot when looking for light and shadow.
3) First dance with LEDs
Setup: 35 or 56, 1/200 or 1/250, mechanical shutter, AF-C with face/eye and a small zone.
Notes: I meter for the face under the brightest expected pulse, then let the darker beats go moody. I’m not chasing a perfect histogram. I’m chasing mood and a sharp face.
4) Street afternoon with one lens
Setup: 18 or 35, aperture around f/4 outdoors, auto ISO with a sensible ceiling, AF-C for moving people, AF-S for geometry.
Notes: I use the silent shutter to be a decent human. The point is to observe, not to startle.
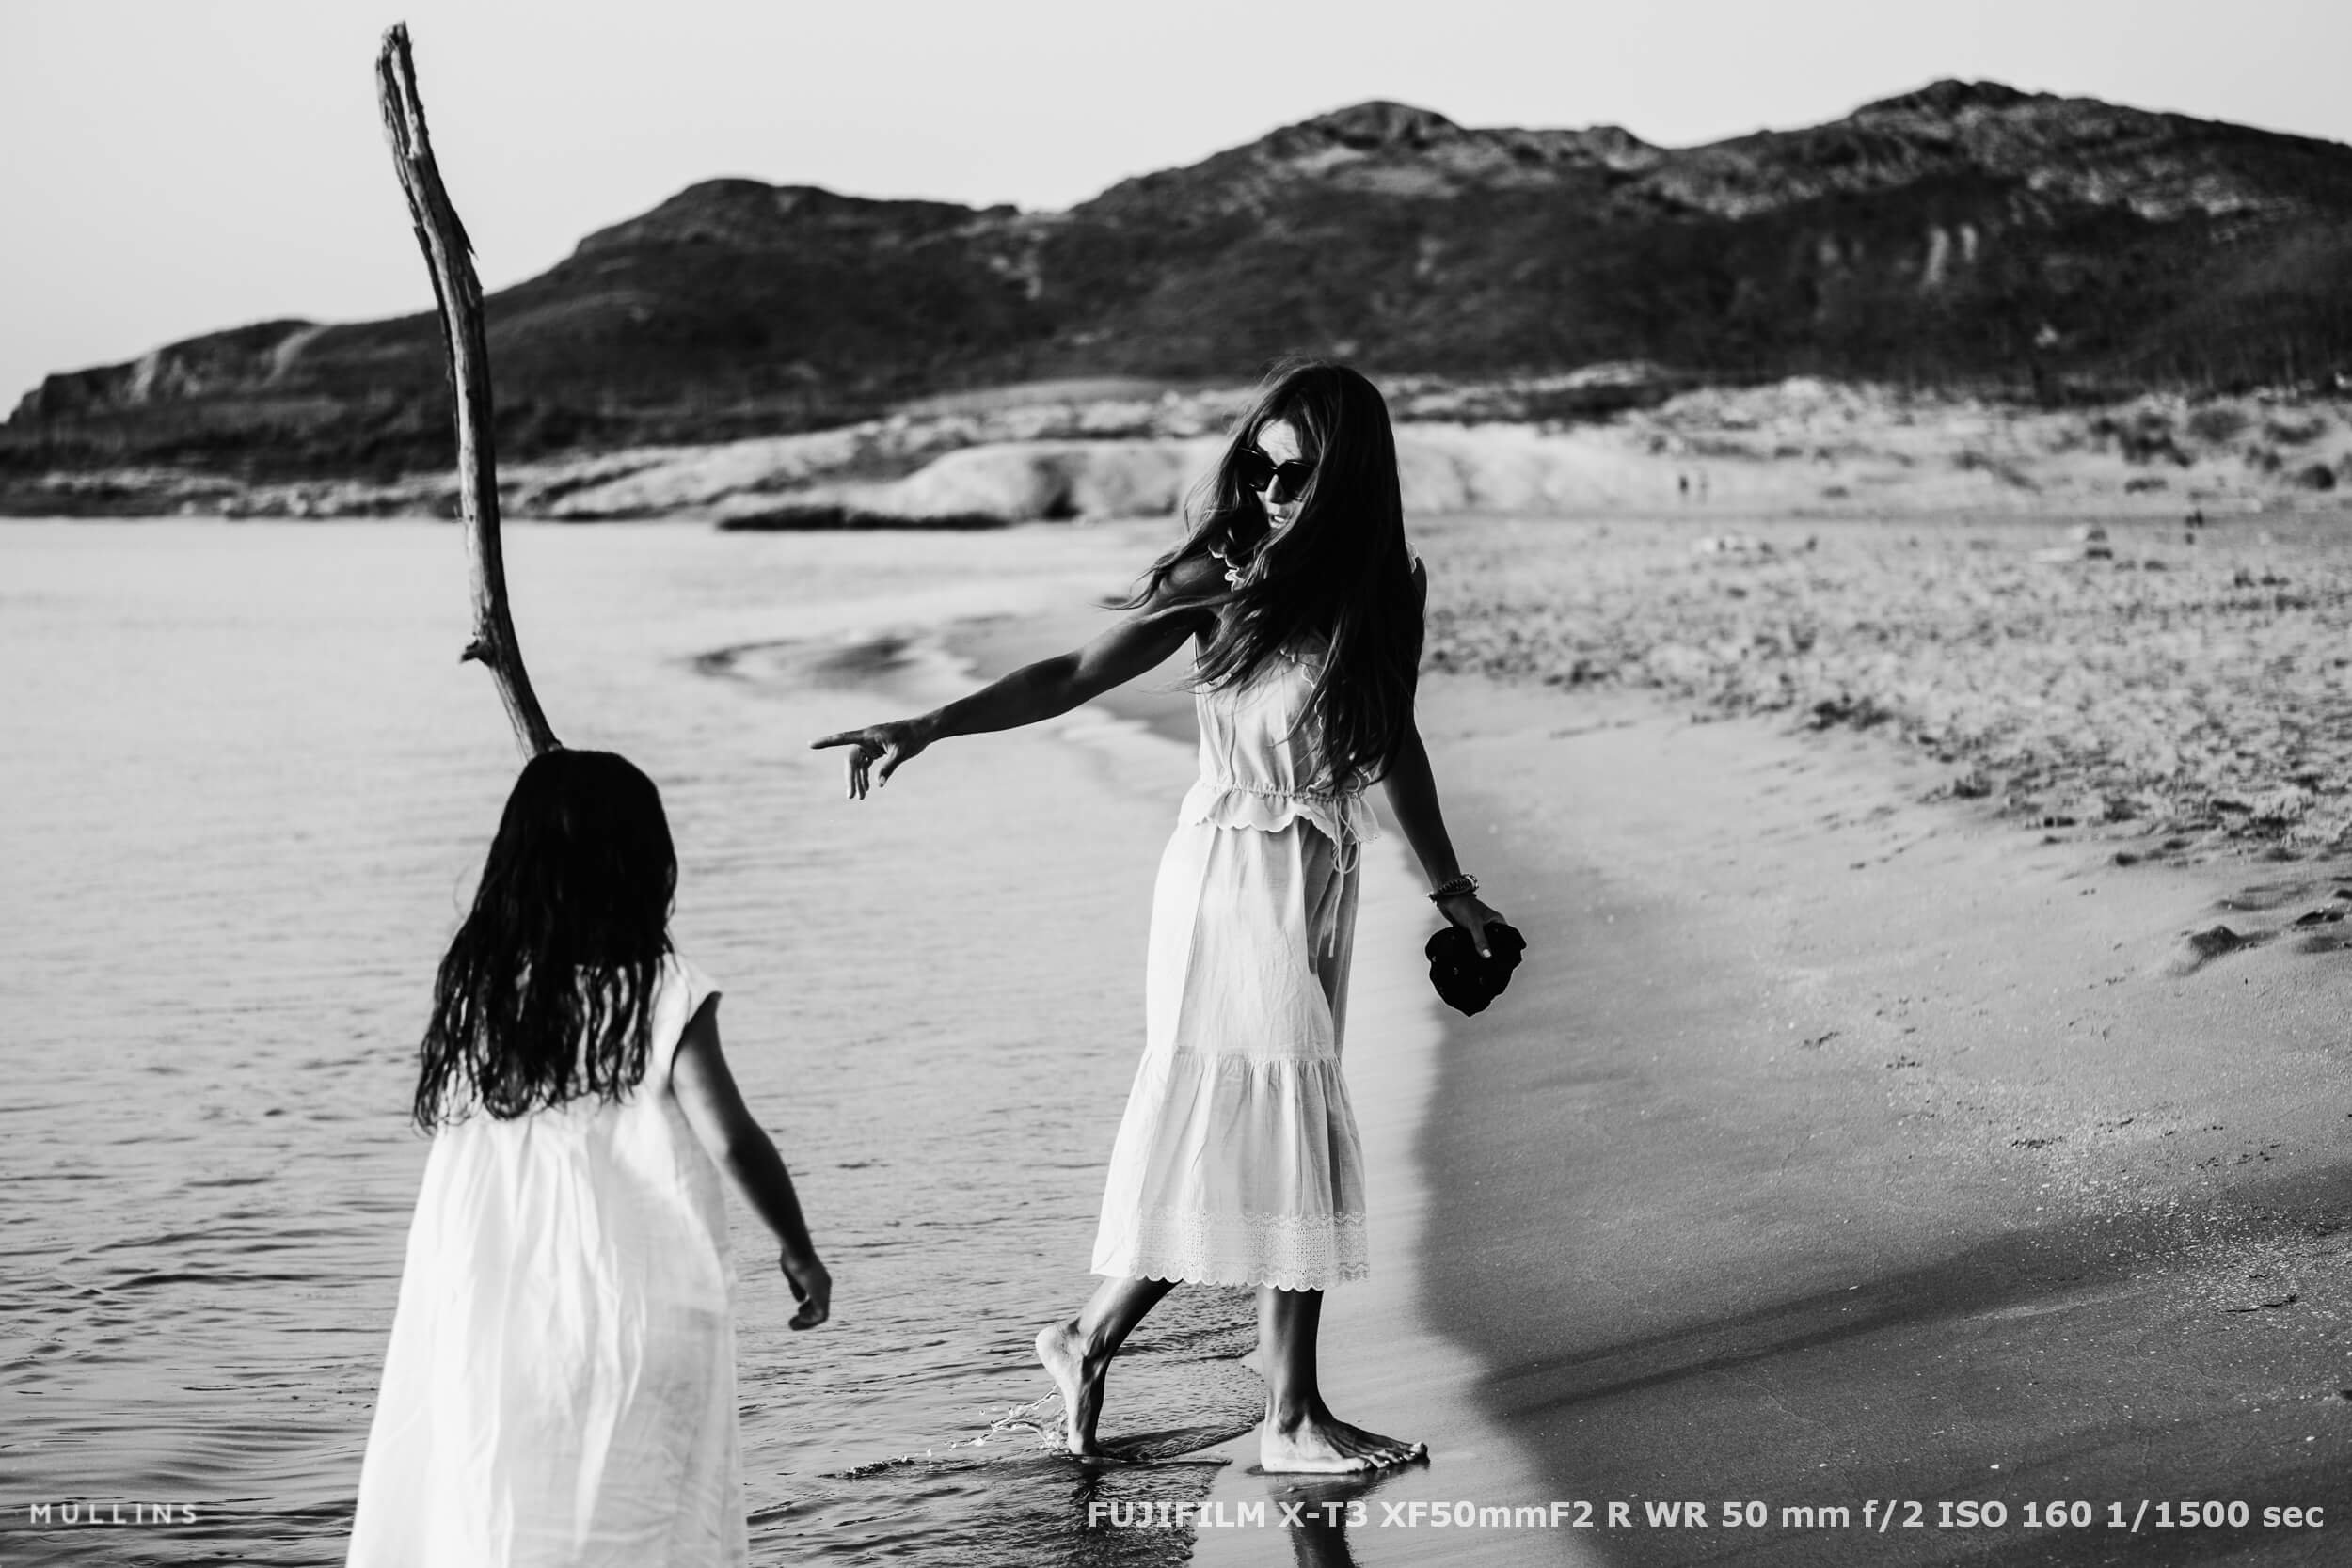
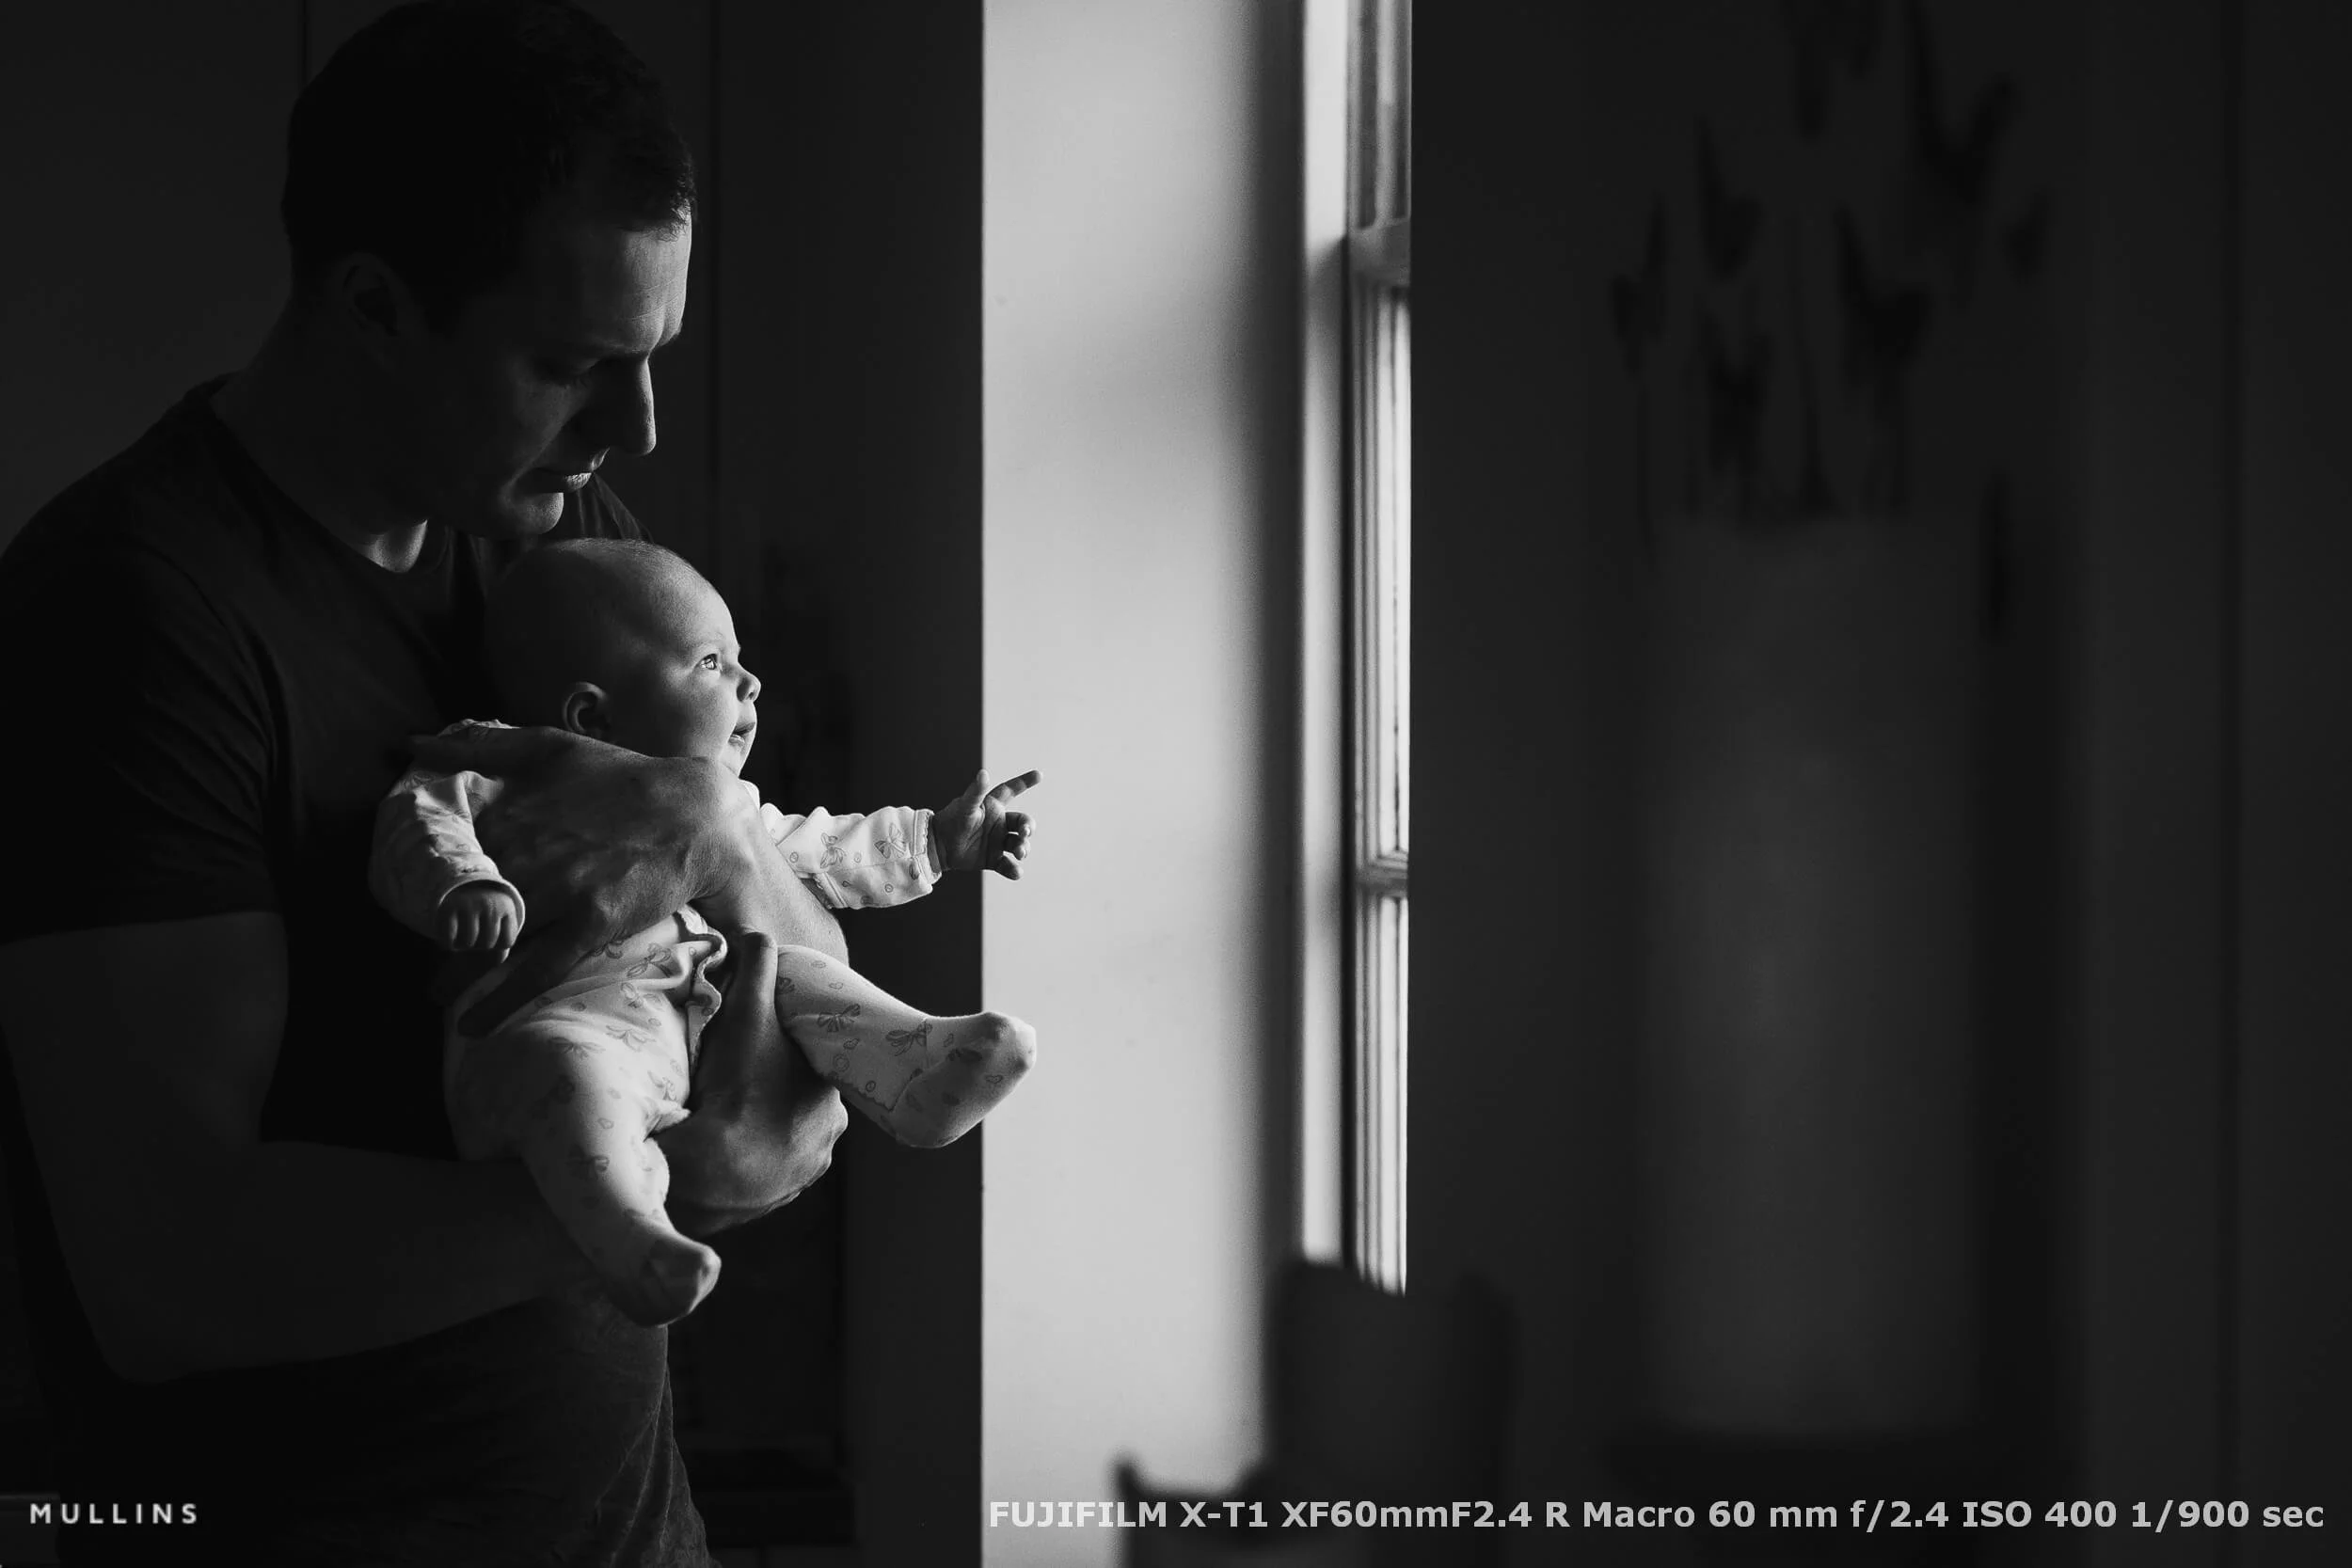
5) Family session at home
Setup: 23 or 35, IBIS on, a touch of Clarity off in camera for cleaner JPEGs, mechanical shutter.
Notes: Good family pictures are about permission. The small body helps. Nobody wants a paparazzi lens in their kitchen.
| Scene | AF/Area | Detect | Shutter | Aperture | ISO | Shutter type | Lens | Notes |
|---|---|---|---|---|---|---|---|---|
| Confetti exit (backlit) | AF-C, small zone (centre) | Face/Eye on; nudge if needed | 1/1000 | f/2 - 2.8 | Auto, cap 6400 | ES if no banding; else MS | 28/35 eq (18/23 APS-C) | Confetti can steal AF; keep zone centred. |
| Fast aisle walk | AF-C, small zone | Face/Eye on | 1/500 - 1/800 | f/2 - 2.8 | Auto, cap 6400 - 12800 | MS | 50 eq (33/35 APS-C) | Hold frame; let subject walk into zone. |
| First dance (LEDs) | AF-C, small zone | Face/Eye on | 1/200 - 1/250 | f/1.4 - 2.8 | Auto, cap 12800 | MS (avoid LED banding) | 85 or 50 eq (56/33 APS-C) | Meter for brightest pulse; embrace moody shadows. |
| Tiny registry office (mixed light) | AF-C small zone or AF-S point | Face/Eye on | 1/160 - 1/250 | f/1.4 - 2 | Auto, cap 6400 - 12800 | MS (fluoro-safe) | 35 or 50 eq (23/33 APS-C) | Tame highlights in-camera; prioritise skin. |
| Street crossing (daylight) | AF-C, small zone | Face/Eye on | 1/500 - 1/1000 | f/4 | Auto, low cap | ES (silent) | 28 or 35 eq | Pick one face and hold; watch signage drift. |
| Family at home (natural light) | AF-C for action; AF-S for stills | Face/Eye on | 1/250 - 1/500 | f/2 - 2.8 | Auto, cap 6400 | MS | 35 eq (23 APS-C) | Small body, quiet shutter; permission beats gear. |
Data management that won’t bite you later
Ingest: Copy both cards to two separate drives on import.
Cull: Start with JPEGs to make creative decisions quickly. Flag anything that needs RAW editing.
Backups: One on-site, one off-site. Don’t get clever. Do it the same way every time.
Archiving: Keep a simple, boring structure by year, date, and client name. Your future self will say thank you.
Suggested starter kits to try
Small primes kit
Two compact bodies
18 mm for storytelling, 33/35 mm for most of the day, 56 mm for portraits and ceremonies
Event Zoom kit
One or two sturdy bodies
16-55 f/2.8, 50-140 f/2.8
A tiny 23 f/2 in the pocket for quiet rooms
On a tight budget
One mid-range body with IBIS if possible
35 f/2 and 50-230 or 55-200 to start, then add the 18 or 56 later
On a generous budget
Two flagship bodies
18/1.4, 33/1.4, 56/1.2 plus 50-140 for wet days
Rent either kit for one full weekend. Shoot a family session and a long walk. If it feels like it’s getting out of your way, you’re close.
Settings I would start with on day one
AF mode: AF-C, small Zone as default
Drive: Single shot for most of the day, short bursts only when needed
Shutter: Mechanical by default, electronic for ceremonies that truly need silence
ISO: Auto with a ceiling you are happy to deliver
JPEG profile: ProNeg Std or Classic Chrome, highlights tamed a notch, shadows neutral
Custom buttons: One for subject detect toggle, one for metering mode, and one for focus check
Common pitfalls and easy fixes
Banding in ceremony rooms: Switch to mechanical and raise the shutter speed.
Laggy EVF feeling: Reduce EVF processing by avoiding heavy preview contrast and turning off anything that adds delay.
Over-trusting IBIS: It steadies your hands, not your subjects. Keep shutter sensitive for human movement.
Letting JPEGs drift: If you commit to JPEGs, commit to consistent WB and a repeatable in-camera profile.


The cameras and lenses I actually use
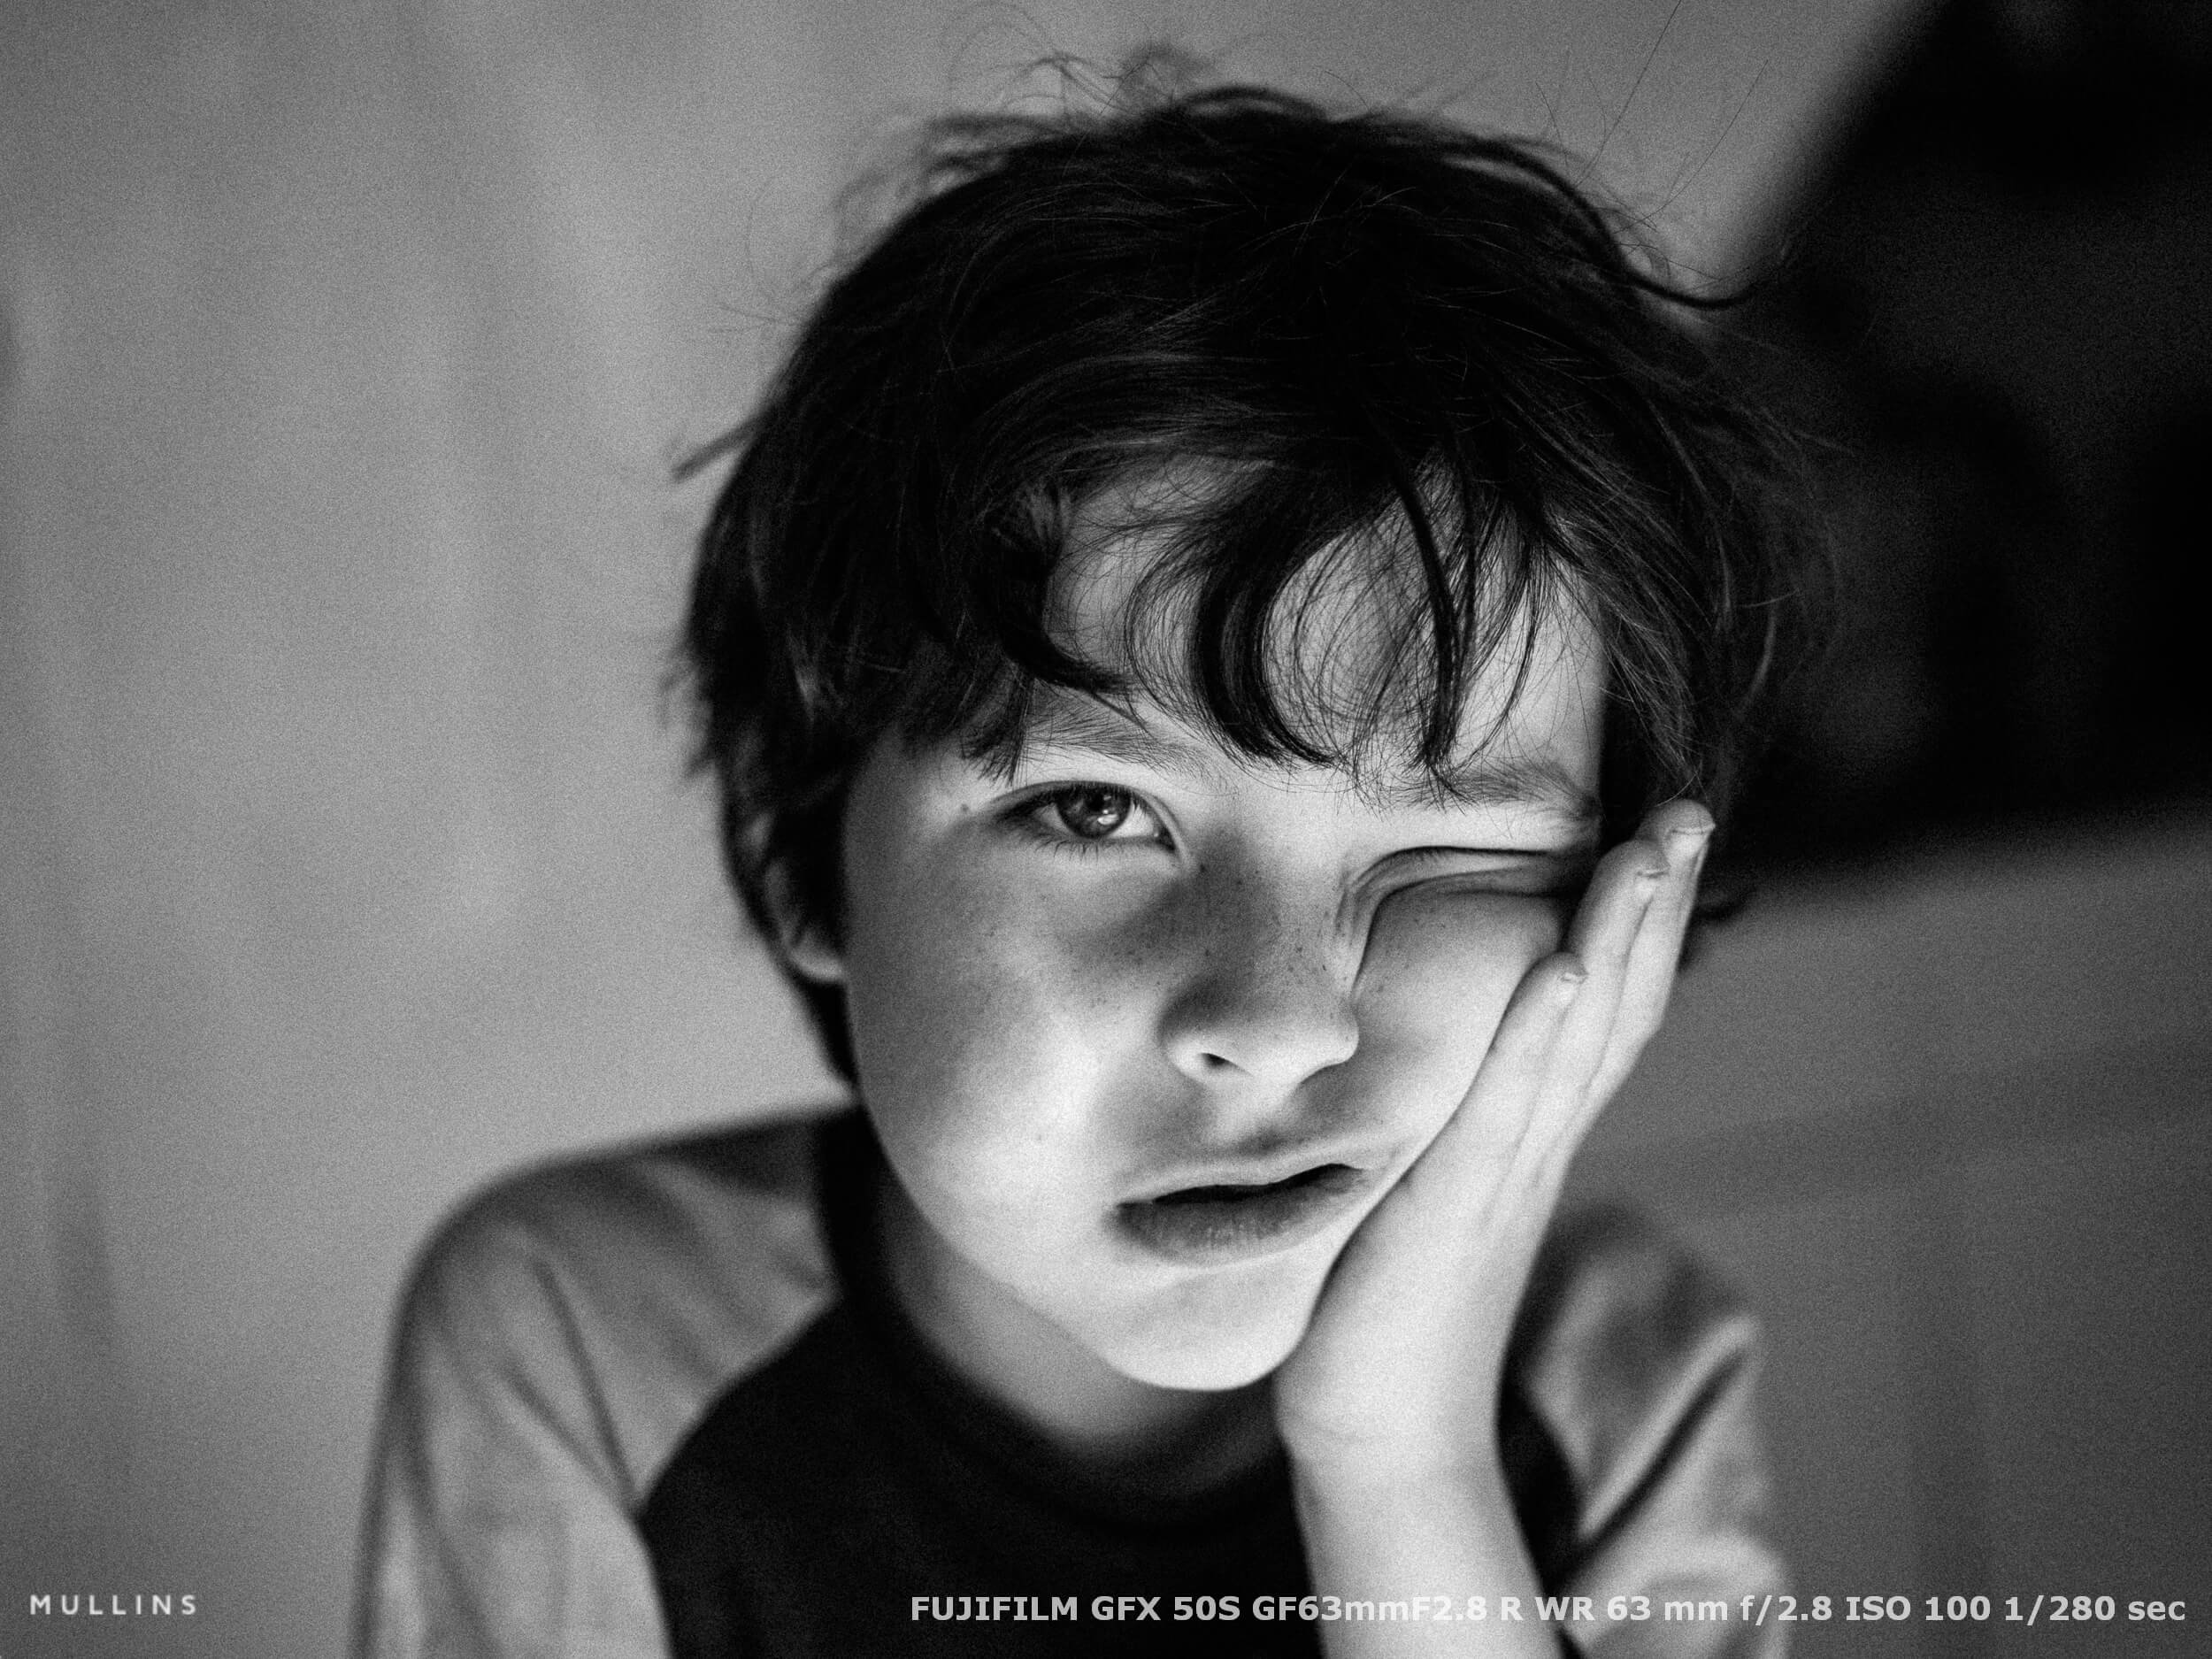
I get asked a lot what I carry when I’m working in a documentary way. The short answer is simple. A small camera that lets me be present, a workhorse body that never argues, and a large-sensor option for when the job needs a different feel. Paired with two fast primes that cover most of what I see.
Fujifilm X100VI
This is my everyday camera and my first choice for street and family sessions where presence matters more than presence with a capital P. The fixed 23mm lens (35mm equivalent) keeps me honest, the leaf shutter is quiet, and the in-camera colour is lovely for quick turnarounds. If I had to pick one camera to live with, it would probably be this.
Read more: Fujifilm X100VI review
Fujifilm X-T5
This is the dependable body that does the heavy lifting. Good battery life, familiar dials, and it balances well with primes. If I’m covering a full day or I know I’ll want a different focal length from the X100VI, the X-T5 comes out. It’s also my go-to when I want IBIS to steady a slower shutter for speeches or indoor prep.
Read more: Fujifilm X-T4 review
Fujifilm GFX100S
When I want a different rendering and a bigger file without slowing down too much, I reach for the GFX100S. It’s brilliant for quiet portraits and considered moments where tonality and detail matter. I still work in the same candid way, just with a little more room in the file for prints and crops.
Read more: Fujifilm GFX100S review
XF 18mm f/1.4
My storytelling lens. On APS-C, it gives me a 28mm view, which is wide enough to show context but not so wide that people distort at the edges. It’s fast, sharp, and small enough that I don’t feel like I’m pointing a telescope at anyone. Great in tight spaces, kitchens, registrars’ rooms, and on the street.
Read more: Fujifilm XF 18mm f/1.4 review
XF 56mm f/1.2
My people lens. It gives me that classic short-tele look for portraits, ceremonies, and little compressions when I want to simplify a scene. Wide open, it’s beautiful, and paired with the X-T5, it balances well for a whole afternoon.
Read more: Fujifilm XF 56mm f/1.2 review
How I pair them in real life
Street or family afternoon: X100VI only, or X100VI plus X-T5 with the 18mm f/1.4 if I need wider storytelling frames.
Events and longer jobs: X-T5 with 18mm f/1.4 on one shoulder, X100VI or X-T5 with 56mm f/1.2 on the other.
Quiet portraits or print-led work: GFX100S for a short set of portraits, then back to the smaller bodies for the candid moments.
FAQs
-
No. Shoot both. Use JPEGs to move fast and RAW to rescue or reinterpret. It isn’t either-or.
-
Yes. They are small, fast to focus, and pleasing. If you want more light or a specific rendering, the f/1.4 and f/1.2 options are lovely. I mix them.
-
Clients hire you for results and presence. Quiet, confident working is what they remember, not how large your camera was.
-
Make sure your chosen brand is well supported by third-party triggers and speedlights. Test TTL indoors and HSS outdoors before paying work.
-
Three per body is comfortable for a wedding day. More if you shoot video or long receptions. USB-C charging is a useful safety net.
-
Yes, for fun or personal projects. For paid work I prefer native AF for consistency and speed.
Next steps
If you’d like to road-test mirrorless with guidance in the real world, join one of my Street Photography Workshops. Bring questions. I’ll bring the answers.
Use the five questions in this article as your checklist when you rent or borrow a kit.
If it nails confetti, behaves on a dance floor, and lets you be invisible during vows, you’re very close. From there, it’s just repetition, small refinements, and choosing the lenses that match how you see.
How I edited these images (Lightroom + my presets)
If you like the look in this post, you can get the exact tools I used on my Lightroom Presets page. They’re built for well-exposed, people-first work—weddings, street, and family sessions where the moment matters more than effect. If you fancy trying them, there’s a small thank-you: use code YT10 at checkout