
Using Adobe Super Resolution on GFX100 Images
This article is part of my Fujifilm Learning Hub.
A growing collection of real-world guides, camera setup tips, lens suggestions by use-case, practical assignments, and buying advice with examples.
Prefer to see everything I write—brand-agnostic pieces on documentary & street work, reviews, tips, and the business of photography? Browse F/16 Click.
According to the Adobe Blog, Super Resolution is now shipping in Camera Raw 13.2 and will be coming soon to Lightroom and Lightroom Classic.
They go further to say;
The term “Super Resolution” refers to the process of improving the quality of a photo by boosting its apparent resolution. Enlarging a photo often produces blurry details, but Super Resolution has an ace up its sleeve — an advanced machine learning model trained on millions of photos. Backed by this vast training set, Super Resolution can intelligently enlarge photos while maintaining clean edges and preserving important details.
And I have to say, I’m mightily impressed.
Firstly, this feature is different from the Enhance Detail setting you see in Lightroom currently. However, I fully expect the new Super Resolution to migrate from Camera RAW to Lightroom very soon.
In a nutshell, The Adobe Super Resolution tool will allow you to take a RAW file (though it will also work on a JPEG from within Camera RAW) and create a super-sized image. And it appears with little to no artefact deficiencies.
Here is an example image. The first image is a standard GFX100 Image, the second is the Super Resolution version. Links to the converted JPEGs are below.


Download the Super Enhanced & Original Image
You can see the original GFX100 Image (58MB) and the Super Enhanced Image (145MB) by downloading this zip file.
In terms of resolution, you’ll see that:
Original GFX 100 Image has a pixel size of 11,648 x 8.736 Pixels
Super Enhanced GFX 100 Image has a pixel size of: 23,296 x 17,472 Pixels
Which is approximately double the size.
How to use the Super Enhanced feature of Camera Raw:
Currently, the Super Enhance feature is ONLY available (as of March 2021) in Camera RAW. However, as I mentioned, I expect this to come to Lightroom soon. It’s a really easy process.
Open the RAW image in Camera Raw.
Right-click on the Image and choose Enhance.


You will see in the pop-up dialogue that it estimates 5 minutes for this file. However, the true time taken is between 10 and 30 seconds on my machine. However, I do have a fairly beefy PC, so assume that large RAW file Enhances will take a few minutes.
The file created will be a DNG, which I then imported into Lightroom and applied my own presets.
It really is quite remarkable.
Why would you use the Super Resolution Feature?
That’s a very good question, and I can’t imagine myself needing it too often. However, I can see a few uses of this feature:
Billboard Images
Forensic (assuming no artefacts) Photography
Medical Photography
Museum and Gallery archive projects
Enhancing older generation RAW files to be suitable for larger prints
It’s a really interesting technology but it certainly doesn’t mitigate the need to have a large sensor camera in my mind. It would be difficult to do this for every image, and ultimately, the standard size images would be fine in most cases.
Here are a few more examples of Fujifilm RAW files upsized using the new Adobe Super Resolution Feature:


New Lightroom Profile Based Presets for 2021
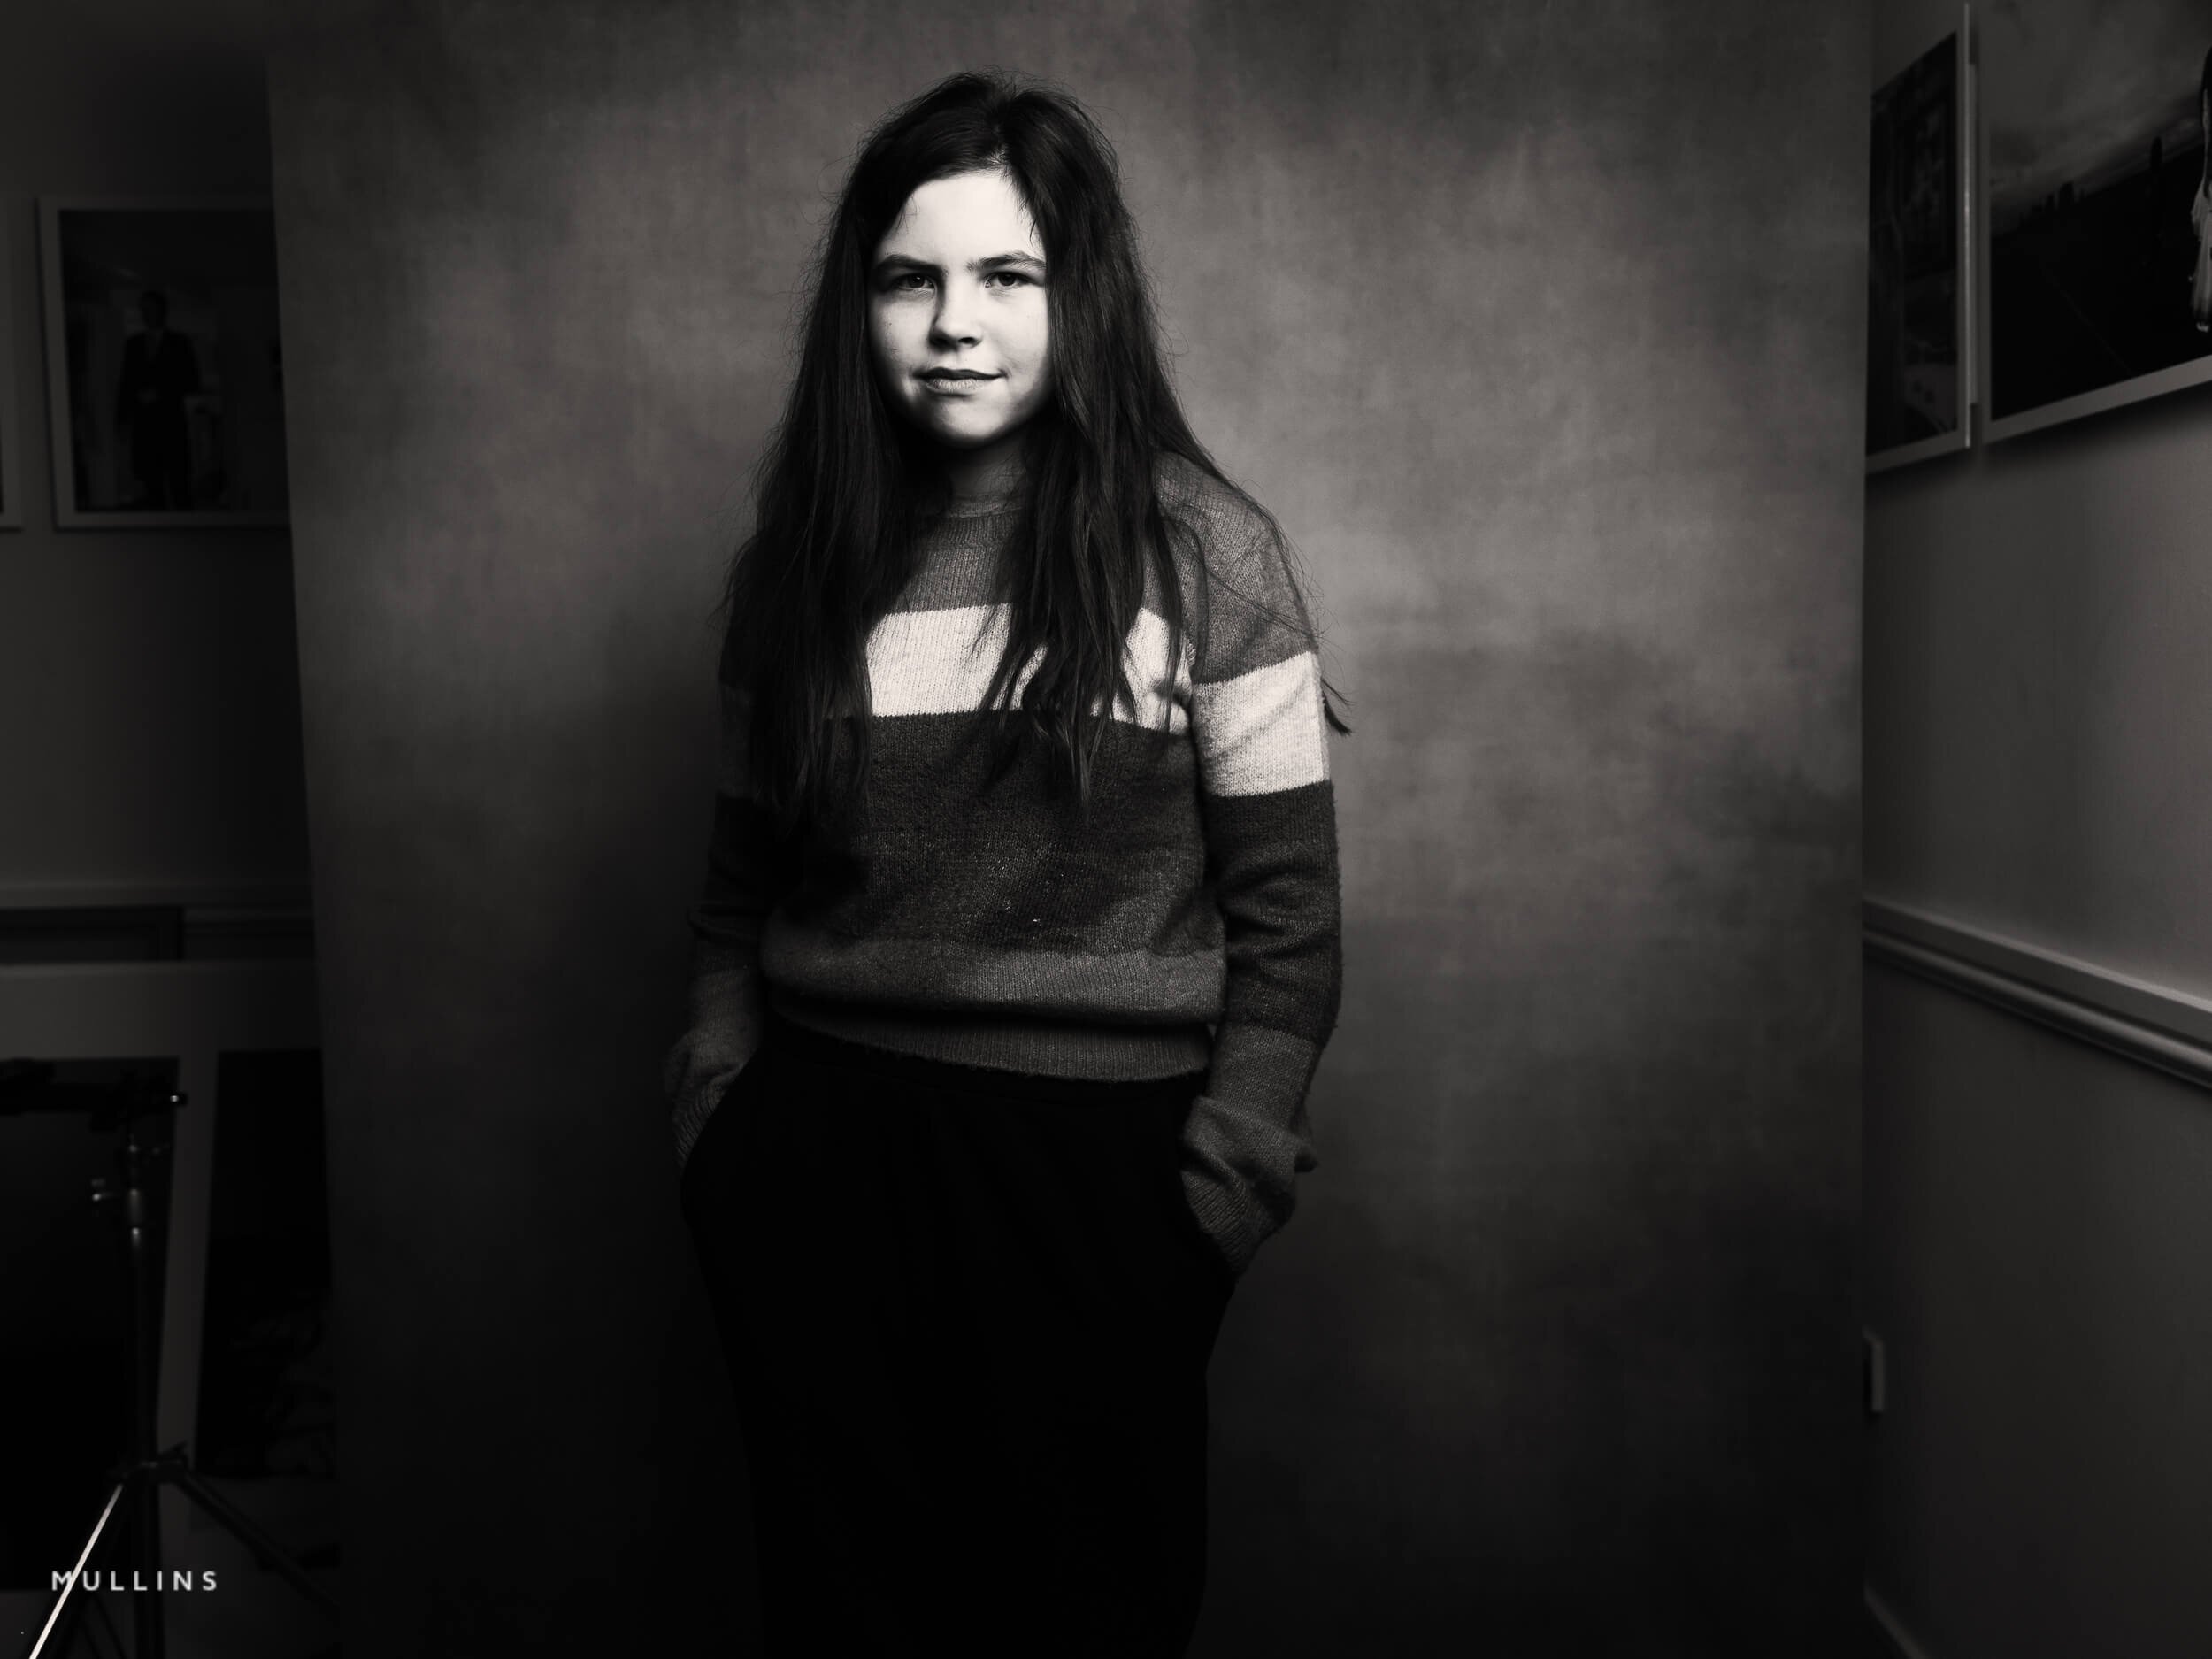
All the images in this article are processed with one click from my new 2021 Essential Film Lightroom Profile based Presets.
Take a look at the promo video below if you are interested.

A complete film-inspired Profile, Preset & Workflow Pack for Lightroom
Film Edition 2 is a structured Lightroom preset and profile pack designed to help you create film-inspired edits quickly and consistently. Built around a broader mix of colour looks, monochrome styles, Legends presets, and practical workflow tools, it gives you a flexible editing system rather than a handful of isolated preset effects.
This is not a random collection of slider-based presets. The live page positions Film Edition 2 as a more advanced follow-on from Film Edition 1, with a stronger focus on film stock emulation and a new modular approach to building your own look. It also introduces the Legends Presets, which aim to capture the feel of some of your favourite photographers, alongside colour- and monochrome-profile-based processes.
If you edit regularly in Lightroom, you already know the problem. You want variety and character, but you also need the pack to stay practical across a full set of images. Film Edition 2 is built to give you that balance. The profile-based looks give you a strong starting point, while the included utilities and noise-reduction tools help you shape and refine the result without slowing your workflow.
Built for speed and consistency
Film-inspired colour and monochrome looks in one pack
Profile-based processes designed for a stronger starting point
Legends presets included for more creative variation
Workflow utilities and noise reduction tools to keep editing practical and consistent
What’s included
22 colour profiles
21 monochrome profiles
6 Legends of Film presets
22 workflow utility tools
6 noise reduction utility tools
Works on RAW or JPEG files from any camera brand
Compatibility
Built for Adobe Lightroom CC or Adobe Lightroom Classic 7.3 or newer, on both Windows and Mac.
3 for 2 offer
All preset packs are included in the 3-for-2 offer. Add any three preset packs to your basket, and the cheapest one is free at checkout.